
Small Apartment Storage Ideas
How to Use a Clothes Drying Rack in a Small Apartment Without Losing the Room
A drying rack works in a small apartment only when it fits more than the laundry. It also needs a temporary operating zone, enough capacity for the load, a plan for indoor moisture, and a real storage spot when the clothes are dry.
In This Guide

A drying rack behaves like temporary furniture. Its published frame dimensions matter, but wet sleeves, towels, hangers, dresses, and bedding can extend beyond the frame and make the loaded setup larger than the empty rack.
The system also has an off-duty state. If the rack folds flat but has nowhere to go afterward, it has solved the drying problem while creating a permanent storage problem.
Quick Answer
Plan the whole drying cycle
Choose the zone first, then match the rack and wash load to the room. The setup should be able to appear for one load, dry it without breaking normal circulation or room use, and disappear again afterward.
01
Protect the room
Keep the loaded rack out of exits, door and window escape routes, HVAC openings, heater zones, electrical-panel access, and essential work paths.
02
Match the load
Use a rack and drying method that can hold the actual air-dry load with useful spacing and accommodate garments that must hang or dry flat.
03
Plan the reset
Know where the folded rack will live before you buy it, and put dry laundry away promptly so the primary room function returns.
Measure / Check First
A rack that fits while folded can still overwhelm the room once it is open and loaded.
Check all four footprints
01
Open footprint
Measure the rack in its working position, including wings or tiers that extend beyond the folded frame.
02
Loaded footprint
Allow for garments, hangers, sleeves, towels, and longer items that project beyond or below the rack.
03
Folded footprint
Identify the exact gap, closet position, under-bed zone, or other permitted place where the dry rack will be stored.
The fourth footprint is moisture rather than floor area: indoor drying moves water from the laundry into the room, so humidity and condensation also belong in the plan.
01
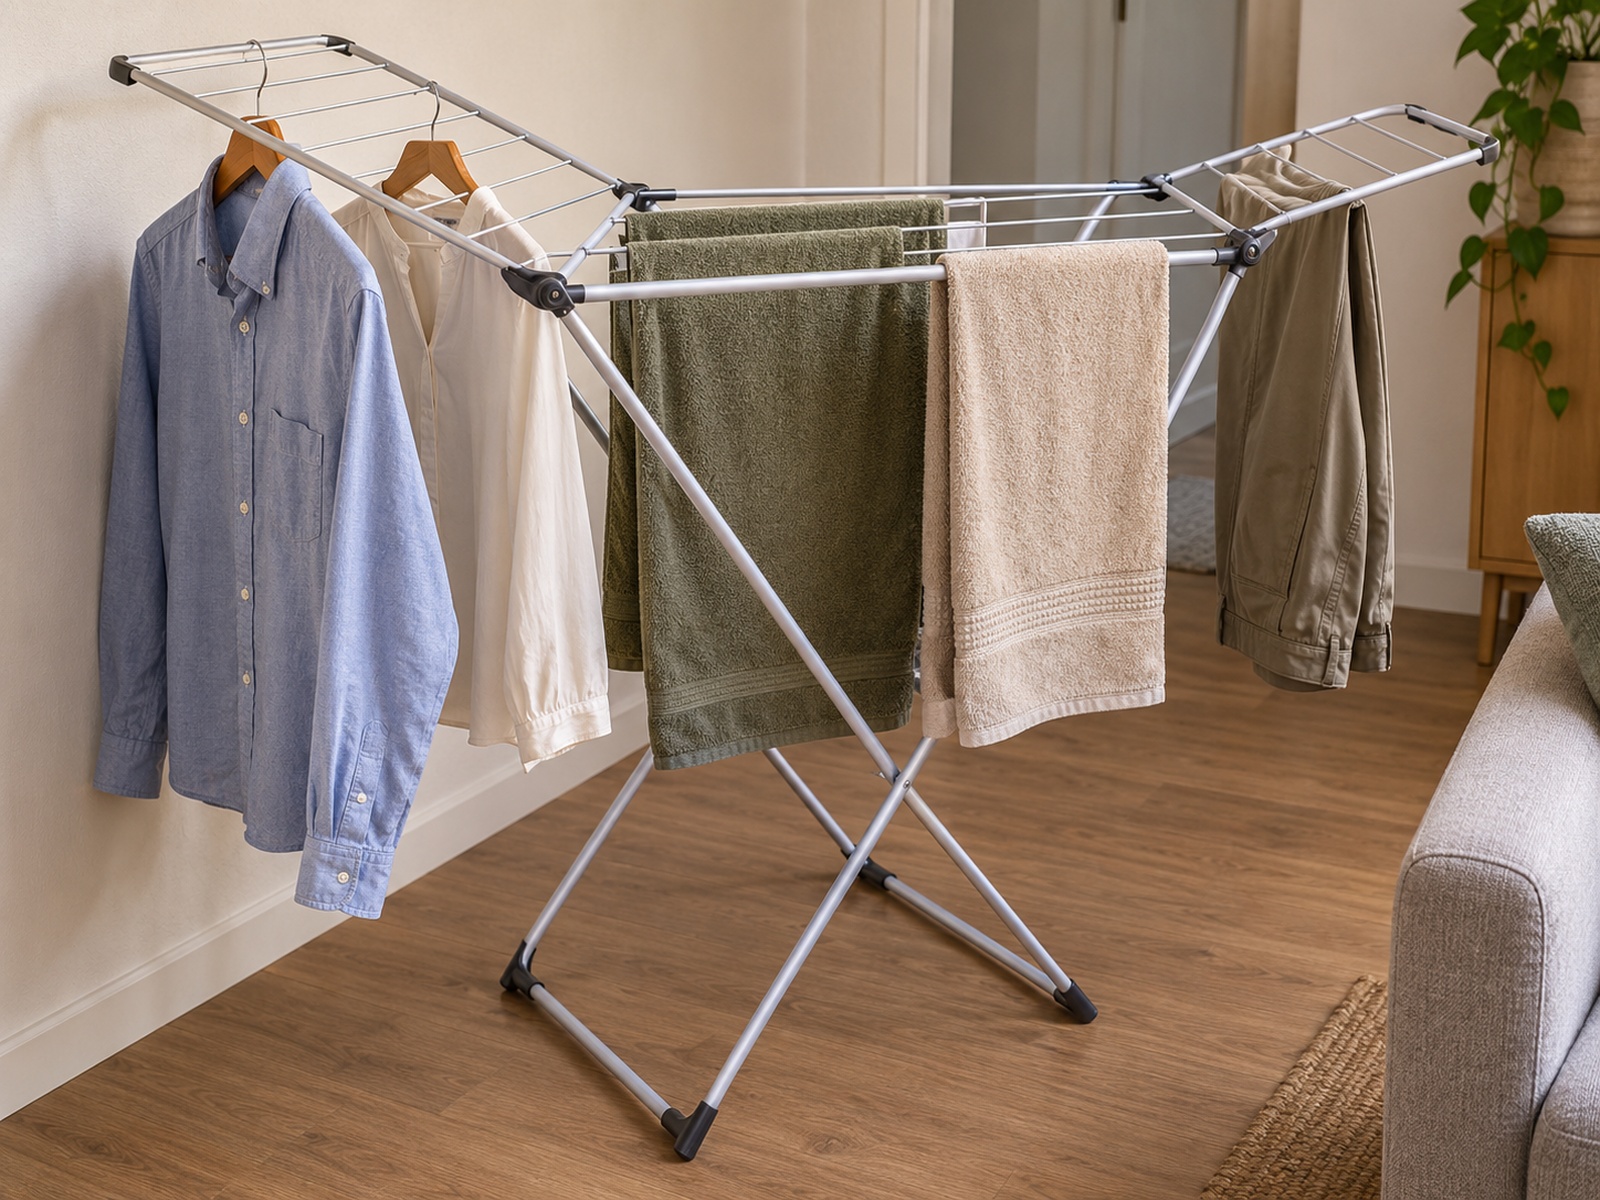
Choose the drying zone before the rack
Start with the temporary floor or room zone you can actually give to wet laundry. Do not buy the rack first and hope its open footprint will fit somewhere later.
Keep the setup out of exits, bedroom and window escape access, HVAC returns or supplies, baseboard-heater zones, electrical-panel access, and kitchen work paths. A rack that technically fits but interrupts the room’s essential functions is too large for that location.
This may mean accepting a less visually convenient spot or using a smaller rack for the everyday load. In a compact apartment, the best drying zone is the one that can temporarily change function without making the rest of the room stop working.
02
Match rack format to the available floor area
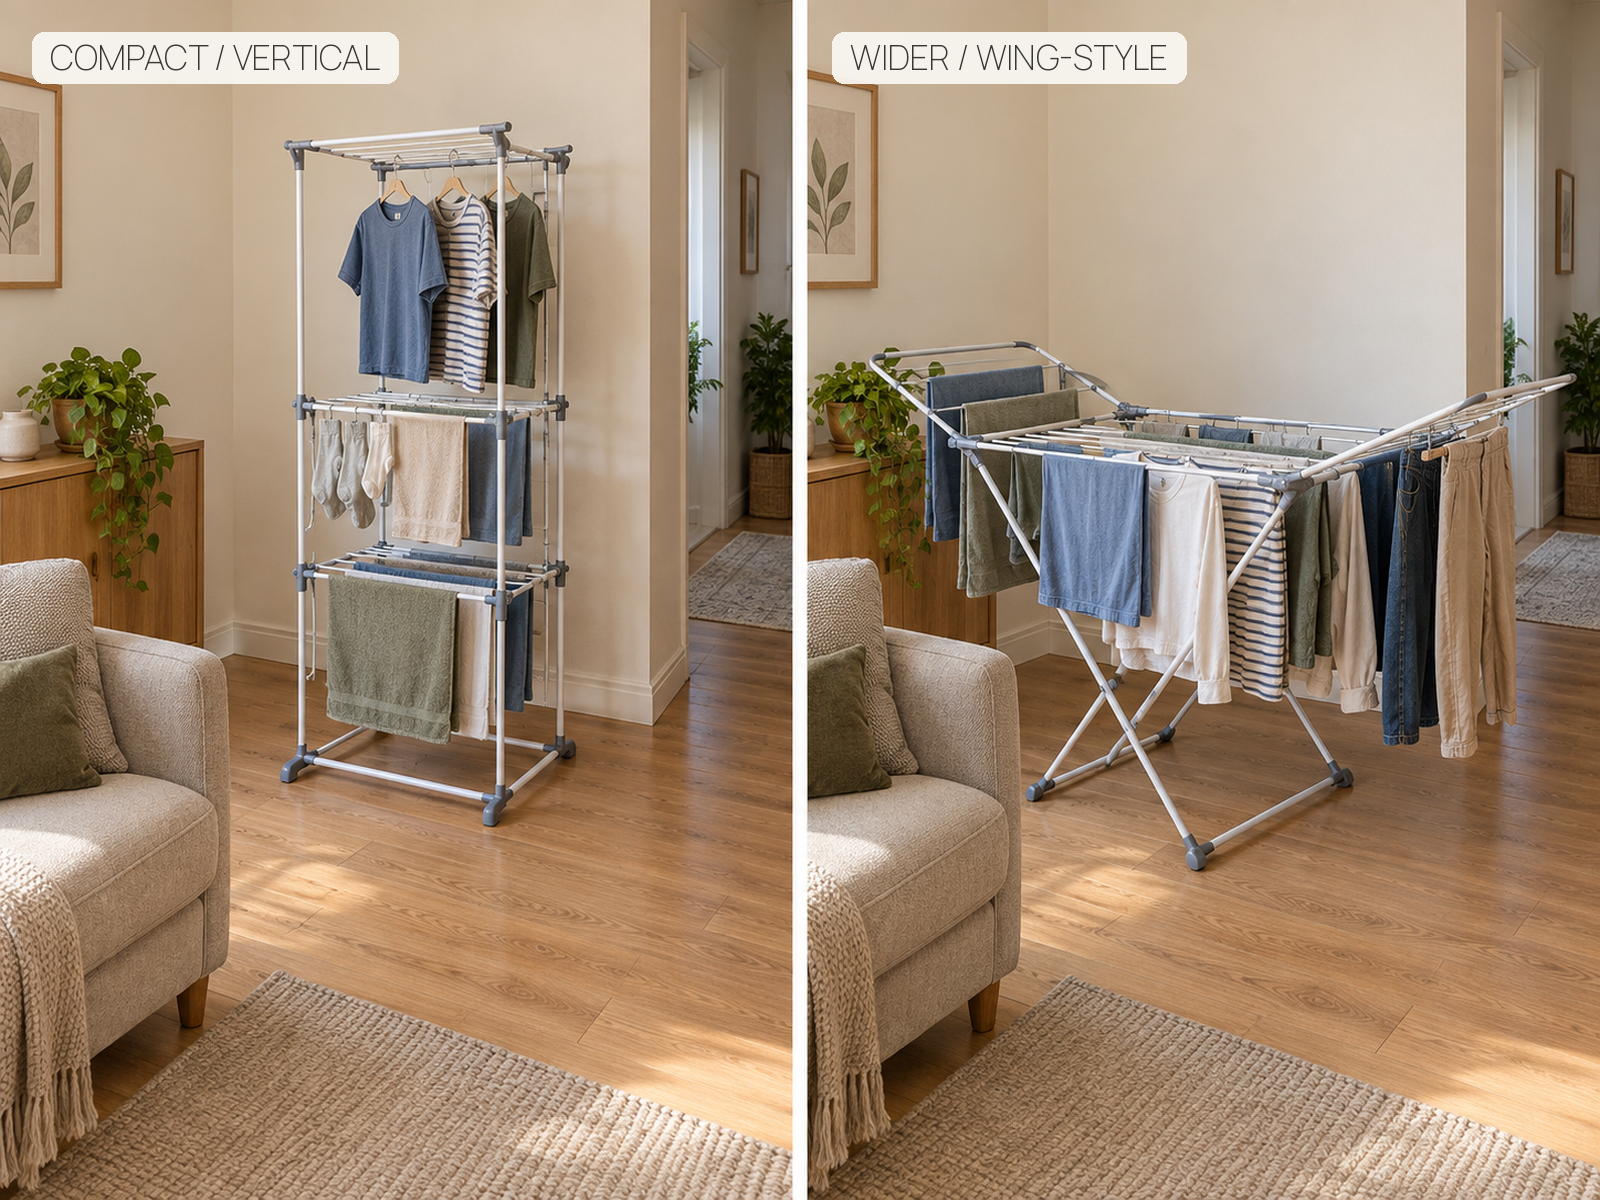
Compact fold-flat racks make sense when the air-dry load is small and a narrow folded-storage slot exists. Larger wing racks offer much more line length, but they need a much longer temporary floor zone.
Current IKEA examples illustrate the trade-off without establishing a universal size. The JÄLL drying rack is listed at 31 × 15 3/4 × 32 1/4 inches with 6 yards of drying capacity. The MULIG drying rack is listed at 68 × 22 1/2 × 40 1/2 inches with 20 yards of drying capacity.
A vertical or tower rack shifts more of the setup upward when floor area is the controlling constraint, but height creates its own trade-offs. Long garments can overlap lower tiers, access varies by level, and stability is model-specific. Choose the geometry for the clothes you actually dry rather than assuming more rails automatically make a better small-space rack.
03
Size the wash load to the drying setup
The washer does not set the useful air-dry load. The drying system does.
If one wash produces more wet laundry than the rack can hold with useful spacing, garments overlap, wet items wait, and the rack stays open longer. The drying stage becomes the bottleneck for the whole laundry routine.
Plan loads around the rack capacity you actually have. Rare bulky categories such as bedding, blankets, or thick towels do not necessarily justify an oversized everyday rack; occasional shared or commercial dryer use can be a better exception when available.
04
Let the care label choose the drying plane
Not every air-dry garment belongs on a rail. The Federal Trade Commission’s Care Labeling Rule recognizes drying instructions including line dry, drip dry, and dry flat.
If your laundry mix includes many knits or other items labeled to dry flat, horizontal drying area is part of the system. A rack optimized only for hanging length can still be the wrong geometry.
Treat care requirements as a capacity constraint. A household dominated by shirts and lightweight basics may use vertical line space efficiently; a household with frequent flat-dry items needs enough horizontal surface without stacking wet garments.
05
Manage the moisture the load adds indoors
Indoor air-drying is also moisture management. The U.S. Environmental Protection Agency recommends keeping indoor relative humidity below 60 percent and ideally between 30 and 50 percent, and it treats visible condensation as a sign that moisture needs to be reduced.
Use the room conditions to guide the routine. Ventilation where practical, air conditioning, or dehumidification can help control indoor moisture; smaller loads and useful garment spacing can also make the drying setup easier to manage. No device or single humidity tactic guarantees mold prevention or a universal drying time.
If windows repeatedly collect condensation or the room stays persistently damp while laundry dries, reduce the moisture load and address the room conditions rather than simply leaving the rack open longer.

Use / Skip
Choose freestanding or installed drying space deliberately
Use
Use a removable rack when the room needs to reset
A foldable freestanding or tower rack suits a rental when you have a temporary operating zone, the load fits its practical capacity, and the folded rack has a real parking place afterward.
Skip
Skip a wall-mounted system when installation is not clearly permitted
A fold-away wall rack can preserve floor space, but systems such as Brabantia’s WallFix use wall fixings and a drilling template. Do not treat wall-mounted drying as automatically renter-friendly when the lease, wall structure, or owner permission is unresolved.
06
Give the folded rack a permanent home
“Folds flat” is useful only when flat has an address. Decide where the rack will live before purchase: beside the washer, against a closet wall, in a narrow gap, under a bed if it genuinely fits, or in another permitted storage location.
The parking spot should not block a door, HVAC opening, heater, electrical panel, or other access zone. Avoid turning the folded rack into something that permanently leans in the living room because no storage decision was made.
When the load is dry, put the clothes away, fold the rack, return it to that location, and restore the room’s primary function. That reset point is what keeps temporary laundry infrastructure from becoming permanent furniture.
What Not to Do
Do not solve drying space by creating a new room problem
- Do not block exits, window escape access, HVAC openings, heaters, electrical panels, or essential circulation with the loaded rack.
- Do not start a wash load larger than the drying system can hold with useful spacing.
- Do not hang garments that the care label says should dry flat.
- Do not assume a wall-mounted rack is renter-friendly simply because it folds away.
- Do not assume balcony or indoor drying is permitted without checking relevant building or lease rules.
- Do not promise that a fan or dehumidifier will prevent mold or produce a fixed drying time.
The goal is not maximum line length at any cost. It is a drying setup whose operating footprint, garment capacity, moisture load, and folded storage all work in the apartment you actually have.
RELATED GUIDES
What to Read Next

NEXT GUIDE
How to Choose a Compact Dryer for a Small Apartment With No Dryer Vent
Use this when rack drying cannot keep up with the household’s laundry throughput and you need to evaluate a compact powered alternative.
GUIDE
Where to Put a Dehumidifier in a Small Apartment With Limited Floor Space
Read this when indoor moisture is a recurring apartment problem and you need to place a dehumidifier without creating another circulation conflict.
GUIDE
Where to Put Dirty Laundry in a Small Bathroom With No Floor Space
This solves the earlier stage of the laundry cycle when dirty clothes need a contained holding zone before washing.