
Small Apartment Storage Ideas
Where to Put a Dehumidifier in a Small Apartment With Limited Floor Space
Map the moisture and the water path before you park the appliance: target the room that is actually humid, preserve the exact model’s airflow clearance, and choose a bucket, gravity-drain, pump, or mobile routine that can be serviced without turning the dehumidifier into another floor-space obstacle.
In This Guide
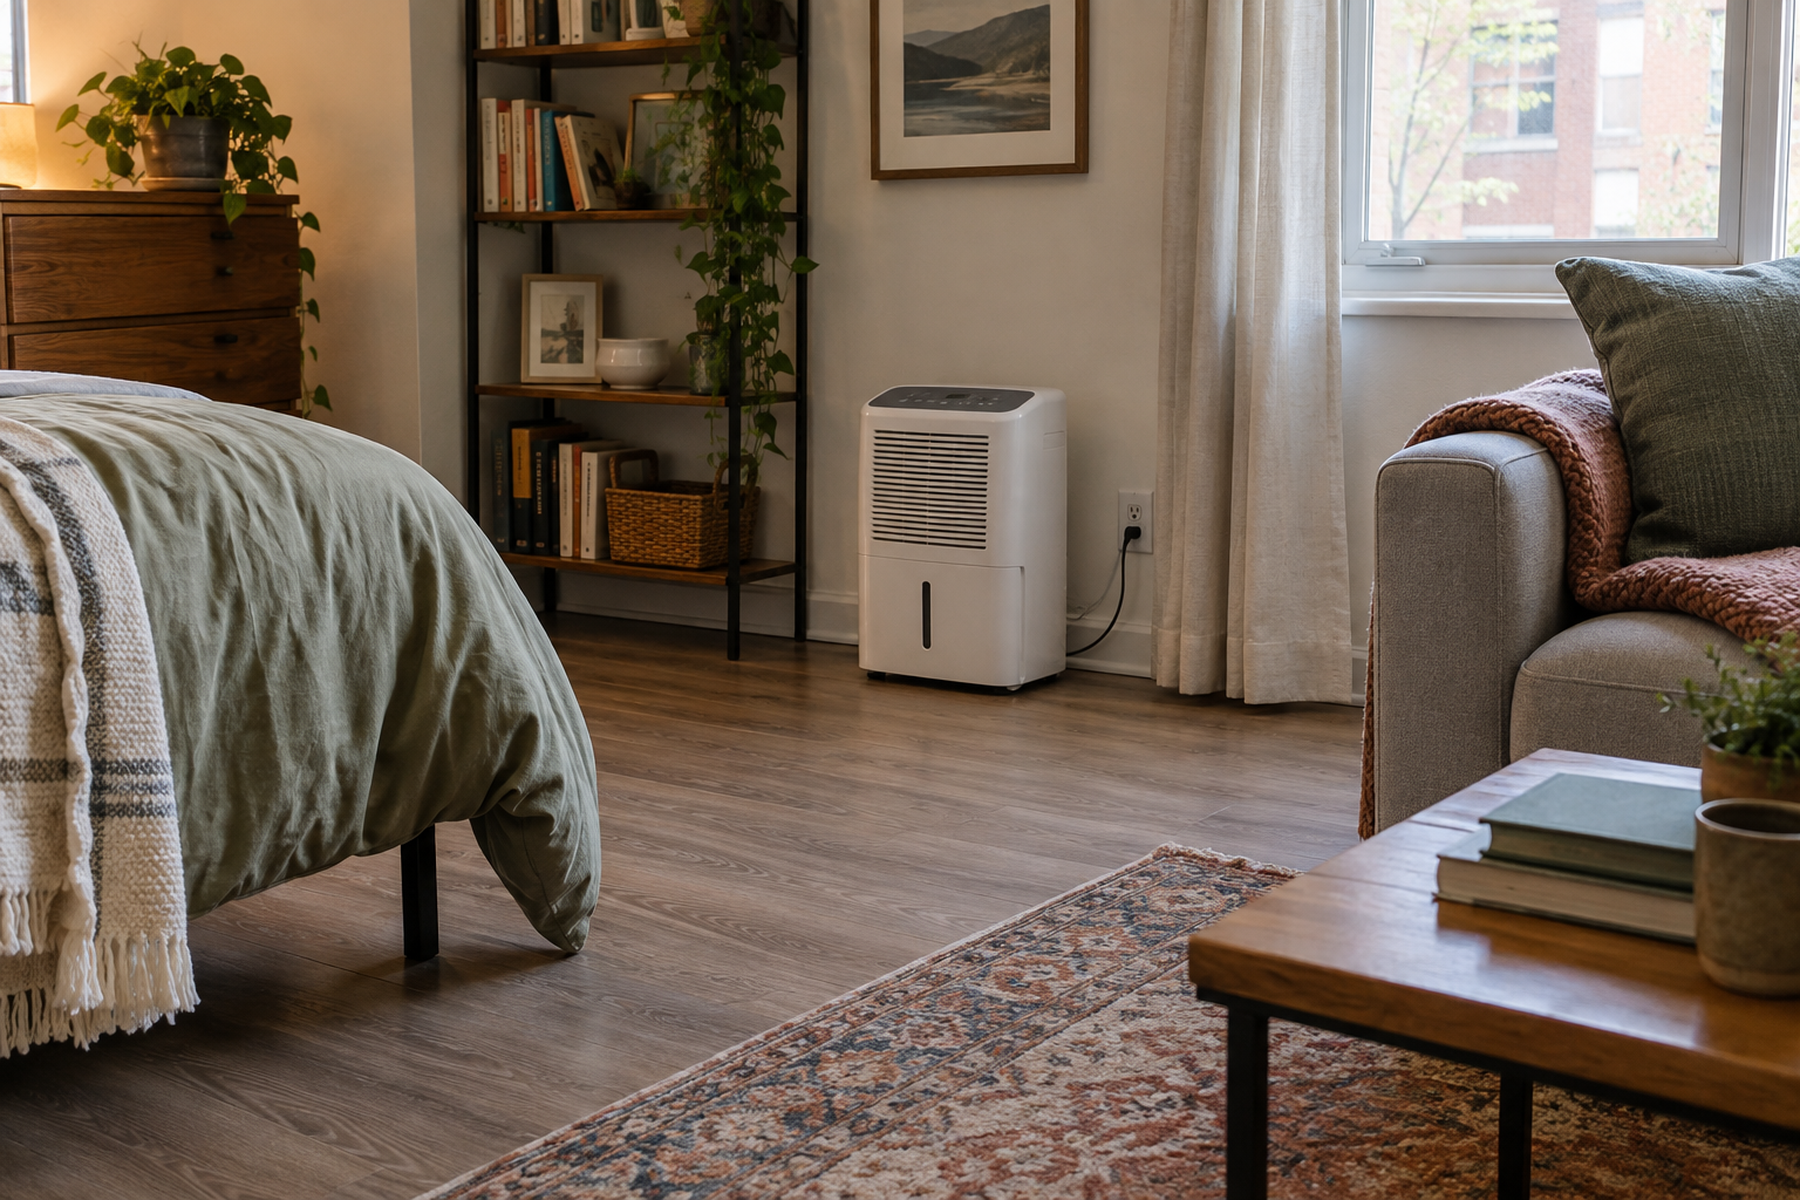
A dehumidifier can fit physically and still be badly placed. The appliance needs enough open air around its intake and exhaust, a stable operating surface, access to the bucket, filter, controls, and drain connection, and a realistic way to move collected water out of the apartment’s living space.
Placement therefore starts with two maps rather than one: where the moisture actually is and where the collected water can realistically go. A central hallway can be convenient but ineffective or obstructive, while the dampest bedroom can be the right target but a poor service location if the bucket path, noise, heat, or airflow does not work.
Quick Answer
Match the Moisture Zone to a Water-Removal Routine
The real operating footprint includes the appliance body, open airflow, bucket or hose access, service clearance, and the route to a sink or drain. The best spot is where the moisture problem and that maintenance system overlap.
01
Confirm the moisture problem first
Use humidity readings and visible conditions to distinguish one damp room, several connected humid rooms, a temporary moisture spike, and an unresolved leak or building problem before deciding where the appliance belongs.
02
Protect airflow and service access
Follow the exact model’s clearance instructions, keep curtains and furniture away from intake and exhaust, and leave enough room to remove the bucket, filter, and drain connection without moving the appliance every time.
03
Choose the water path before the final parking spot
A manual bucket needs a safe carrying route to a sink, while gravity drainage needs the correct downward hose geometry and pump drainage depends on exact model capability. The easiest empty floor patch may fail once water removal is included.
01
Fix or Report the Moisture Source Before You Optimize Placement
EPA guidance makes moisture control the first step in mold control. A dehumidifier can help manage indoor humidity, but it should not be used to disguise an active leak, recurring water intrusion, wet building material, failed exhaust, or another building defect.
For renters, that means documenting and reporting building moisture or indoor-air concerns when appropriate instead of solving the symptom only with more appliances. Current apartment discussions show residents adding second dehumidifiers while leaks or persistent mold concerns are still unresolved.
Use the appliance as part of the moisture response, not as proof that the cause has been fixed. A room that becomes humid after showering or indoor laundry creates a different placement problem from a bedroom that stays damp because the wall, window, plumbing, or crawl space is wet.
If visible water damage, recurring mold, or persistent building dampness is driving the humidity, source control and management or qualified repair come before permanent appliance optimization.
02
Map the Humidity Problem Before You Choose the Floor Spot
EPA recommends measuring indoor humidity rather than relying on how damp the apartment feels. That lets the household separate one persistently humid room from a whole-apartment problem or a short-lived spike after cooking, showering, or drying laundry.
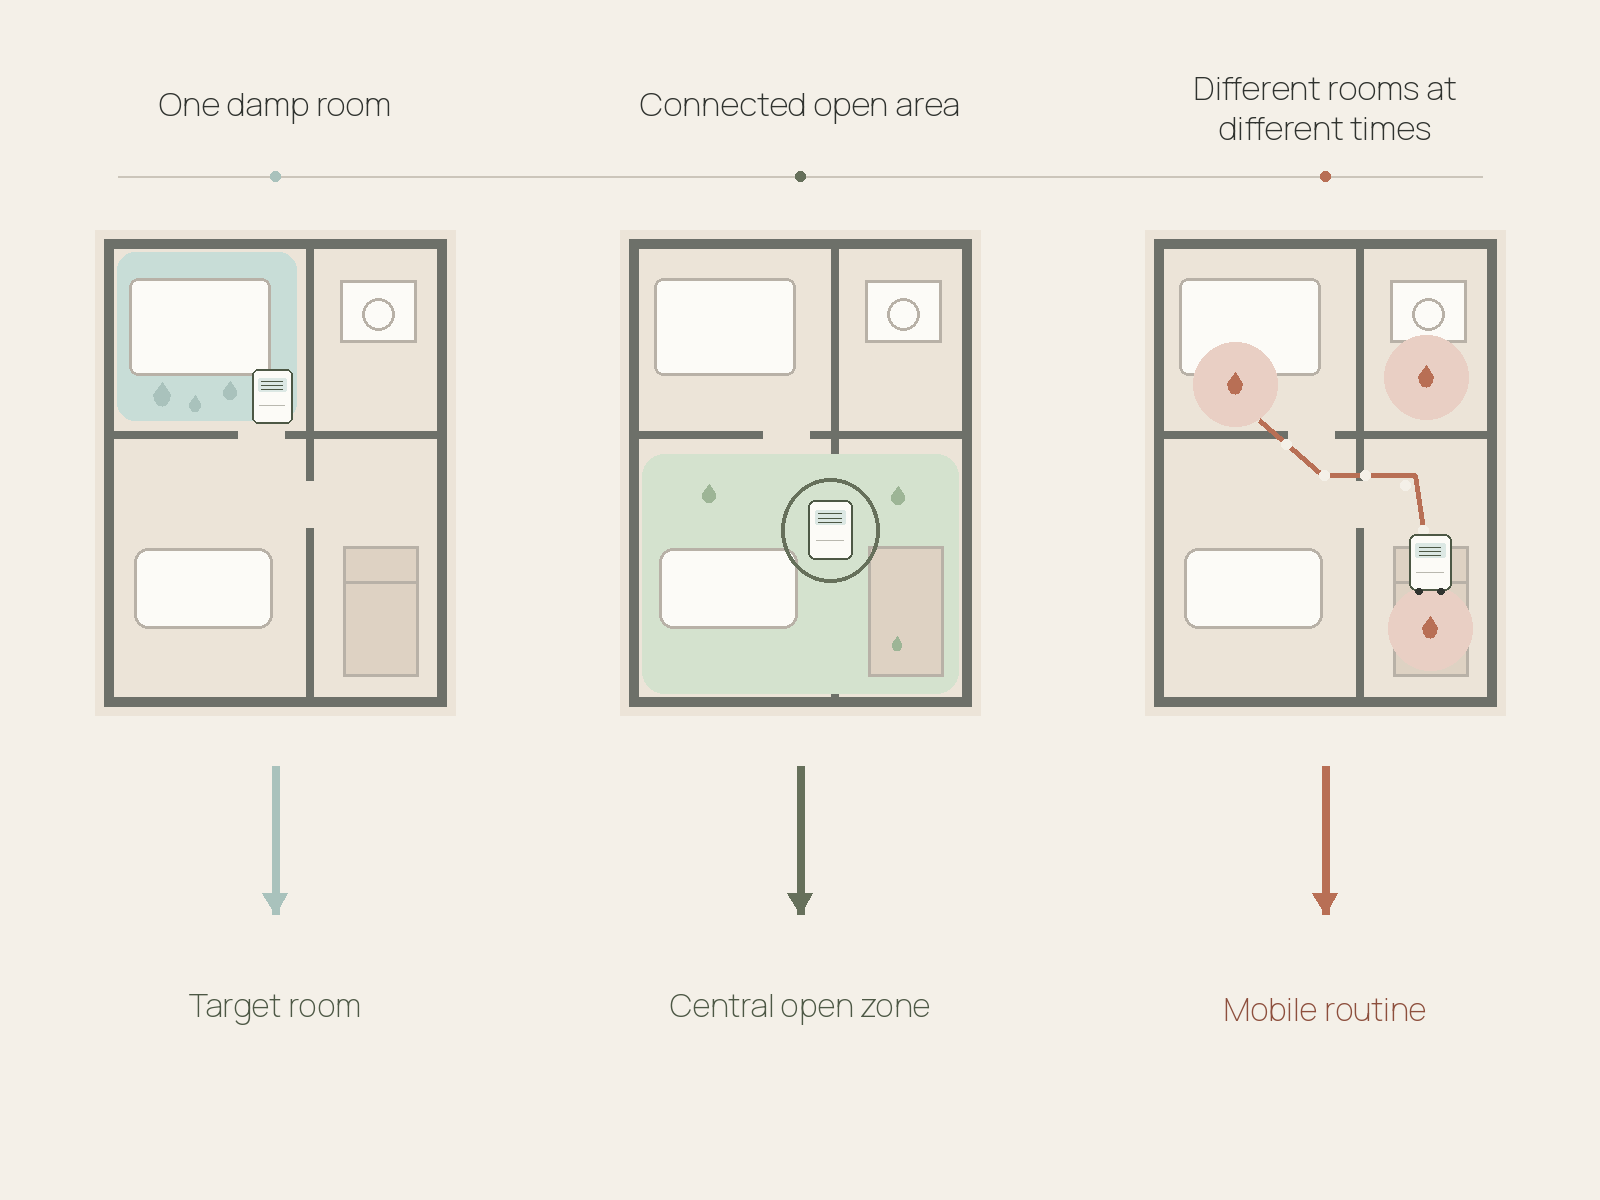
A single damp bedroom usually favors a room-specific placement because the appliance can work where the moisture remains high. A connected open-plan living area may support a more central zone, while several rooms with different humidity peaks may justify a deliberate mobile routine.
Do not assume the geometric center of the apartment is automatically the best location. GE recommends center-of-area placement for the area being dehumidified, but separated rooms, closed doors, airflow between spaces, unit capacity, and the actual moisture source can all change the answer.
The placement should be validated by readings in the rooms that matter. If the target room remains humid while a centrally parked machine is comfortable and convenient, convenience has won over the actual moisture job.
Measure / Check First
Before committing floor space to the appliance, verify the target humidity zone, the exact airflow / service envelope, and the complete water-removal route.
Check the Moisture Zone, Airflow, and Water Path Together
01
Humidity target and source
Use humidity readings and visible conditions to confirm which room or connected area actually needs dehumidification, and stop treating placement as the whole fix when an active leak or building moisture problem is present.
02
Exact airflow and service space
Follow the owner’s manual for intake and exhaust clearance, then confirm furniture, curtains, doors, walls, filter access, bucket removal, controls, and drain fittings all remain usable.
03
Bucket or drain route
Trace the full water path before parking the unit: bucket to sink, gravity hose to a lower approved drain, or manufacturer-supported pump route. Reject layouts that create a trip path, upward gravity hose, pinched line, or awkward full-bucket carry.
If the target room cannot support both the air path and the water path without blocking circulation or service, change the placement or operating routine before adding a larger machine.
03
Give the Exact Model Enough Open Air to Work
ENERGY STAR and GE both emphasize unobstructed airflow around portable dehumidifiers. GE specifically warns against curtains, blinds, and furniture blocking the front or back of the appliance.
Clearance is model-specific. Some top-discharge designs can operate closer to walls than models that need side or rear discharge space, so do not rely on one universal wall-distance rule for every dehumidifier.
That makes the gap behind a sofa, narrow bedside slot, crowded hallway corner, or cabinet opening a weak generic answer. The unit can fit inside the gap while its intake, exhaust, bucket, filter, or controls remain compromised.
Treat open air and service access as part of the same footprint. The placement should allow the exact model to breathe and also let the user reach the filter, bucket, controls, and drain fitting without rebuilding the room.
04
Choose the Water-Removal Routine Before the Final Location
A dehumidifier has two flows: humid air enters and drier, slightly warmer air leaves, while collected moisture has to leave through a bucket, gravity hose, or pump system. Both flows change the floor plan.
Manual bucket use preserves placement flexibility because the appliance does not need to stay beside a drain. The trade is a recurring service path from the machine to a sink, tub, or other appropriate emptying point.
Continuous drainage can reduce that routine but makes drain geometry part of the location. ENERGY STAR says a gravity-drain setup should be close enough to the floor drain or sump to avoid a long unwieldy hose, and manufacturer guidance requires the hose to follow the correct downward route.
Pump-equipped models can expand the possible drain destination, including suitable sinks on supported units, but pump lift, hose length, connection, and routing are product-specific. Do not let the word automatic hide a hose that crosses a doorway, kinks behind furniture, or creates a trip path.
05
Make Manual Bucket Placement Easy to Empty and Reset
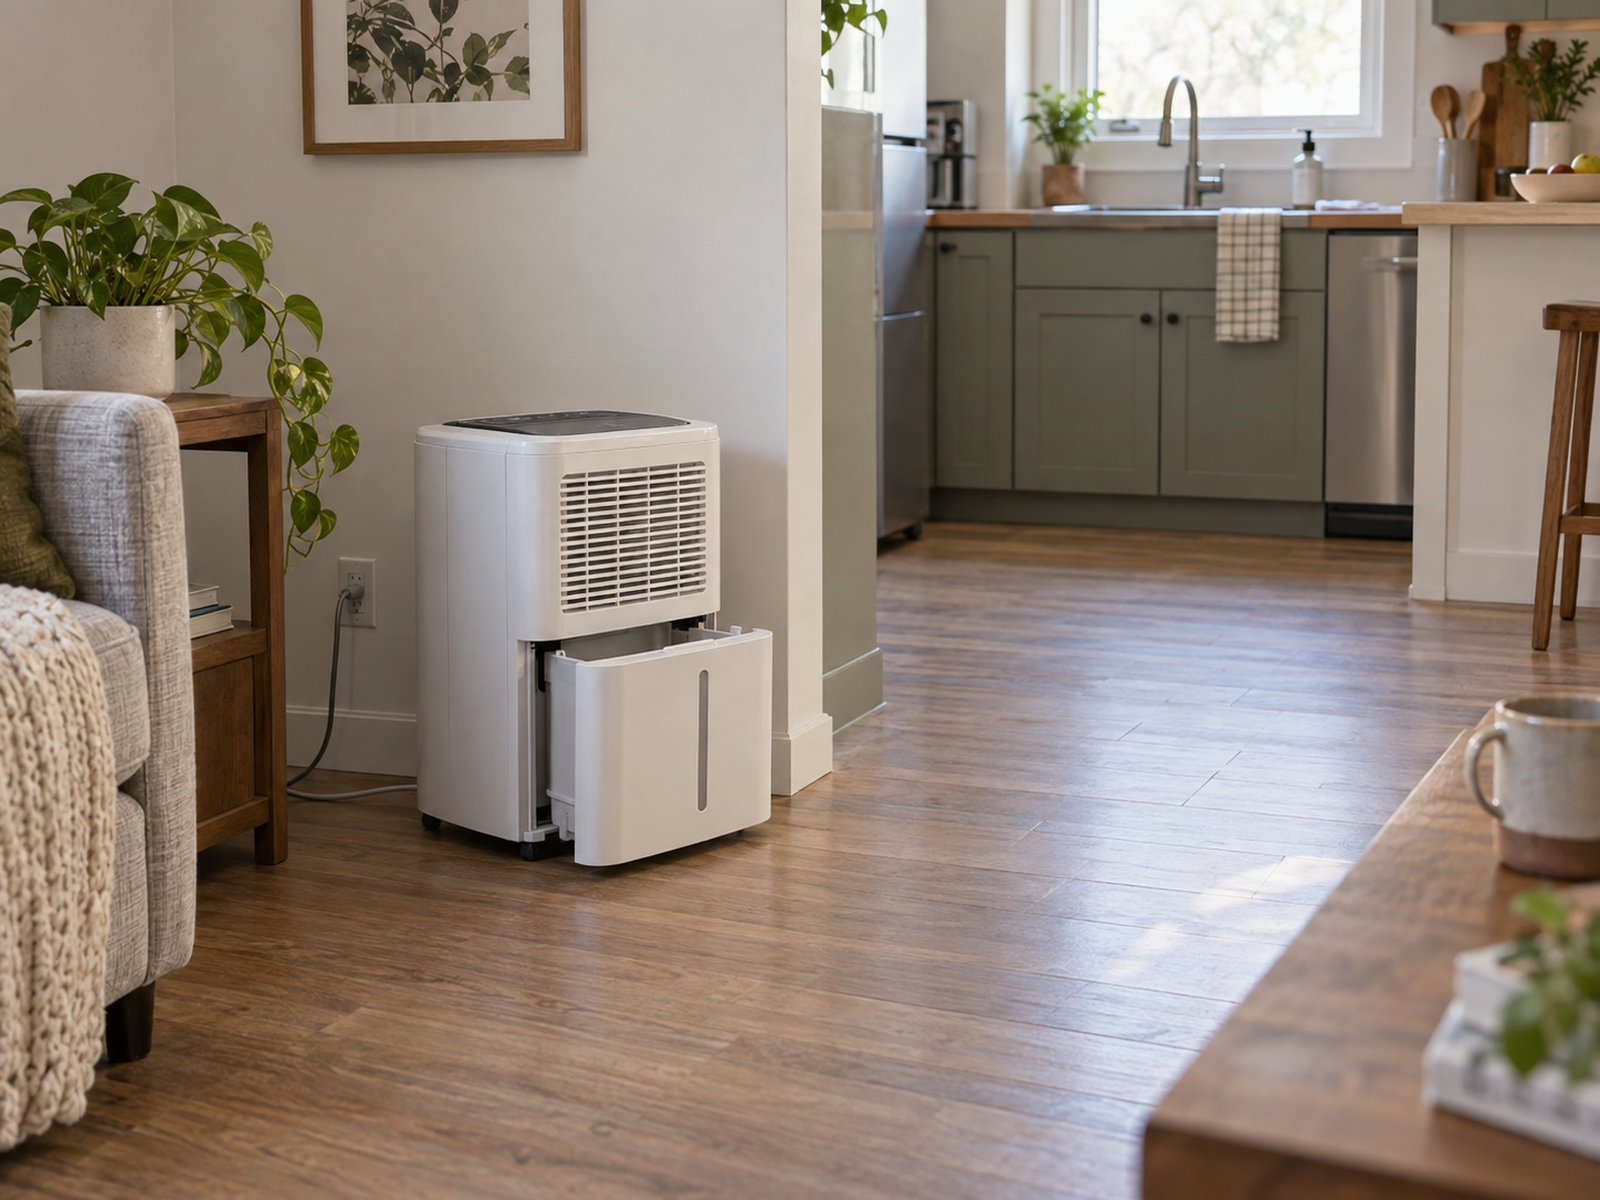
A bucket-based dehumidifier is not a park-and-forget object. GE’s current guidance describes removing the full bucket, carrying it to a sink, emptying it, and reinstalling it securely before operation resumes.
Test that routine at the actual location. The bucket should come out without hitting a bed frame, wall, chair, or cabinet door, and the path to the sink should not cross electronics, bedding, narrow steps, or the main trip-prone route through the apartment.
A full bucket also changes the practical weight and handling of the appliance system. Avoid flimsy shelves, decorative stands, or furniture that has not been designed for the loaded dehumidifier simply to recover floor space.
If emptying is so awkward that the bucket routinely stays full or the appliance is constantly dragged into the hallway for service, the location is not truly compact. Move the unit closer to a workable service route or change the water-removal method.
06
Use Gravity or Pump Drainage Only When the Hose Geometry Works
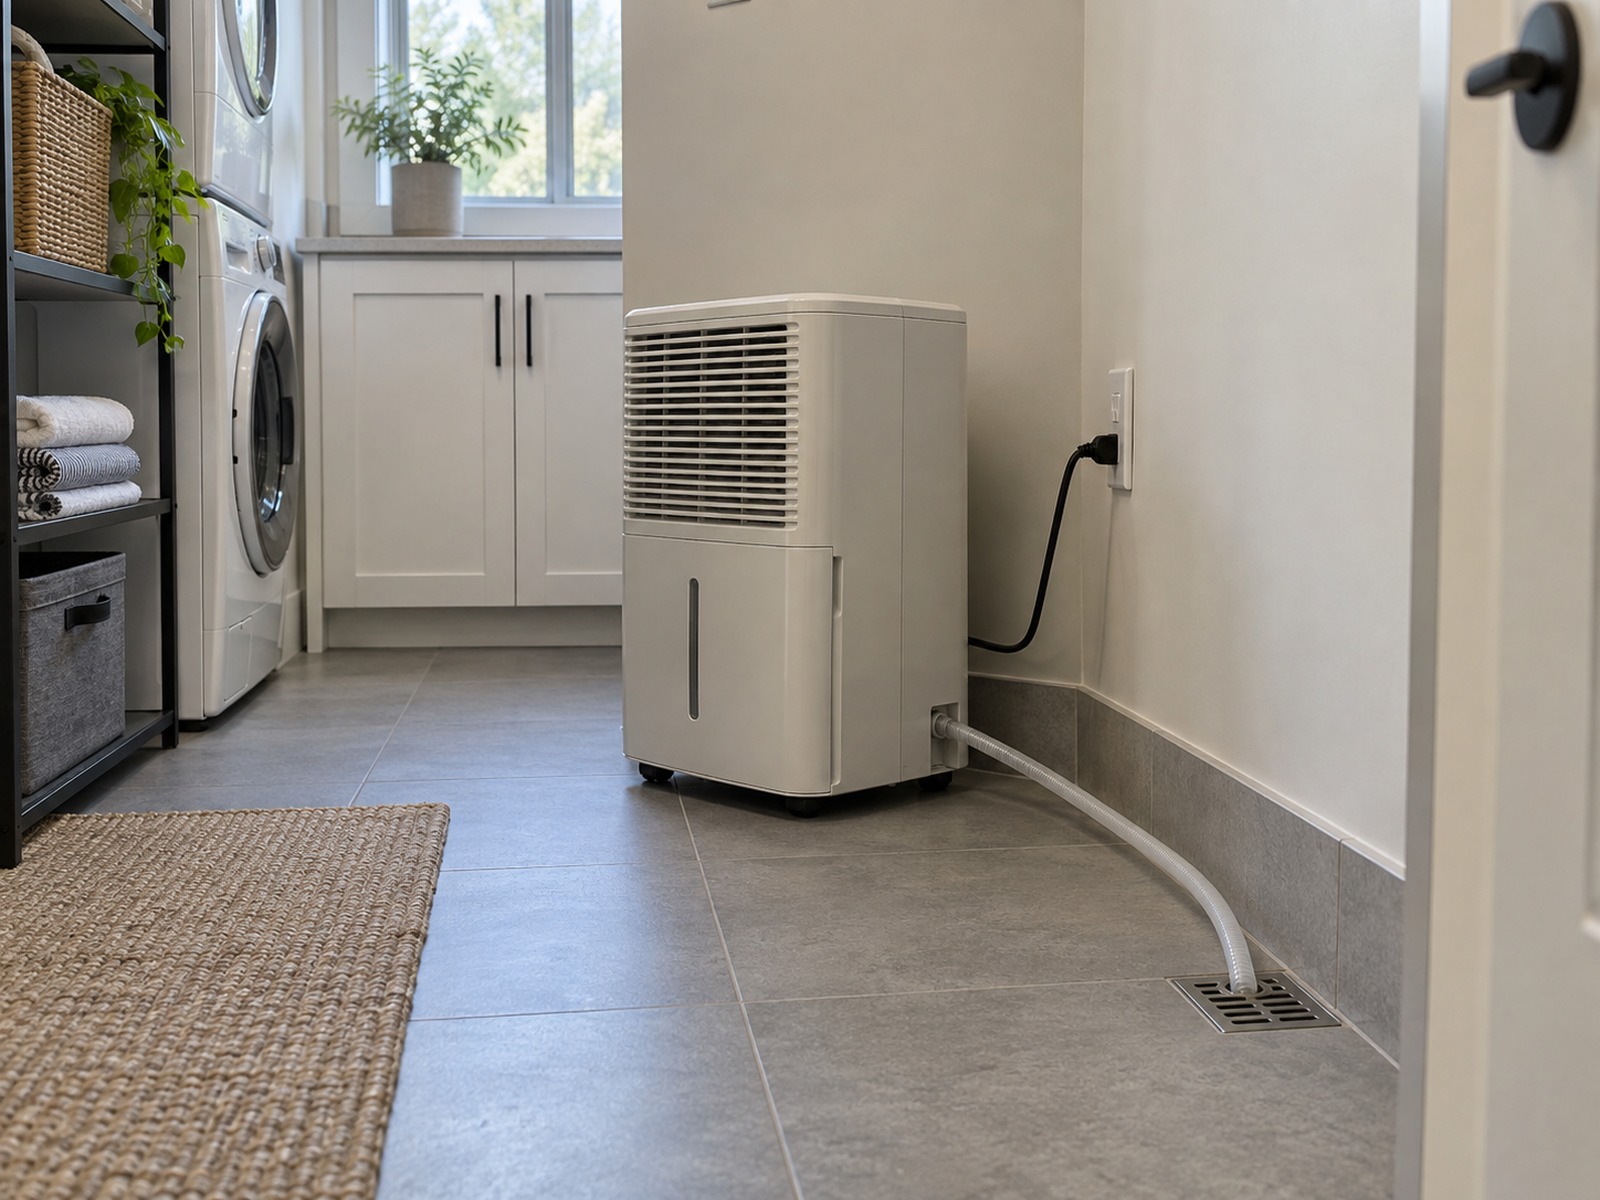
Gravity drainage can be excellent when a floor drain or other approved lower drain already sits near the moisture zone. It can also be impossible in an apartment where the only sink is above the drain outlet or across a doorway.
Midea’s current U.S. guidance says a gravity-drain hose should not rise above the unit’s drain point. GE similarly treats gravity drain and pump drain as different operating modes rather than interchangeable hose arrangements.
A pump-equipped dehumidifier can move water to a suitable drain location that gravity alone cannot reach, but the exact pump limits still control the setup. Do not assume a long hose, greater vertical lift, or improvised drain destination is acceptable because another model supports it.
The hose is part of the circulation plan. Keep it away from door swings, chair paths, electrical connections, and places where furniture can pinch or pull it. A technically automatic drain is a poor small-space solution if the apartment has to step over the hose.
Use / Skip
Continuous Drainage
Use
Use it when the drain geometry is naturally compatible
Choose continuous drainage when the exact dehumidifier supports it, a suitable drain is close enough, gravity can maintain the required downward route or the supported pump can reach the destination, and the hose can stay clear of doors, furniture, electrical connections, and walking paths.
Skip
Skip it when the hose becomes the new floor-plan problem
Keep manual bucket service when continuous drainage would require a long cross-room hose, an uphill gravity run, a pinched route behind furniture, or a line that crosses a doorway or circulation path. Automatic emptying is not an upgrade when the apartment cannot route it safely and cleanly.
07
Treat Central Placement as a Test, Not a Rule
A hallway or central living zone can look like the obvious compromise when several rooms feel damp, but centrality has two different meanings: central to airflow and central to foot traffic.
If the apartment is open enough for air to circulate through the intended area and the unit can stay out of the walking path, a central zone may work well. Exterior windows and doors to the space being dehumidified should remain closed during operation according to ENERGY STAR and GE guidance.
Closed bedrooms and bathrooms can behave as separate humidity zones, so one central machine should be judged by readings in those rooms rather than by its square-foot rating alone. A high-capacity unit does not guarantee equal control through walls and closed doors.
When humidity peaks in different rooms at different times, one movable dehumidifier can become a household tool instead of a permanent hallway appliance. Empty the bucket before moving when the manufacturer instructs it, and verify a valid airflow, outlet, service, and water-removal zone in every destination.
08
Include Heat, Noise, and Service in the Final Placement Decision
A technically effective placement can still fail daily life. GE explains that dehumidifier operation can slightly warm the surrounding air, and Consumer Reports treats noise as a meaningful living-space variable.
That matters in a small bedroom, studio, or home office where the appliance cannot disappear into a basement utility room. A damp bedroom may be the correct moisture target while still being too noisy or warm for continuous nighttime use.
Do not solve comfort complaints by hiding the unit behind furniture or inside a cabinet. Revisit run times, a different valid zone, or a mobile schedule while preserving the exact model’s airflow and service requirements.
The final location should let the appliance do the moisture job, dispose of collected water, remain maintainable, and coexist with normal sleep, work, and circulation. If the only way to make the machine fit is to block airflow or ignore the building moisture source, the placement system has failed.
Closing Decision
Put the Dehumidifier Where the Moisture Job and the Water Routine Both Work
The best dehumidifier location is not automatically the dampest corner, the center of the apartment, or the spot closest to a sink. It is the zone where the measured moisture problem, exact airflow needs, bucket or drain service, and everyday circulation can all coexist.
If those conditions do not overlap, change the routine instead of forcing the appliance into a bad corner: move it between verified zones, keep manual bucket service, use a compatible drain system, or address the underlying building moisture problem. A dehumidifier should reduce humidity, not become the organizer that hides the cause.
RELATED GUIDES
What to Read Next
NEXT GUIDE
Where to Put an Air Purifier in a Small Apartment With Limited Floor Space
Use this next if another air-moving appliance is competing for the same floor area; that guide focuses on clean-air delivery, room priority, clearance, noise, and filter access without the dehumidifier’s collected-water system.
GUIDE
How to Dry Clothes Indoors in a Small Apartment With No Dryer
Use this if indoor laundry is one of the apartment’s recurring moisture loads; that guide focuses on drying layout, airflow, moisture awareness, and when dehumidification can support the process.
GUIDE
Where to Put a Space Heater in a Small Apartment With Limited Floor Space
Use this if seasonal appliances are competing for the same small floor zones; that guide shows how an appliance’s operating footprint can be much larger than its product body because clearance, outlet, and circulation requirements also consume space.