
Small Apartment Storage Ideas
How to Dry Clothes Indoors in a Small Apartment With No Dryer
A drying rack can solve the wet-clothes problem and still take over the room. Plan the load, deployed footprint, moisture conditions, and folded storage slot as one repeatable cycle.
In This Guide
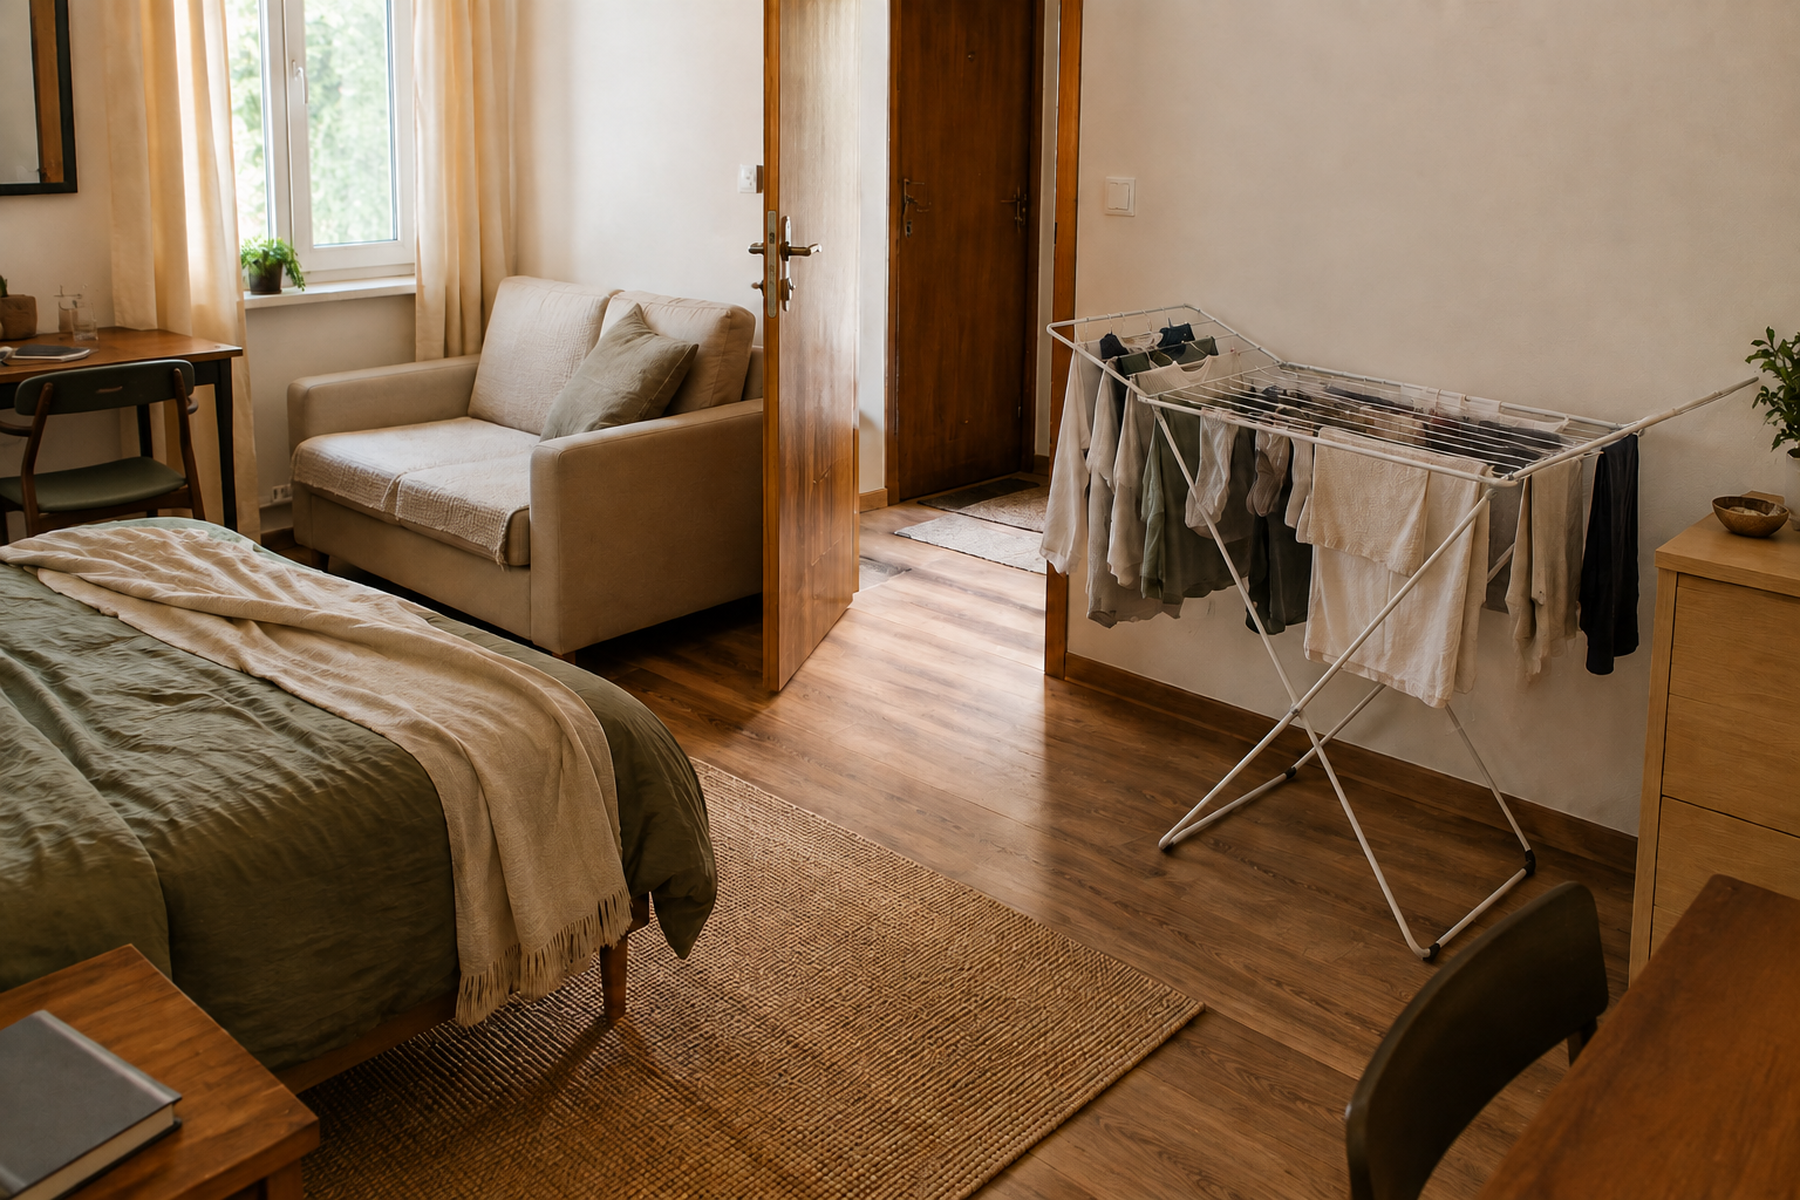
Indoor laundry drying temporarily changes what a room has to do. A living room, bedroom, or bathroom may be ordinary living space most of the week, then become a drying zone for hours or longer when a wet load arrives. In a small apartment, that temporary conversion matters as much as the rack itself.
A workable setup has to pass the whole cycle: choose the drying method the garment requires, deploy enough usable drying space, keep doors and circulation working, watch the room’s moisture condition, remove the dry load, fold the equipment, and restore the room. If the rack succeeds only while it is open, the system is unfinished.
Quick Answer
Plan the Load, the Room, and the Reset Together
A workable indoor-drying setup starts with the garments’ actual drying requirements, enough capacity for the normal air-dry load, and a deployment zone that leaves the apartment usable while managing added moisture. The system is only complete when the rack can also fold away into a realistic off-duty home.
01
Check how the garments need to dry
Read the care labels before choosing rack geometry. A hanging-only rack does not solve an item that calls for flat drying, and the article should not override the garment’s stated care method.
02
Size for the load you actually air-dry
Use the household’s normal air-dry volume and frequency, not the biggest load imaginable. Too little capacity creates overflow onto furniture; too much rack can consume the room for no practical gain.
03
Choose a zone that passes both space and moisture checks
The loaded setup should leave normal circulation and door operation intact while the room can manage the added moisture. Condensation is feedback that the system needs adjustment, not part of the aesthetic.
01
Check the Care Label Before You Choose Rack Geometry
Wet laundry is not one uniform storage category. The drying method can differ by garment, so sort the air-dry load by what the care label actually calls for before deciding how much hanging line or flat surface you need.
The U.S. Federal Trade Commission’s Care Labeling Rule requires covered garments to carry regular-care instructions, including the drying method. FTC terminology includes methods such as line dry, drip dry, and dry flat. That makes garment care the first physical constraint in the drying-zone plan.
A mixed load may therefore need more than one usable surface within the same temporary zone: hanging space for some pieces and a purpose-built flat-dry surface for others. The drying setup should adapt to the garment instructions rather than forcing every item onto the same geometry.
02
Size the System Around the Normal Air-Dry Load
Capacity works best when it matches the routine. Someone air-drying a few delicate pieces after each wash has a different space problem from a household that must dry most laundry indoors several times a week.
A compact rack can be ideal when the load is genuinely small and frequent. A larger winged rack earns its footprint only when the household routinely needs the extra line. Manufacturer examples illustrate how quickly that trade can change: IKEA’s current JÄLL is a compact fold-flat form, while the current MULIG opens into a much longer winged footprint with substantially more drying line.
Do not translate advertised line length into a universal garment count. Clothing size, spacing, flat-dry needs, and the way the rack is loaded all affect how much usable capacity the household actually gets.
Measure / Check First
One set of measurements describes the rack while it is working; another describes where it goes when the work is finished. Both states have to fit the same apartment.
Measure Both Rack States Before You Buy
01
Map the loaded deployment envelope
Measure the open rack area, then account for garment projection, hangers, long pieces, door swing, furniture movement, and the walking route around it.
02
Match capacity to the normal load
Estimate the air-dry volume the household actually handles at one time and note whether any items need a flat-dry surface rather than hanging space.
03
Reserve the folded-storage slot
Check the real folded frame against the intended off-duty location, including door operation, baseboards, furniture edges, and retrieval access.
The rack can be compact in one state and awkward in the other. A purchase is only a small-space fit when the loaded setup and the folded setup both have a believable home.
03
Choose a Deployment Zone That Leaves the Apartment Usable
Walk the room in its laundry-day state before assigning a drying zone. The loaded rack should not become the obstacle between the bed and the door, across the apartment entry, in front of the closet, or through the route people use to move between rooms.
Room size alone does not settle the choice. A bathroom may offer an exhaust path but very little clear floor area. A living room may have more open space but lose its main seating or work zone when the rack opens. A bedroom can be quiet and convenient yet still be the wrong place if the rack blocks the bed exit or if the lease limits indoor drying there.
Mark the open footprint, then picture the garments extending beyond the frame. Long pieces, hangers, and wet fabric can add projection that an empty rack does not show. Judge the zone in the loaded state.
04
Make Moisture Part of the Fit Test
Indoor air-drying adds moisture to the home. The U.S. Environmental Protection Agency lists drying clothes indoors among sources of excess household moisture, so the room condition belongs in the same decision as floor space and rack capacity.
EPA’s current residential guidance says to keep indoor relative humidity below 60% where possible and ideally between 30% and 50%. That is general indoor-moisture guidance, not a drying-rack performance target. More useful for the drying routine is the feedback the apartment gives you: visible condensation on windows or walls, persistently damp surfaces, or a recurring high-moisture condition means the setup needs to change.
The response depends on the apartment. Increasing appropriate ventilation or air movement, reducing the wet load, changing rooms, or using air conditioning or dehumidification when needed are all moisture-control paths EPA recognizes. Opening a window is not a universal answer because outdoor humidity, weather, security, and building conditions vary.
05
Choose Floor-Rack or Tower Geometry by the Space It Spends
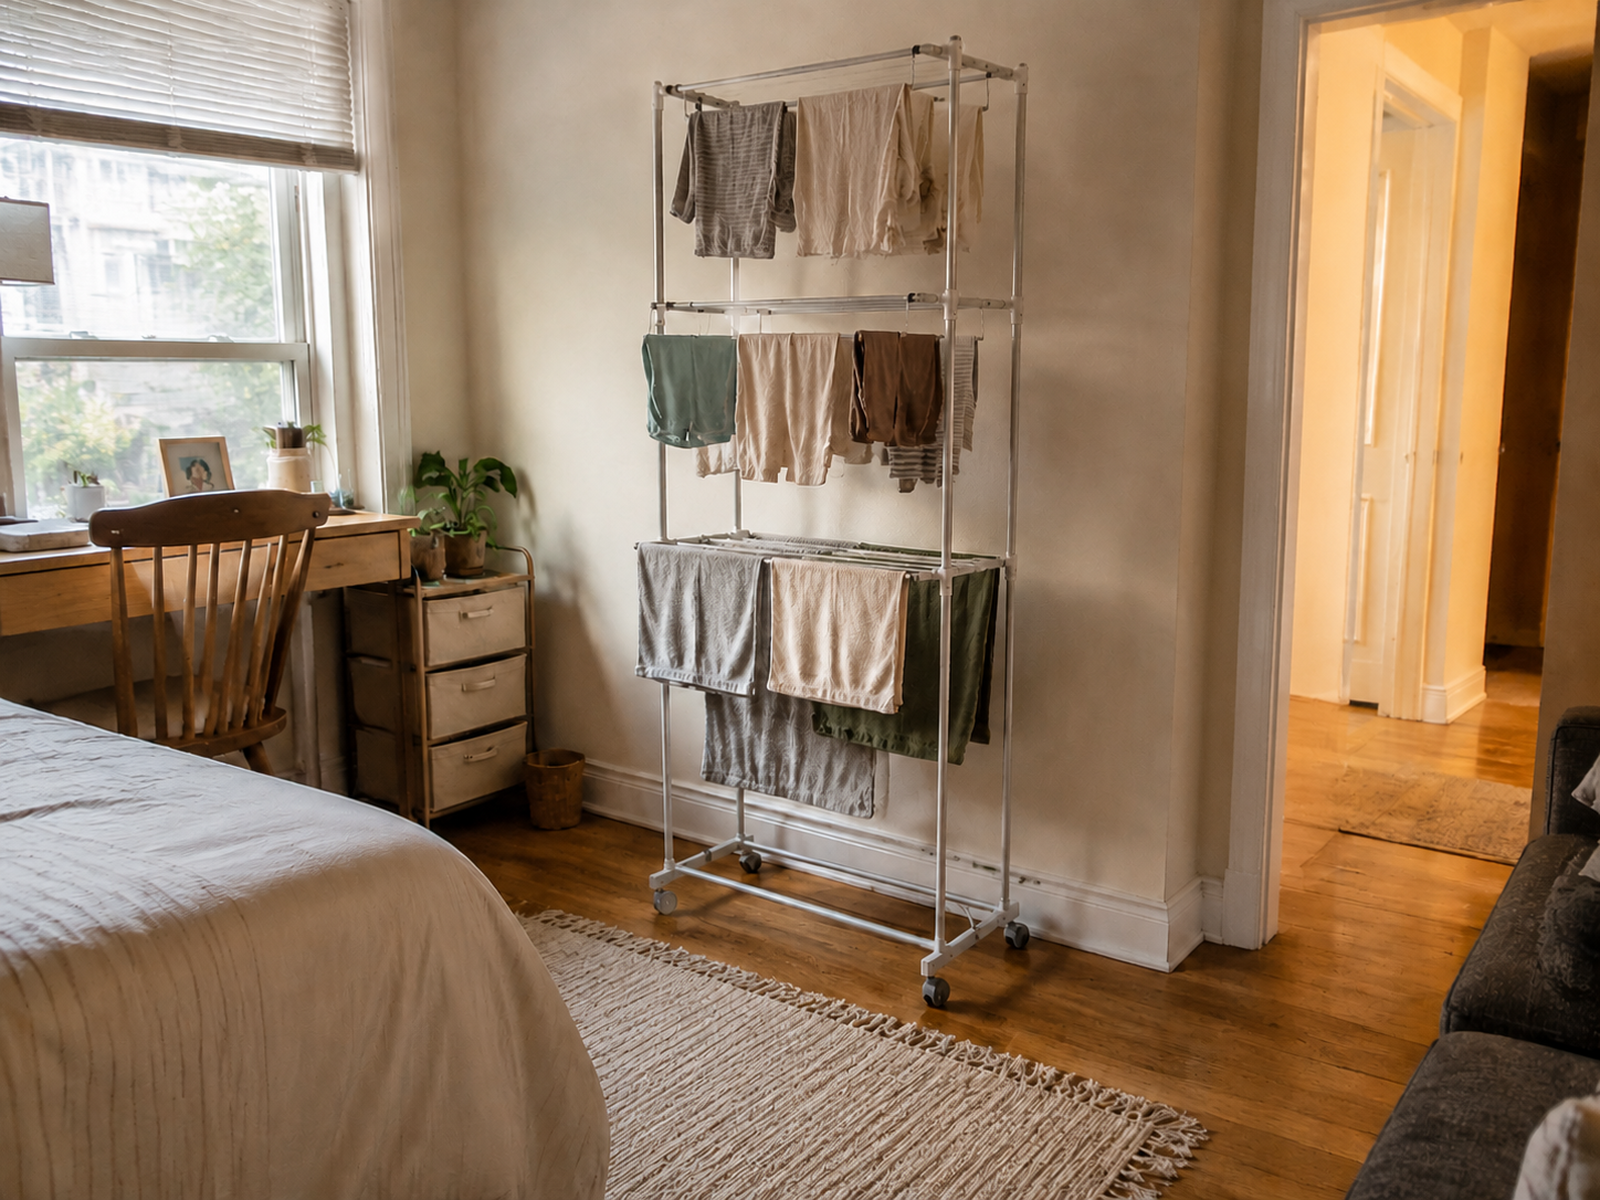
A floor rack and a tower rack can hold similar categories of laundry while spending the room very differently. The floor form spreads capacity horizontally; the tower concentrates more of the system vertically. Neither geometry is automatically the small-space winner.
A large winged rack can be easier for long garments and broad spacing but may temporarily convert a major part of the room into laundry space. A tower can reduce horizontal takeover, yet height, loaded projection, access to lower levels, and the rack’s own folded form still have to work in the apartment.
Brabantia’s current HangOn Tower is one verified example of the vertical family: its levels can be configured independently and the frame folds flat. That product demonstrates the form, not a universal promise that tower racks dry faster or suit every load.
Use / Skip
When a Tower Rack Is the Better Trade
Use — A tower can make sense when horizontal floor length is the scarce resource, the household can use the vertical levels comfortably, loaded projection stays outside circulation, and the folded frame has a real storage slot.
Skip — Choose another form when tall laundry becomes a visual or physical barrier, lower levels are awkward to load, long garments lose useful clearance, or the apartment has more temporary floor length than practical vertical access.
06
Use Over-Door Drying Only When the Loaded Door Still Works
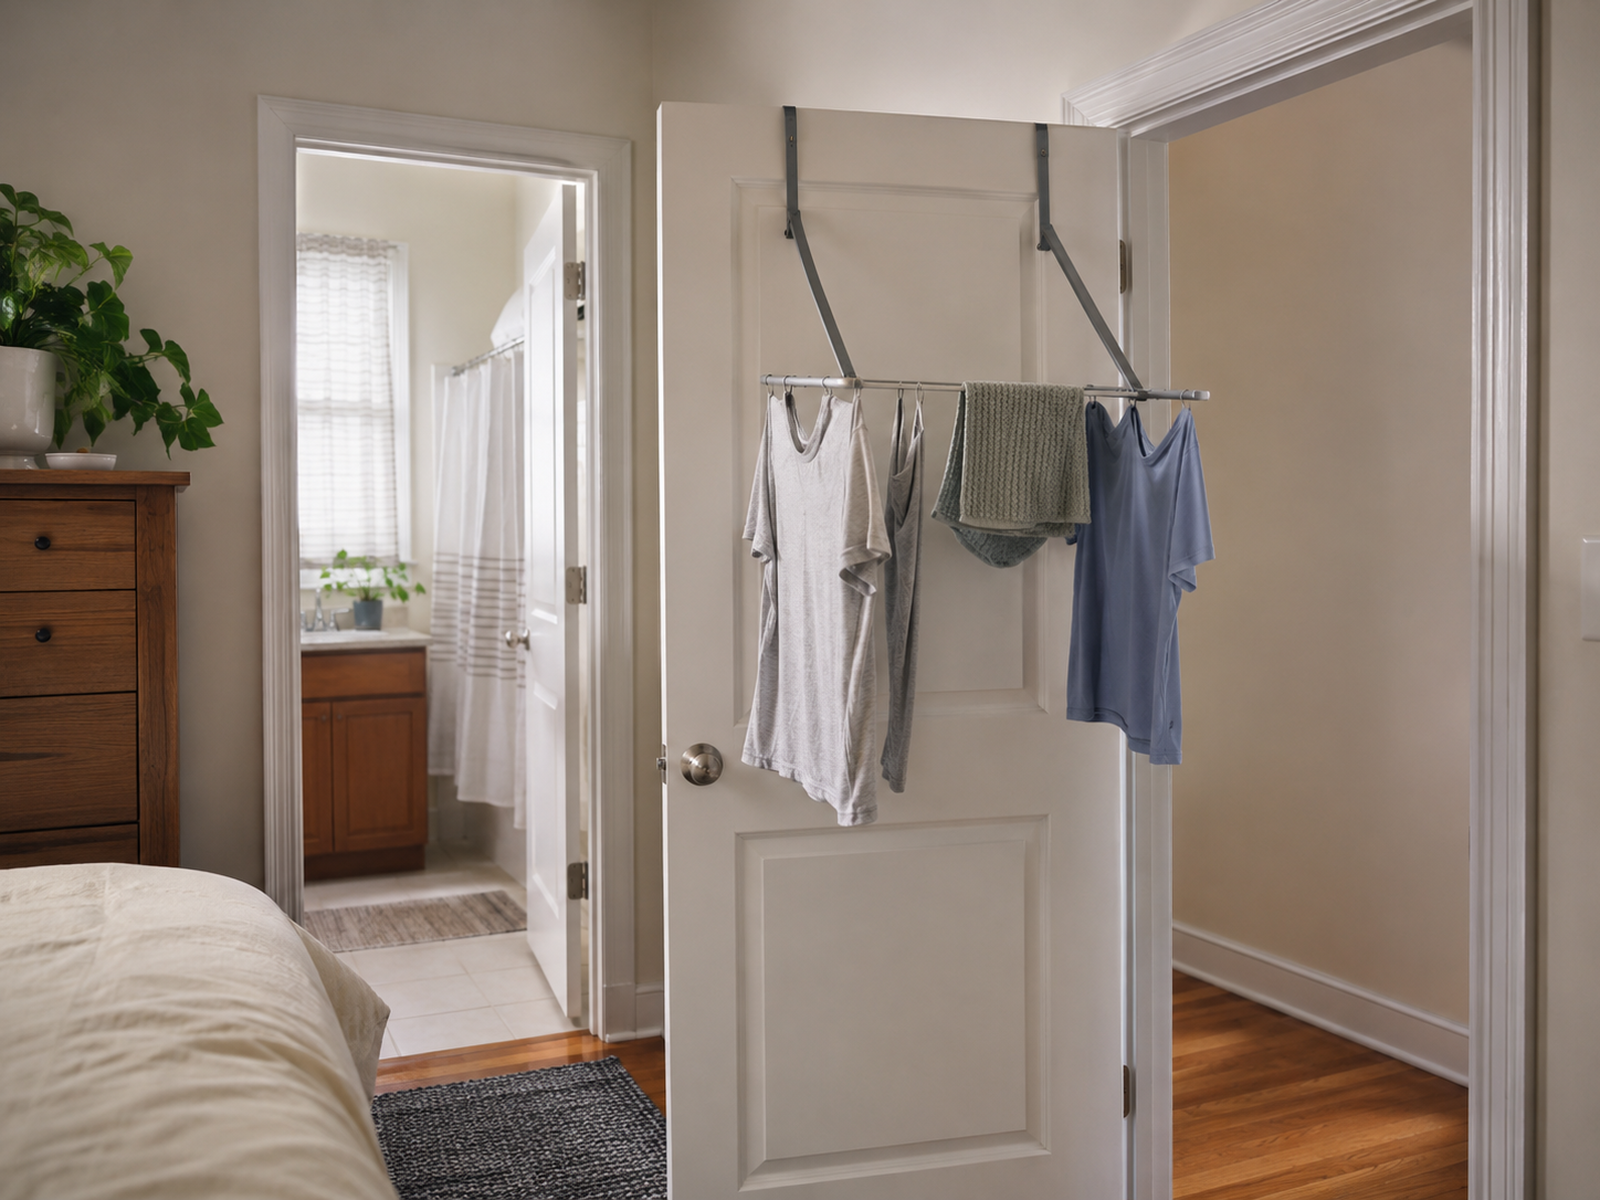
Over-door drying can protect scarce floor area, which makes it appealing in studios and bedrooms. The cost is door function. The product has to fit the door or wall thickness, clear the top edge, stay stable under the intended load, and leave enough swing once wet garments project into the room.
Brabantia’s current Hanging Drying Rack shows why exact fit matters: the manufacturer publishes a specific maximum door or wall thickness for that product and positions it for smaller drying jobs. Those dimensions and capacity belong to that rack, not to the entire over-door category.
Test the door after the laundry is on the rack. If fabric hits the wall, the door cannot open normally, or the loaded setup creates a collision with furniture or a walkway, the saved floor area has simply been exchanged for another operational problem.
07
Keep Installed Drying Systems as a Higher-Intervention Branch
Retractable wall systems can return floor area to the room when folded, but they change the renter decision. Wall construction, fasteners, load, product instructions, and lease permission become part of the system rather than afterthoughts.
This branch makes sense only when the apartment can support the installation and the household will use the drying infrastructure often enough to justify it. A freestanding or over-door rack may look less built-in, yet reversibility and portability can be more valuable in a rental.
The same caution applies to improvised supports. Do not assume a shower-curtain rod, towel bar, cabinet handle, or door handle can carry wet laundry unless that exact fixture is verified for the load and use. Purpose-built drying supports are the safer editorial default.
What Not to Do
Do Not Turn Heat or Household Fixtures Into Unverified Drying Hardware
Wet clothes should not be moved beside a portable space heater to speed the process. Current U.S. Consumer Product Safety Commission guidance says portable heaters should stay at least three feet from combustible materials, and current CPSC safety messaging specifically includes clothes among those materials.
The same evidence standard applies to improvised hanging points. A shower rod, towel bar, cabinet handle, or door handle may look convenient, but without an exact verified load and intended use it should not be presented as a reliable wet-laundry support. Use purpose-built drying equipment or a fixture that is explicitly rated for the job.
08
Give the Folded Rack a Permanent Off-Duty Home
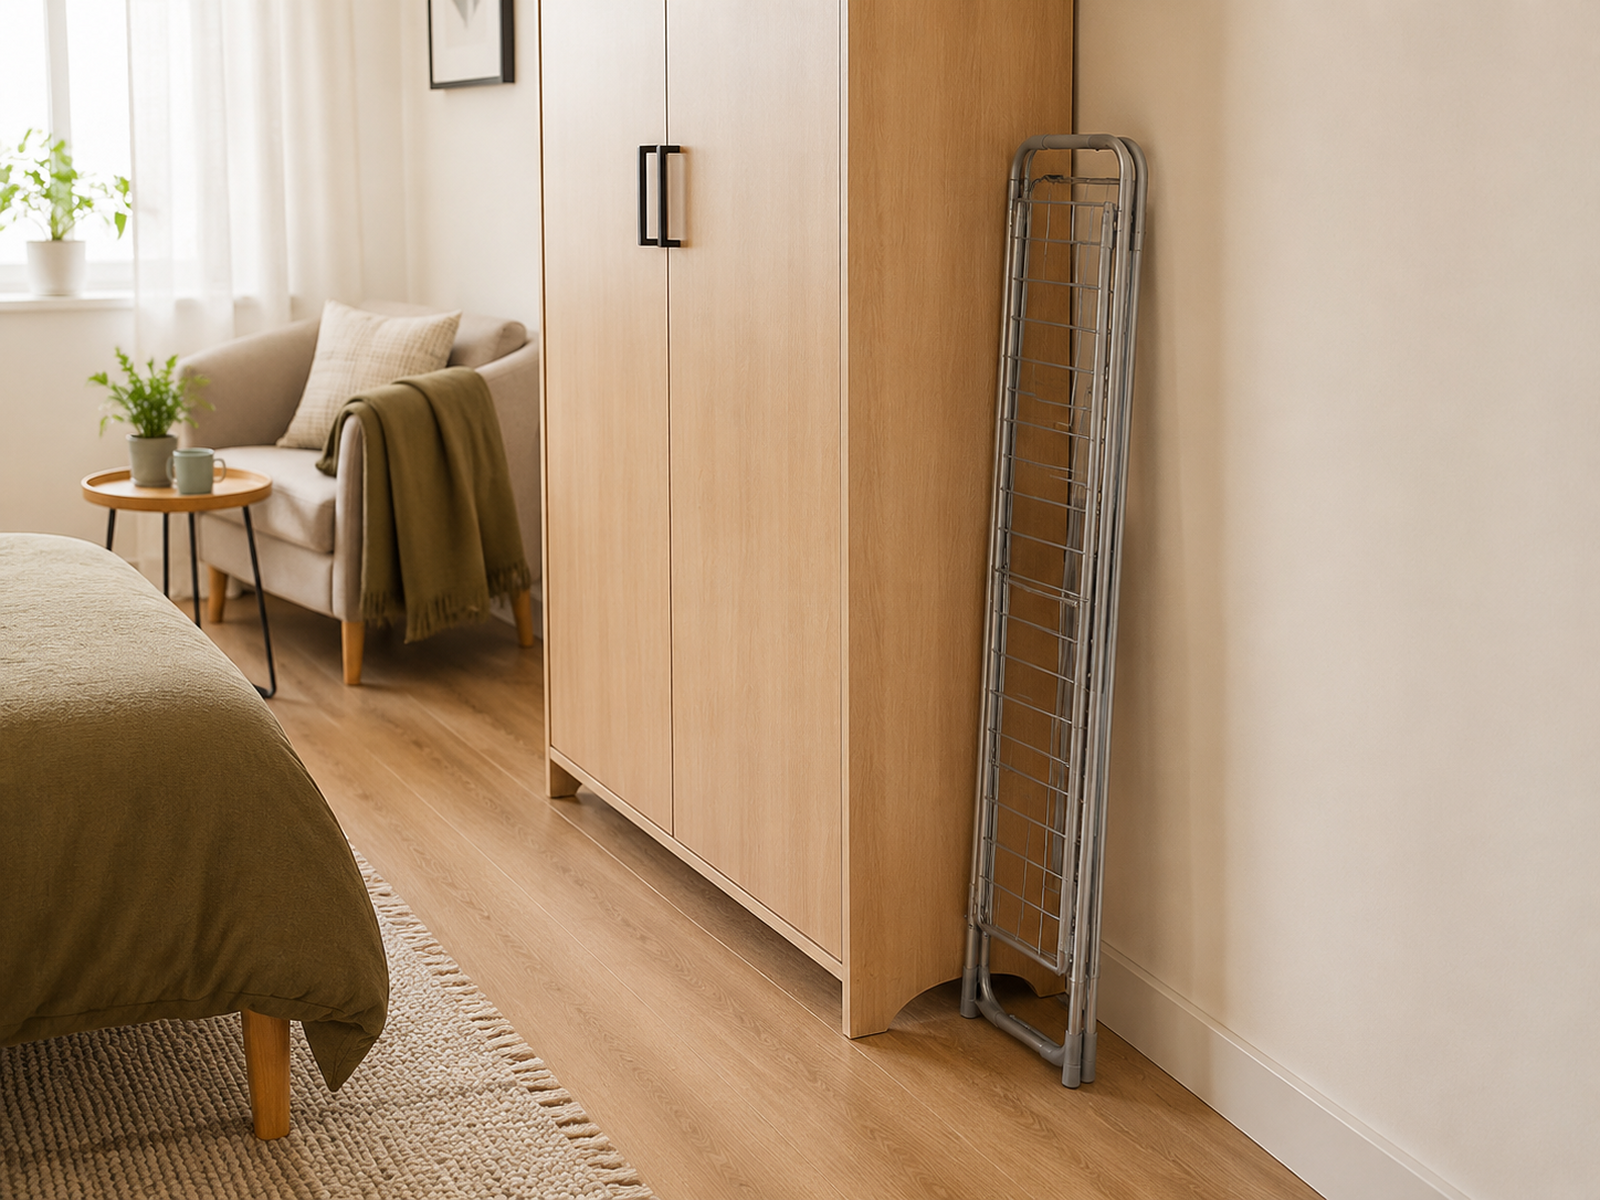
The final storage decision happens after the clothes are dry. A rack that folds flat still occupies width, height, and thickness somewhere in the apartment, and “behind the door” is only useful if the door can still operate.
Choose the off-duty slot before buying the rack. A narrow space beside a wardrobe, between freestanding furniture and a wall, or inside an existing storage area can work when the folded frame actually fits without creating a new access problem. The exact slot is apartment-specific.
Then run the complete reset: remove the dry garments, collapse the rack as designed, return it to that slot, restore the circulation path, and deal with any visible moisture. A repeatable drying zone should leave the room ready for normal life again.
Decision Sequence
Build the Drying Zone Around the Full Laundry Cycle
01
Sort by required drying method
Separate hanging, line-dry, and flat-dry needs according to the garment care instructions before sizing the setup.
02
Match the rack to normal volume and room function
Choose enough capacity for the routine while protecting doors, circulation, furniture use, and the room’s moisture condition.
03
Use the lowest-intervention form that genuinely fits
Freestanding and compatible over-door options preserve reversibility; installed systems belong to the higher-intervention branch when the rental and wall conditions support them.
04
Prove the reset before calling the system finished
Unload the dry clothes, fold the equipment, return it to its off-duty slot, restore the room, and adjust the moisture strategy if the apartment shows condensation or persistent dampness.
Closing Decision
Choose the Drying Setup That Lets the Room Recover
Small-apartment laundry drying works best as temporary infrastructure, not permanent room takeover. The useful setup is large enough for the real air-dry load, compatible with the garments, and calm enough spatially that everyday movement still works while the laundry is wet.
The second half of the decision is easy to miss: the rack must disappear somewhere afterward. When deployed space, moisture feedback, and folded storage all work together, the apartment can absorb the drying cycle without becoming a laundry room full-time.
RELATED GUIDES
What to Read Next
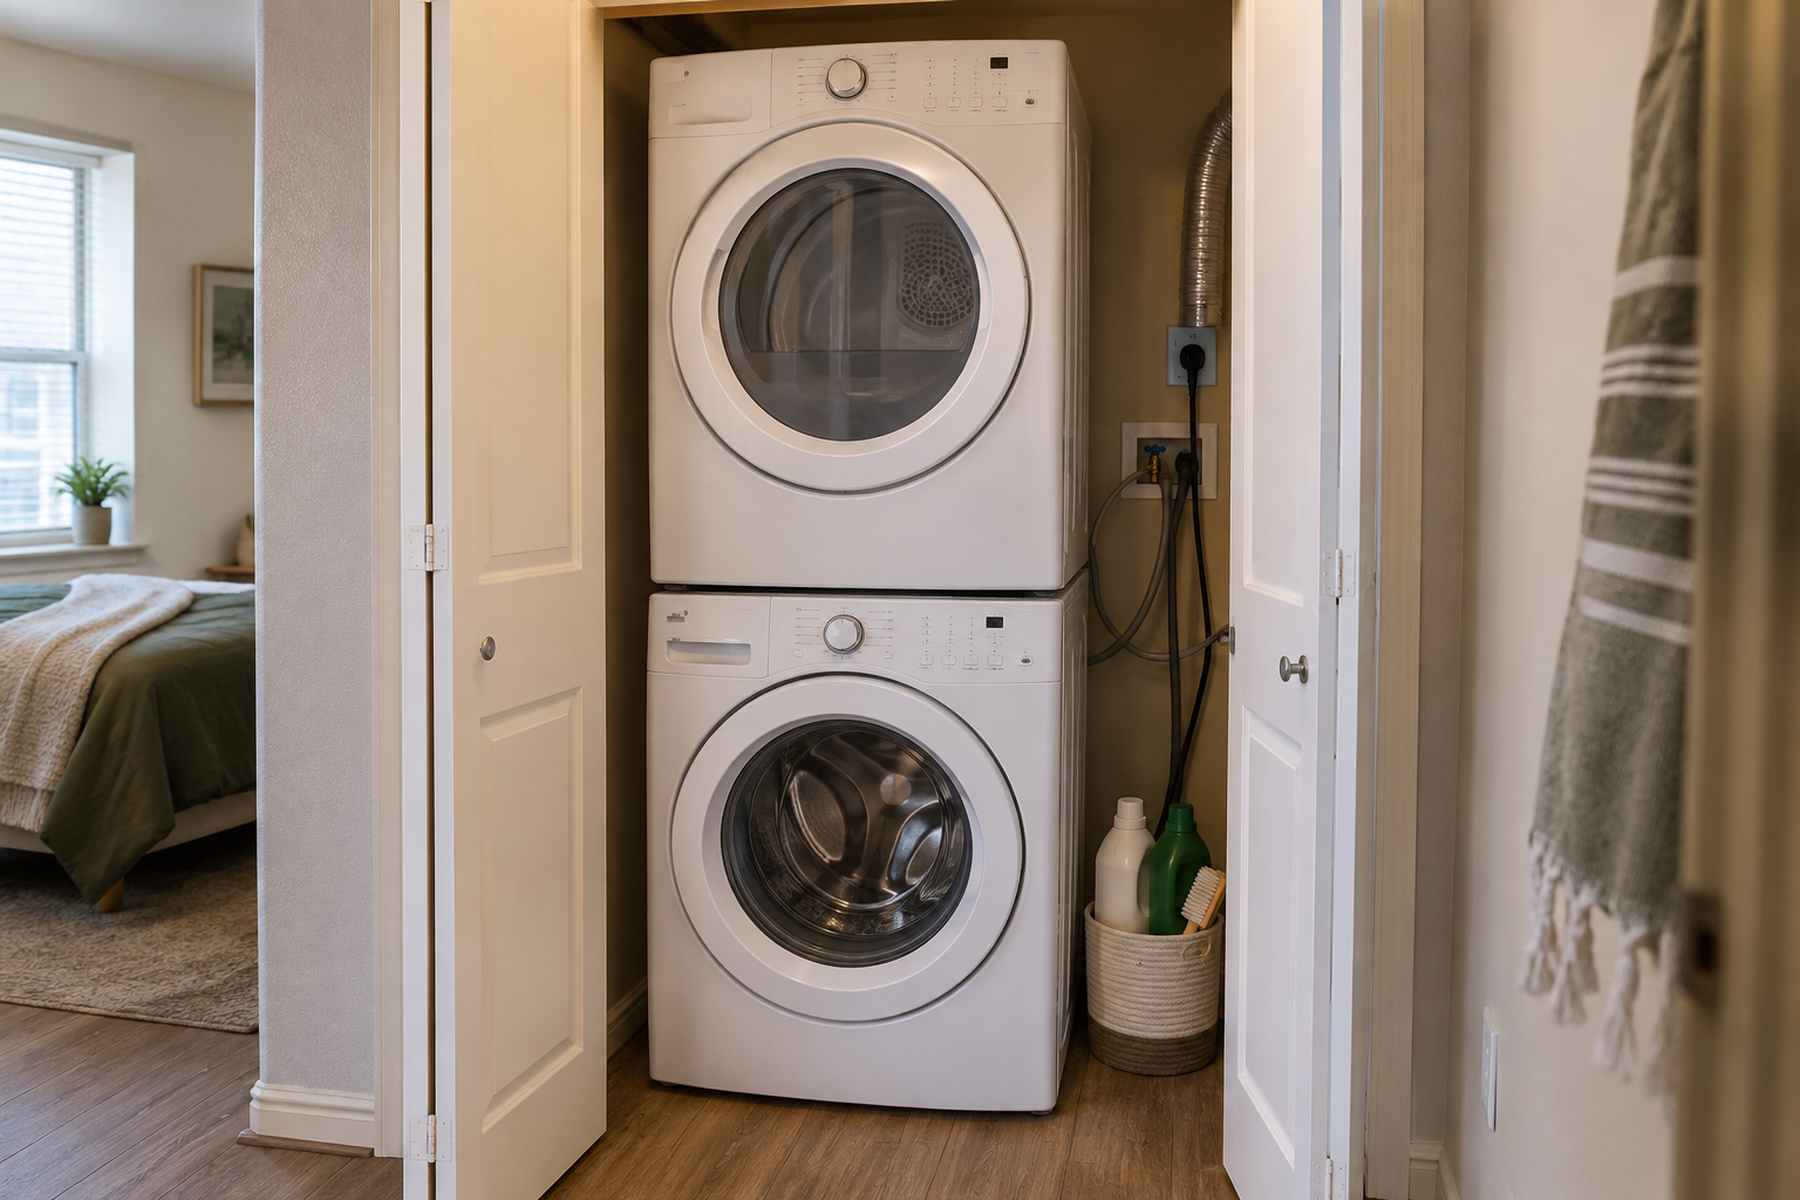
NEXT GUIDE
How to Store Laundry Supplies in a Small Closet With a Stacked Washer and Dryer
A direct next step for organizing the products that support an indoor laundry routine in a very small utility zone.
GUIDE
How to Store and Use an Ironing Board in a Small Apartment
Useful for the next stage of clothing care when a full-size board also needs both storage and setup space.
GUIDE
How to Hang and Dry Bath Towels in a Small Bathroom With No Towel Bar
Continues the drying-space problem with another damp textile that needs airflow in a compact home.