
Small Bathroom Storage
How to Hang and Dry Bath Towels in a Small Bathroom With No Towel Bar
A small bathroom does not need one perfect towel spot; it needs a daily path that works before and after the shower. Test reach, drying exposure, door and fixture clearance, and surface compatibility first, then choose the lowest-intervention hanging method that genuinely fits the room.
In This Guide
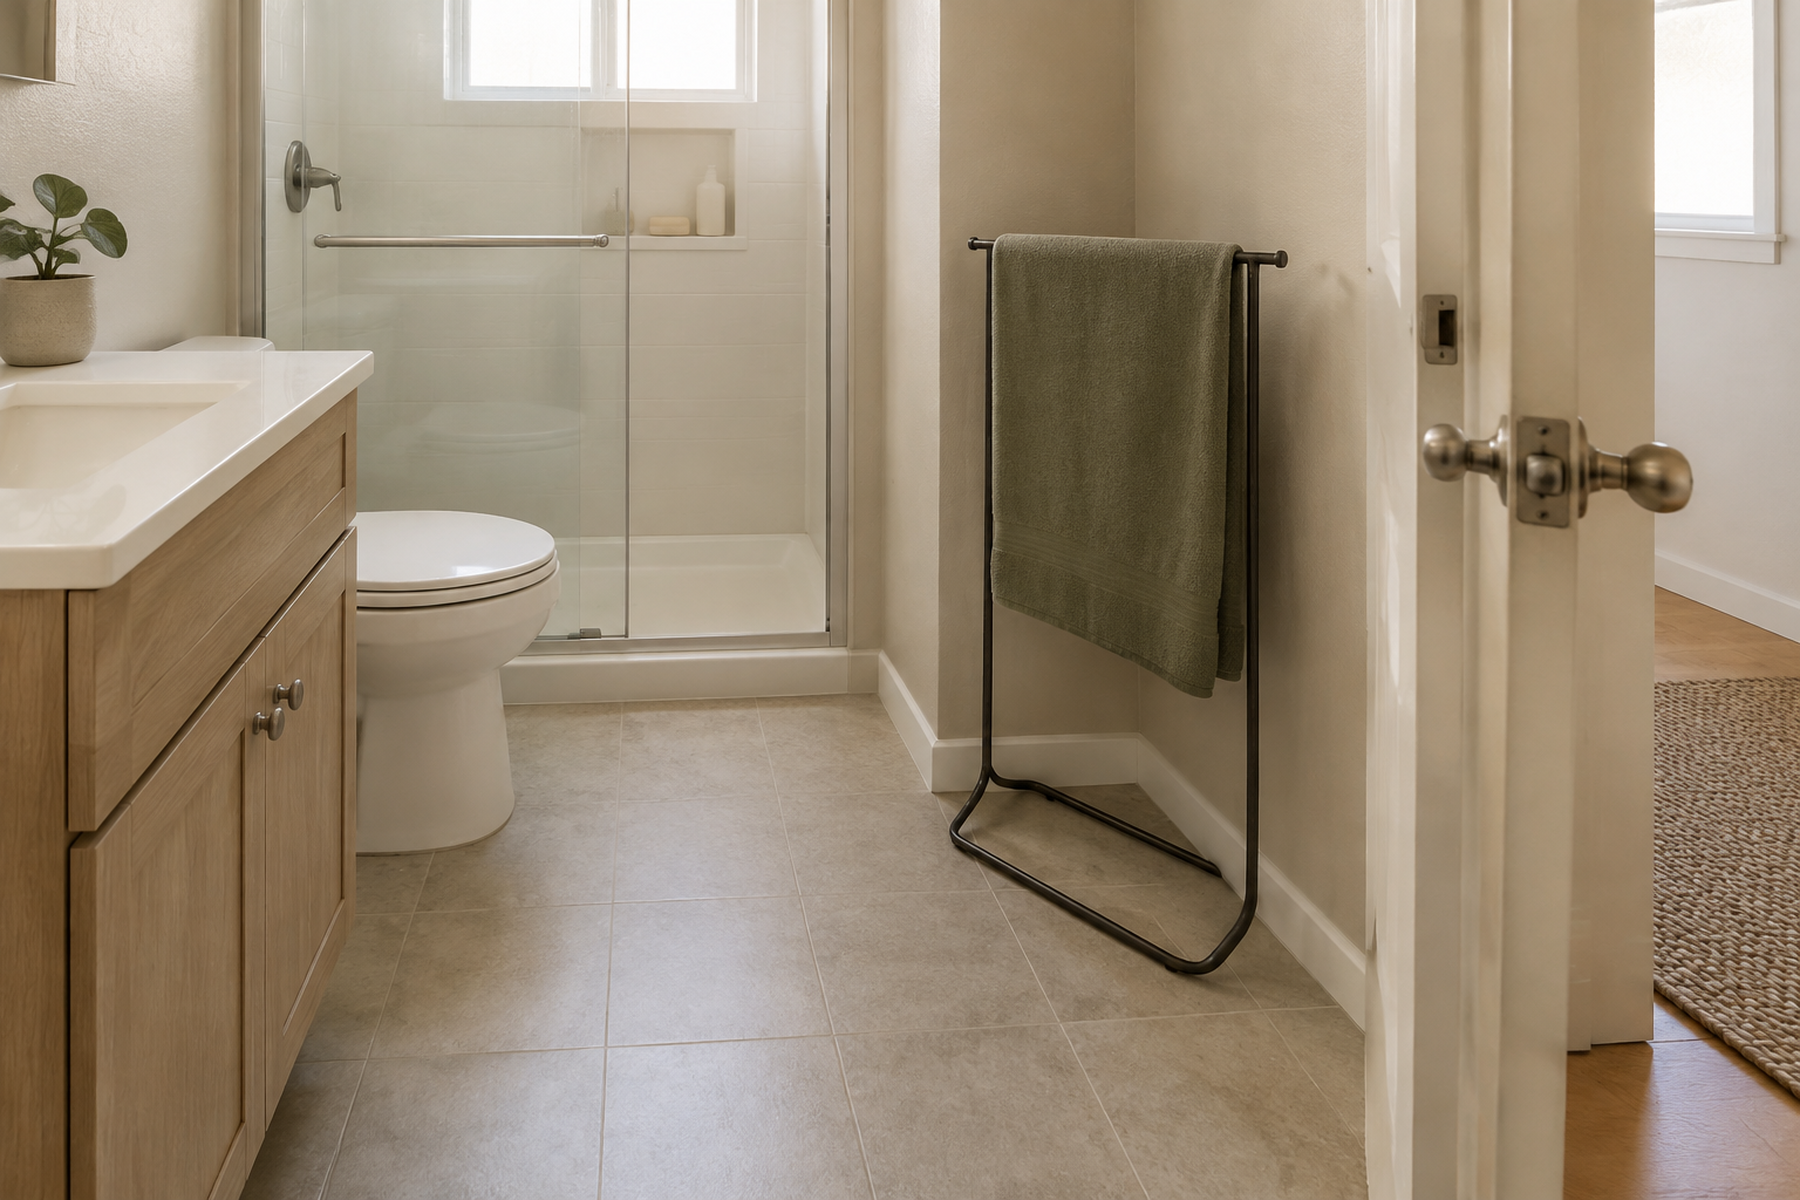
A bathroom without a towel bar has two separate problems hiding inside one missing fixture. The towel needs to be easy to reach around shower time, and the used towel needs a workable place to remain between uses.
In a small rental, one wall point may not do both jobs. The closest hook can interfere with a shower door or bunch the towel into a damp corner, while a better drying location may sit farther away. Start with the towel’s path through the room, then choose hardware that fits the real wall, door, floor space, and renter constraints.
Quick Answer
Choose the Location Before You Choose the Hardware
A strong towel setup solves the daily routine first and the mounting method second. The best option is the lowest-intervention location that still works for reach, drying, clearance, and normal bathroom use.
01
Trace the towel from shower to drying
Identify where the towel needs to be before and immediately after bathing, then where it can stay open to room air between uses.
02
Test the loaded location, not the empty hardware
A hook, bar, door hanger, or rack may fit by itself and still fail once a full towel is hanging from it. Check the towel’s actual bulk against doors, fixtures, and the walking path.
03
Let the mounting method come last
A bathroom-rated adhesive product, over-door hanger, freestanding rack, or drilled bar each has different fit and intervention costs. Choose only after the location itself has passed.
01
Map the Towel’s Full Daily Path
Start with the routine rather than the wall. Ask where the towel needs to be before a shower, where you naturally reach for it afterward, and where it can remain without blocking the room.
That exercise often exposes why the obvious location is weak. A blank wall beside the shower may interfere with the shower door. The back of the bathroom door may look unused until a hanging towel hits the wall. A narrow hook may be perfect for reach but leave the towel folded tightly against itself.
Keep spare clean towels out of this decision. They can be folded and stored elsewhere. This article is about the used daily towel, which needs an active hanging and drying position rather than another linen-storage system.
Measure / Check First
Before buying any towel hardware, test the location with the bathroom operating normally and with a full-size towel occupying the space.
Test Reach, Clearance, and the Mounting Surface
01
Check the reach path
Make sure the towel can be reached and returned without forcing an awkward route around the shower, vanity, toilet, or door. There is no universal reach distance in this research; use the room’s real routine.
02
Check loaded-towel clearance
Open the bathroom door and shower door fully, then account for the towel’s width and bulk. The hardware can fit while the hanging towel still collides with a wall, fixture, or circulation path.
03
Check the actual mounting surface
For adhesive hardware, identify whether the wall is smooth tile, painted surface, textured wall, wallpaper, grout, or another finish. For over-door hardware, check the real door thickness and top clearance.
There is no universal towel-bar length, door thickness, wall gap, or adhesive surface that guarantees success. The location passes only when the towel, hardware, surface, and moving parts of the bathroom all work together.
02
Decide Whether One Location Can Do Both Jobs
The simplest system uses one location for both reach and drying. That works when the towel is convenient at shower time, can hang with useful exposure to room air, and does not interfere with a door or fixture.
When those requirements conflict, separate the jobs. A small reach point close to the shower can hold the towel before bathing, while the used towel moves afterward to a more open drying point on a door, wall, rack, or nearby room.
A two-stage system adds one reset step, so it is only better if the household will actually use it. Do not create a clever second location that is technically superior but so inconvenient that the wet towel still ends up on the vanity or over the shower edge.
03
Use Wall Hardware Only After the Surface Passes
A wall-mounted bar or hook preserves floor space, which can make it attractive in a tiny bathroom. But “no drill” does not mean “works on every wall.”
3M’s current Command Bathroom Solutions guidance includes exact surface and application restrictions, including warnings against wallpaper, fabric, textured walls, brick, and rough surfaces, and guidance to avoid grout lines on tile. That is a useful reminder that adhesive compatibility belongs to the exact product and surface.
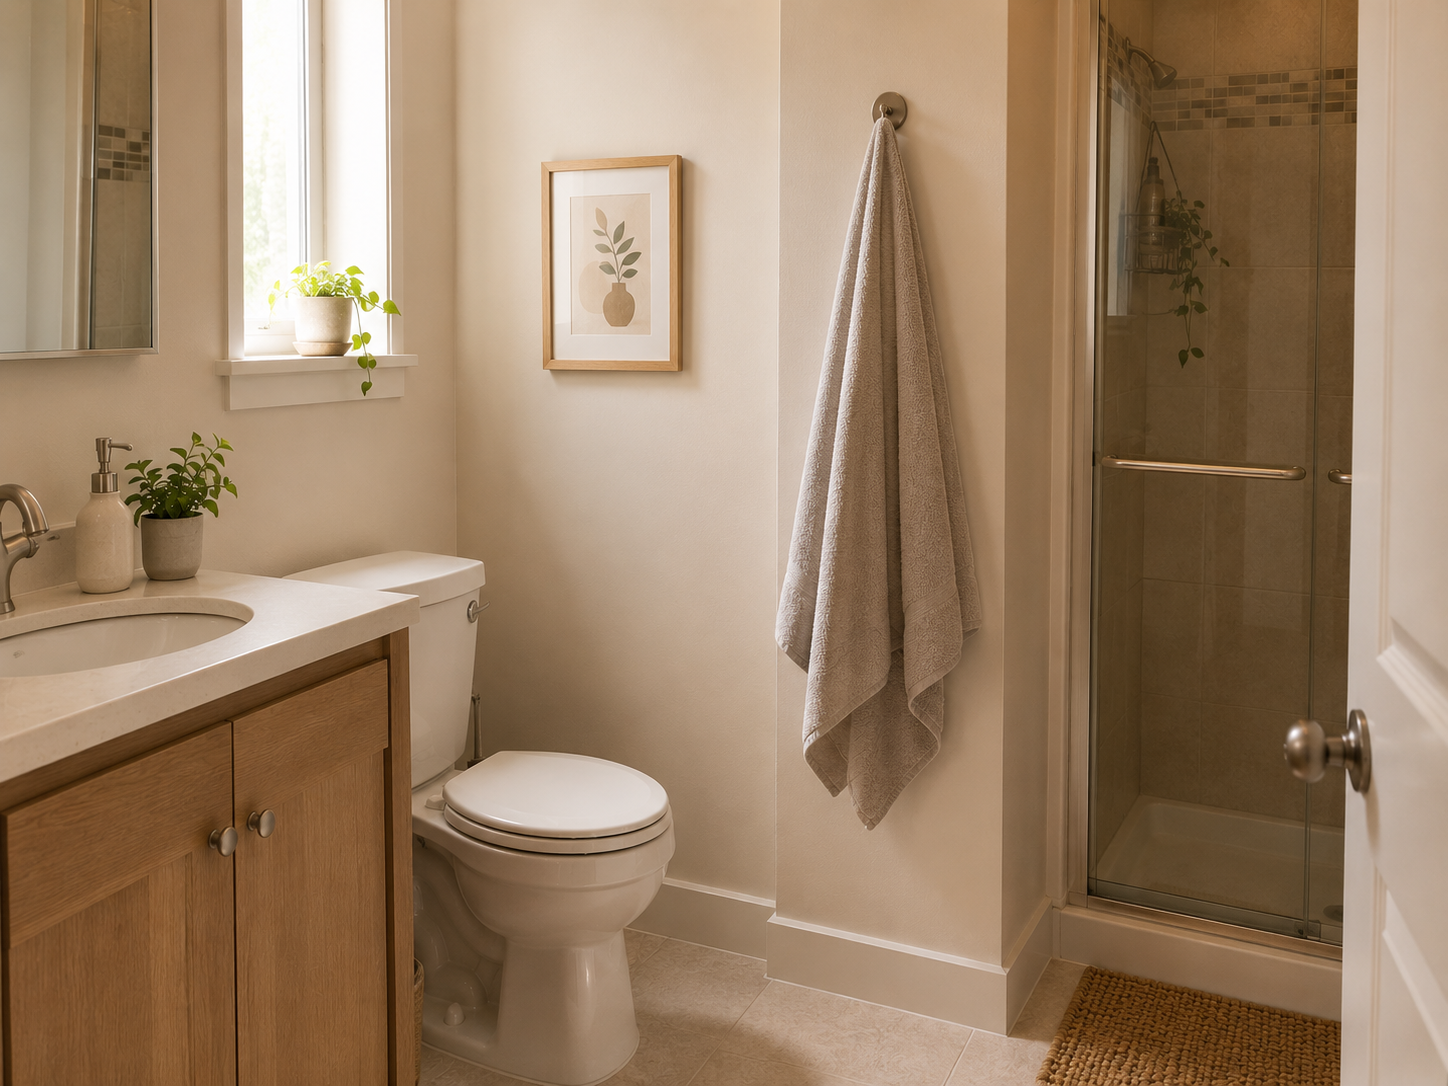
If a genuine wall zone exists, choose between a bar and a hook by what the room can support. A bar needs more uninterrupted width but can hold the towel more spread out. A hook needs less wall width but gathers the fabric at one point. Neither is universally better; the room, towel size, household count, airflow, and surface determine the trade.
Use / Skip
When a Separate Reach Point Is Worth the Extra Step
Use
Use — Use two points when shower reach and drying space conflict
A small near-shower hook can be useful as a temporary reach point when the better drying location sits farther away. Move the towel after use to the primary drying point so the near-shower location does not have to perform both jobs poorly.
Skip
Skip — Skip the two-point system when nobody will reset it
If the second location is inconvenient enough that the used towel repeatedly stays on the reach hook, the system has added complexity without improving the daily outcome. In that bathroom, prioritize one workable compromise location instead.
04
Use the Door or Floor Only When the Loaded Towel Still Fits
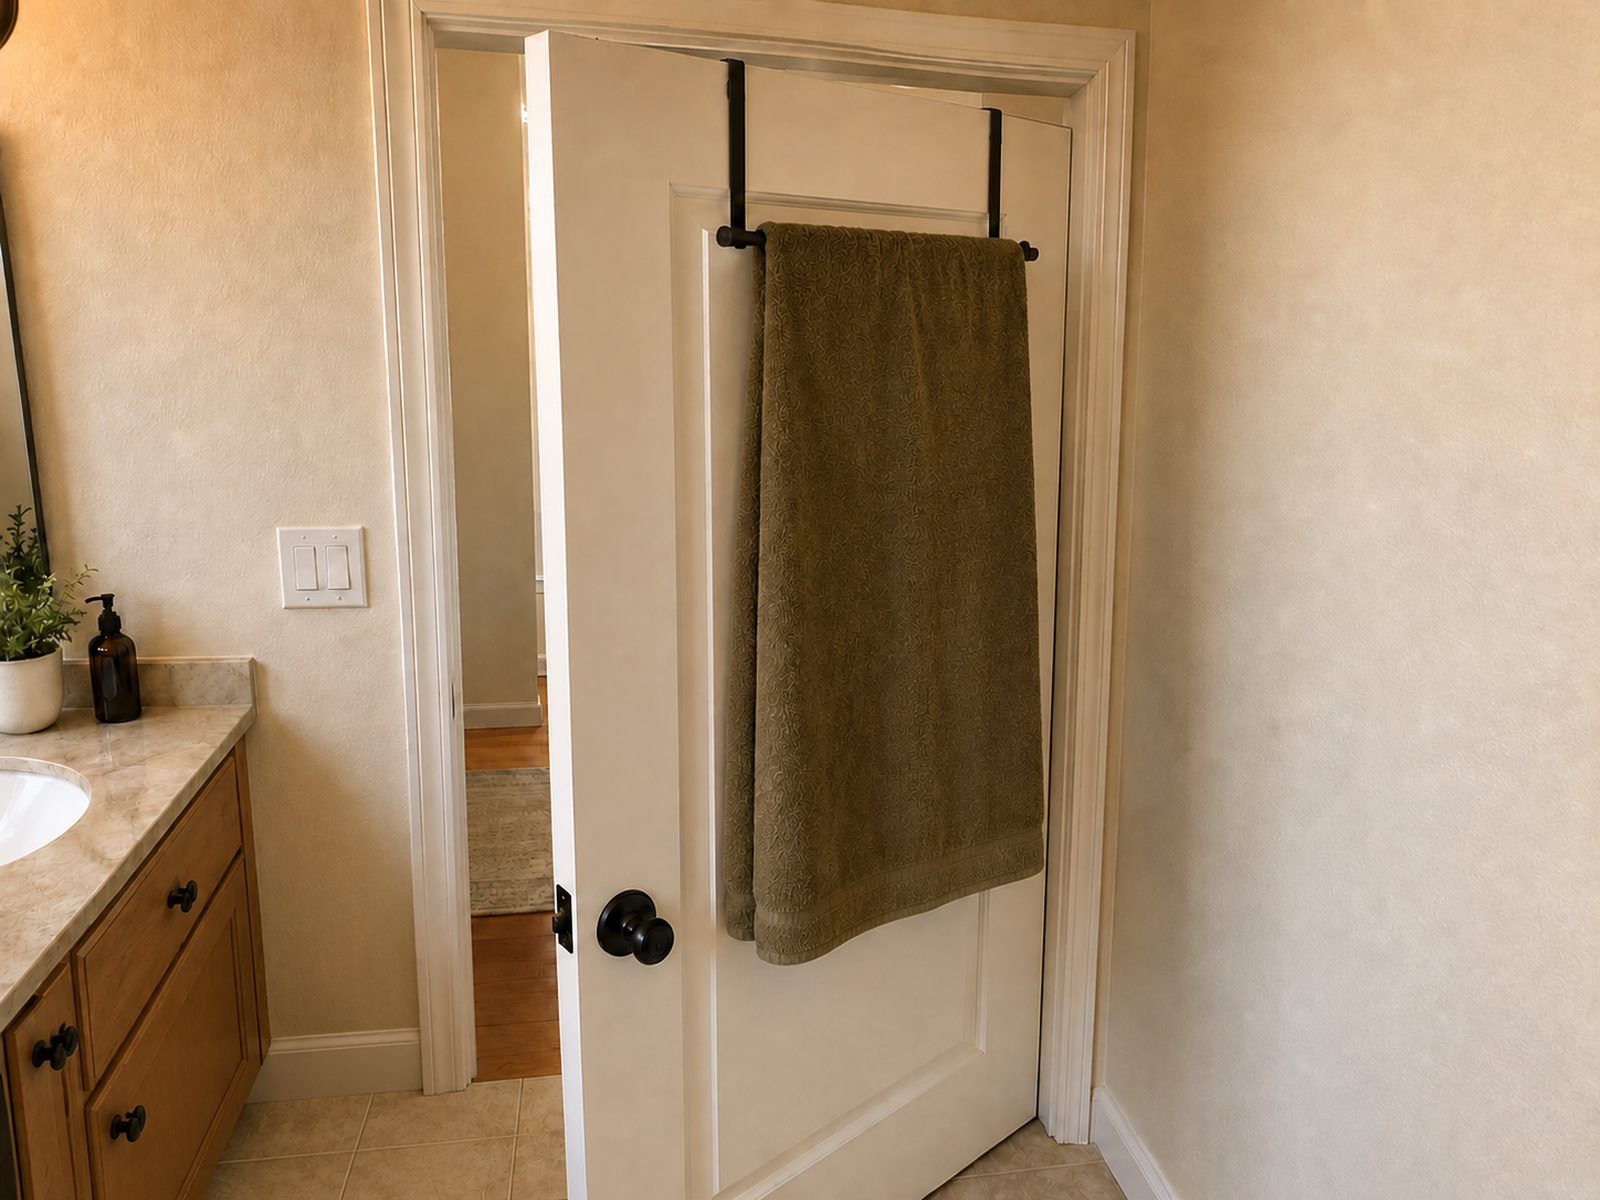
An over-door hanger can use vertical space without consuming floor area, but the door is moving storage. The top hardware must fit the exact door, the door still needs to close, and the loaded towel must clear the wall, vanity, toilet, and floor.
Current IKEA over-door hanger families publish exact door-fit requirements, which is useful evidence that this category is not universal. For example, the VALASJÖN hanger for door is sold with product-specific door compatibility rather than as a one-size-fits-every-door solution.
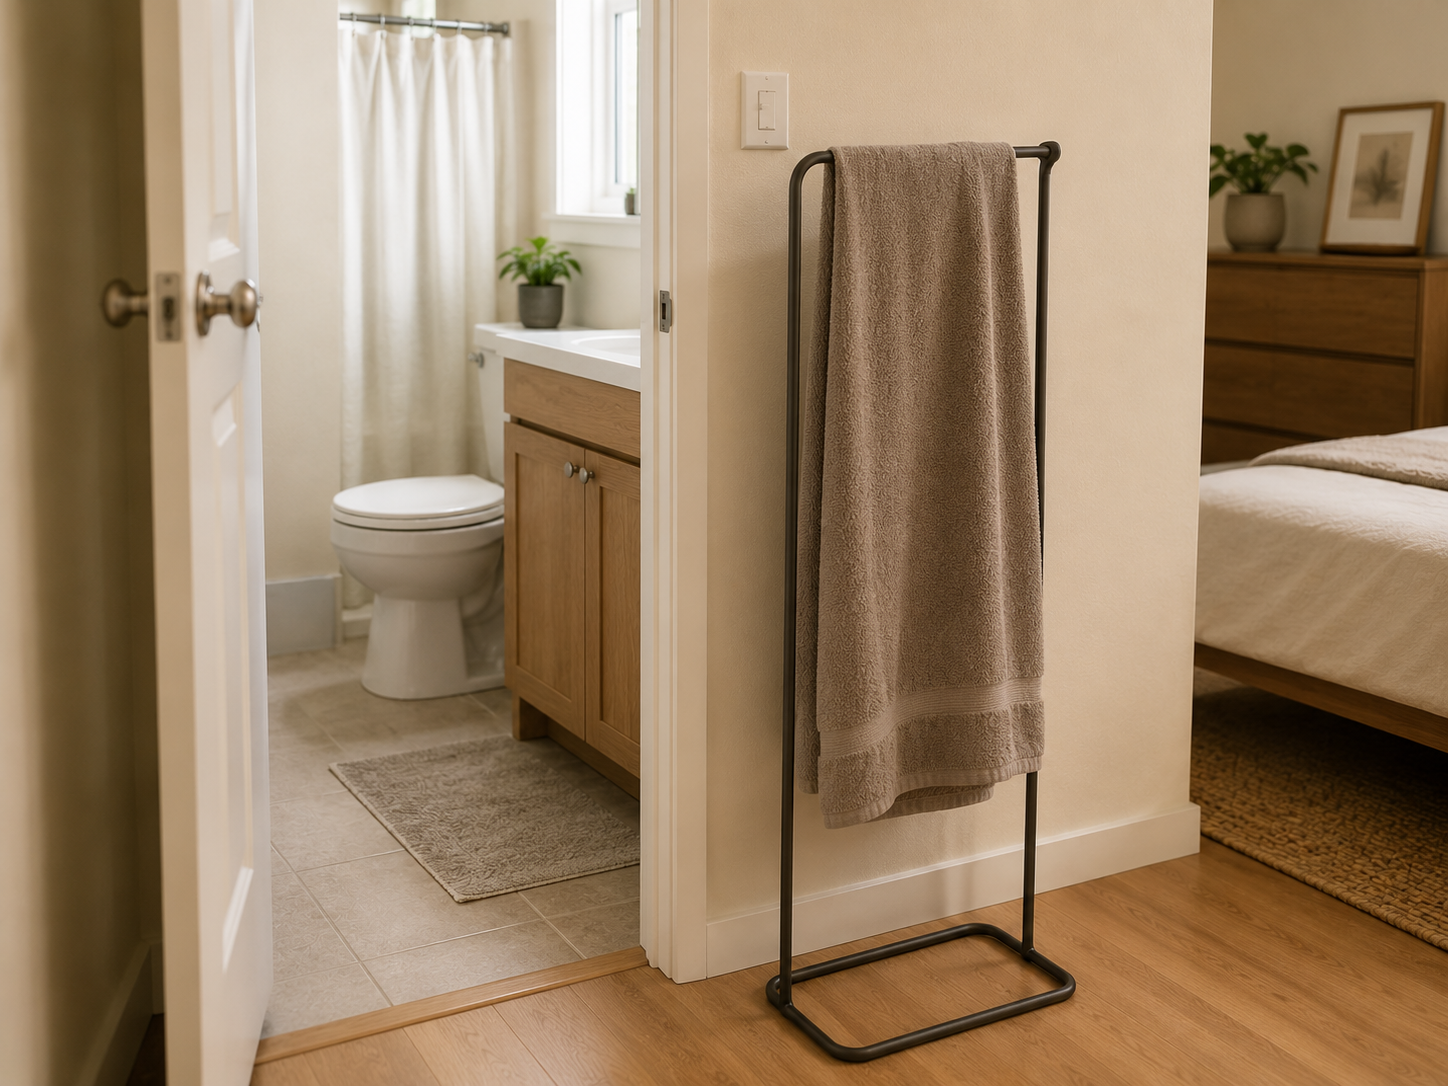
A freestanding towel rack makes the opposite trade. It avoids wall and door mounting but permanently spends floor area. Use one only when the rack sits in a residual zone, normal circulation stays clear, and the towel can hang without becoming another obstacle.
What Not to Do
Don’t Treat “No Drill” as the Whole Renter-Friendly Test
A removable product can still be the wrong choice if the surface is incompatible, the loaded towel blocks a door, the hanger does not fit the door, or removal could conflict with the product’s instructions or the lease. Renter-friendly towel storage is a fit between location, surface, hardware, clearance, and intervention—not a label on the package.
05
Treat Ventilation as Part of the Drying System
Towel hardware does not control the entire moisture environment. A towel can be hung neatly and still sit in a bathroom with poor air movement.
EPA guidance recommends running the bathroom exhaust fan or opening a window when showering and increasing ventilation or air movement when practical. Use that as the room-level context for the drying setup rather than assuming one hook, bar, or rack solves bathroom moisture.
The practical goal is modest: give the used towel as much open exposure to room air as the small space reasonably allows, while the bathroom’s normal ventilation does its part. This article does not set a universal fan runtime or claim that one hanging shape guarantees a specific drying time.
06
Move the Drying Point Outside the Bathroom When the Room Has No Good Zone
Some bathrooms simply do not have a viable in-room drying location. The wall may be incompatible, the door may collide with every hanger, and a freestanding rack may consume the only clear floor path.
In that case, use the room closest to the bathroom that can support the towel without creating a new household problem: a nearby bedroom door, laundry-area rack, or hall-side dedicated hanger can be more functional than forcing wet-towel storage into a tiny room.
That trade gives up some shower convenience in exchange for a better final drying position. If you still need immediate reach, keep a simple temporary reach point near the shower and move the towel after use.
Closing Decision
Build the Towel Setup Around the Daily Path
A bathroom with no towel bar does not need the most creative hook; it needs a repeatable path that works while the room is in use. Start with reach, then test the used towel’s drying position, loaded-door and fixture clearance, and the real wall or door surface. Choose the lowest-intervention bar, hook, over-door hanger, rack, or existing point that passes those tests. If one location cannot serve both shower reach and drying, separate the jobs. And if the bathroom has no good drying zone at all, move that final function outside the room rather than forcing the towel into a spot that never really works.
RELATED GUIDES
What to Read Next
NEXT GUIDE
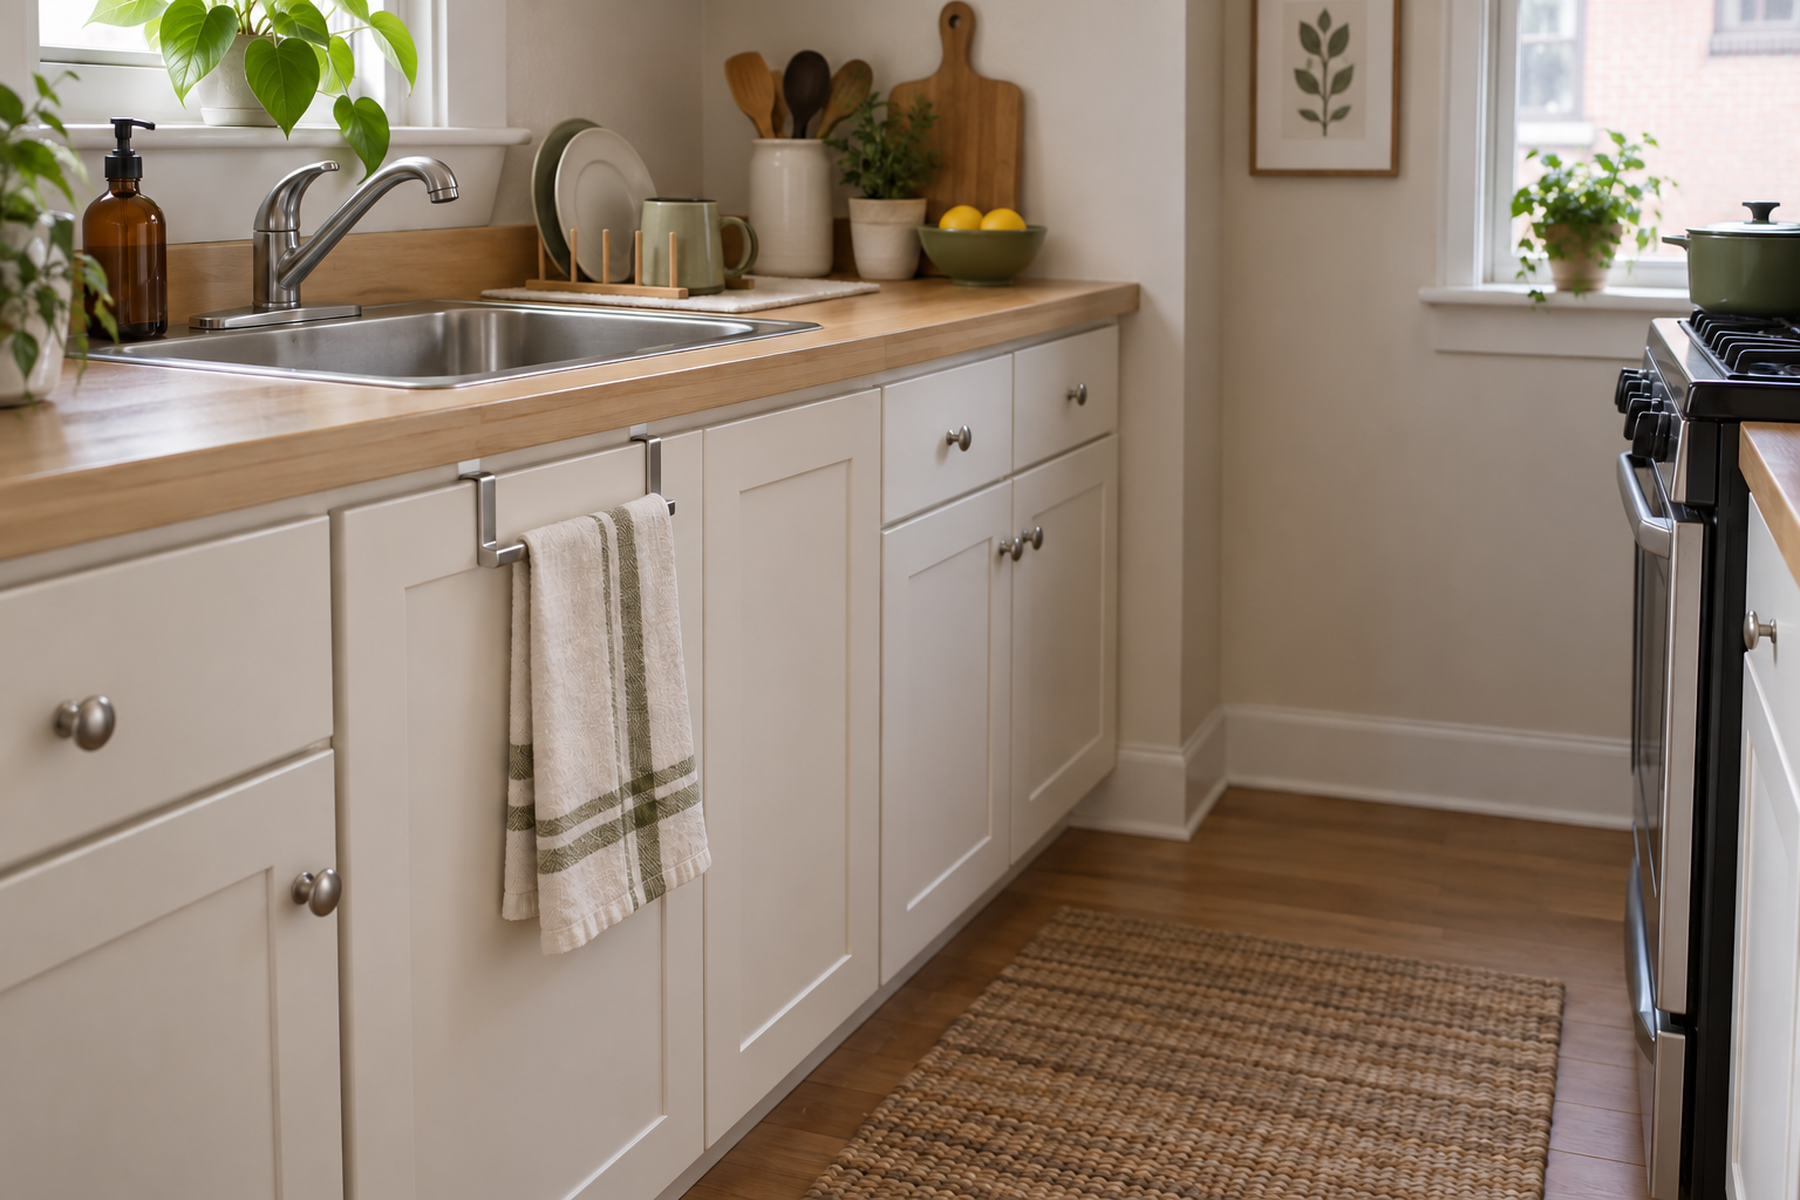
How to Hang and Dry Dish Towels in a Small Kitchen With No Towel Bar
A close next step for solving the same active drying problem in another small, renter-sensitive room.
GUIDE
How to Add Shower Storage in a Small Bathroom With No Niche
Useful when the shower also lacks built-in places for wet-use items and storage has to stay removable.
GUIDE
How to Organize a Small Bathroom With No Medicine Cabinet
Continues the bathroom-storage problem when everyday items also lack shallow, easy-reach cabinet space.