
Small Apartment Storage Ideas
How to Store Laundry Supplies in a Small Closet With a Stacked Washer and Dryer
Protect the appliance’s operating and service envelope first, then keep only an active wash kit in prime reach, use mobile storage only in verified residual space, and move backstock out of the closet when it competes with machine access.
In This Guide
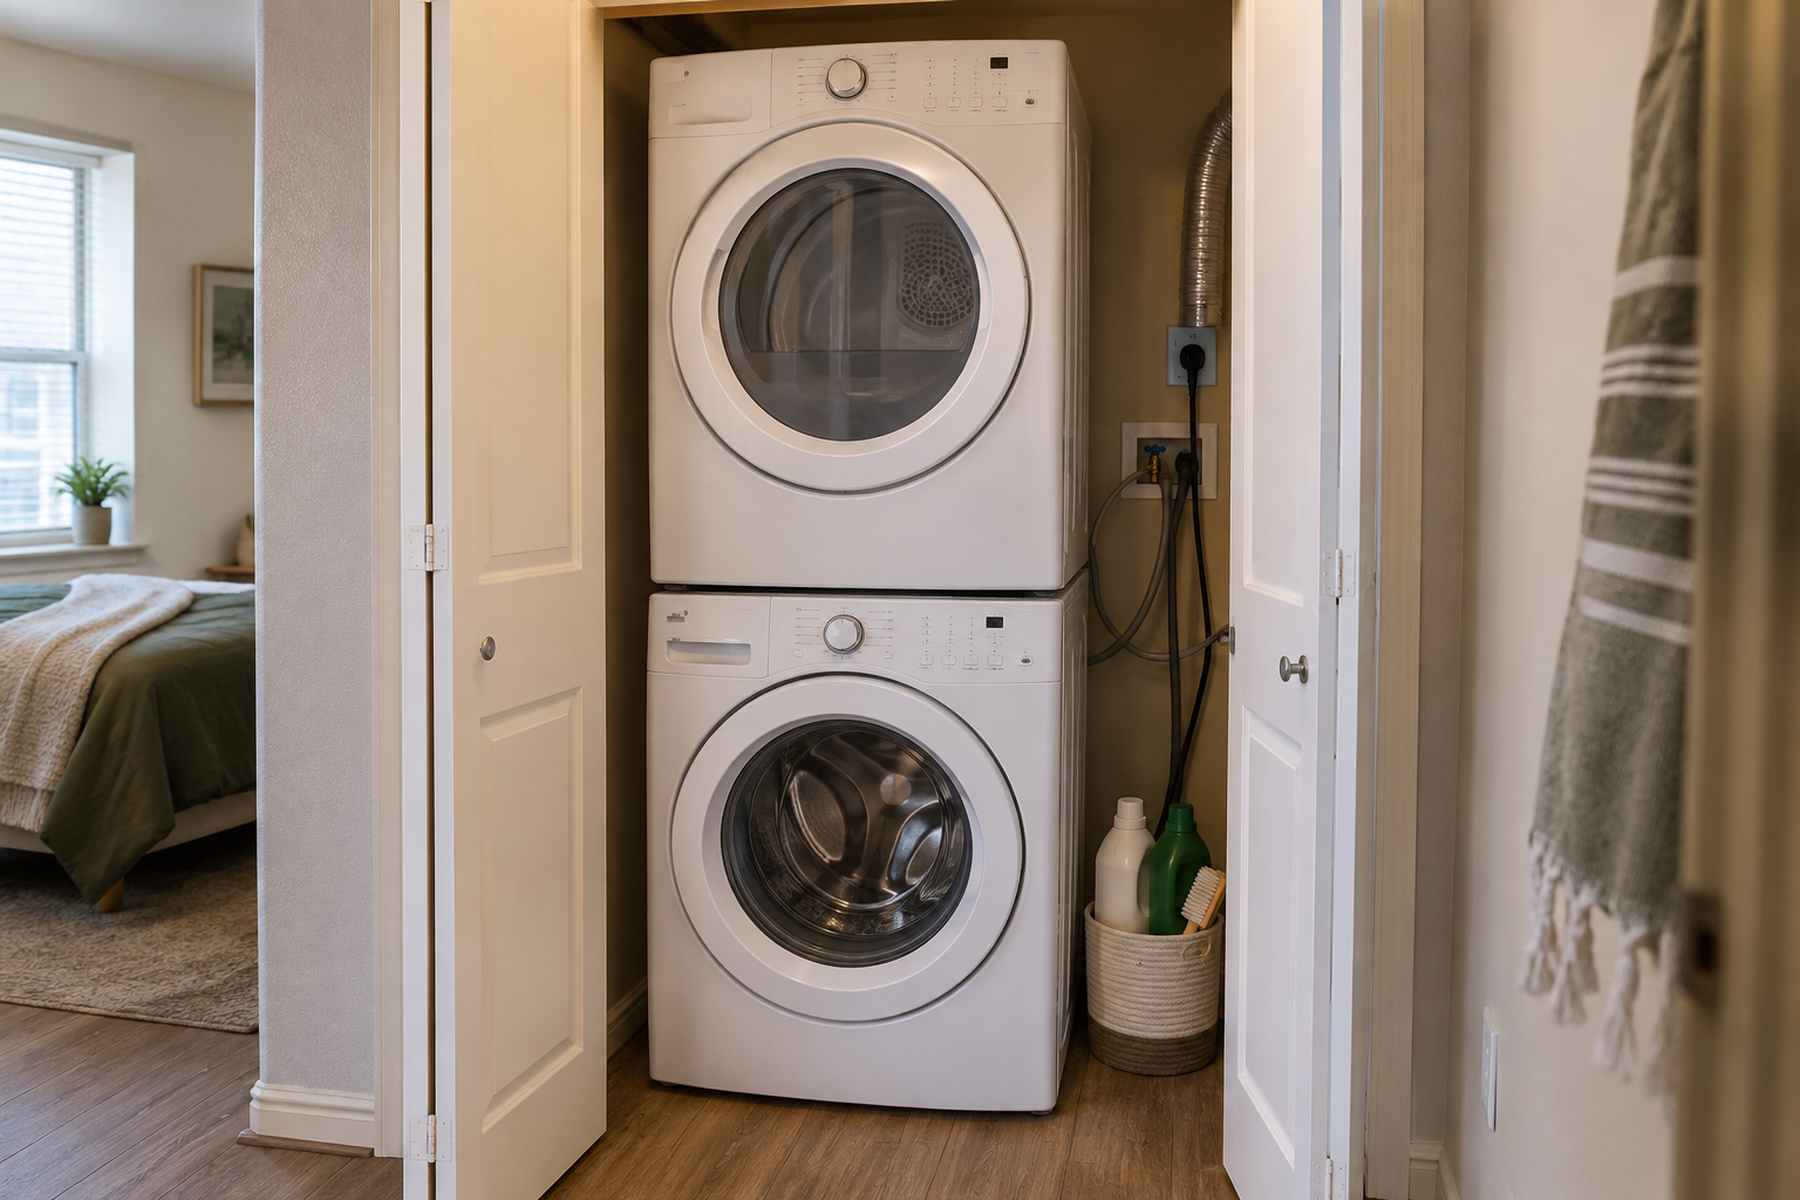
A stacked washer and dryer can leave narrow gaps, open wall area, or a sliver of floor that looks unused. Some of that space may be required for appliance clearance, hoses, valves, electrical connections, dryer ducting, door movement, ventilation, or future service. The useful storage area is whatever remains after those requirements are protected.
Once that boundary is clear, the closet becomes easier to organize. Keep the products needed for routine loads close to the machine, let the hamper travel with the laundry instead of occupying permanent floor area when necessary, and move reserve detergent or refills elsewhere rather than turning the appliance closet into a general backstock zone.
Quick Answer
Organize the Laundry Closet Around the Machine, Not Around the Empty Gaps
01
Check the exact appliance requirements first
Use the washer and dryer installation instructions to identify operating, connection, ventilation, and service space before assigning any side, rear, or overhead gap to storage.
02
Keep the active wash kit small
Give prime reach to the few products and accessories used for routine loads. Reserve bottles and bulk packages do not automatically earn space beside the machine.
03
Use mobile storage only where the gap is truly residual
A narrow cart or lift-out bin is useful only when its full footprint, pull-out path, and loaded position stay outside the appliance and utility access zones.
04
Let the hamper leave the closet when floor space is scarce
A portable or foldable hamper can live where dirty clothes originate and enter the laundry closet only during the wash cycle.
01
Protect the Appliance Envelope First
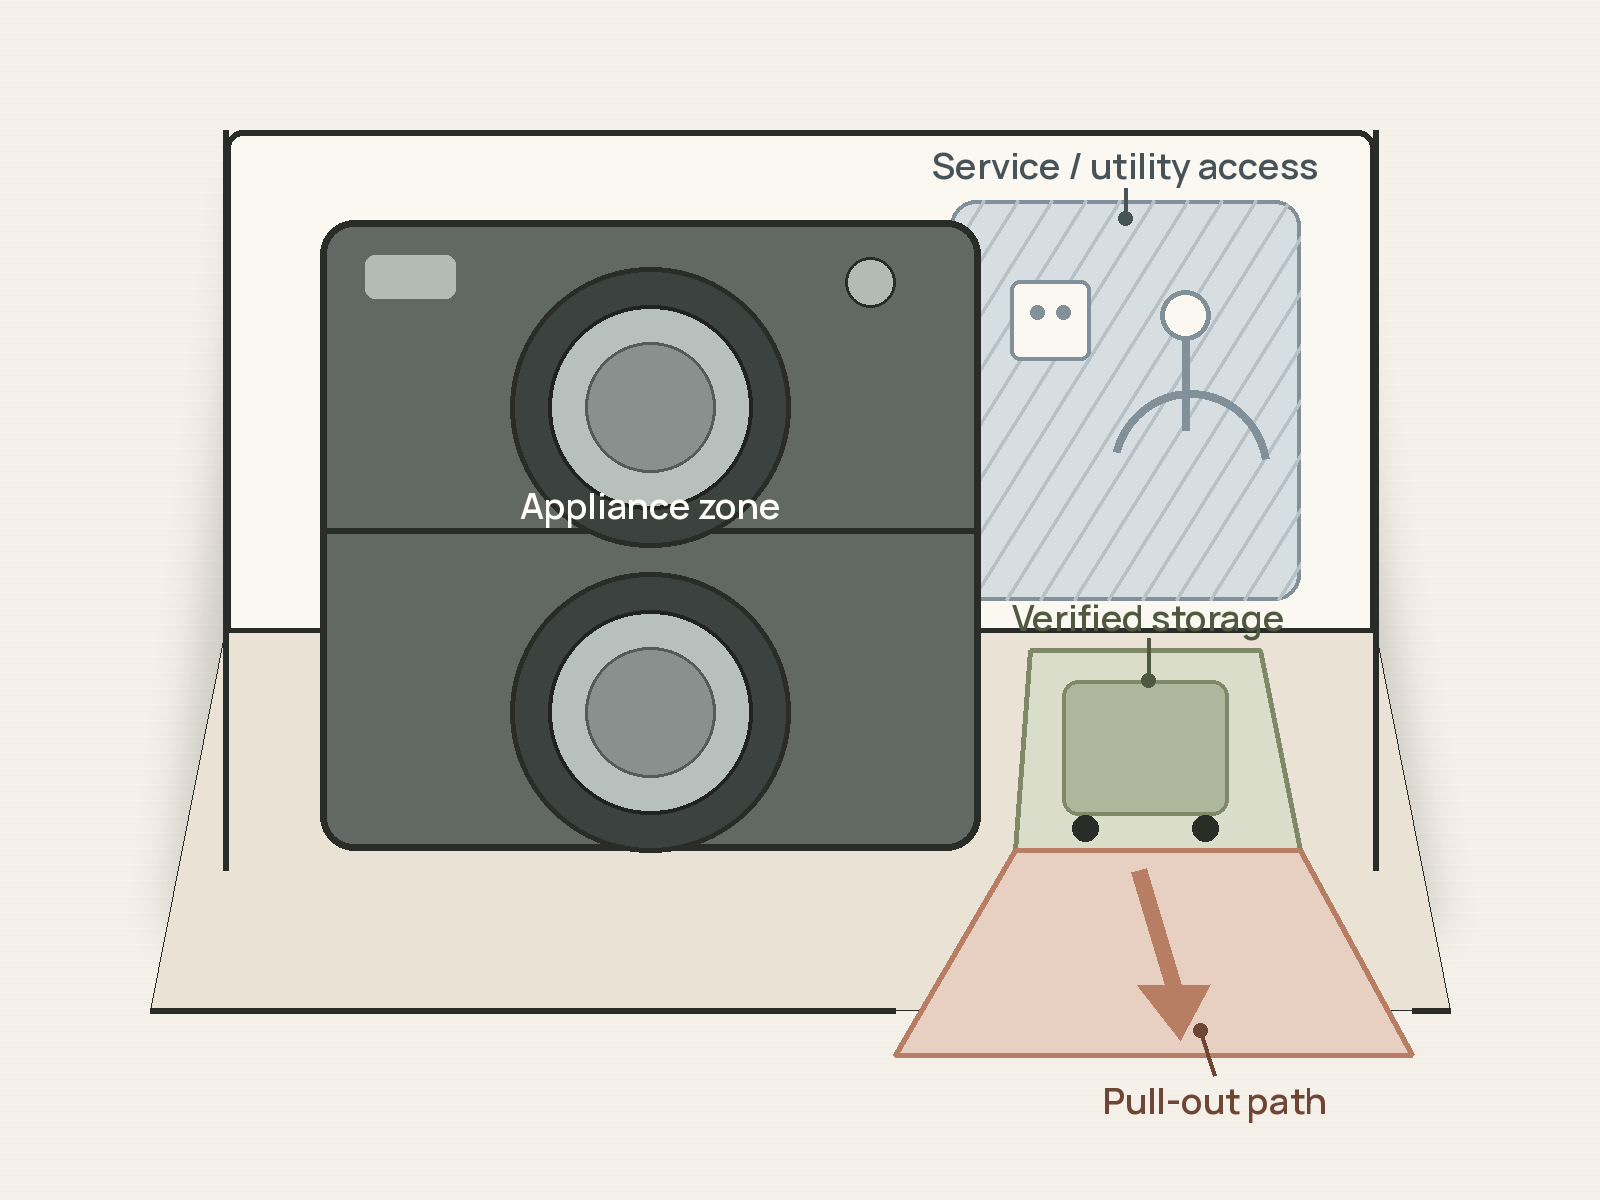
Measure the laundry closet with the appliances installed and ready to operate, not as an empty rectangle. Note the closet opening, door movement, the machine doors or lids, the location of hoses and valves, electrical connections, dryer exhaust where applicable, and the path needed to reach those points.
Then read the installation instructions for the exact washer and dryer. Manufacturer clearance requirements are model-specific. LG’s current installation checklists, for example, explicitly tell owners to verify the selected model rather than treating a general diagram as universal; one illustrated LG top-loader scenario requires substantial open space above the machine for lid movement. That example proves the principle, not a dimension that should be copied to another appliance.
The same rule applies to a stacked pair. Stacking compatibility and hardware are model-specific installation matters. Do not move, re-stack, or unstack appliances merely to create storage unless the appliance documentation and qualified installation path support it.
Mark the protected zones mentally or with temporary painter’s tape on nearby non-appliance surfaces. Anything needed for normal operation, connection access, ventilation, or service stays storage-free.
02
Keep Only an Active Laundry Kit in Prime Reach
The most reachable storage should serve the wash routine, not the size of the package you bought. Identify the detergent and other products actually used for ordinary loads, plus a small number of accessories such as a stain-treatment item or delicates bag when those are part of the household’s routine.
Move duplicate detergent, refill packages, and low-frequency supplies out of the premium laundry zone when they are crowding the closet. A one-bedroom apartment may not have a utility room, but another shelf, cabinet, or defined backstock zone can still be a better home than a service gap beside the machine.
This split also makes new organizers easier to size. You are fitting an active kit, not designing permanent storage around every backup bottle in the home.
Keep product-specific storage directions intact. Laundry products vary, so their labels govern storage conditions. If single-load laundry packets are used, current U.S. Consumer Product Safety Commission guidance says to keep them in their original containers and out of children’s sight and reach; decorative decanting is not an appropriate default for that product form.
Measure / Check First
Before buying a cart, shelf, door organizer, hamper, or bin, verify the closet in the same state in which the appliances actually operate.
Check the Laundry Closet Before You Add Storage
01
Appliance and operating clearance
Read the exact washer and dryer installation instructions. Confirm side, rear, top, door or lid, ventilation, and stacking requirements that apply to the installed models; do not copy a clearance number from another appliance.
02
Utility, service, and movement path
Locate hoses, shutoff valves, electrical connections, dryer ducting where applicable, closet-door movement, appliance removal path, and the full pull-out path of any proposed cart or bin.
03
Reach, load, and product-storage fit
Make sure routine supplies can be handled comfortably, heavy containers are not forced into an awkward overhead position, and laundry packets or other products remain stored according to their labels and current safety guidance.
If the proposed organizer works only by occupying a required clearance, blocking a connection, narrowing the removal path, or putting routine supplies in an impractical or unsafe position, choose a smaller storage job or move that inventory outside the closet.
03
Use Existing Reachable Storage Before Adding Hardware
If the closet already has a compliant shelf or cabinet, test that storage before adding another system. One lift-out bin can keep the active kit together and make a deep shelf easier to reset without turning the shelf into a row of tiny categories.
Reach matters as much as raw capacity. A shelf that is technically empty but awkward for the user to reach is a poor daily home for a heavy liquid bottle. Reserve inventory can tolerate slower access; routine supplies should not require an unstable reach or a multi-step unload.
Keep enough open space to lift the bin out cleanly and to see what is behind it. Packing the shelf to its edge can create more theoretical capacity while making every load of laundry harder to start.
04
Use a Slim Cart Only in Verified Residual Space
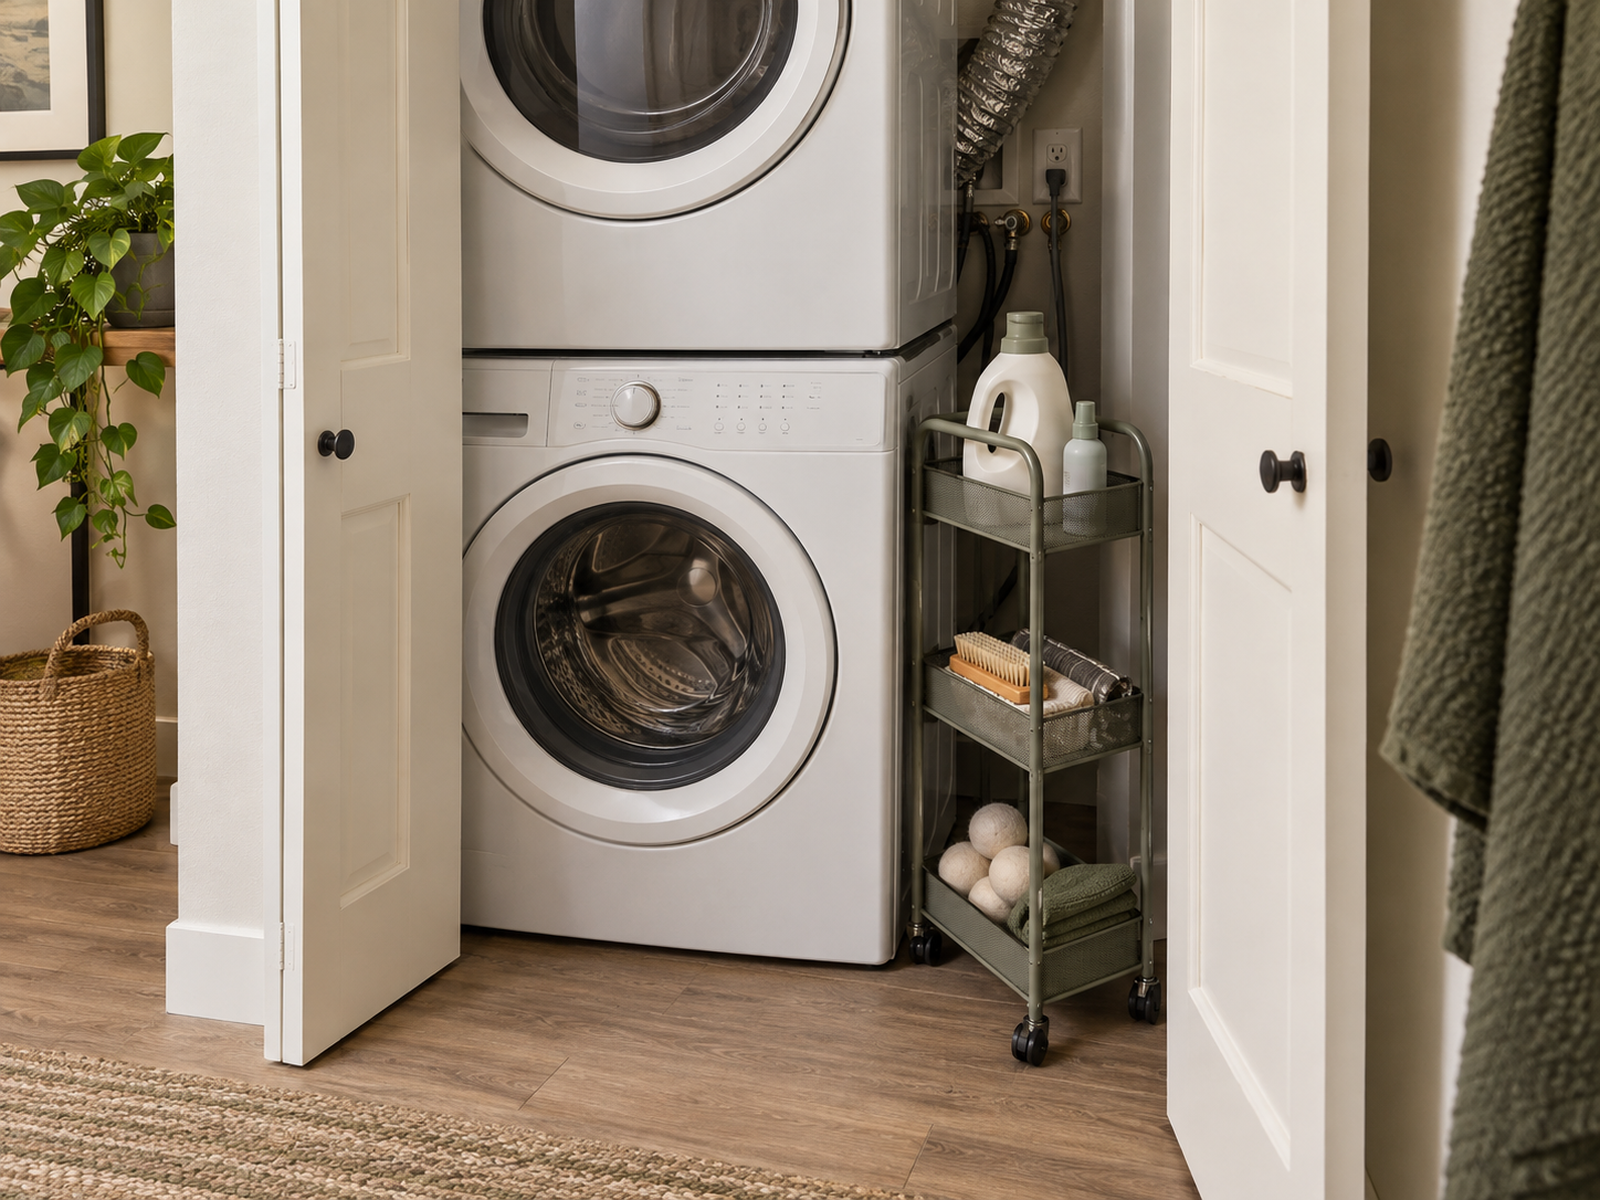
A rolling cart can be excellent in a narrow side gap because it can leave the closet when the appliance needs service. Its value comes from mobility, not from a small advertised width.
Check the complete footprint. IKEA currently lists the VESKEN cart at about 21 1/4 inches wide, 7 1/8 inches deep, and 28 inches high, with a 13-pound maximum load. That is a useful example of why a “7-inch cart” can still need more than 21 inches along the other horizontal dimension.
Test the path as well as the parked position. The cart must roll in and out without catching a baseboard, hose, door track, bifold door, appliance handle, or another stored item. It should not have to sit in front of a shutoff valve, plug, dryer connection, or the route needed to remove the appliance.
If the only way to make a cart fit is to use a space that the appliance manual, utility connections, or service path needs, the gap is not storage.
05
Treat the Hamper as a Mobile Tool
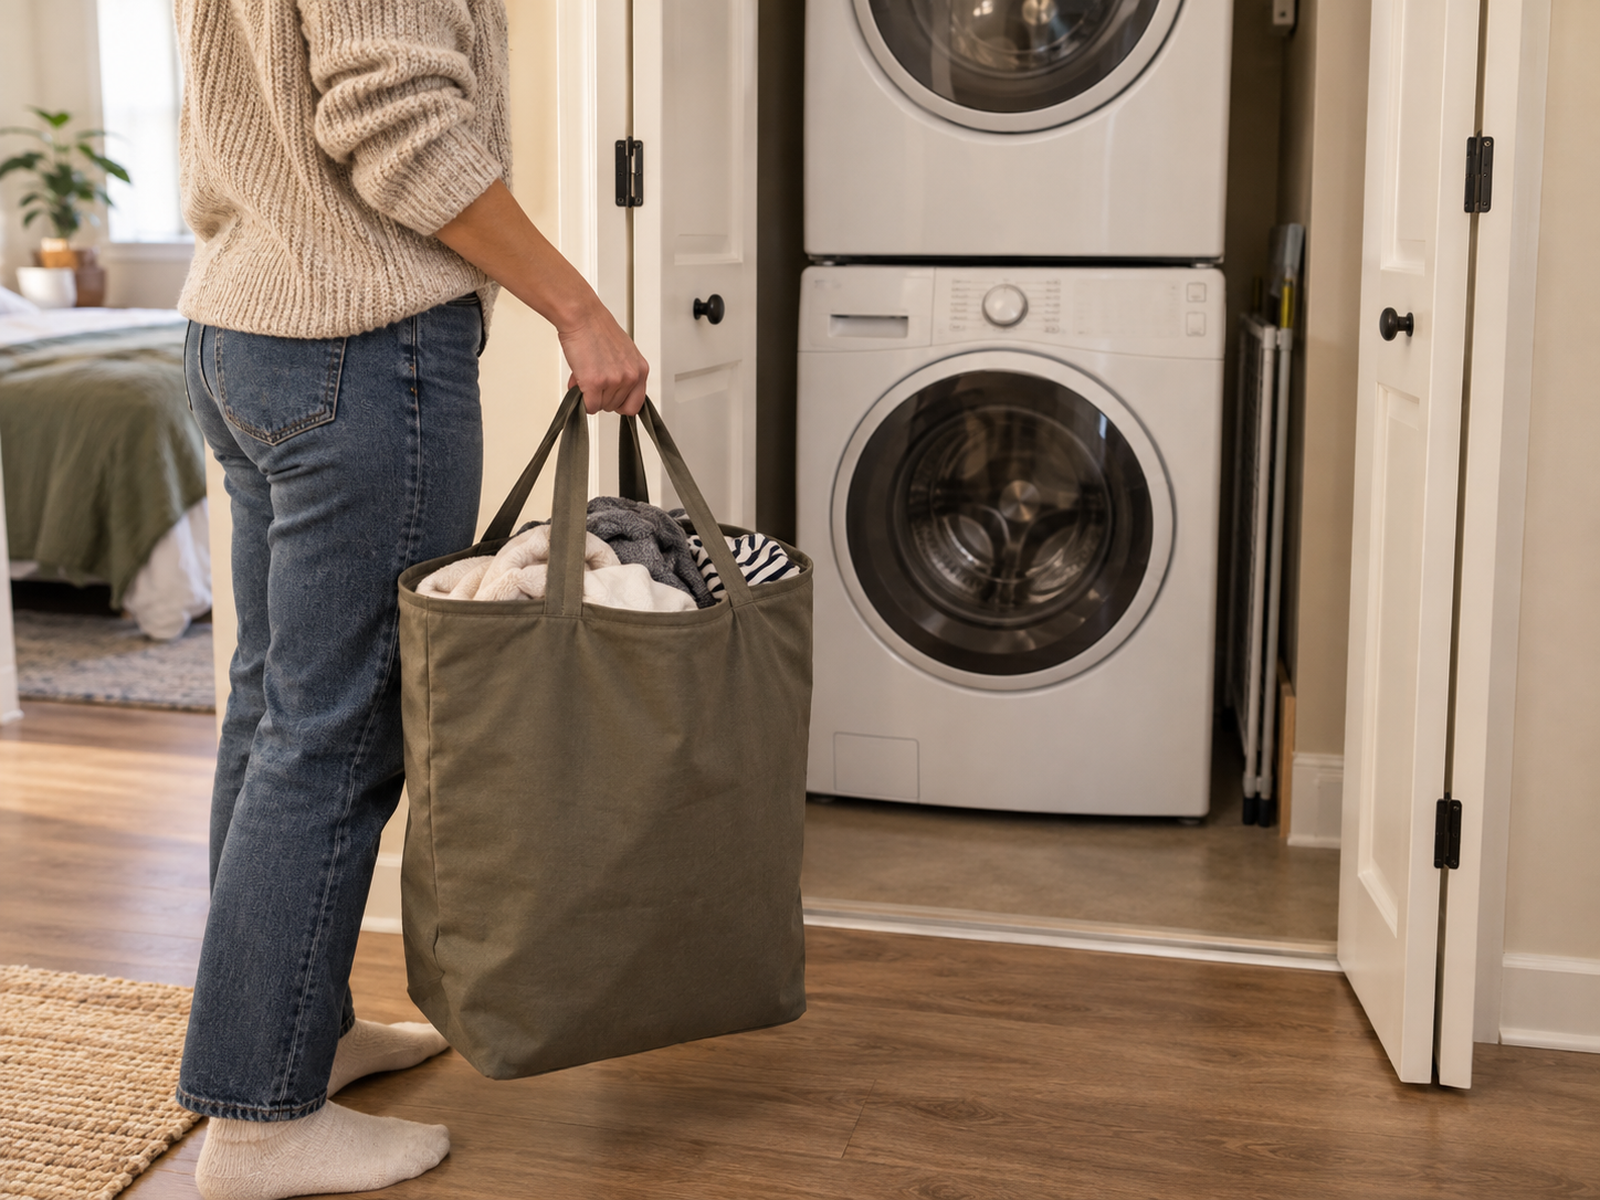
A permanent hamper can consume the last useful patch of floor in a laundry closet. That footprint is avoidable when dirty clothes already originate in a bedroom or bathroom.
Let the capture point live where the laundry is generated, then carry the load to the washer. A foldable or narrow freestanding bag can leave the laundry closet entirely between wash cycles.
IKEA’s current JÄLL laundry bag with stand is one verified example of the foldable form: it is about 16 1/2 by 17 inches at the base, 23 1/2 inches high, and folds for storage or carrying. A different current form, PURRPINGLA, is only about 8 inches wide but still needs roughly 17 1/4 inches of depth. These are dimensional examples, not universal recommendations.
Choose the workflow that removes the least permanent footprint. If a household sorts several loads at the machine, a laundry-point hamper may still earn space; if not, the closet does not need to store an empty basket all week.
06
Use Door Storage Only When the Door Geometry Works
The back of a hinged closet door can hold a laundry bag or lightweight accessories without consuming floor area, but door storage is not a universal no-drill solution.
First identify the door type. Sliding doors generally remove the ordinary over-door path, while bifold doors can create hinge, fold, and appliance-clearance conflicts. On a hinged door, verify the organizer’s door-thickness range, top clearance, projection, and exact installation method.
Close the door with the organizer loaded. Nothing should strike the washer or dryer, block controls, rub against hoses, or turn the door into a difficult final inch of clearance.
Do not rely on an editorial description of a product as “tool-free” when the current manufacturer instructions are ambiguous or model-specific. The exact current installation instructions are the controlling source.
07
Move Bulk Backstock Out of the Closet
Reserve detergent is inventory, not part of the immediate wash surface. If it forces routine products onto the machine, blocks a side gap, or pushes the hamper into the walking path, the closet is doing too many jobs.
Assign one defined off-closet backstock location and replenish the active kit from there. Keep the arrangement simple enough that the household can tell when the working supply is running low without storing every refill beside the appliance.
For laundry packets, preserve the original packaging and child-safety guidance in the alternate location as well. Moving backstock elsewhere does not relax the product’s storage requirements.
The off-closet zone should remain bounded. A backstock shelf that becomes an untracked collection of half-used laundry products has simply moved the problem to another room.
08
Add Mounted Storage Only After the Appliance and Wall Are Cleared
A shelf or rail can use true vertical space, but in a rental laundry closet it is the highest-commitment storage path. The wall may contain plumbing or electrical runs, and the open-looking area may still be part of the appliance’s operating or service envelope.
Before drilling, confirm that the lease or landlord permits the modification, that the exact appliance requirements leave the zone available, and that the chosen mounting system is appropriate for the wall construction. Preserve access to shutoff valves, outlets, ducting, and any route needed to move the machine.
Built-to-the-millimeter storage also has replacement risk. A landlord may later replace the washer or dryer with a model that has different dimensions or service requirements. A movable cart, lift-out bin, or existing shelf can adapt more easily than a fixed system designed around today’s exact gap.
Magnetic or adhesive organizers belong in the same conditional category. They can be reversible in some setups, but surface compatibility, load, vibration, removal, and appliance instructions must be verified for the exact product rather than assumed.
09
Keep the Closet Serviceable
After the storage is in place, run one practical reset. Open every closet and appliance door, reach the routine supplies, remove the hamper or cart, and confirm that the utility connections and service route remain accessible.
A storage system is too dense if a leak, dryer issue, appliance replacement, or routine cleaning requires dismantling a permanent wall of organizers before the relevant connection can even be reached.
Leave enough room to wipe the closet floor, inspect the visible connections that are meant to remain accessible, and remove mobile storage without unloading it first.
When a storage idea increases bottle count but makes the washer or dryer harder to operate, clean around, or service, the closet has exceeded its usable storage capacity. Reduce the inventory or move the storage job elsewhere.
Closing Decision
Let the Appliance Define the Storage Boundary
A tiny laundry closet works best when the machine keeps priority over the organizers around it. Protect the exact appliance and utility envelope, keep the daily wash kit close, and use only the gaps and surfaces that remain genuinely available after operation and service access are accounted for.
From there, favor reversible capacity: an existing shelf, lift-out bin, verified side-gap cart, or mobile hamper. Backstock can live elsewhere, and mounted storage can wait until both the appliance documentation and the rental situation support it. If a storage idea makes the machine harder to use or service, it is not usable laundry storage.
RELATED GUIDES
What to Read Next
NEXT GUIDE
How to Store Household Backstock in a Small Apartment With No Storage Closet
Use this next if detergent refills and other reserve supplies need a defined home outside the laundry closet so the appliance zone can stay focused on active use.
GUIDE
How to Store a Broom, Mop, and Vacuum in a Small Apartment With No Utility Closet
If the laundry closet was also expected to hold bulky cleaning equipment, this guide separates that storage problem from the washer-and-dryer service zone.