
Small Kitchen Organization
How to Set Up a Coffee Maker in a Small Kitchen With Almost No Counter Space
Plan the coffee setup around the full brew cycle, not the machine body: measure depth, open lid or handle height, reservoir access, grinder and milk-tool space, then give only the true daily working set permanent access while protecting the kitchen’s main prep surface.
In This Guide
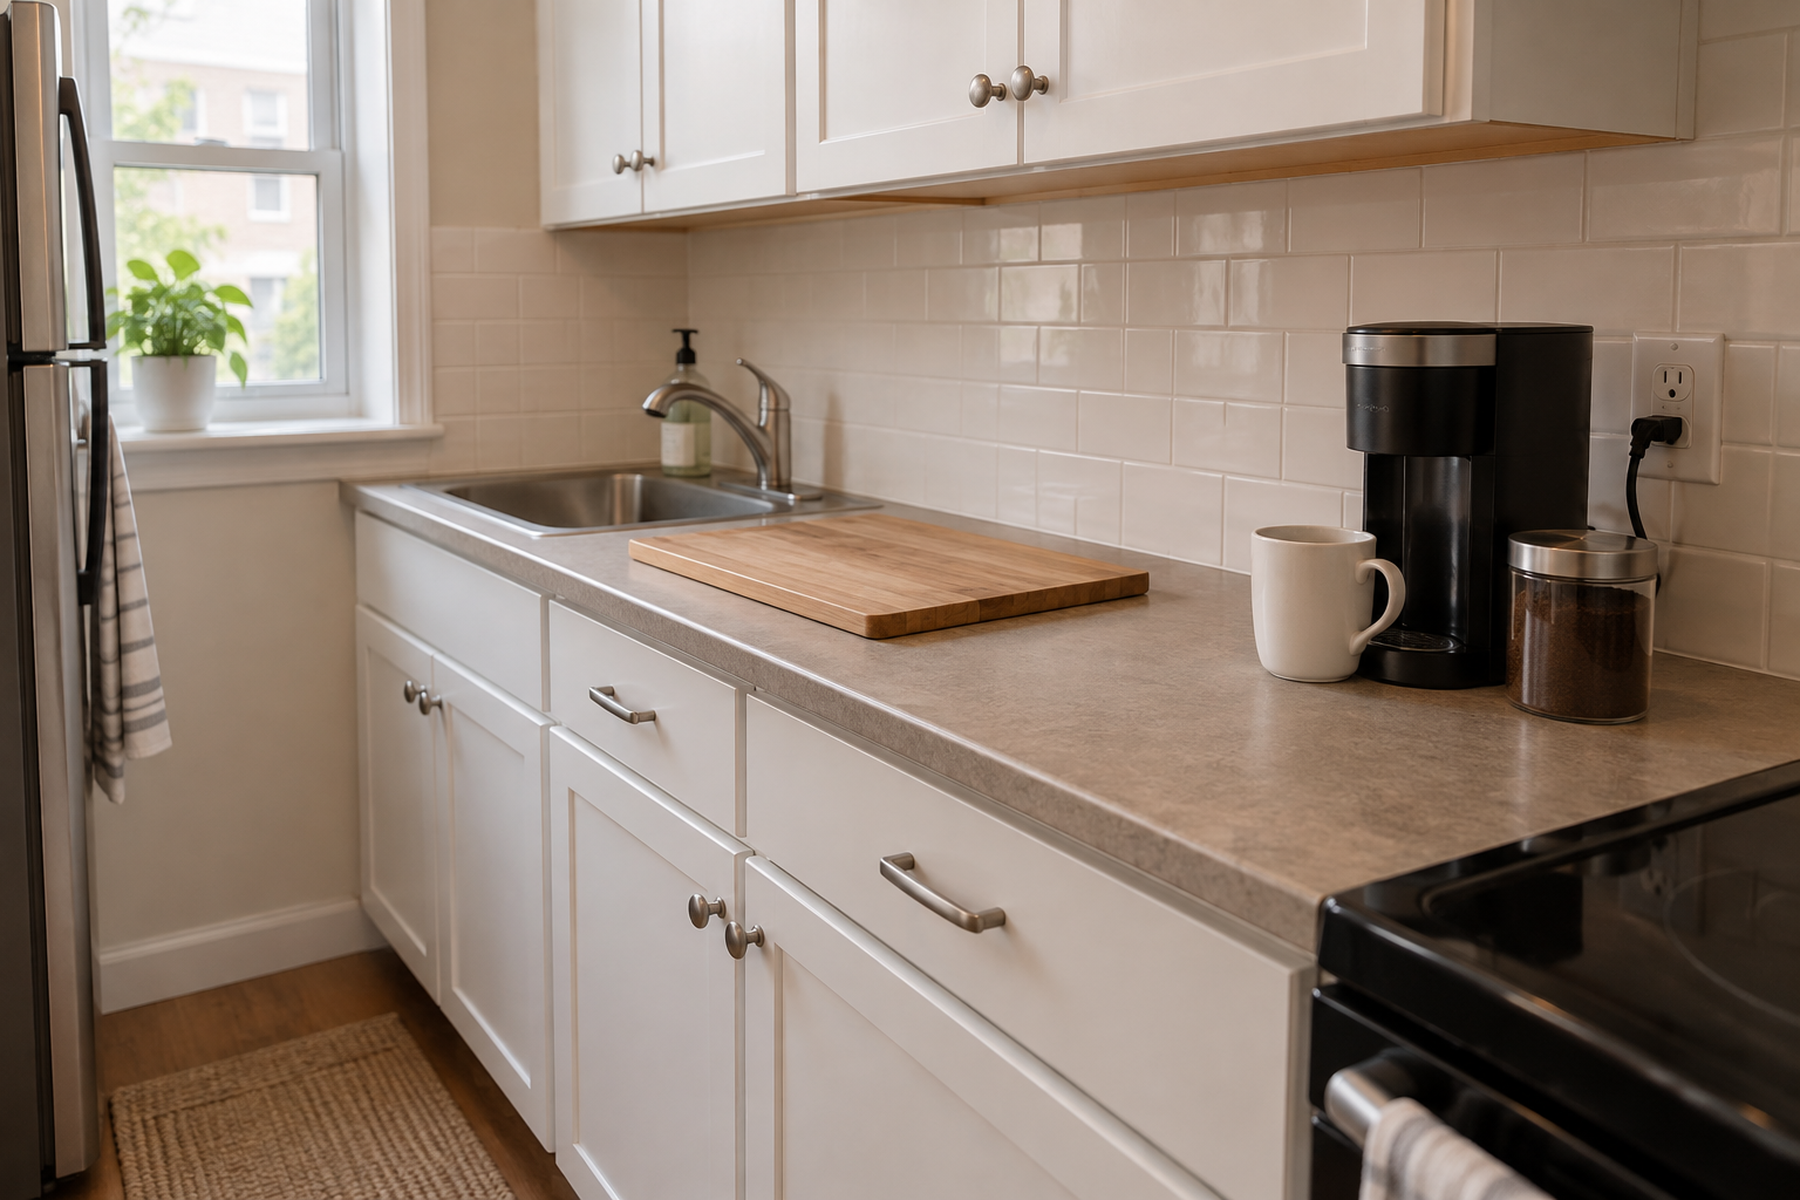
A coffee maker can look compact in product photos and still consume most of a small kitchen’s usable work zone. The body may be narrow while the machine remains deep, the lid or handle may need several extra inches above it, and the daily routine may add a grinder, mugs, milk tools, filters, pods, grounds, drip-tray cleanup, and a route to water.
Treat coffee as an operating zone rather than a styled display. The right setup gives the daily brew enough room to function, resets quickly after use, and does not permanently spend the only surface that can still support food preparation.
Quick Answer
Size the Coffee Zone to the Brew Cycle, Not the Machine
Start with the exact daily routine, then measure every movement the machine and tools need. A permanent station earns space only when its frequency justifies the surface it removes from the rest of the kitchen.
01
Measure width, depth, and open height
Check the machine’s real depth, lid or handle movement, reservoir-removal direction, mug or carafe projection, drip-tray access, and any steam-wand or portafilter movement. Closed dimensions alone are not enough.
02
Keep only the daily working set in prime space
The machine may deserve permanent access while backup pods, beans, filters, spare mugs, syrups, and cleaning supplies live in a drawer, cabinet, or nearby secondary zone.
03
Choose the cheapest surface that still supports the routine
Use the counter when frequency and operating fit justify it; use a cart or adjacent surface when floor or nearby furniture is cheaper; use a stored kit when permanent counter residency costs more than setup friction.
01
Measure the Operating Envelope Before the Counter Footprint
Start with the exact coffee maker and the exact way it is used. Measure the closed body, but also record what has to move during brewing, refilling, serving, and cleaning.
Narrow machines can still be deep. Current manufacturer examples make the point clearly: Keurig’s K-Slim is under five inches wide but about fifteen inches deep, while Nespresso’s Vertuo Pop is similarly narrow yet extends more than sixteen inches front to back.
Vertical space can be the hidden failure. Keurig publishes materially taller dimensions for the K-Slim and K-Mini with their handles open than with the machines closed, which means an under-cabinet spot must be tested in the open operating state.
Do the same for water. A one-cup-fill machine, a removable multi-cup tank, and a rear or top reservoir create different refill paths even when the machines occupy similar shelf width.
02
Protect the Prep Surface Before Coffee Claims It
A permanent coffee zone is rational only when the kitchen can afford the counter it consumes. Start by protecting the most continuous food-prep strip before assigning coffee a permanent address.
If the machine would occupy the only stable cutting-board or mixing zone, move coffee to a less valuable edge, a secondary surface, or a temporary setup rather than allowing a high-frequency appliance to erase another high-frequency kitchen function.
Frequency still matters. A machine used several times every day may deserve permanent residency, while a weekend-only brewer may be better stored if the setup and reset steps remain practical.
Do not count decorative containment as recovered space. A large tray, pod drawer, rotating organizer, or mug tree can make the zone look coordinated while increasing the real footprint.
Measure / Check First
Before assigning a permanent coffee location or buying a cart, tray, shelf, or replacement machine, test the complete daily brew in the proposed zone.
Check Open Clearance, Water Access, and the Reset Path First
01
The full operating height and depth
Open every lid and handle, remove the reservoir if required, place the mug or carafe, and confirm upper cabinets, backsplash depth, and nearby appliances do not block the actual brew motion.
02
The complete daily working set
Add the grinder, kettle, scale, portafilter, milk jug, tamper, pods, filters, or other tools used in nearly every brew. The coffee system must fit as a workflow, not as one machine.
03
The refill and cleanup route
Trace the movement to water, refrigerator, sink, trash or compost, grounds or capsule disposal, drip-tray emptying, steam-wand wipe-down, and the final reset. Reject zones that create repeated cross-kitchen clutter.
If the machine fits only while closed, if every refill requires dragging it into the prep zone, or if cleanup leaves tools spread across the counter, the proposed station is not actually compact.
03
Keep the Permanent Counter Set Smaller Than the Coffee Inventory
Separate the daily working set from the total coffee collection. The prime zone may need only the machine, one coffee input, one or two mugs, and the tools that appear in nearly every brew.
Move backups and variety outward. Extra beans or pods, spare filters, seasonal syrups, guest mugs, cleaning tablets, and replacement accessories can live in cabinets or drawers without making the daily routine harder.
This is especially useful when mugs already have a bounded cabinet zone. Do not create a second mug-storage system on the counter simply because the coffee maker sits nearby.
A distributed system is still a system. Machine on the counter, mugs above, backup coffee in a drawer, and cleaning supplies elsewhere can use less prime space than forcing every object into one visual coffee bar.
04
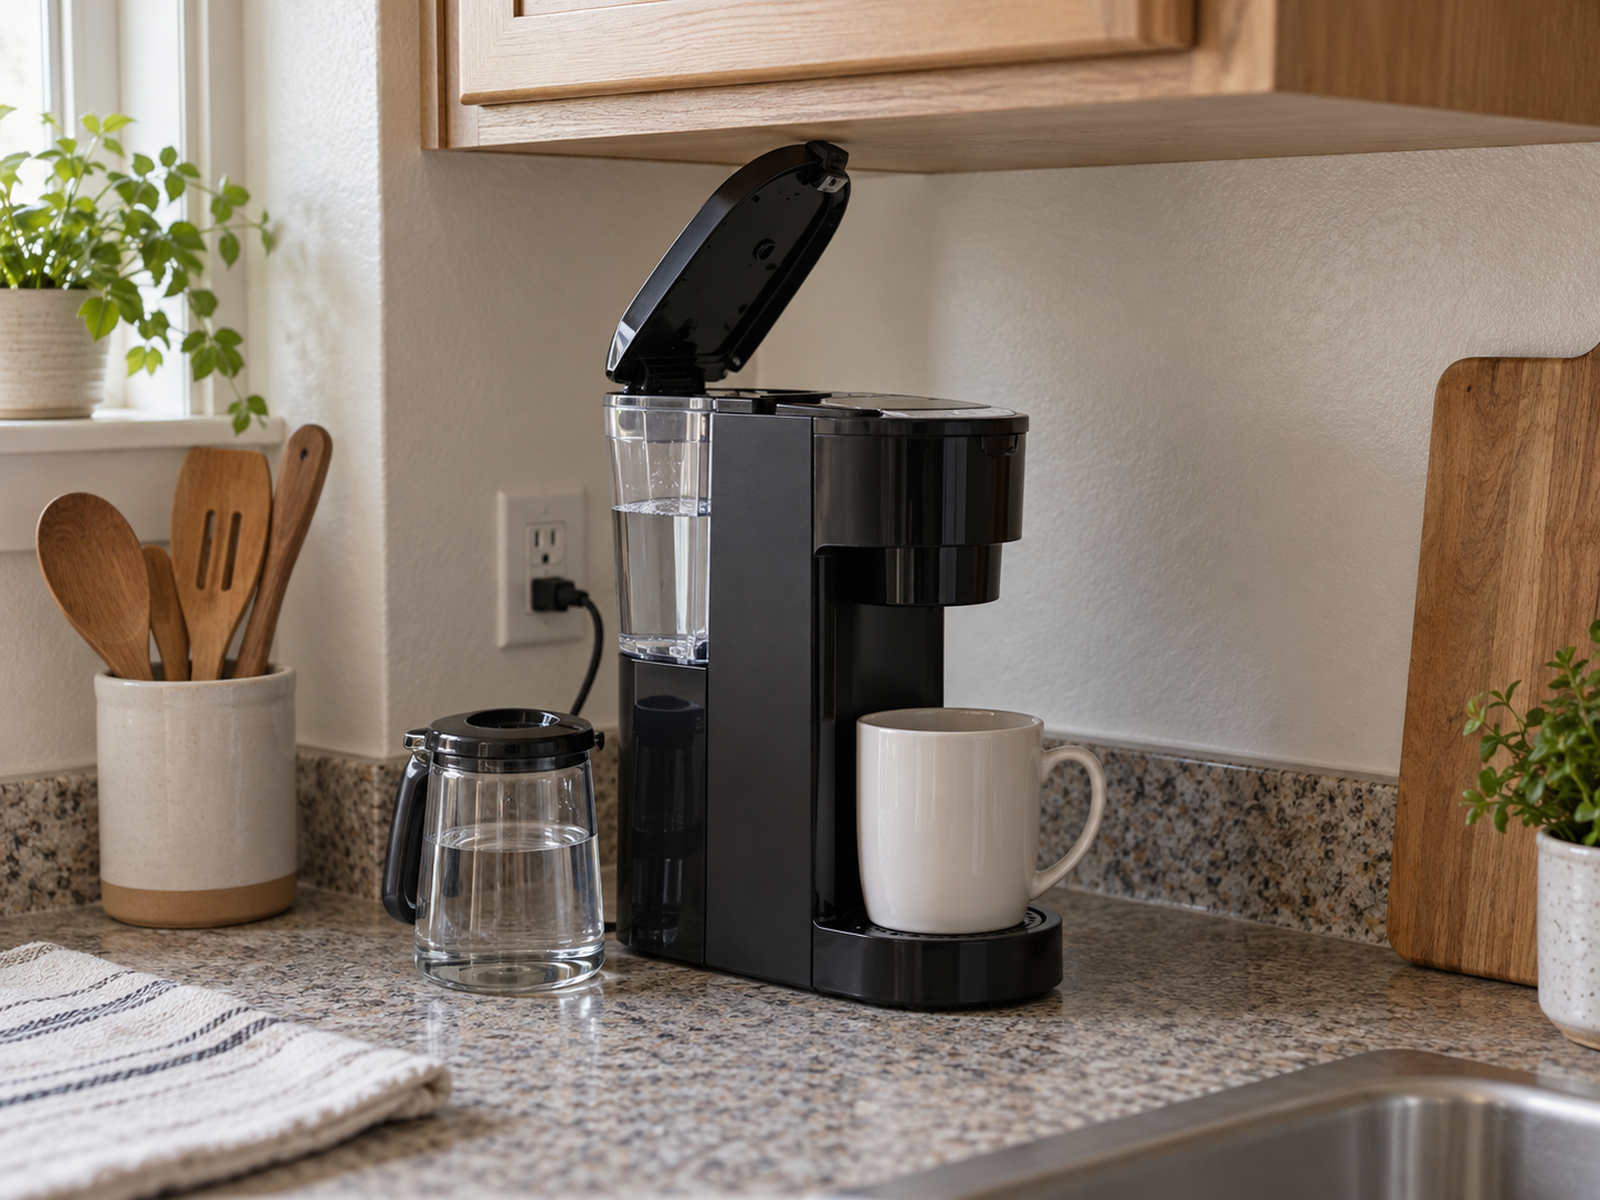
Test Under-Upper-Cabinet Placement in the Open State
Under an upper cabinet is often the first place a renter tries because it preserves wall continuity and keeps the appliance near existing outlets. It only works when the machine can fully operate there.
Measure with the handle or lid open, not just with the machine parked. Current Keurig specifications show why: open-handle height can add several inches beyond the closed height.
Check reservoir removal as a separate motion. If the tank lifts upward or sits behind the machine, a shelf that clears the closed machine can still force the whole appliance forward for every refill.
A location that requires frequent pulling and pushing may still be acceptable for a light brewer, but it should be recognized as part of the daily friction rather than hidden by a static dimension check.
05
Build Espresso Around the Machine Plus the Grinder
Compact espresso machines are still multi-object workstations. The machine body is only one part of the operating system.
Breville’s Bambino Plus, for example, adds a removable water tank, portafilter, steam wand, milk jug, and removable drip tray to the footprint. Many espresso routines also add a grinder, tamper or dosing tool, scale, knock or grounds workflow, and a cleaning cloth.
Price the grinder as a second appliance. Current small-space users regularly split machine and grinder across different surfaces because the pair will not fit comfortably in one tiny rectangle.
Keep the working sequence clear: grind, dose, brew, steam if needed, purge or wipe, knock or discard grounds, rinse or empty, and reset. If those actions invade the whole prep counter, the setup needs a different architecture.
06
Use a Cart or Adjacent Surface When Floor or Nearby Space Is Cheaper
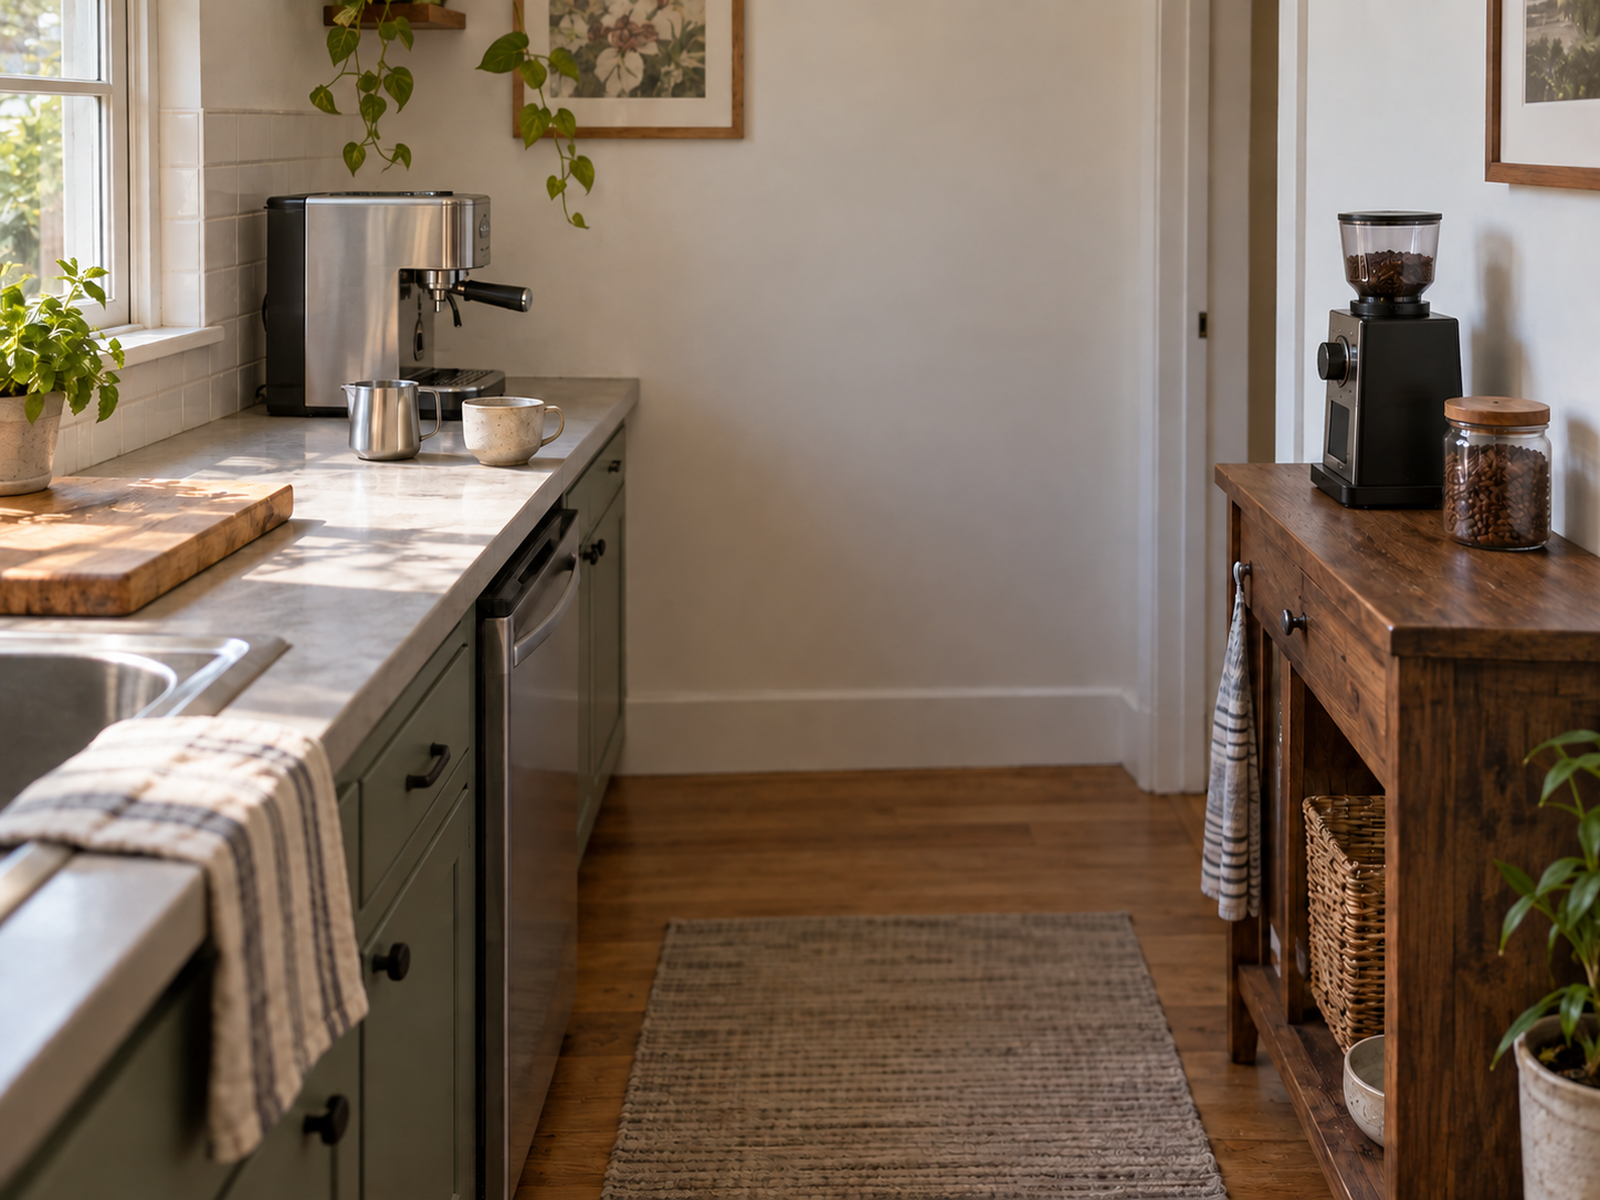
A freestanding cart can protect the main counter when the kitchen has a narrow floor lane that can support a stable coffee surface without blocking doors, drawers, appliances, or circulation.
Treat the cart as a work surface, not a storage tower. It still needs the correct outlet relationship, refill path, cleanup route, and stable support for the machine in use.
An adjacent dining table, sideboard, or living-room surface can also work when the kitchen has no spare counter. The cost is travel to water, refrigerator, sink, and waste, so the farther the station moves, the more important a disciplined working set becomes.
Do not move coffee out of the kitchen merely to create a styled beverage corner. The alternative location should earn the distance by protecting a more valuable kitchen surface.
07
Store the Coffee Setup Between Uses Only When Reset Friction Stays Reasonable
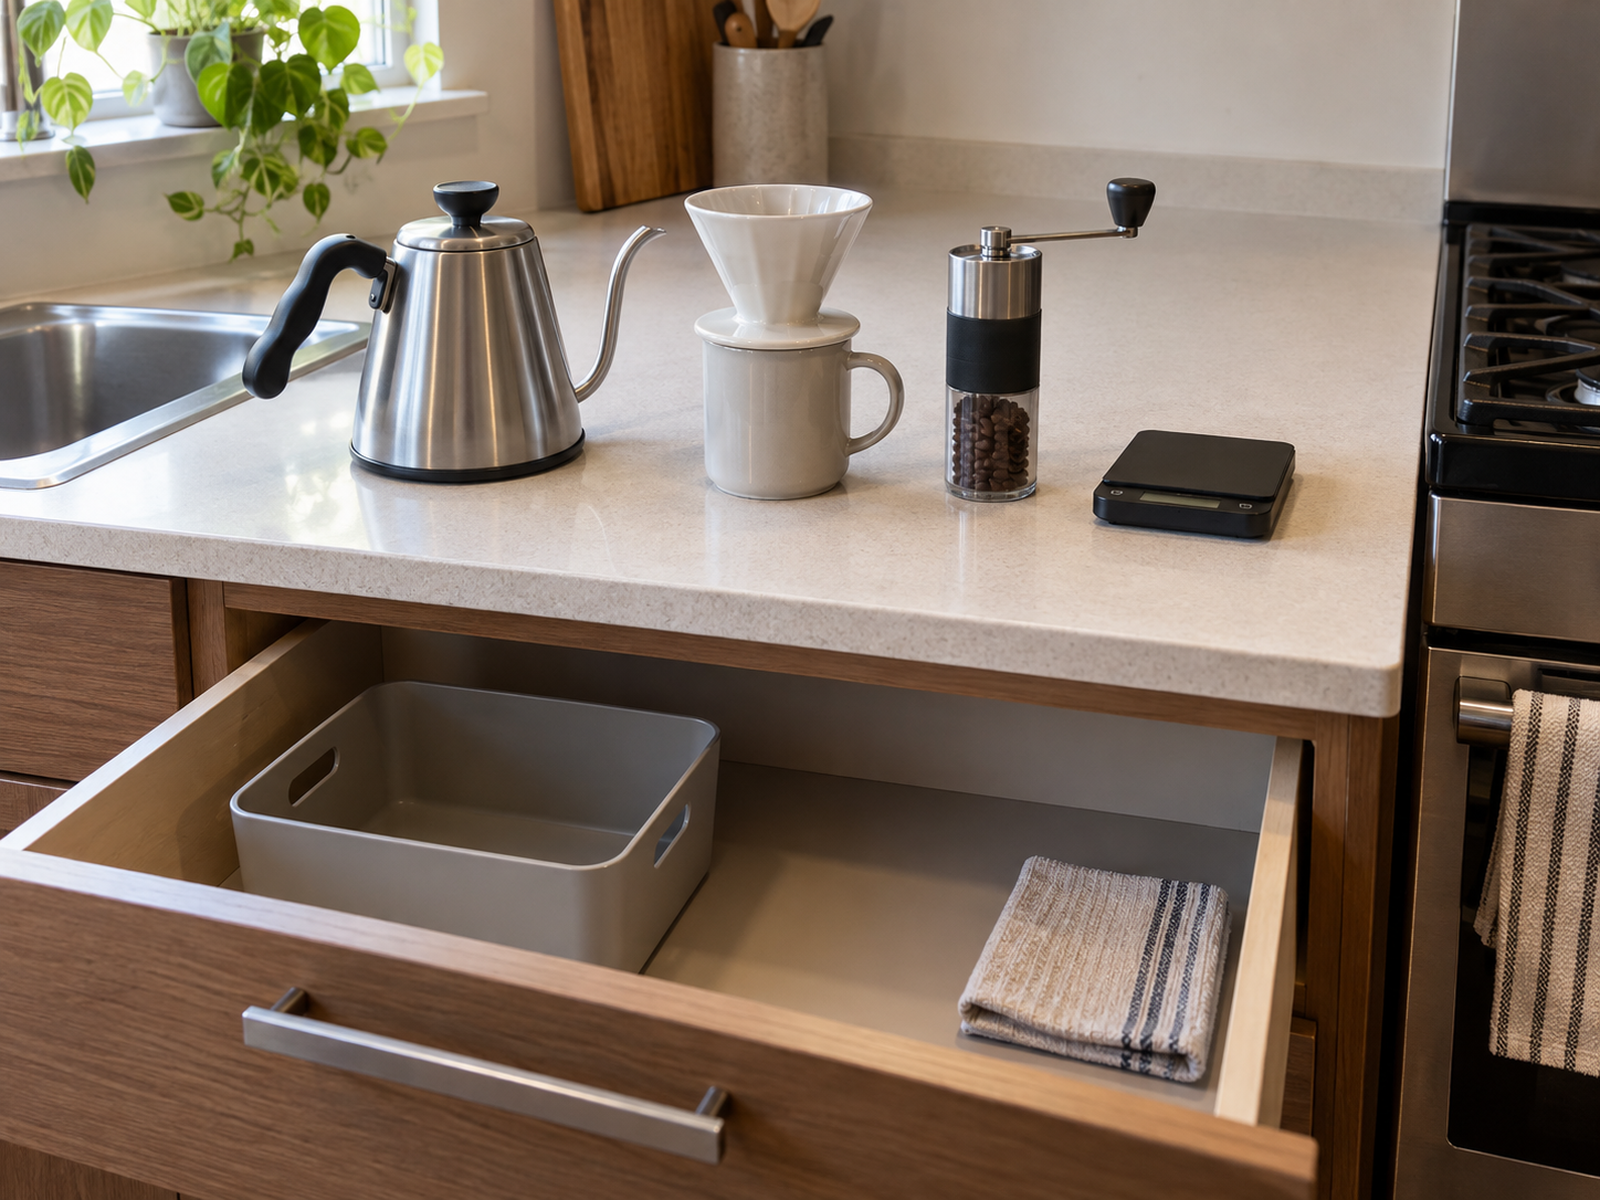
Some kitchens cannot afford any permanent coffee equipment on the counter. A manual brewer, hand grinder, scale, filters, and coffee can often live in one drawer, cabinet bin, or portable tray and appear only during the brew routine.
That trade converts permanent footprint into setup and put-away work. It is strongest when the equipment is light, the routine is simple, and storage sits close enough that daily retrieval does not become a chore.
Storing an electric machine after every use can carry more friction. Breville’s Bambino Plus manual, for example, calls for the machine to be off and unplugged, the tank and drip tray emptied, and the machine cool, clean, dry, and upright before storage.
Do not recommend cabinet storage as though it were an instant reset. Machine weight, cooling time, residual water, removable parts, cord handling, and the exact manufacturer instructions all belong in the decision.
Use / Skip
A Permanent Coffee Zone on the Counter
Use
Use it when daily frequency earns the surface and the full brew cycle fits
Permanent counter residency works when the coffee setup is used frequently, the machine can open and refill in place, the daily working set stays compact, cleanup resets quickly, the outlet arrangement follows the appliance instructions, and the zone does not consume the kitchen’s only viable prep surface.
Skip
Skip it when the station is really a permanent takeover of the prep zone
Use a cart, adjacent surface, distributed system, or stored kit when the coffee setup blocks food prep, must be dragged forward for every refill, expands into backup inventory, or needs more grinder, milk, waste, and cleanup room than the counter can support.
08
Change the Coffee Architecture When the Existing Routine Cannot Fit
If every reasonable placement fails, change the brew architecture rather than stacking more organizers around an oversized routine.
That can mean moving from a large drip machine to a smaller brewer, choosing a compact espresso machine, replacing an electric grinder with a hand grinder, or using a kettle-based manual method whose brew tools store away after use.
Do not assume a narrow appliance is automatically the smallest system. Current single-serve examples show that very narrow machines can still be deep, and a compact espresso machine can still require a second appliance and milk tools.
The correct replacement is the one that preserves the actual coffee routine at a lower spatial cost. Appliance downsizing is a later branch, not the automatic answer to every small-kitchen coffee problem.
Closing Decision
Make Coffee Earn the Counter It Uses
A useful coffee setup is not defined by whether it looks like a dedicated station. It is the smallest operating system that can brew, refill, clean, and reset without sacrificing the kitchen’s more valuable work surface.
Measure the machine open, keep the daily set smaller than the total inventory, and treat espresso as machine plus grinder plus milk and cleanup space. If permanent counter residency costs too much, distribute the system, move it to a cheaper surface, or store the lighter parts until the brew routine begins.
RELATED GUIDES
What to Read Next
NEXT GUIDE
How to Store Small Kitchen Appliances Without Losing Counter Space
Use this next if the coffee maker is only one of several appliances competing for the same work surface; that guide handles broader appliance residency, retrieval, and counter-priority decisions.
GUIDE
How to Create a Prep Surface in a Small Kitchen With Almost No Counter Space
Use this if coffee has already consumed the kitchen’s only usable work plane; that guide helps decide which spatial resource can become a stable prep surface.
GUIDE
Where to Put a Microwave in a Small Kitchen With No Counter Space
Use this if the coffee maker and microwave are competing for the same appliance zone; that guide resolves the microwave’s model-specific ventilation, support, power, and installation boundaries.