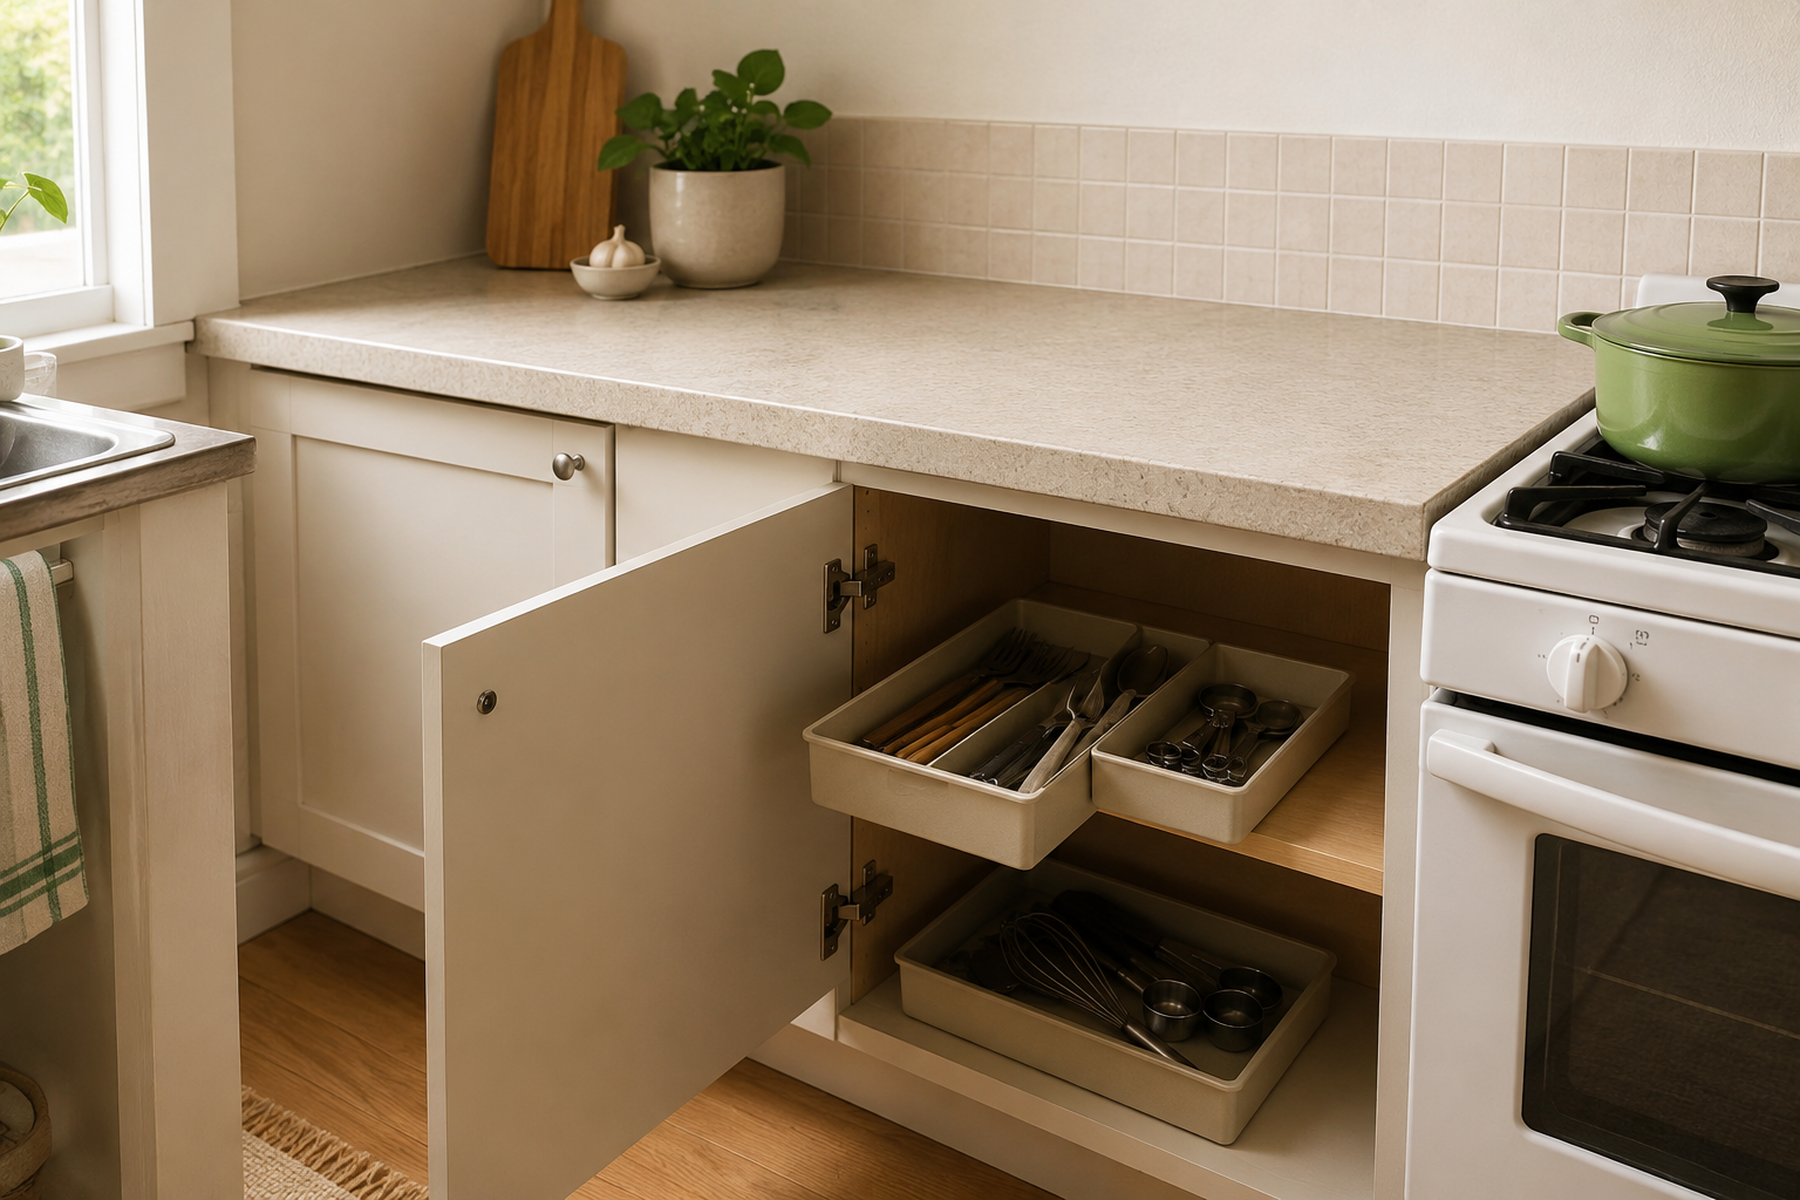
Small Kitchen Organization
How to Store Small Kitchen Appliances Without Losing Counter Space
A small counter cannot carry every appliance full-time. Protect one real prep zone, then decide what stays out by use frequency, lifting effort, operating space, and whether the storage path still works safely in a rental-scale kitchen.
In This Guide
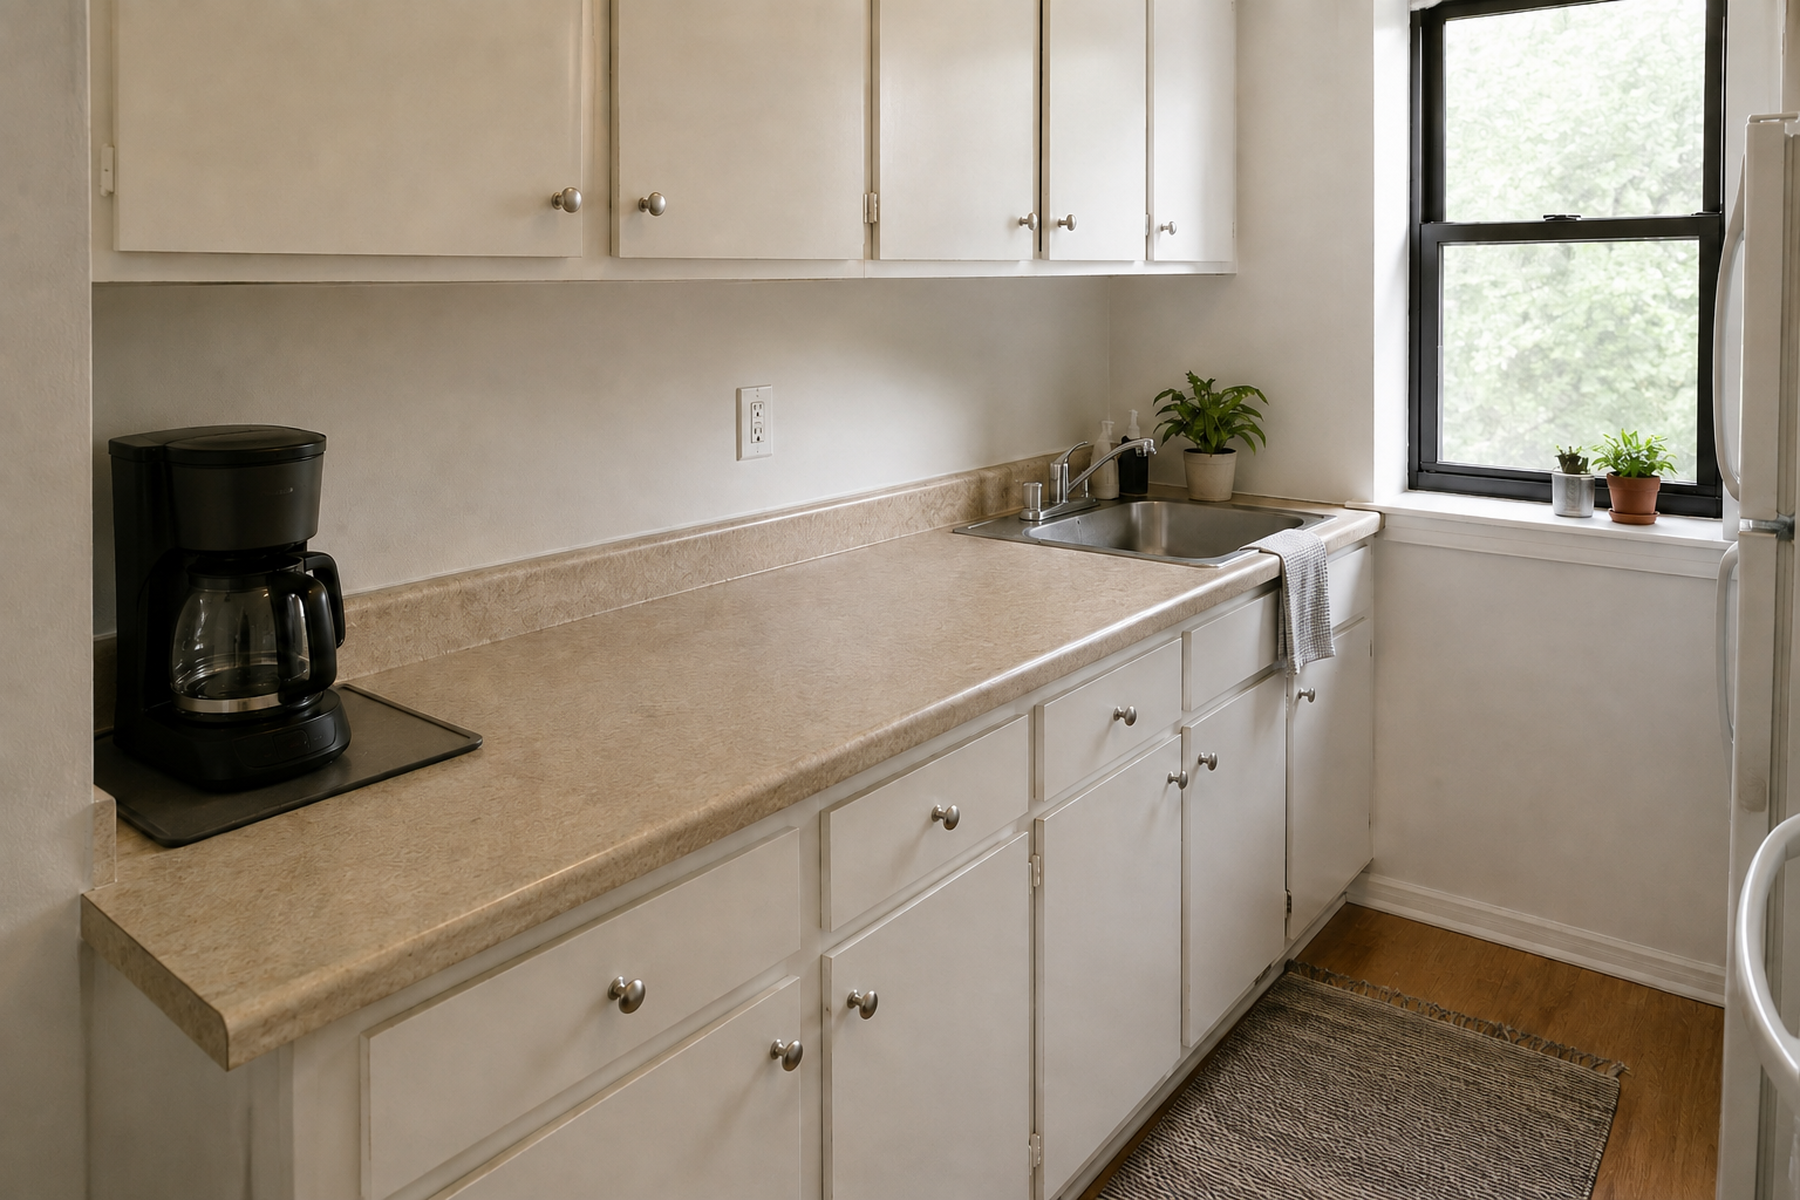
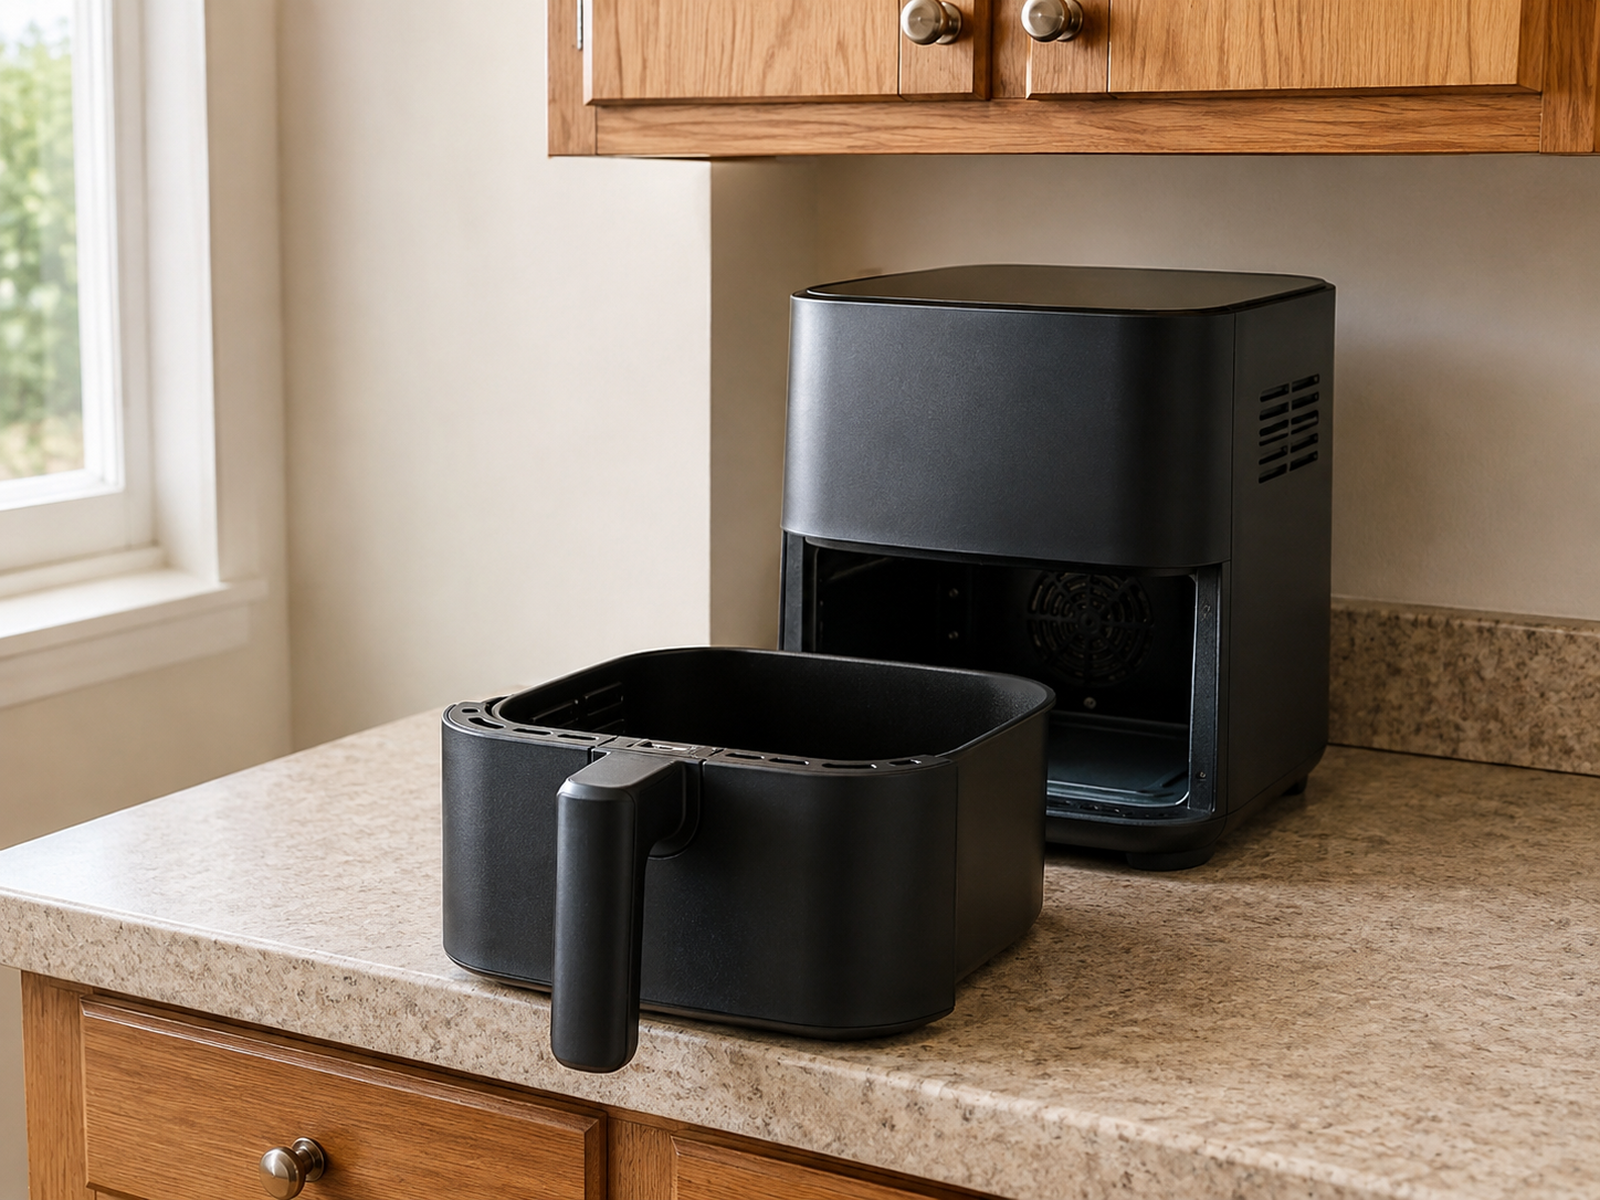
Countertop appliances are awkward small-space objects because the place where they fit is not always the place where they work. An air fryer may park neatly beneath an upper cabinet but need a larger open area while running; a stand mixer may disappear into storage but become too heavy or inconvenient to retrieve several times a week; a cart may clear the counter and then block the galley.
A workable system separates three decisions. First, decide which appliances actually deserve permanent counter access. Second, make sure stored appliances can be retrieved and returned without unreasonable effort. Third, test the appliance in its operating state—moving parts, airflow, heat, cord route, outlet, and nearby water or hot surfaces included—before treating any location as a usable appliance zone.
Quick Answer
Decide Which Appliances Truly Earn Counter Space
Protect one real prep zone first, then judge each appliance by how often it is used, how difficult it is to retrieve, and what it needs in both storage and operation. Keep only the appliances that truly earn prime counter space, and move the rest to the lowest-cost cabinet, cart, shelf, or nearby storage zone that still preserves access and renter flexibility.
01
Protect one real prep zone
Choose the counter area that must remain available for chopping, mixing, plating, or another everyday task before you assign permanent appliance residents.
02
Rank frequency together with retrieval effort
A light daily appliance may be easy to store after every use, while a heavy weekly appliance may need a lower, easier-access home.
03
Test the appliance in storage and in use
Check the parked footprint, moving doors or baskets, lid or mixer-head movement, airflow, heat, cord reach, and the path from storage to the operating surface.
01
Protect One Real Prep Zone Before You Place Appliances
In a small kitchen, the counter should be treated as working capacity before it is treated as storage. Pick the strip you actually need for food prep or landing space and keep that function visible while you decide where appliances belong. A clear counter is not the objective; a usable kitchen is.
This is consistent with current KitchenAid galley-kitchen guidance, which recommends preserving prep space and grouping or stowing small appliances rather than letting them spread across the work surface. That is manufacturer editorial guidance, not a universal dimension rule, but the planning principle is useful.
Once the prep zone is protected, the remaining counter becomes a scarce access resource. An appliance should occupy it permanently because the placement improves daily function—not because the machine happened to land there first.
02
Rank Appliances by Frequency, Retrieval Effort, and Counter Cost
Frequency matters, but it should not decide placement by itself. Add two more questions: how difficult is the appliance to move, and how much valuable counter does it consume while parked? Those three variables often point to a different answer than a simple “daily stays out, weekly goes away” rule.
A small kettle used every day may still be easy to lift from a nearby cabinet. A heavier mixer used less often may be frustrating to carry from a high shelf or distant closet. The right placement depends on the real body, grip, route, and routine rather than a universal frequency threshold.
Also separate active appliances from duplicates, travel units, and machines that no longer match the household’s routine. Reducing the active set can recover more space than adding another organizer, but there is no correct appliance count for every kitchen.
Measure / Check First
Measure the appliance as a working object, not just as a box that has to fit on a shelf. The same location has to survive storage, retrieval, and operation without creating a new obstruction.
Measure the Stored Footprint, Operating Envelope, and Retrieval Path
01
Measure the full stored footprint
Include the appliance body, plug, cord, removable accessories that must stay with it, and any handle or reservoir that changes the parked dimensions.
02
Open every moving part
Pull the basket, swing the door, lift the lid, tilt the mixer head, raise the reservoir, or remove the bowl so you can see the real operating envelope instead of only the closed footprint.
03
Trace the route from storage to use
Check cabinet opening, lifting height, door and drawer clearance, counter landing space, outlet position, nearby sink or hot surfaces, and the return path after the appliance has cooled as required.
If the proposed system only works when a door stays blocked, a heavy appliance has to be lifted awkwardly, a cord crosses a wet or hot zone, or the machine operates in a space its instructions do not support, change the location instead of forcing the organizer to make the decision work.
03
Treat Storage Location and Operating Location as Two Different Decisions
An appliance can fit perfectly while stored and still fail in that same spot during use. Basket air fryers need forward space for the basket. Toaster-oven doors swing. Coffee-machine reservoirs and lids may need vertical clearance. Mixers need room for bowls and head movement. Pressure-cooker lids need a place to lift away.
Operating clearance is model-specific, so use the manual for the actual appliance. As one documented example, the official Ninja AF100 Series Owner’s Guide calls for adequate space above and around the unit for air circulation, warns against blocking the air intake or outlet while operating, and directs the user to let the appliance cool before storing. That evidence supports the general distinction between stored fit and operating fit; it does not create a universal air-fryer clearance.
If an appliance lives on a cart, shelf, inside an appliance garage, or tucked beneath upper cabinets, decide explicitly whether that is only its parking place or also a suitable operating place. Moving the machine to a better work surface for use can be the correct small-space system.
04
Give Heavy or High-Friction Appliances the Easiest Stable Access
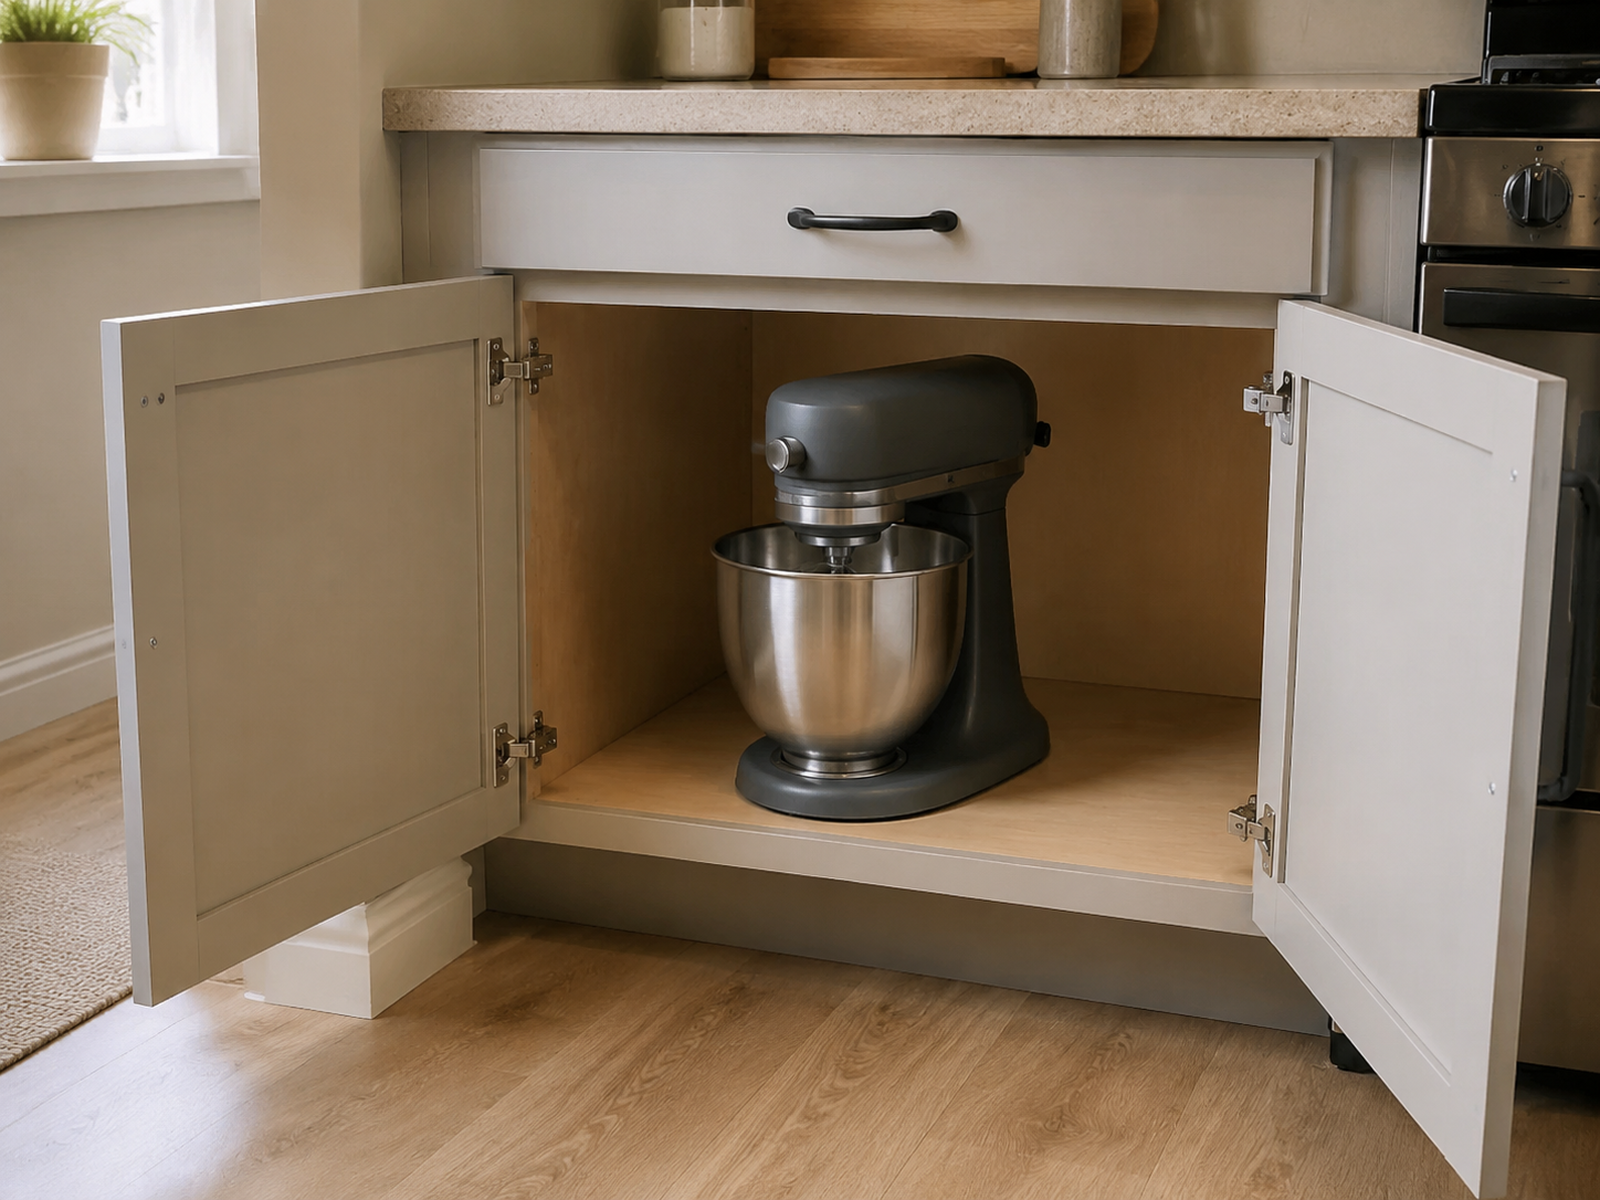
Heavy appliances deserve a different placement test from lightweight ones. The more awkward the lift, the more valuable a low, stable, front-accessible home becomes. A cabinet that saves counter space but requires repeated overhead lifting or deep reaching may cost too much in daily effort.
KitchenAid’s current stand-mixer storage guidance presents an existing lower cabinet as a straightforward option when counter space is limited and notes that pull-out systems need adequate extension clearance and weight ratings appropriate to the appliance. The exact numbers are product-specific; the useful principle is to match storage height and hardware to the appliance you actually own.
A heavy appliance that is genuinely used often may earn permanent counter space. The decision is not a failure of organization if that placement protects the user from an awkward storage routine and still leaves enough working surface for the kitchen to function.
05
Use Cabinets for Appliances That Can Tolerate a Reset Step
Lower cabinets work best for appliances that can be lifted out, carried a short distance, used, cooled if required, and returned without turning the reset into a chore. Keep the most frequently retrieved pieces toward the front rather than creating a deep appliance pile behind cookware or food storage.
Shelf risers and simple freestanding dividers can help with lighter appliances or attachments when they improve visibility without creating unstable stacking. Do not add a second layer simply because vertical space exists; the upper or lower item still needs a clear retrieval path.
Pull-out hardware can improve deep-cabinet access, but installed hardware is a different renter decision. Cabinet structure, appliance weight, hardware rating, extension clearance, and permission to modify the cabinet all need to be resolved before treating a pull-out as the default answer.
06
Add a Cart or Freestanding Rack Only if the Kitchen Can Spare the Floor Space
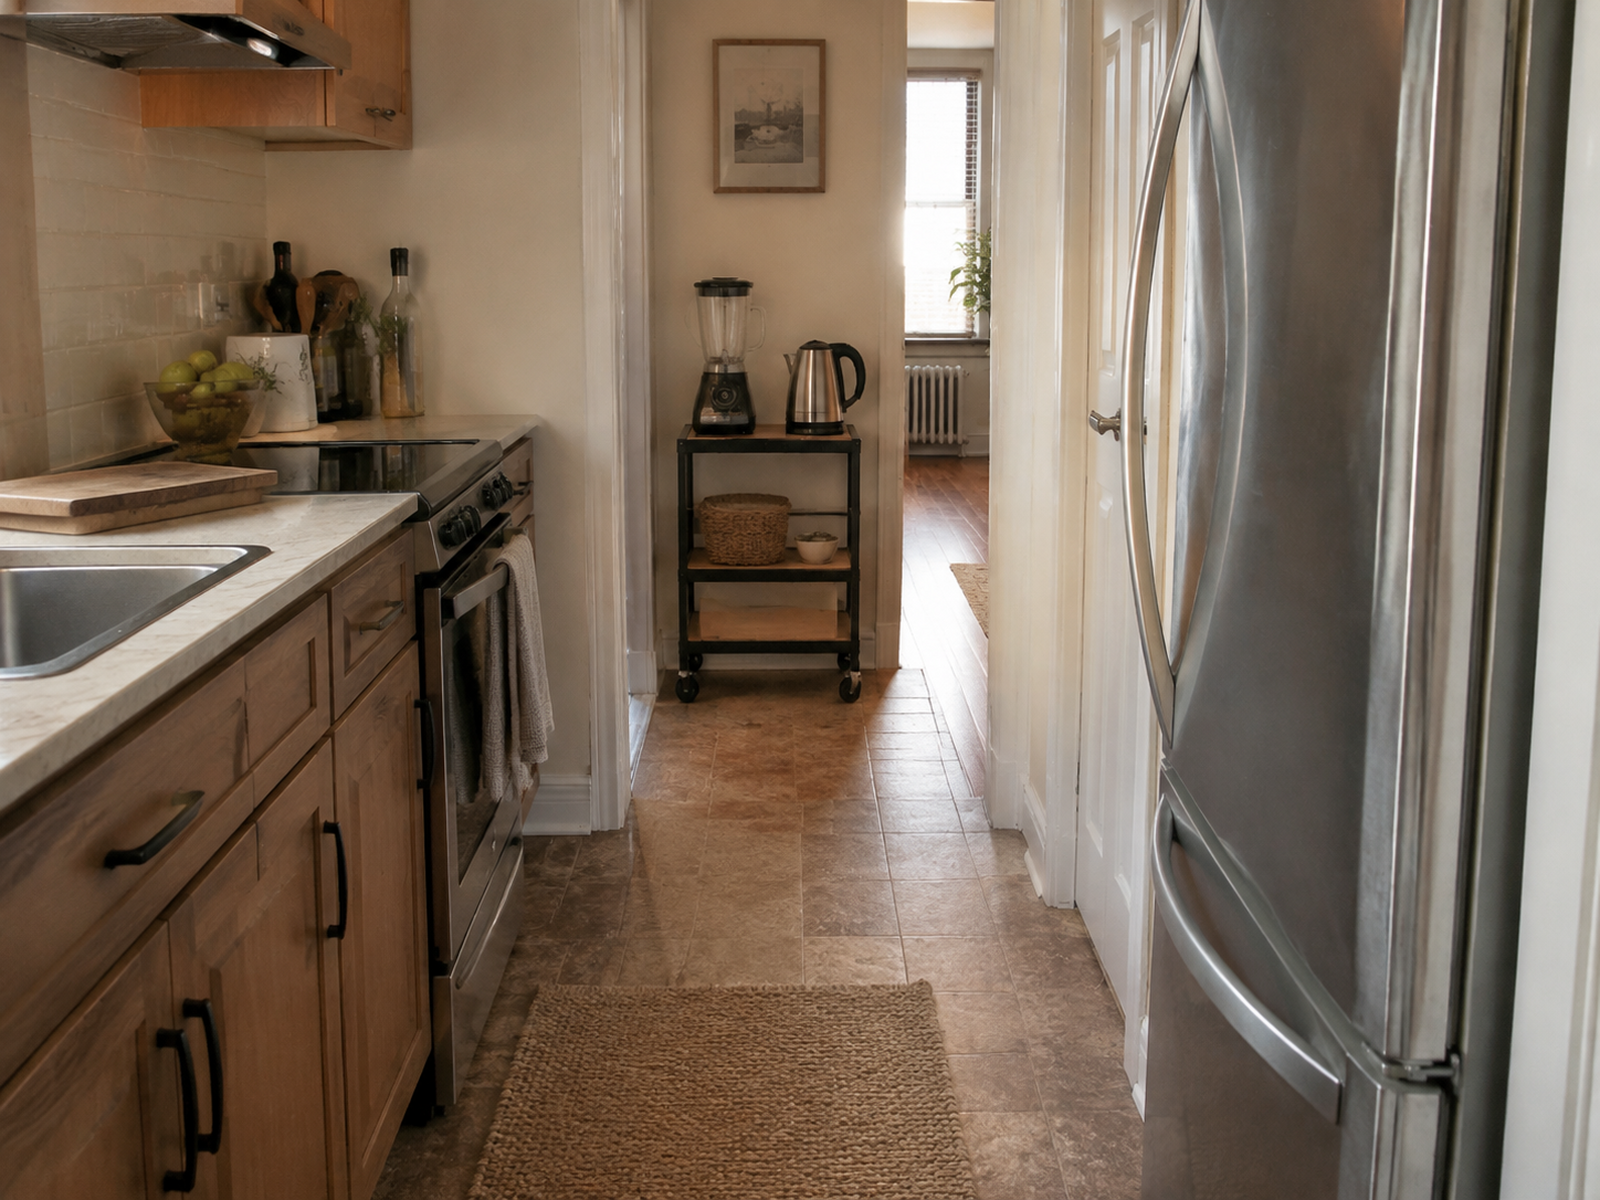
A rolling cart can create a useful second appliance zone, especially for coffee equipment or machines that are used often but do not deserve the main prep strip. The cart still has to park somewhere when the kitchen is busy, so test it as furniture rather than as free storage.
Open the refrigerator, oven, dishwasher, cabinet doors, and drawers that sit near the proposed parking spot. Pull the cart into its use position and confirm that the main walkway still works. If the cart fixes counter clutter by making a cabinet or appliance harder to open, it has moved the constraint rather than solved it.
Freestanding does not always mean no wall attachment is required. For tall or top-heavy storage furniture, follow the manufacturer’s stability instructions; the U.S. Consumer Product Safety Commission’s Anchor It! guidance specifically advises securing top-heavy furniture and following manufacturer instructions. A low rolling cart and a tall baker’s rack therefore should not be treated as the same renter-risk category.
07
Keep Outlet, Cord, Heat, and Sink Location in the Placement Test
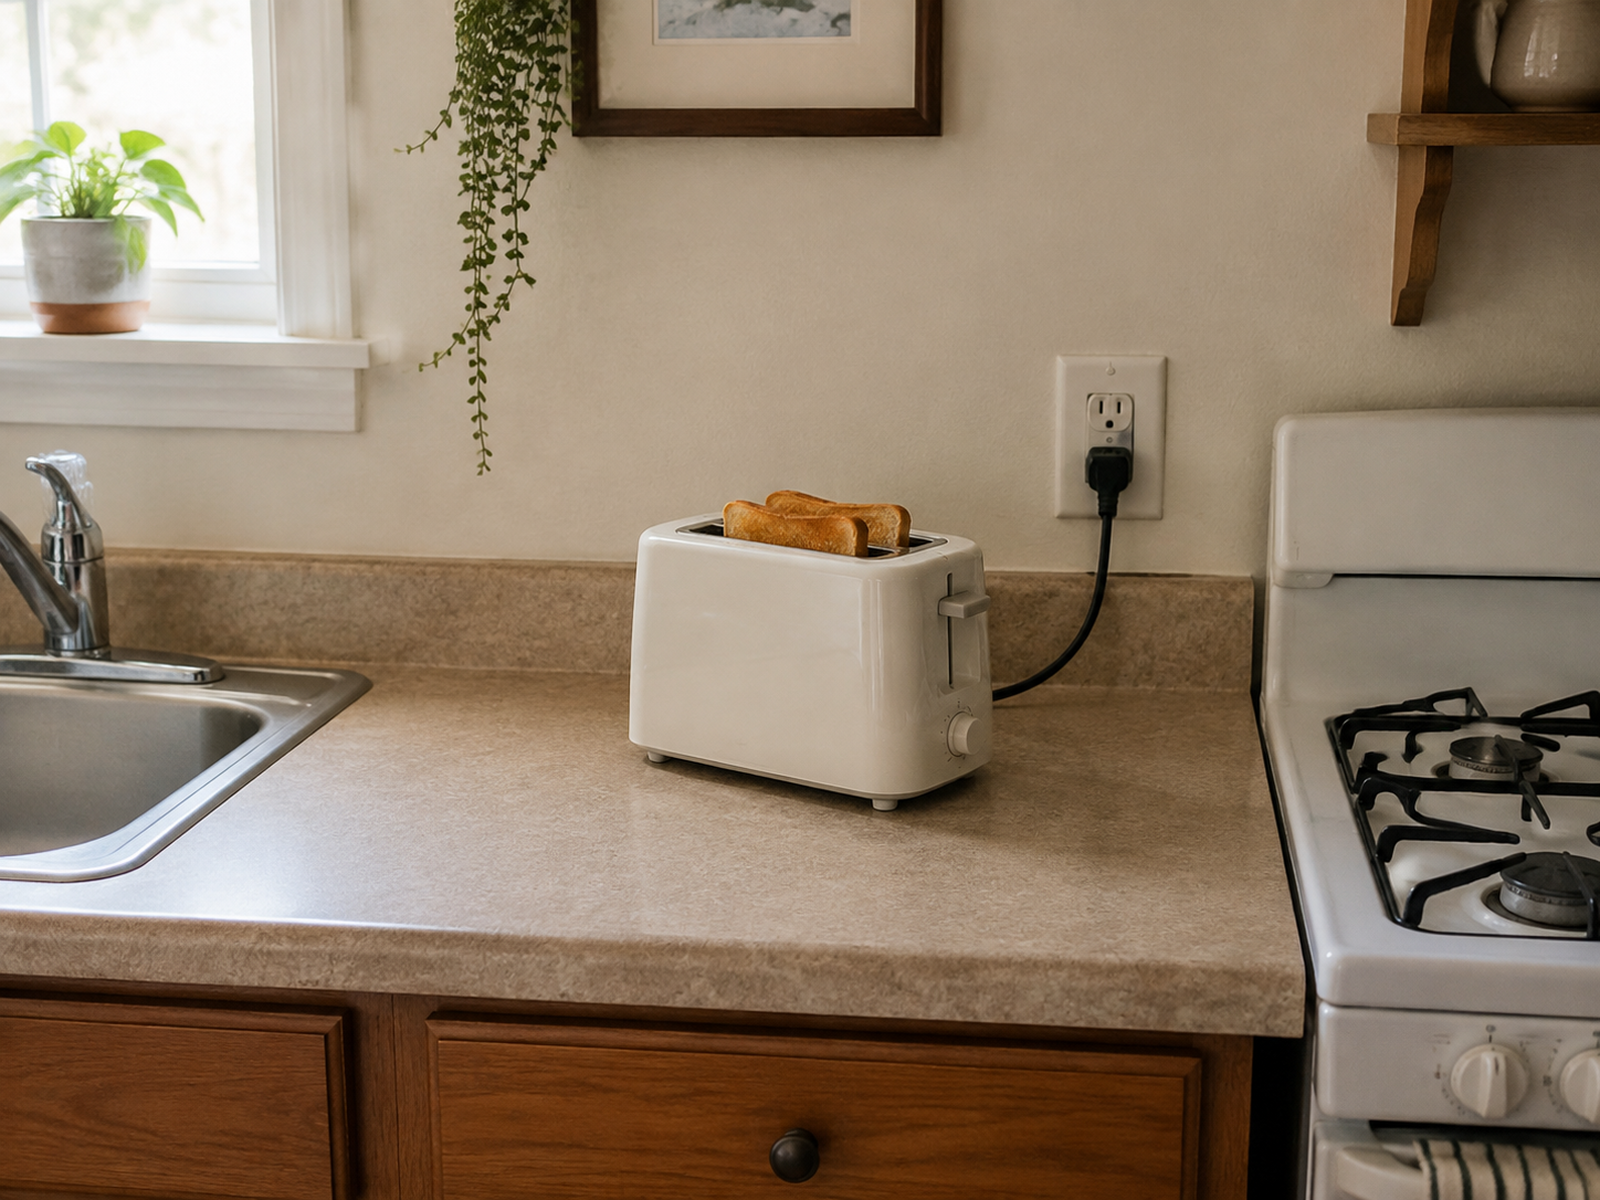
A convenient shelf is not useful if the appliance can only run with its cord crossing a sink, range, walkway, or dangling edge. Plan the operating zone around the actual cord and outlet location rather than assuming a storage product will solve the electrical path later.
The Electrical Safety Foundation International’s Kitchen Safety Tips recommend locating countertop appliances away from the sink and keeping appliance cords away from hot surfaces. ESFI’s Appliance Safety Tips also directs users to follow manufacturer instructions for small appliances. These sources establish useful boundaries without supplying model-specific clearances.
Heat-producing appliances may also need a cool-down interval before moving or storing. Because that timing varies by model, the organizing system should leave a realistic after-use state instead of assuming every machine can be pushed immediately back into a tight cabinet or enclosed garage.
08
Treat Appliance Garages, Mixer Lifts, and Wall Shelves as Installation Projects
Built-in appliance garages, mixer lifts, pull-outs, and permanent wall shelves can solve real access problems, but they belong in a different decision category from a removable bin or cart. They can require cabinet modification, mounting hardware, structural support, electrical planning, or landlord permission.
A hidden appliance garage also needs an explicit operating decision. Storing a machine behind a door does not prove that the machine can safely run there. Ventilation, heat, steam, door position, cord routing, and the appliance manual all still govern the operating state.
For renters, use installed solutions only when the lease, the physical structure, and the product instructions support them. Do not turn a renovation-level idea into “renter-friendly” simply because it looks compact.
09
Move Low-Frequency Appliances Outside the Kitchen When That Improves the Whole Space
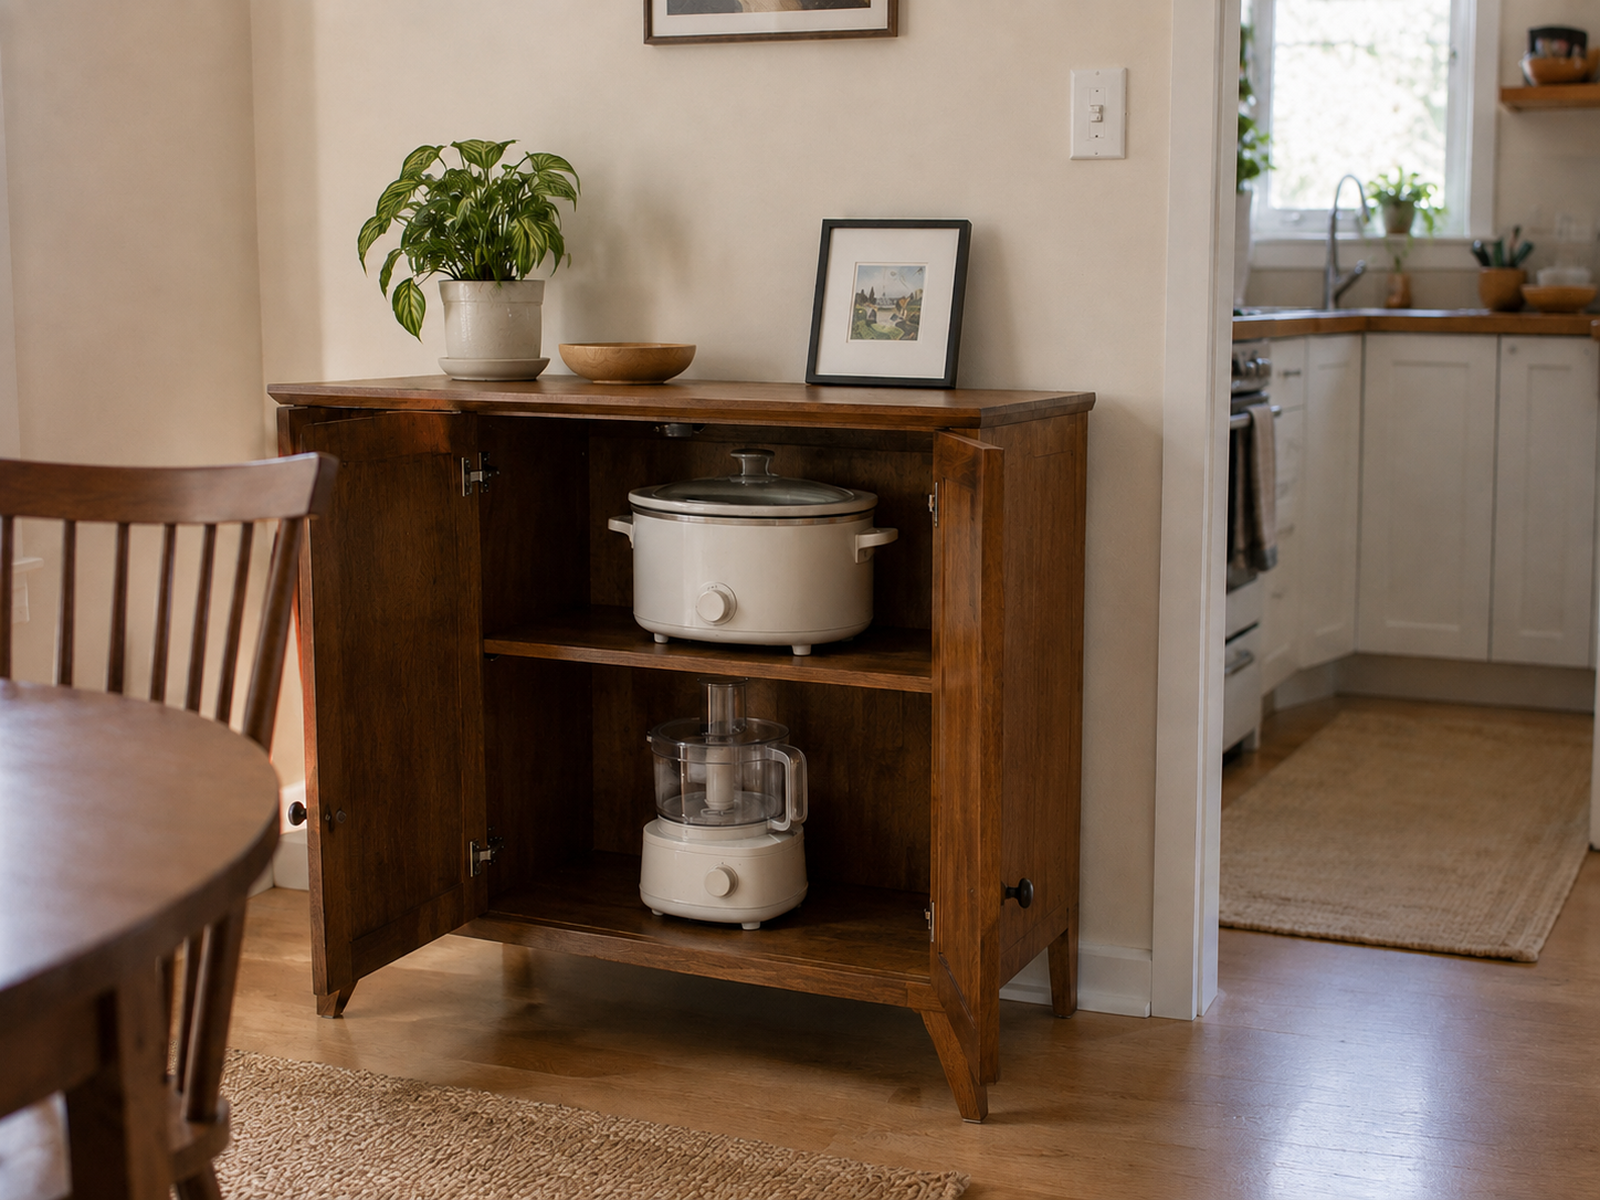
Every appliance does not need to live inside the kitchen. A food processor, specialty cooker, large blender, or backup appliance used only occasionally may be easier to store in a nearby dining-room cabinet, sideboard, pantry, or dry closet if the kitchen’s prime cabinets and counter are already doing more important work.
This trade works best when the appliance can be carried safely and the alternate storage stays close enough that the machine is not forgotten. It is less convincing for a heavy appliance used several times a week, where the extra carry distance may create more friction than the counter space saved.
Outside-kitchen storage is especially valuable in rentals because it can release pressure without changing cabinets or walls. Use the apartment’s existing storage network before buying permanent kitchen hardware solely to keep every appliance in one room.
What Not to Do
Avoid Appliance Storage That Only Solves the Counter
- Do not use a fixed rule such as “anything used weekly stays out” without considering weight, lifting effort, and counter cost.
- Do not assume an appliance can operate safely wherever its closed body happens to fit.
- Do not move a heavy appliance to a high shelf or the top of the refrigerator simply to clear the counter.
- Do not add a cart or rack without testing the refrigerator, oven, cabinets, drawers, and normal circulation around it.
- Do not describe appliance garages, mixer lifts, wall shelves, or other permanent hardware as baseline renter-friendly storage when installation or permission is unresolved.
Decision Sequence
Choose Each Appliance Home in This Order
01
Protect the work surface first
Mark the prep or landing zone the kitchen cannot afford to lose before giving any appliance permanent counter space.
02
Score the appliance by frequency and retrieval friction
Consider how often it is used, how heavy or awkward it is, and whether putting it away after every use is realistically sustainable.
03
Test both the stored and operating states
Measure moving parts, airflow or heat needs from the actual manual, cord and outlet location, nearby water or hot surfaces, and the full retrieval path.
04
Choose the lowest-cost zone that still works
Keep only the appliances that earn prime access, use cabinets or carts where their trade-offs are acceptable, and move low-frequency equipment outside the kitchen when that improves the whole apartment.
Closing Decision
Keep Prime Space for the Appliances That Truly Earn It
A strong small-kitchen appliance system is not the one with the fewest machines visible. It is the one that protects a usable prep zone, keeps high-friction appliances realistically accessible, and gives every stored appliance a workable path from parking to operation and back again.
If the counter still feels crowded, do not begin with another organizer. Recheck which appliances deserve daily access, which can tolerate a reset step, and which can leave the kitchen entirely. The best storage choice is the one that gives back more kitchen function than it consumes.