
Small Kitchen Organization
How to Create a Dish-Drying Zone in a Small Kitchen With No Dishwasher
When every wet dish has to dry by hand, the drying setup becomes part of the kitchen’s daily workstation. Size it for your normal load, measure what it costs while active and after reset, protect enough sink and prep space to keep the kitchen usable, and choose the lowest-intervention setup that can actually disappear when the dishes are put away.
In This Guide
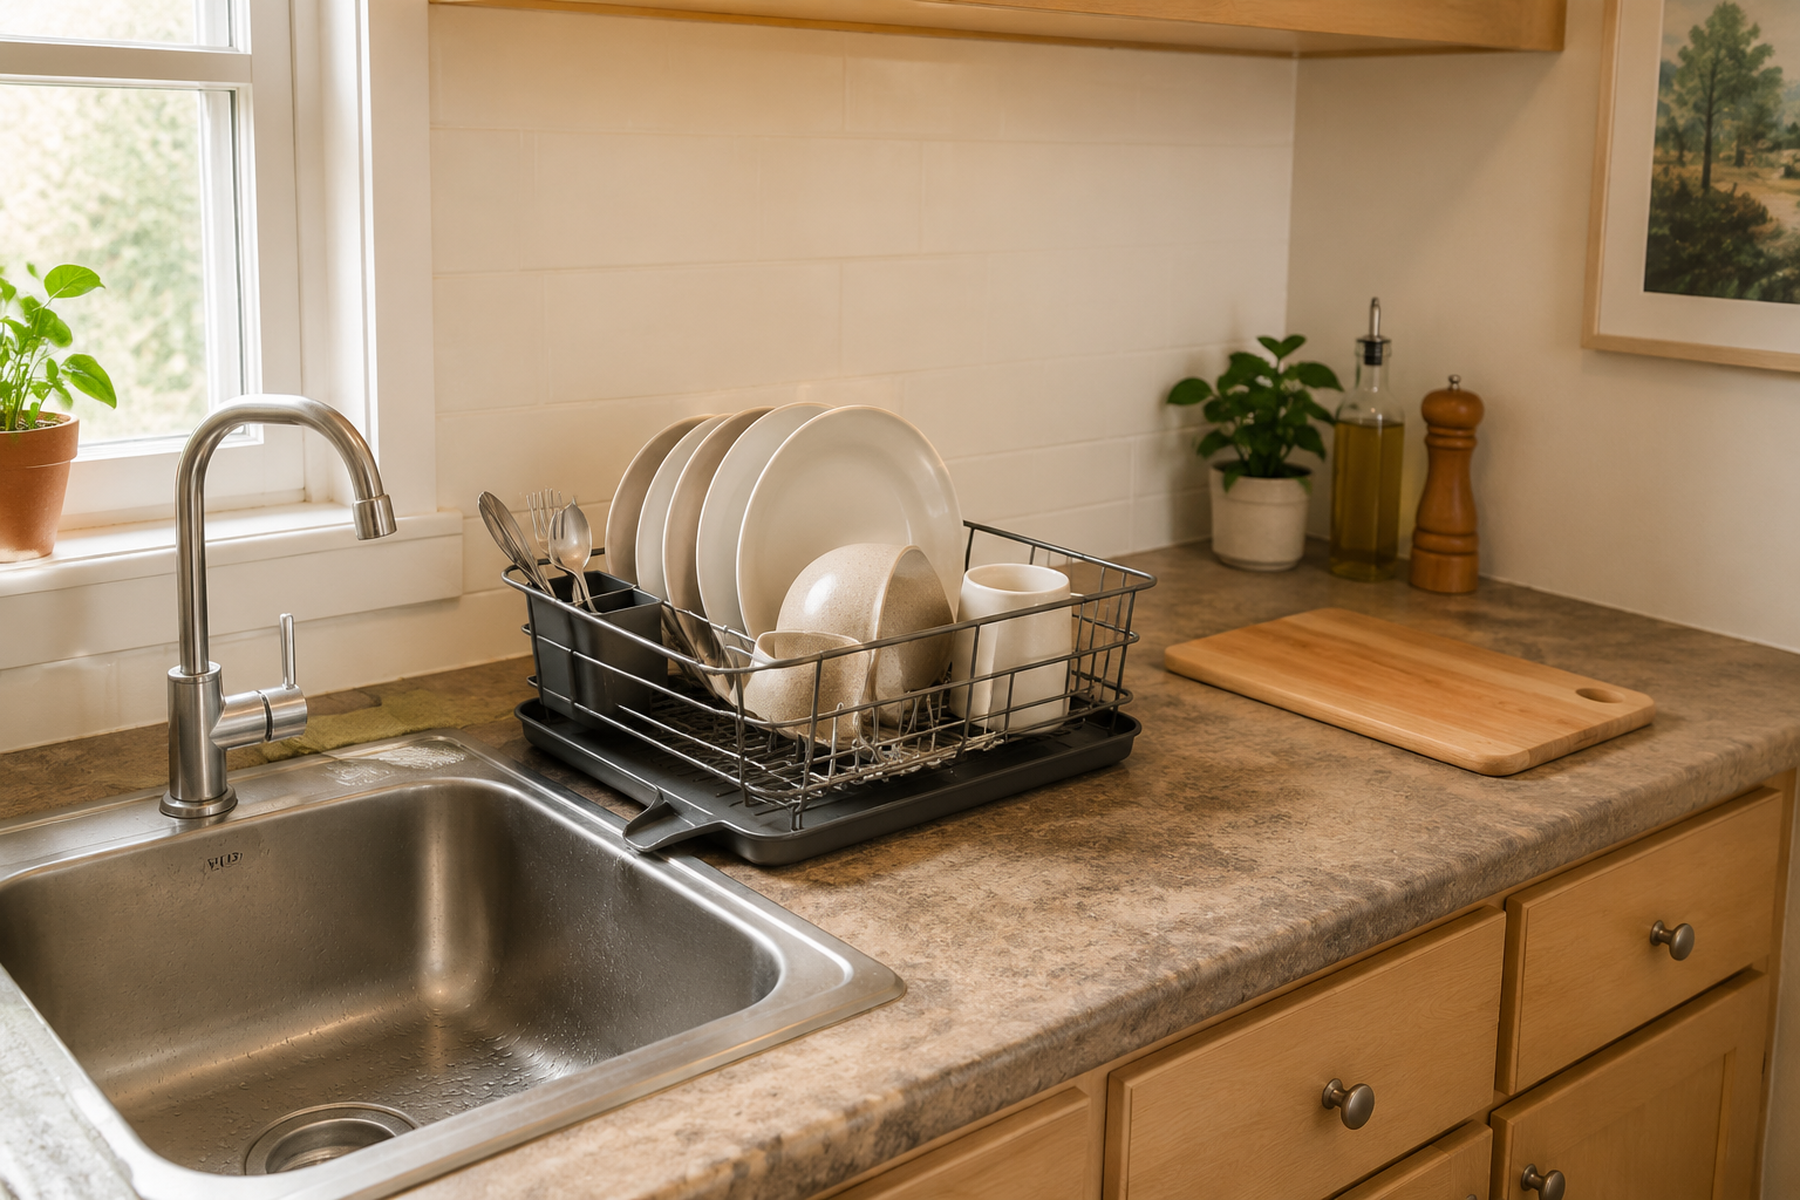
In a kitchen with no dishwasher, the wet-dish stage cannot be organized away. After every wash, plates, cups, utensils, and cookware need a stable place to air-dry before the kitchen can fully return to prep mode.
That makes the drying setup a temporary workstation state, not permanent background furniture. The useful question is not which rack looks smallest. It is how much space the system needs while dishes are wet, what kitchen function that active footprint displaces, and where the rack or mat goes after the dishes are put away.
Quick Answer
Judge the Drying Setup by Both of Its Footprints
A small-kitchen drying system has to work during the wet phase and after reset. Protect a real prep zone, preserve enough sink function for the next task, and do not count a rack as space-saving until its stored state has a real home.
01
Size for the normal load
Choose around the dishes you wash most days rather than the largest possible hosting or cookware load. Handle occasional overflow separately when that creates a better everyday footprint.
02
Measure the active and stored states
A fold-flat rack may store compactly but still occupy meaningful counter space while loaded. An expandable rack may shrink after peak use but still needs room in its larger state.
03
Check what the solution steals
Countertop systems spend counter space; over-sink systems spend basin access; wall systems spend installation permission. The best trade is the one that returns useful kitchen function after the drying cycle.
01
Size the Drying Zone for the Load You Actually Wash Most
Start with one ordinary day of hand washing. Count the plates, bowls, mugs, glasses, utensils, cutting boards, and small cookware that usually need to dry at the same time. That normal load is more useful than sizing the permanent setup for the biggest dinner you might occasionally cook.
If a small rack can handle the daily load, occasional pots or mixing bowls can use a temporary overflow surface when needed. That can be a better small-space trade than dedicating the best prep area to a large rack all day.
Also look at reset behavior. A stowable system only reaches its smaller stored footprint when dry dishes are actually put away. If the rack normally becomes long-term dish storage, choose a permanent location you can afford rather than relying on a fold-away promise the household will not use.
Measure / Check First
Do not buy from the words “compact,” “folding,” or “over-the-sink” alone. Measure what the system occupies while dishes are wet and where the system itself will live after reset.
Measure the Drying Setup in Both of Its States
01
Measure the active footprint
Check the full loaded width and front-to-back depth, including utensil cups, drainboards, spouts, expanded sections, and the height of tall dishes under cabinets or windows.
02
Measure the sink relationship
For over-sink or in-sink systems, verify the exact sink opening, faucet movement, basin access, drain or disposer access when relevant, and the path for removing the rack.
03
Name the stored destination
For a mat or fold-flat rack, identify the actual cabinet, vertical gap, shelf, hook, or other storage point it will use after the dishes are dry. If there is no destination, the smaller stored footprint is theoretical.
There is no universal counter width, sink size, faucet clearance, or rack capacity that proves a drying system will work. Use the real wet-dish load and the exact product geometry as the fit test.
02
Decide Whether to Spend Counter Space or Sink Space
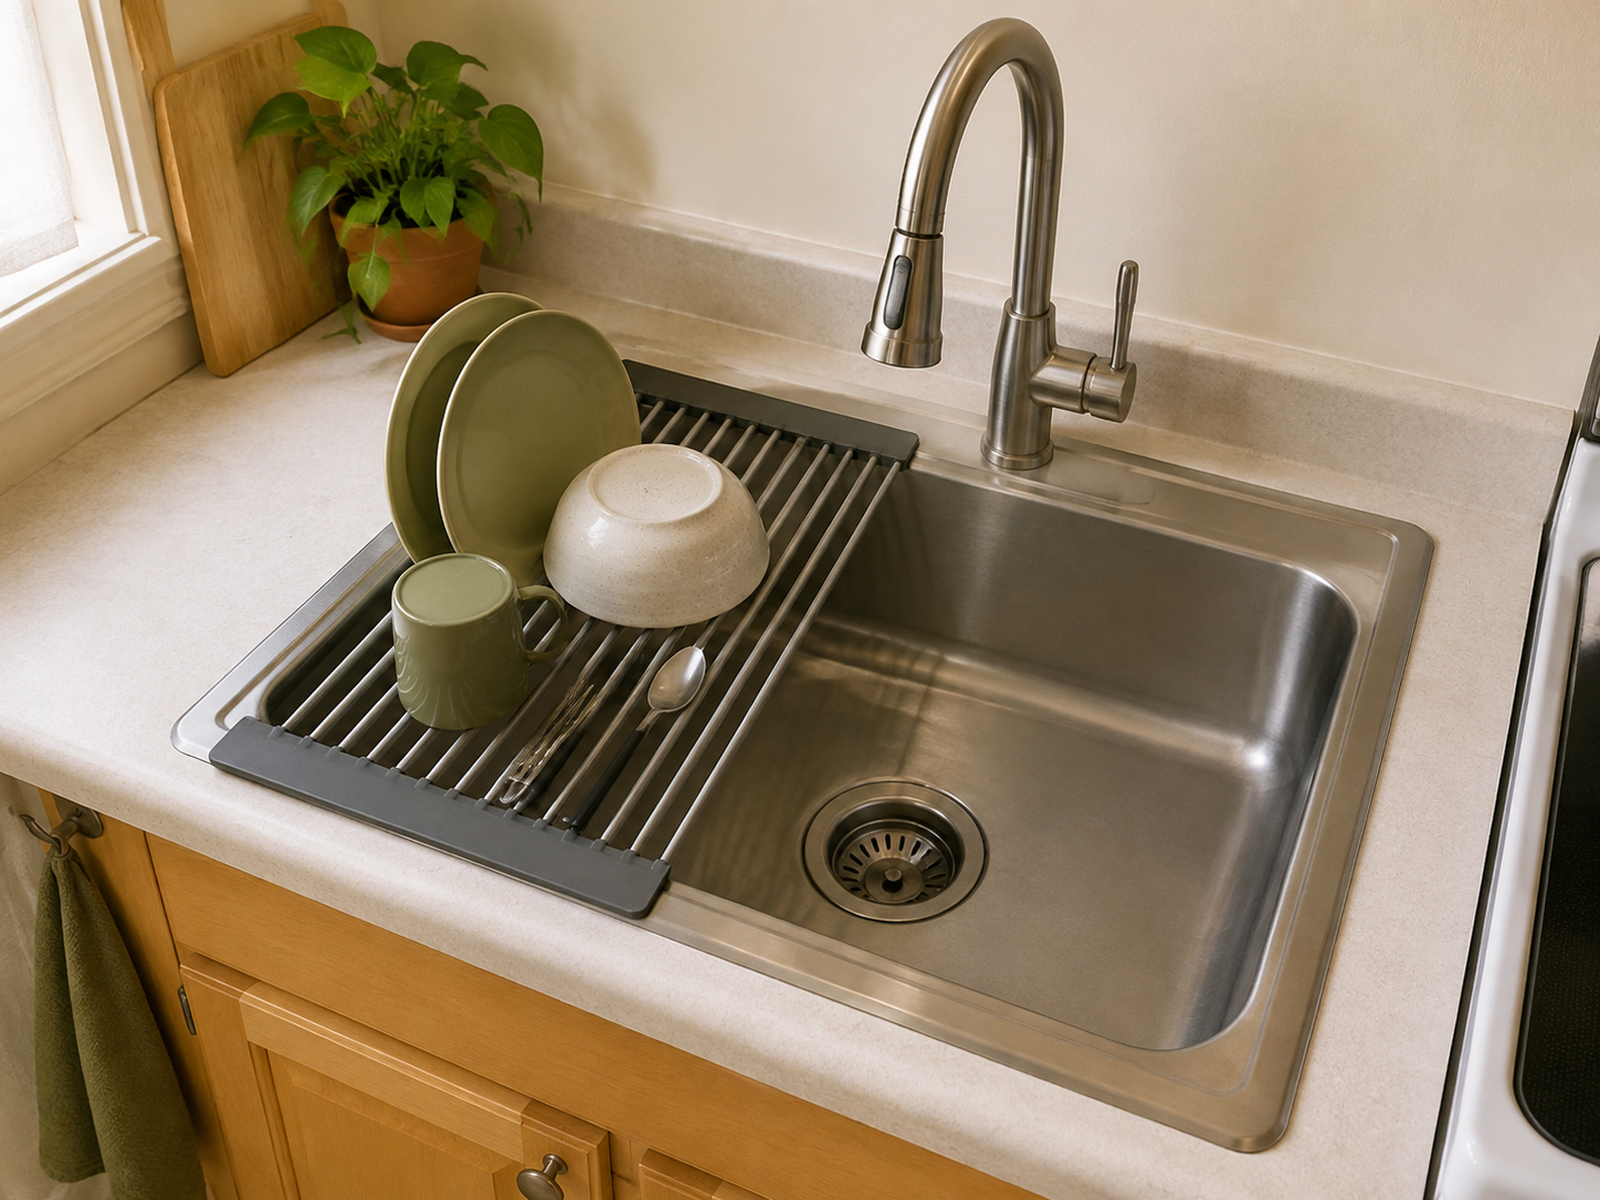
A compact countertop rack keeps most of the sink available, but it permanently or semi-permanently occupies some of the counter. This can be the better trade when a narrow residual zone beside the sink can drain reliably without consuming the surface you need for chopping and mixing.
An over-sink or in-sink rack makes the opposite trade: it can return counter area while using part of the basin. OXO’s current over-the-sink rack is one manufacturer-specific example of a removable rack designed to work across, inside, or beside a sink depending on configuration.
That product form proves the option exists; it does not prove every sink will support it. If the rack blocks the faucet, prevents you from rinsing produce or filling a pot, or makes the next wash batch awkward, the counter space was not recovered for free—it was purchased with sink capacity.
03
Match the Drying Form to the Problem You Need to Solve
A drying mat and a fold-flat rack can both become small after use, but they solve different active-state problems. A mat creates flexible open surface; a rack creates structure that can separate plates, cups, and utensils.
A fold-flat rack primarily improves the stored state. OXO’s current fold-flat dish rack is one current example of a rack designed to collapse for storage while still requiring a real counter footprint when open.
An expandable rack primarily changes active capacity. It can remain smaller for ordinary loads and open farther for larger ones, but the kitchen still needs enough room for that peak state. Choose the form by the constraint you are actually trying to change, not by the most appealing space-saving label.
Use / Skip
When an Over-Sink Rack Is the Better Trade
Use
Use — Use the sink when the basin can spare the drying footprint
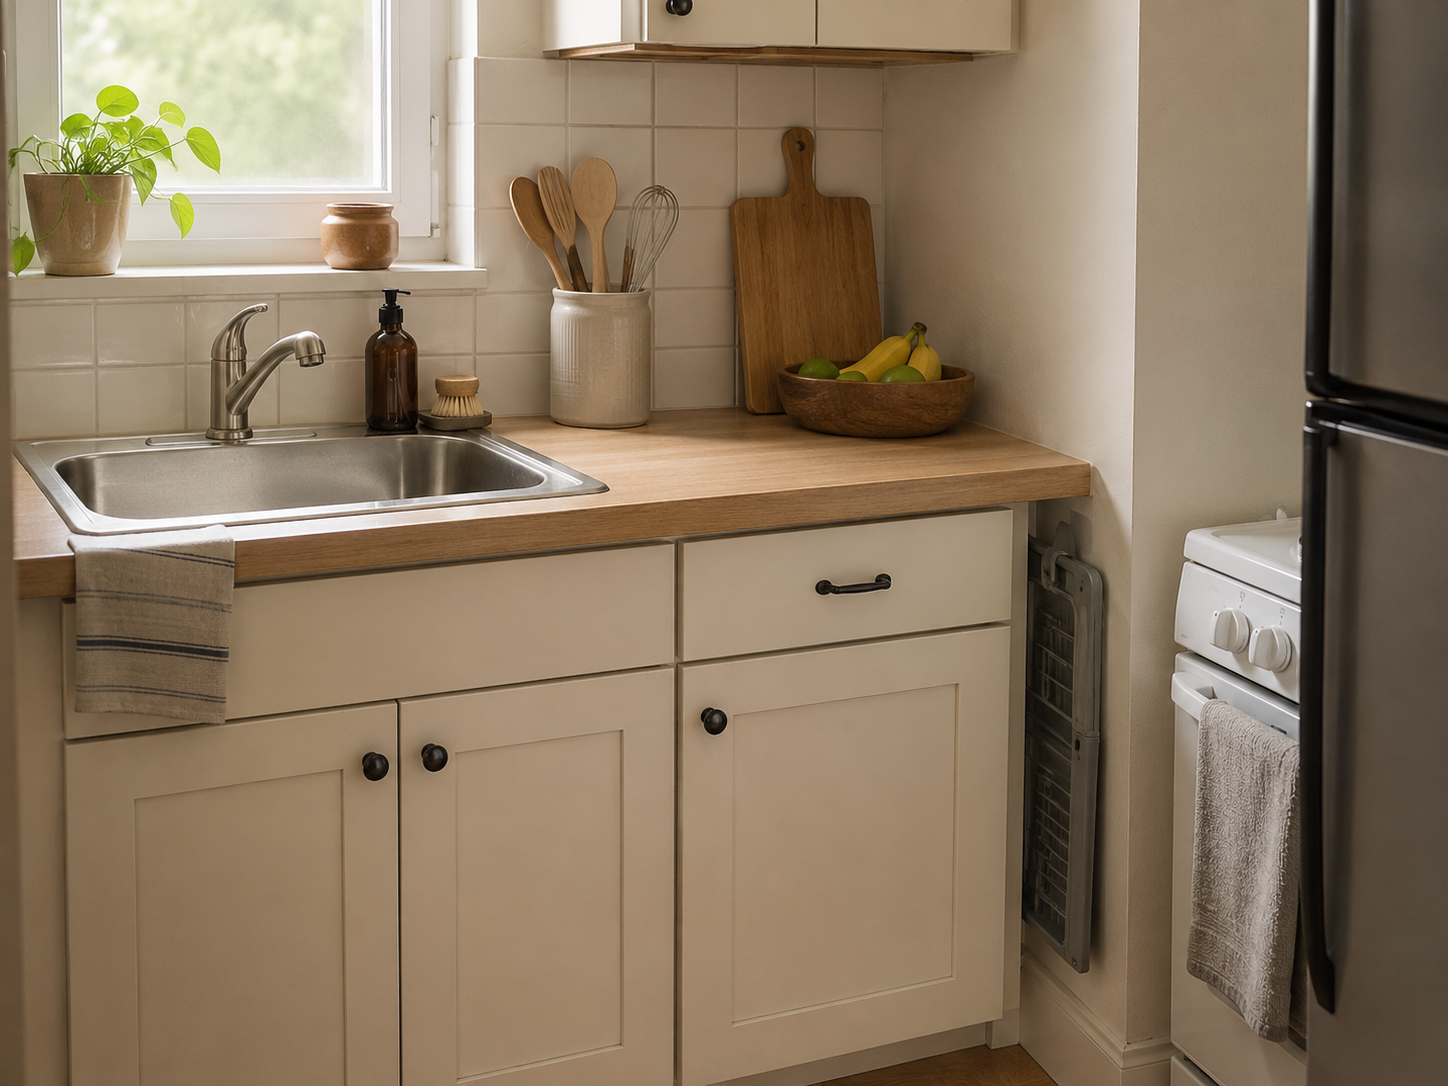
An over-sink or narrow in-sink rack can work well when the exact rack fits, the faucet remains usable, enough basin access survives for the next kitchen task, and moving the rack does not become its own daily obstacle.
Skip
Skip — Skip it when drying prevents the next sink task
If wet dishes occupy the only basin while you still need to rinse food, fill cookware, wash another batch, or reach the drain comfortably, keep more of the sink free and spend a smaller controlled area of counter instead.
04
Treat Air-Drying and Rack Cleaning as Part of the System
Counter recovery should not depend on rushing wet dishes off the drying surface with a kitchen towel. The drying surface itself is part of the food-handling environment and needs to be clean, stable, drainable, and maintainable.
University of Minnesota Extension’s current home-kitchen guidance says to use a clean, well-maintained drying rack when air-drying and advises allowing dishes and utensils to air-dry rather than cloth-drying because towels can transfer pathogens back to clean food-contact surfaces.
Use that guidance as a reason to build air-drying into the workflow, not as a claim that every household needs a commercial sanitizing routine or that air-drying is always faster. Choose a rack or mat you can clean according to its instructions, and do not let drainage trays or absorbent surfaces become permanent wet clutter.
What Not to Do
Don’t Call a Rack Space-Saving Until It Has a Reset
A rack that folds flat, rolls up, or contracts is only smaller after the dishes are put away and the drying system moves to a real storage location. If the rack stays open on the counter because there is nowhere to store it, judge it by its active footprint—not its product-page storage claim.
05
Keep Wall-Mounted Drying in a Separate Installation Branch
Wall-mounted drying can preserve both counter and sink area, which makes it look ideal for a tiny kitchen. But it changes the intervention class of the solution.
IKEA’s KUNGSFORS dish drainer is a useful manufacturer-specific example because the product can be used on a countertop or mounted to a wall, while the wall configuration requires secure anchoring.
For a renter, do not convert an anchored product into an improvised no-drill installation. Use wall-mounted drying only when the exact instructions, wall, fasteners, and lease or owner permission all support it. Otherwise stay with removable counter or sink-based options.
06
Use a Stop Rule When Every Small Rack Creates a New Problem
A tiny rack is not automatically a good small-kitchen solution. If it cannot hold the normal load, a drying mat consumes the whole prep zone, an over-sink rack blocks the basin, and there is nowhere to store a fold-away system, the problem may be larger than one organizer can solve.
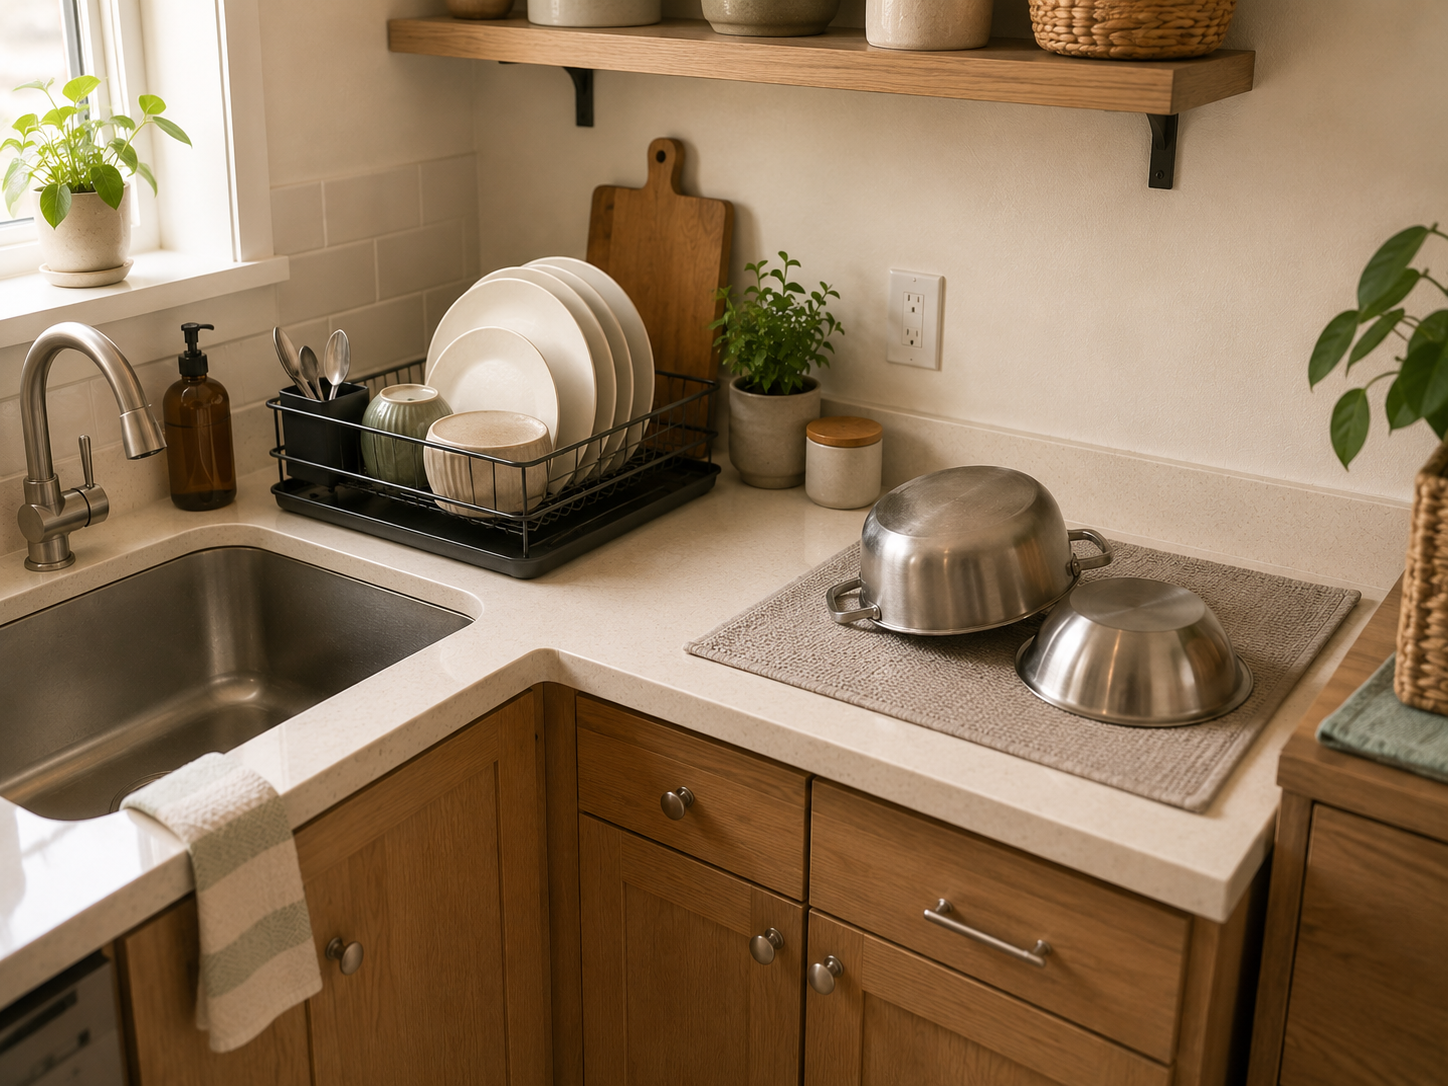
A hybrid setup can sometimes be more honest: a small everyday rack for plates and cups plus a temporary mat for bulky cookware, or smaller wash batches followed by prompt put-away. Use the combination only when it makes the daily reset easier rather than creating two permanent drying zones.
If hand-washing volume itself is the real source of friction, that becomes a separate appliance question. Portable or countertop dishwashers bring plumbing, electrical, footprint, cost, and rental considerations that this guide does not evaluate.
Closing Decision
Build a Drying Zone That Gives the Kitchen Back
In a small kitchen with no dishwasher, dish drying is an unavoidable temporary state—but it does not have to become permanent counter storage. Size the setup for the normal load, measure the active footprint and the stored footprint, then decide whether the kitchen can better afford counter space or sink space during drying. Keep a clean air-drying surface in the workflow, give foldable equipment a real storage destination, and treat wall-mounted systems as a separate permission-dependent branch. The best setup is the one that handles wet dishes reliably and then returns a real prep surface and usable sink to the kitchen.
RELATED GUIDES
What to Read Next
NEXT GUIDE
How to Hang and Dry Dish Towels in a Small Kitchen With No Towel Bar
Useful for extending the drying zone to towels without giving up more counter space.
GUIDE
How to Store Small Kitchen Appliances Without Losing Counter Space
Continues the counter-allocation decision when appliances compete with the same prep and drying surface.
GUIDE
Where to Put Paper Towels in a Small Kitchen With No Counter Space
Useful for moving another high-use kitchen item off the counter while keeping it easy to reach.