
Small Bathroom Storage
How to Use and Dry a Bath Mat in a Small Bathroom With No Good Drying Spot
Give the mat two valid locations before you choose the material: one stable step-out position that preserves the door, toilet, and walkway, and one drying position that gets the wet mat off the shared floor without creating a new obstruction.
In This Guide
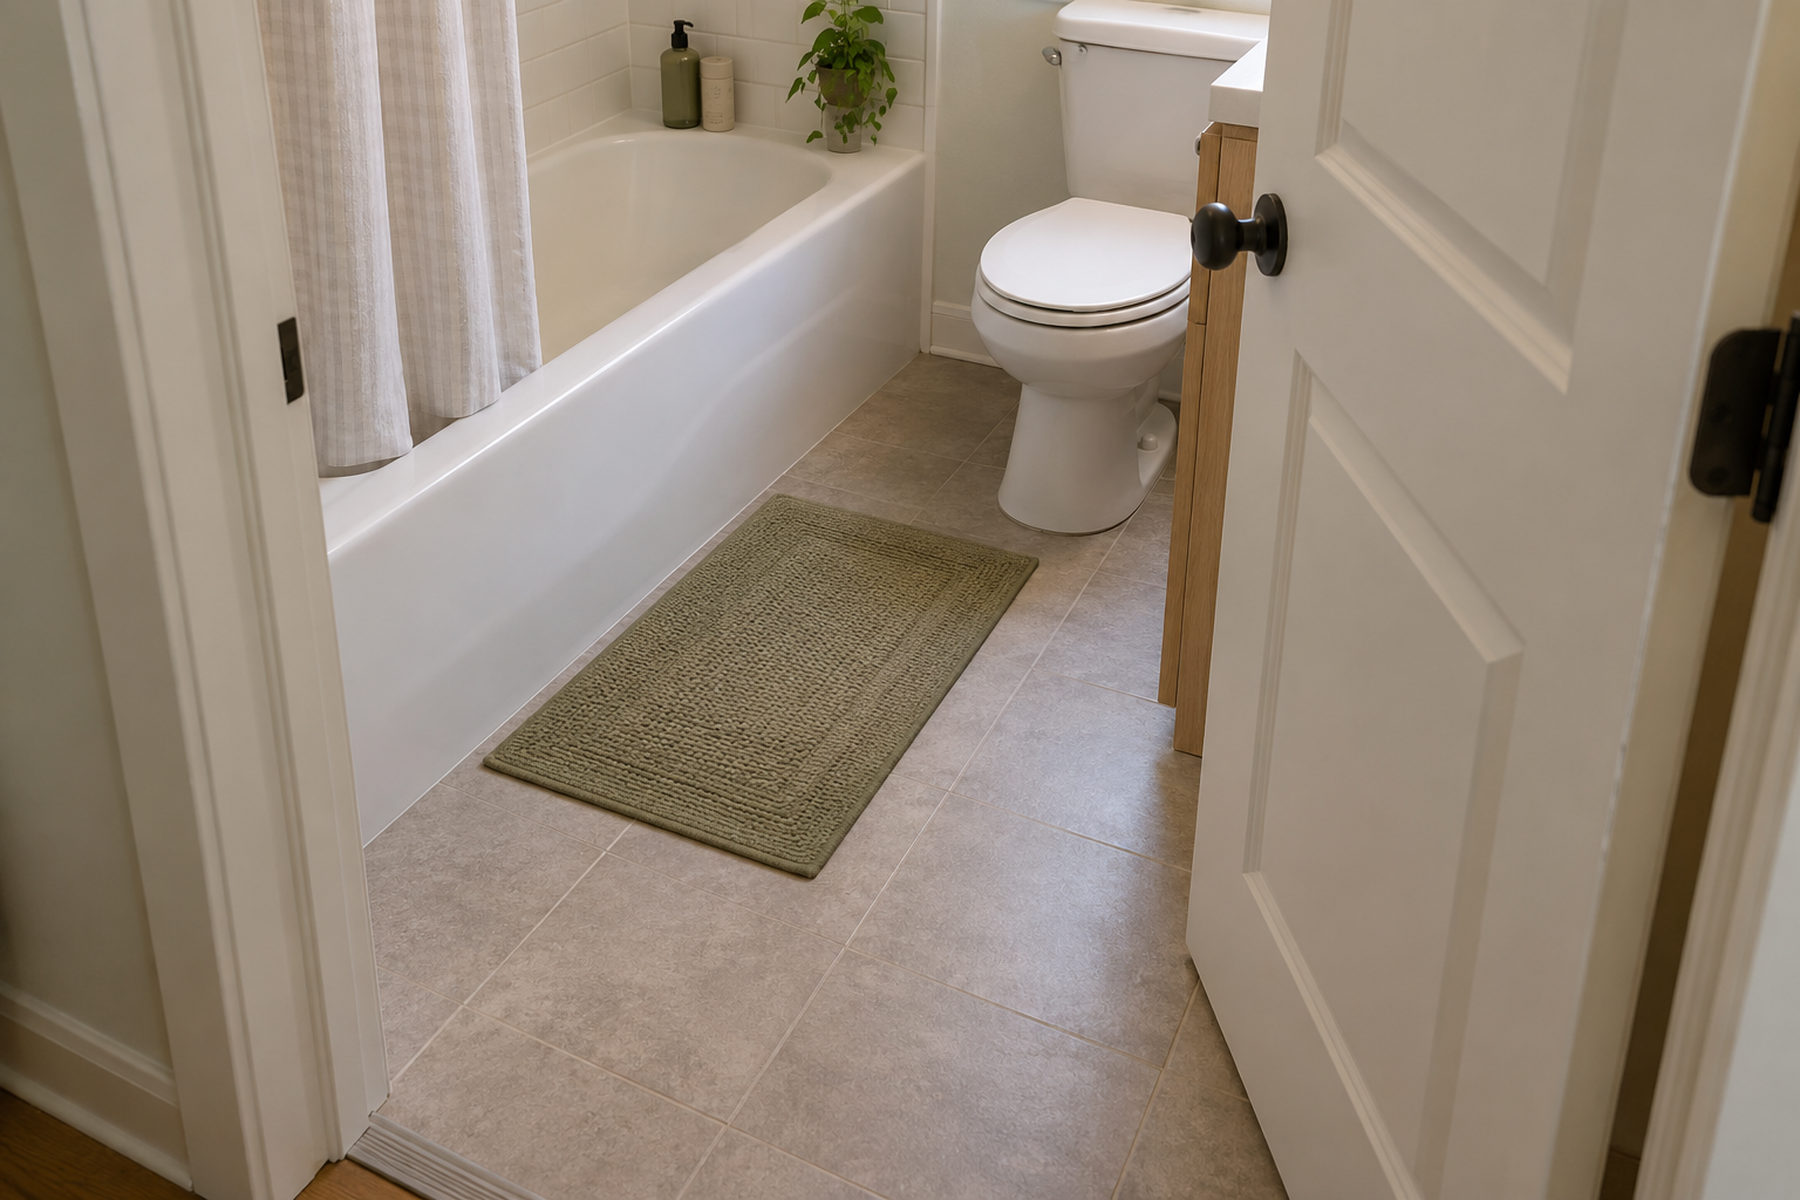
In a small bathroom, the square of floor outside the shower may need to serve several jobs within the same hour. It can be the place to step out, the path to the toilet, the bathroom door’s swing area, the route through the room, and the surface that still has to be cleaned and dried.
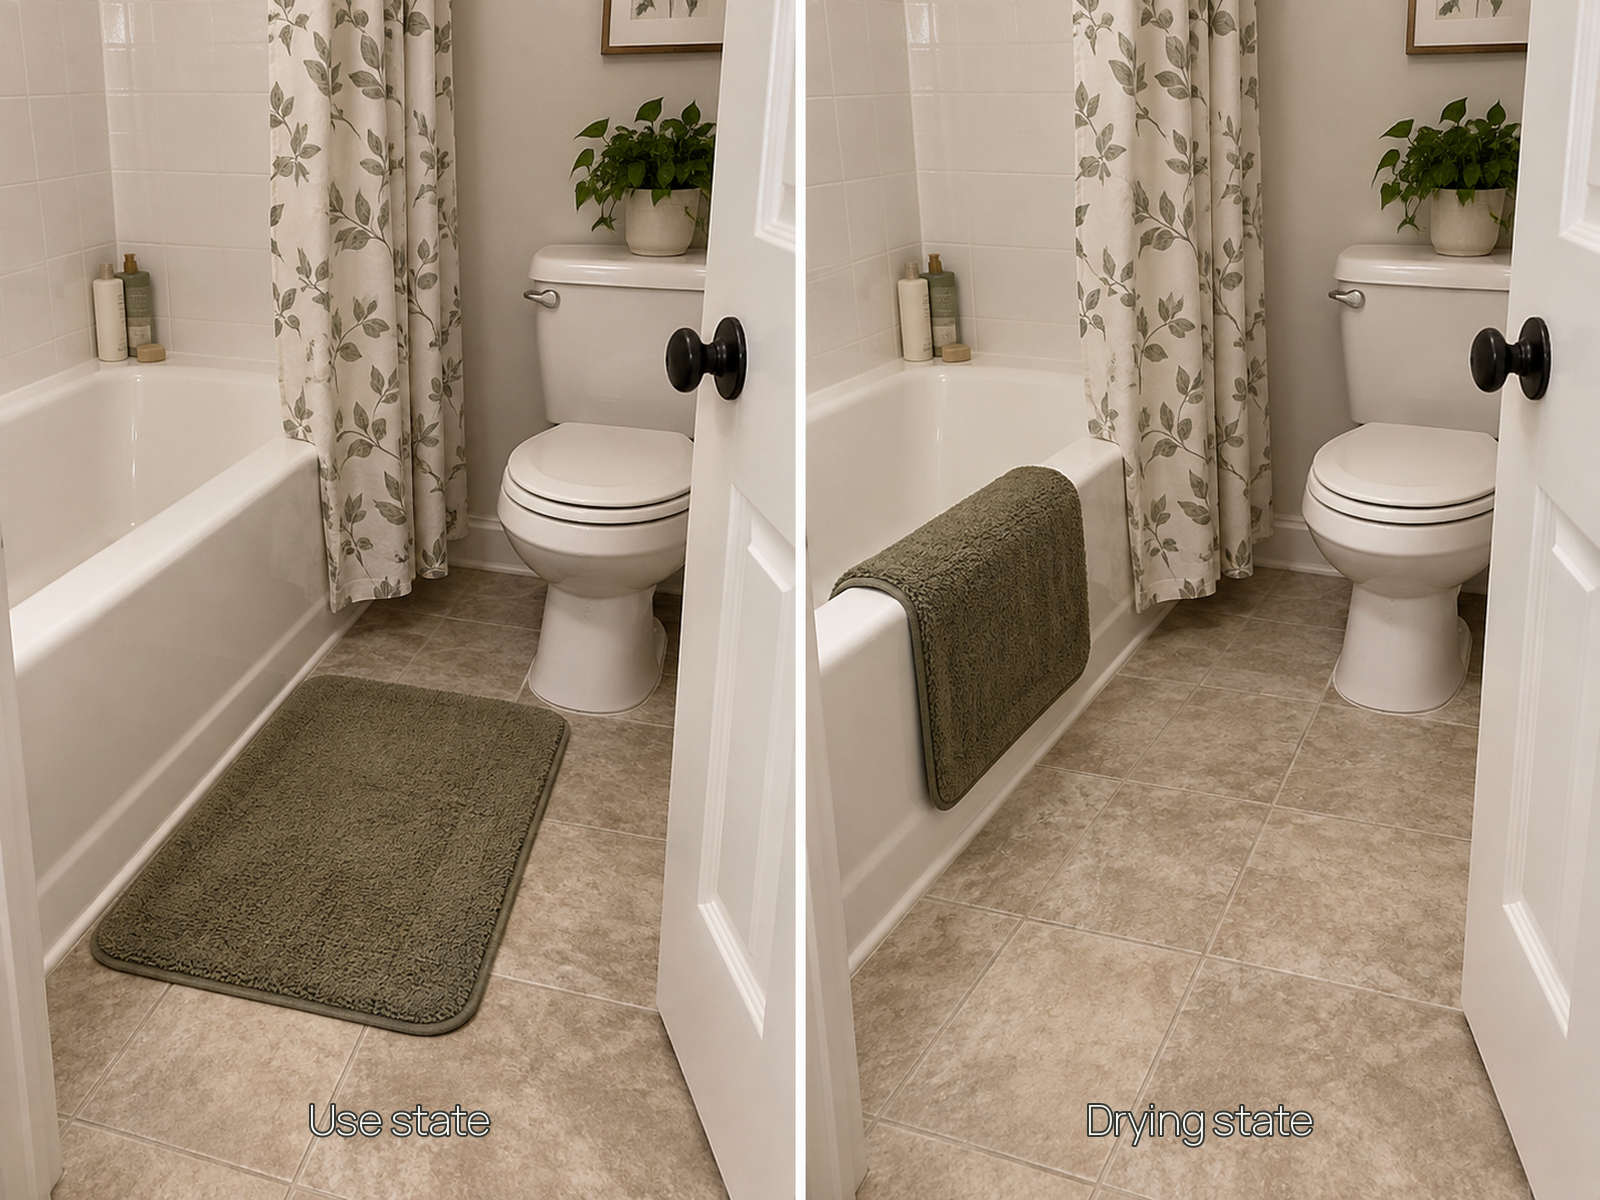
That makes a bath mat a two-location object rather than permanent décor by default. It needs a stable position while it is being used and a credible wet-state destination afterward, where the mat can dry without bunching under a door, blocking another fixture, or staying folded in a damp pile.
Quick Answer
Give the Mat Two Valid Locations
Solve the active-use position and the wet drying position as one system. A material can improve comfort, thickness, or drying behavior, but it cannot create door clearance or a second location the room does not have.
01
Measure the floor in actual bathroom mode
Open the door, sit at the toilet, step out of the shower or tub, and protect the narrow walking path. The mat has to lie flat inside the remaining usable rectangle.
02
Choose where the wet mat goes immediately afterward
Use an existing towel bar, compatible tub edge, appropriate rail, or another verified drying point when possible. If no second location exists, a deploy-and-remove routine is not yet a complete solution.
03
Let care, stability, and routine decide the mat form
Follow the exact care label, avoid blanket material rules, and choose a mat the household can realistically move, wash, dry, and reset without creating a loose or bunched floor hazard.
01
Map the Shared Floor Zone First
Start with the bathroom in use, not with a standard bath-mat size. Open the bathroom door fully, open the shower or tub entry, and identify where the user’s feet land when stepping out.
Then add the toilet footprint and the narrowest circulation path. A mat that fits the empty room can still fail when it sits under the user’s feet at the toilet, catches the door edge, or forces everyone to step around a wet corner.
Measure the actual mat rectangle and the actual door clearance together. There is no universal bath-mat thickness or door-gap number that works across small bathrooms because door undercuts, sweeps, floor slopes, and mat construction vary.
Treat cleaning access as part of the geometry too. If the mat has to be dragged, folded, or stepped over every time the floor is wiped, permanent placement may be costing more floor function than it returns.
02
Decide Whether the Mat Lives There Full Time
A permanent floor mat can work when it stays flat, clears the door, does not interfere with toilet use, and can dry acceptably in the room between showers. In that case, leaving it in place may be the lowest-friction routine.
When the same patch of floor is needed for several functions, treat the mat as temporary equipment instead. Put it down for the shower-exit moment, then move it completely out of the shared floor zone while it dries.
This is a time-sharing decision, not a style preference. Community discussions from compact bathrooms repeatedly describe mats being used only for bathing, then hung over an available drying surface so the bathroom can return to normal circulation.
Do not assume a thinner or faster-drying material automatically fixes the room. If the door still catches the edge or the toilet still has no clear foot space, the floor conflict remains.
Measure / Check First
Before changing the mat or adding drying hardware, test the complete use-and-reset cycle in the real bathroom.
Check the Floor Rectangle, Drying Point, and Care Routine Together
01
Door, toilet, shower, and walking clearance
Place the mat where it would actually be used, then fully operate the door and shower entry and confirm the toilet and main path remain comfortable and unobstructed.
02
A real wet-state destination
Identify exactly where the damp mat goes after use and whether it can be spread or hung without blocking another function, stressing unverified hardware, or creating a drip path across the floor.
03
Product care and household handling
Check the exact wash and drying instructions, then confirm the mat is realistic to lift, move, dry, and reset at the frequency the household will actually maintain.
If the mat works only on the floor but has nowhere to dry, or dries well only by blocking a door or fixture, change the system before changing the décor.
03
Choose the Drying Destination Before the Material
A deployable mat only works when the second location is already credible. Existing bathroom fixtures are the lowest-intervention place to start because they do not add another permanent object to the room.
A spare towel bar, compatible tub edge, or appropriate existing rail can work when the mat can hang or drape open without preventing normal operation and without sending water onto a new walking surface.
Do not assume every shower door, glass edge, rod, towel bar, or hook is designed to carry a saturated mat. The exact fixture and load matter, especially when a thick mat becomes substantially heavier while wet.
The useful target is exposed surface and a clear reset path, not a universal drying-time promise. No authoritative source in this research establishes one drying deadline that applies to every bath mat, backing, room, and ventilation condition.
04
Match the Mat Form to the Geometry and Routine
A thinner towel-style mat can be easy to deploy, wash, and hang, while a low-profile backed mat may be better suited to staying flat on the floor. A rigid stone-type surface changes the wet-textile problem but still needs the right floor position and product-specific care.
Do not treat “quick-dry” as a universal technical specification. Drying behavior changes with thickness, construction, backing, water load, room humidity, airflow, temperature, and how the mat is positioned after use.
Manufacturer care instructions can differ even within similar-looking categories. IKEA currently tells users to hang its ALSTERN cotton bath mat to dry when not in use, while current FINTSEN and KALLGATE latex-backed mats permit low tumble drying under their own product instructions.
Component construction can change the rule again. Ruggable’s current bath-mat care guidance allows the cover to be washed separately but directs the pad to be hung until completely moisture-free and not tumble-dried. The care label should therefore control the routine, not a broad material shortcut.
Use / Skip
A Mat That Stays on the Floor
Use
Use it when the floor can afford the footprint every day
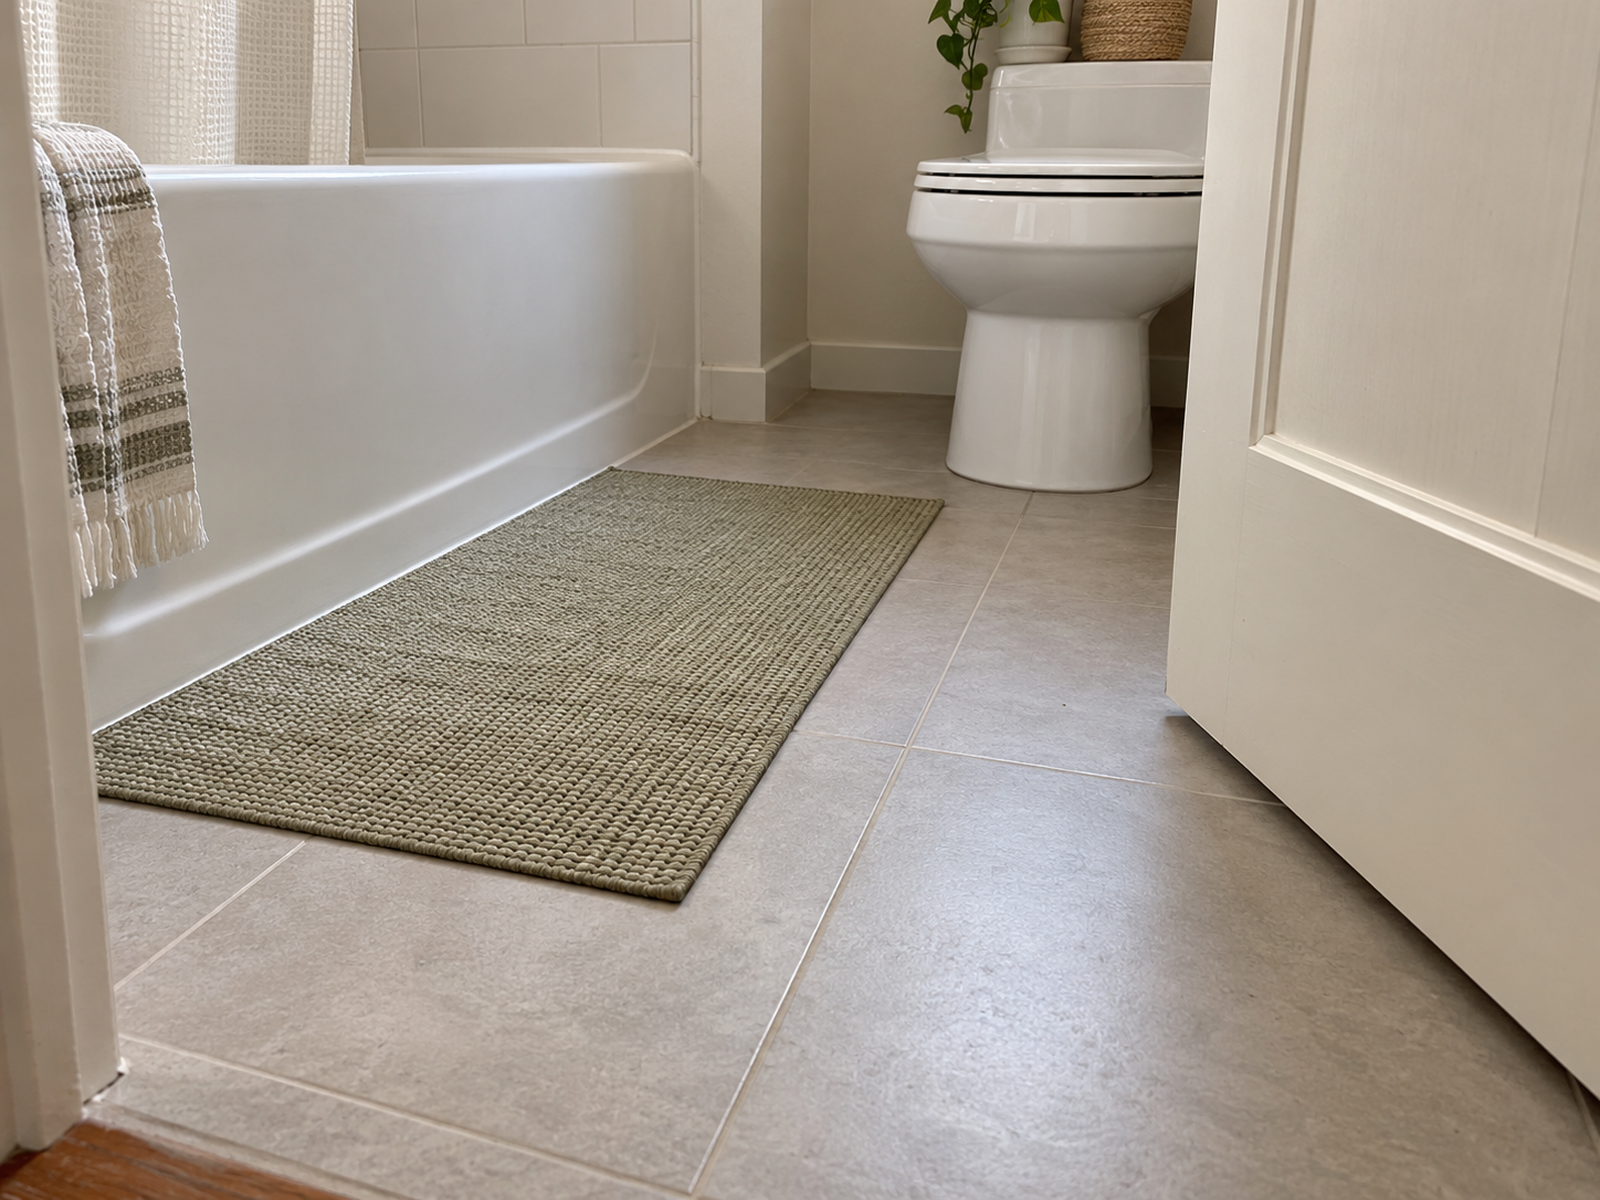
Permanent placement can work when the mat lies flat and stable, the bathroom door clears it, toilet and shower access remain comfortable, the floor beneath it can dry, and the room’s ventilation and product care are compatible with leaving it in place.
Skip
Skip it when the floor needs to change jobs after every shower
Use a deploy-and-dry routine instead when the mat bunches under the door, crowds the toilet, narrows the walking path, traps a wet floor underneath, or turns a small bathroom’s only clear floor area into permanent textile storage.
05
Use Existing Fixtures Before Adding Hardware
Try the bathroom’s existing drying surfaces before creating a new one. A spare towel bar, compatible tub edge, or other suitable fixture can move the mat off the floor without drilling, adhesive, or another freestanding object.
Spread the mat enough that it is not left in a compact folded pile, and make sure the floor below can also dry before the mat is reset. The goal is a workable wet-state position, not simply getting the mat out of sight.
Existing fixtures can still have conflicts. A mat can block a shower door, compete with towels, drip onto the only walking path, or overload hardware that was never designed for the wet weight.
If one existing fixture works without those conflicts, stop there. Small bathrooms gain little from adding a hook, rack, or floor stand when the room already has a reliable drying point.
06
Add No-Drill Hardware Only After Checking Load and Surface
Bathroom-rated removable hardware can create a vertical drying point when the room has no usable bar or rail. Current 3M Command Bath products verify that water-resistant, no-tool hook systems exist for several common bathroom surfaces.
That does not make every adhesive hook suitable for a wet bath mat. Check the exact product’s load rating, surface compatibility, preparation, use timing, removal method, and whether the mat’s wet weight and shape match the hardware.
Treat “renter-friendly” as conditional. A system is only renter-compatible when the exact surface and lease allow it, removal instructions are realistic for that finish, and the hook or bar does not prevent a door or shower panel from operating normally.
If the no-drill option becomes a complex mounting project, a small freestanding or tension-based system may be more reversible—but only when the bathroom can genuinely spare the footprint or vertical geometry.
07
Treat Ventilation and Care as Part of the Drying System
If the mat, towels, grout, and other bathroom surfaces all stay damp for long periods, the mat may not be the only bottleneck. EPA guidance treats moisture control as the core mold-control strategy and recommends increasing bathroom ventilation when showering where appropriate.
Use the exhaust fan as intended, or open a window when that is safe and practical. Better room airflow does not solve door clearance, but it can improve the conditions in which the mat and the floor beneath it dry.
Do not turn EPA’s general 24–48 hour moisture guidance into a bath-mat performance specification. It addresses damp or wet areas, materials, and furnishings broadly; it does not prove that a specific bath mat must dry within one universal number of hours.
Keep laundering and drying aligned with the product instructions. Machine washing, tumble drying, air drying, bleaching, and heat exposure can differ by construction, so the exact care label should remain part of the everyday storage decision.
08
Keep the Use State Stable and the Rest State Clear
The mat should solve the wet step-out moment without becoming a loose obstacle afterward. Keep edges flat, avoid bunching under the door, and remove the mat completely from the circulation path when the system depends on temporary use.
Households with older adults or meaningful balance or mobility concerns may need a more conservative stability strategy. Older-adult guidance from the National Institute on Aging and CDC supports stable nonskid treatment on wet bathroom surfaces while also warning about loose throw rugs and rug transitions.
That evidence should not be converted into a universal fall-risk score for every adult. The useful principle is narrower: the wet-zone surface should be stable for the people using it, and the rest of the bathroom should not gain a new curled, loose, or transitional obstacle.
If no permanent mat fits safely and no deployable mat has a believable drying destination, do not keep adding hardware around a failing layout. Reconsider the mat form, the drying method, or the room’s moisture strategy until both states work.
Closing Decision
Solve the Step-Out State and the Drying State Together
A small bathroom does not need to reserve scarce floor area for a bath mat all day just because the mat is useful for a few minutes after a shower. The strongest setup gives the mat a stable use position, then returns the shared floor to the door, toilet, circulation, and cleaning.
Choose the second location before the material, follow the actual care instructions, and add renter hardware only when the load and surface are verified. If the room itself stays persistently damp, treat ventilation as part of the system rather than asking a different mat to solve the whole bathroom.
RELATED GUIDES
What to Read Next
NEXT GUIDE
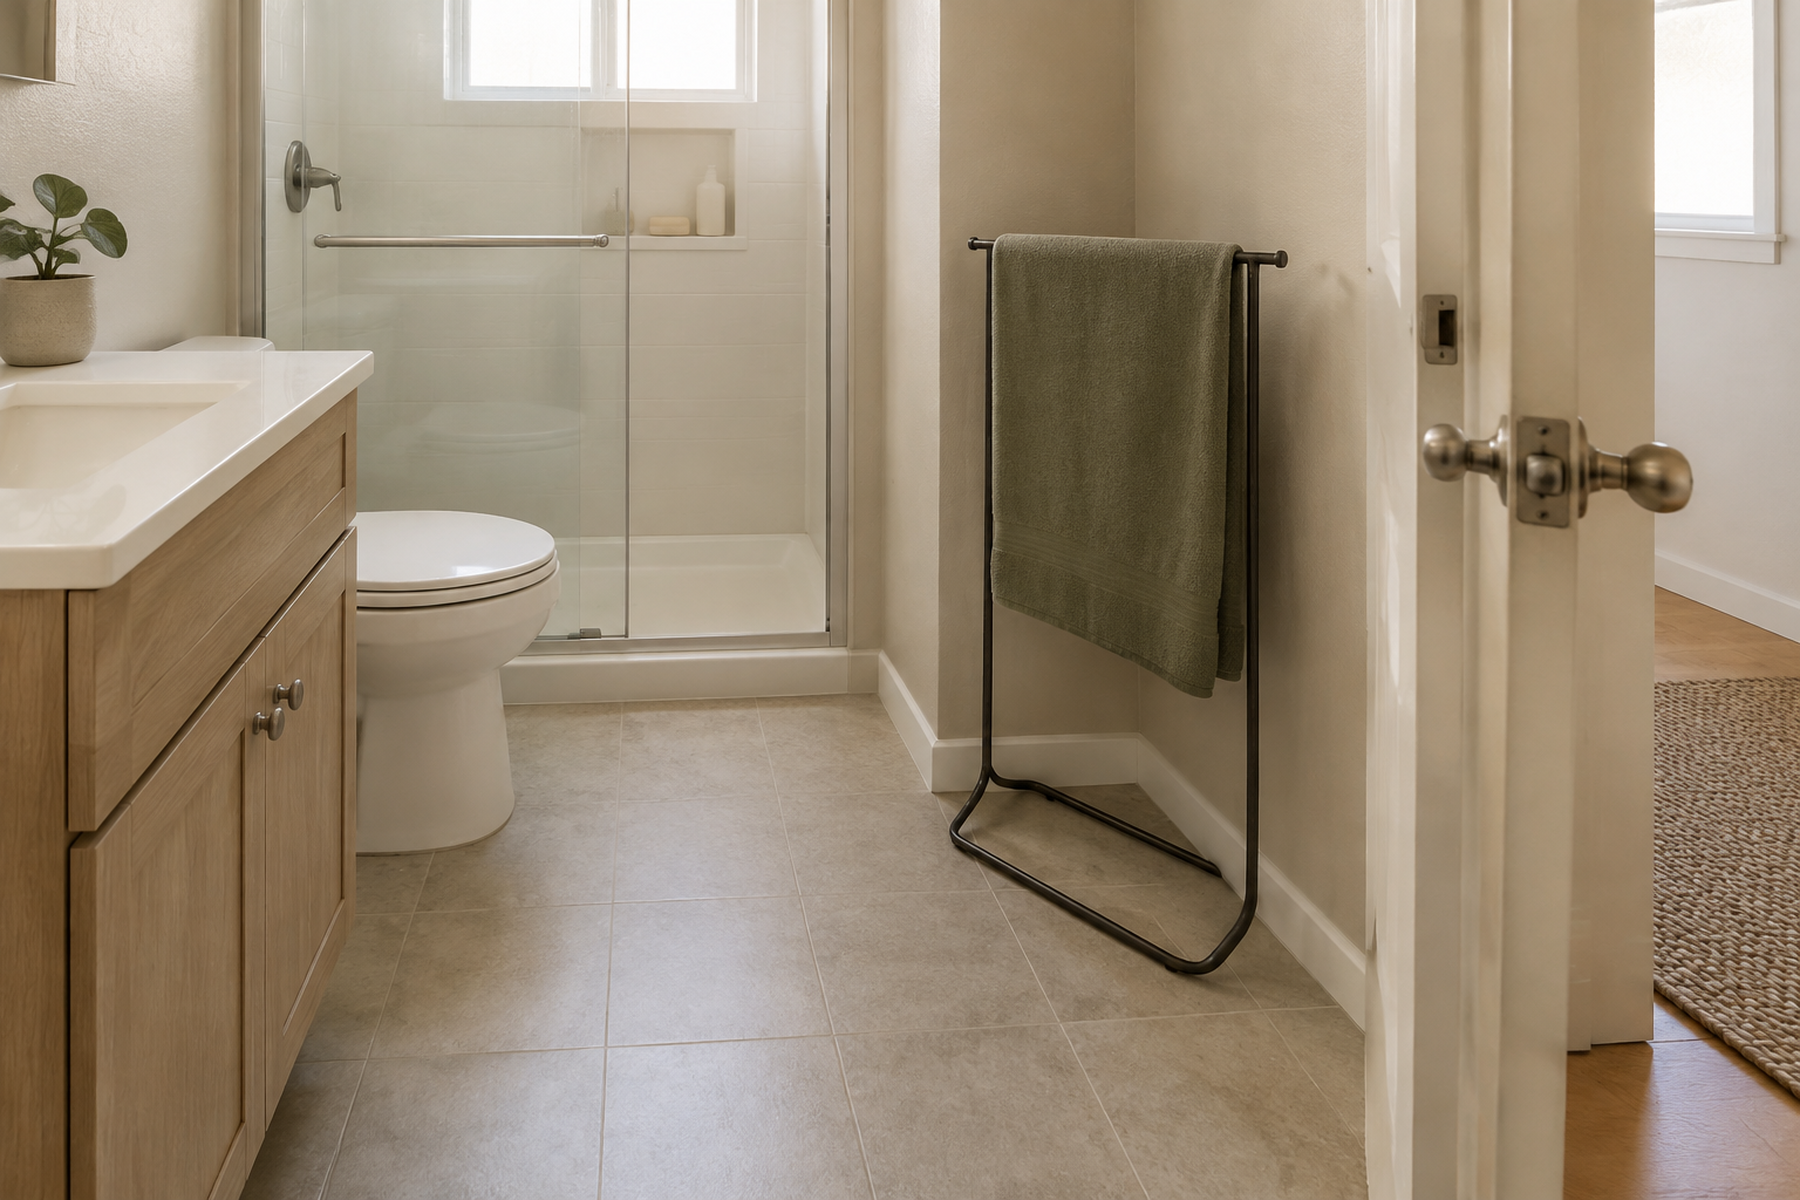
How to Hang and Dry Bath Towels in a Small Bathroom With No Towel Bar
Use this next if the mat has a drying plan but towels still have nowhere to go; that guide focuses on creating a daily towel-drying zone without assuming a built-in towel bar.
GUIDE
Where to Put a Trash Can in a Small Bathroom With No Floor Space
Use this if the same door, toilet, and walking zone is also competing with a waste bin; that guide treats the bathroom floor as a limited interaction envelope rather than empty storage area.
GUIDE
How to Store a Plunger and Toilet Brush in a Small Bathroom With No Floor Space
Use this if cleaning tools are occupying the only floor area that could support a step-out mat; that guide focuses on keeping necessary bathroom tools accessible without crowding the circulation path.