
Small Bathroom Storage
How to Store a Plunger and Toilet Brush in a Small Bathroom With No Floor Space
Treat each tool as dry, in use, and post-use before you choose its home, then test the real footprint, drying path, emergency access, and renter limits instead of assuming a slim holder automatically fits.
In This Guide
- Treat the Tools as Three-State Objects
- Test the Bathroom’s True Residual Floor Zone
- Use a Floor Station Only When the Bathroom Still Works
- Keep the Plunger Close Enough for an Emergency
More
- Treat the Tools as Three-State Objects
- Test the Bathroom’s True Residual Floor Zone
- Split the Brush and Plunger If One Station Is Too Large
- Use a Floor Station Only When the Bathroom Still Works
- Use Under-Sink Storage Only After the Tools Can Be Enclosed
- Keep the Plunger Close Enough for an Emergency
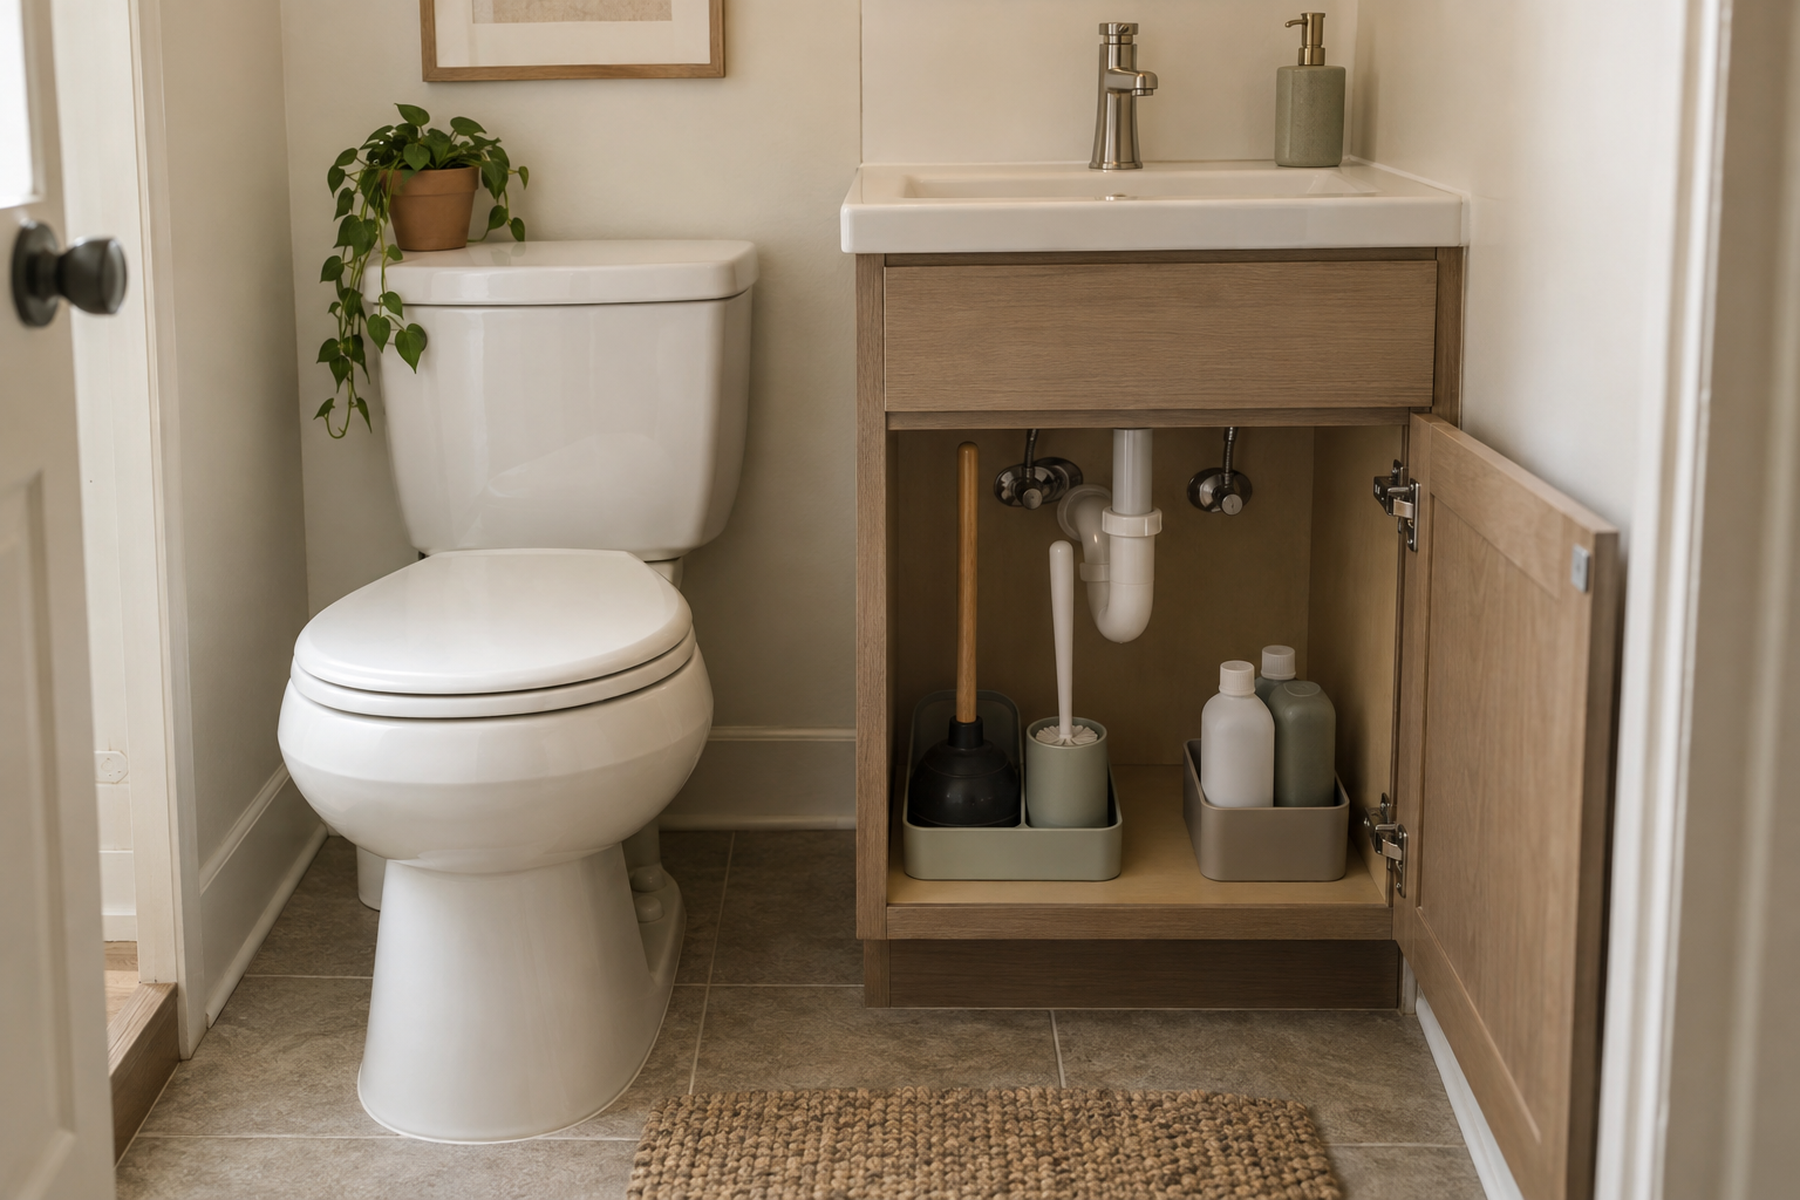
A plunger and toilet brush are not ordinary bathroom supplies. Their storage has to work when the tools are dry, while they are being used, and immediately afterward when they may still be wet or visibly soiled.
That changes the order of the decision. Start with the bathroom’s real circulation and access path, then decide where each tool can dry, where it can be contained, and how quickly it can be reached. Hiding the tools is useful only when concealment does not create trapped moisture, awkward retrieval, or a new obstacle beside the toilet.
Quick Answer
Solve Access and Post-Use Drying Before You Solve Visibility
01
Test the floor zone with the bathroom in use
A narrow holder is not automatically a fit. Check foot placement, toilet approach, vanity doors or drawers, shower or tub entry, tool retrieval, and the path needed to clean the floor.
02
Treat containment and drying as separate requirements
A covered canister can hide the tool, but enclosure alone does not prove that residual water can drain or that the tool can dry before longer storage.
03
Split the brush and plunger when their priorities differ
The toilet brush is routine cleaning equipment; the plunger is less frequent but can become urgent. They do not need to share one large floor station if the bathroom cannot support it.
04
Move off the floor before you improvise a bad floor fit
After a true residual floor zone fails, use existing cabinet capacity, nearby dry secondary storage, or a verified removable mount that matches the exact tool, surface, load, and lease conditions.
01
Treat the Tools as Three-State Objects
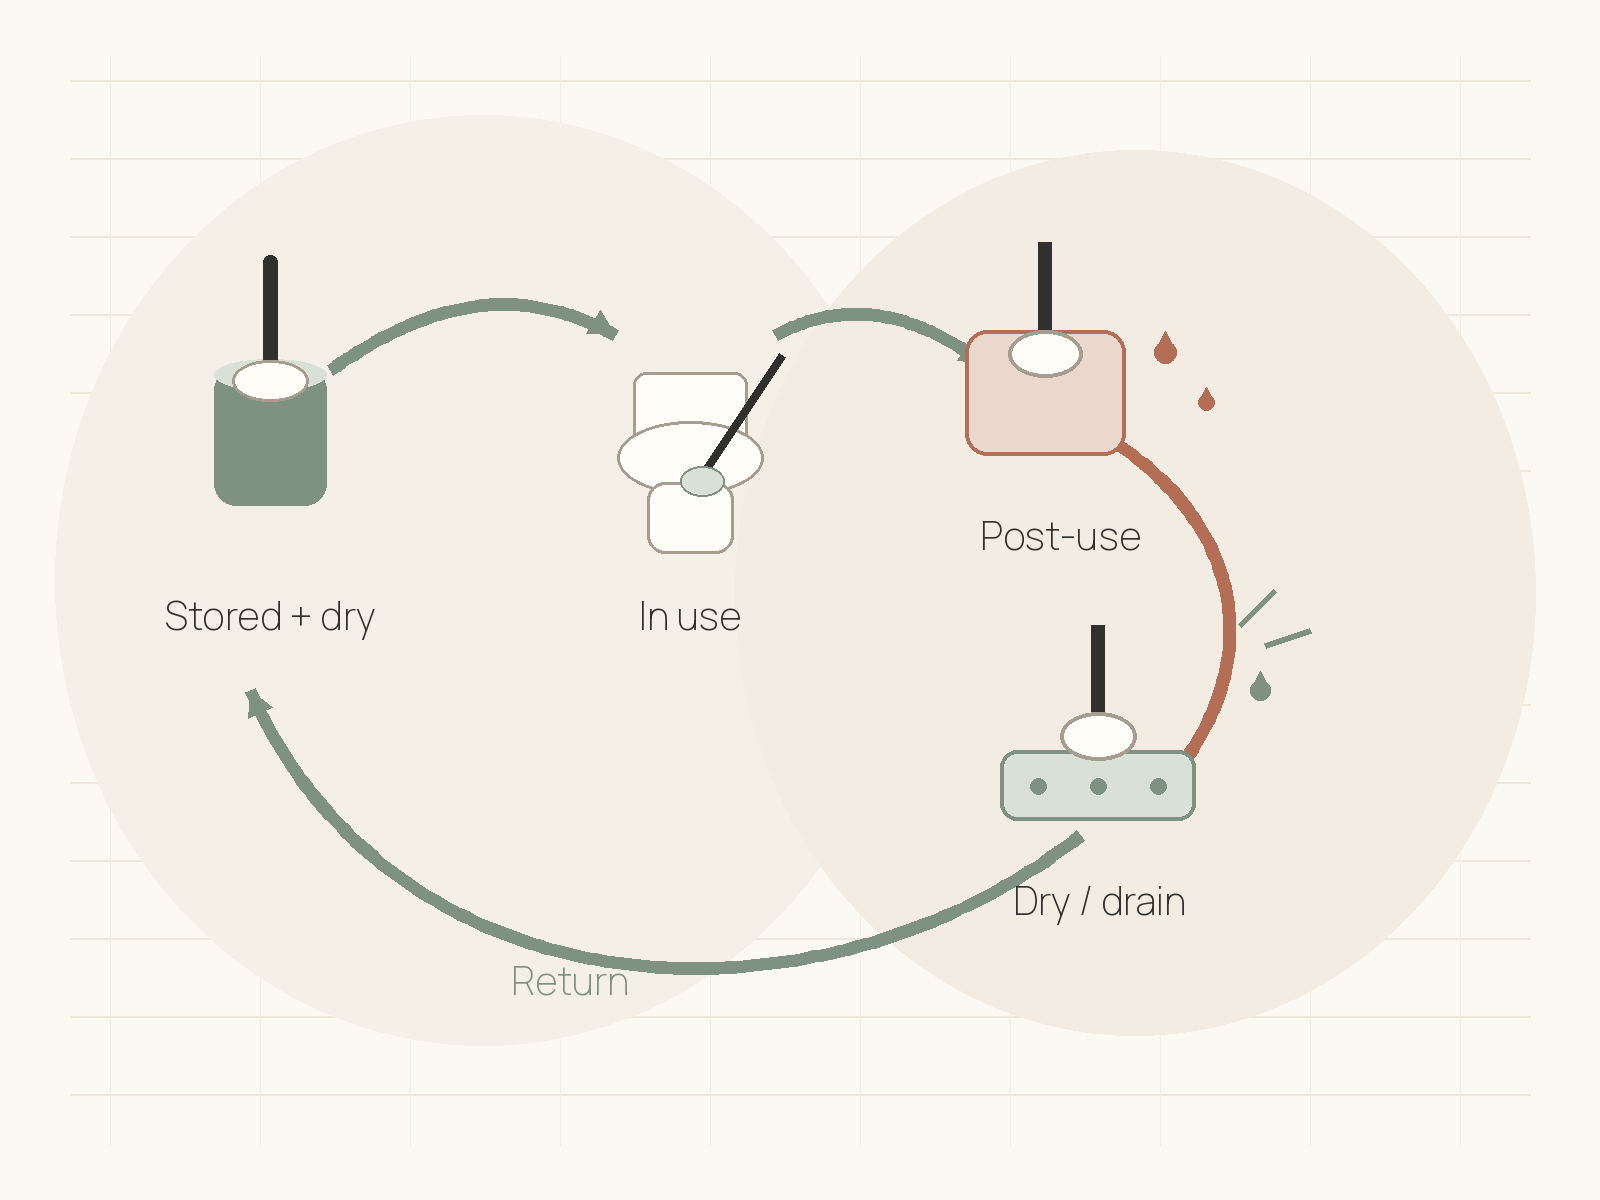
Plan for three states: stored and dry, in use, and post-use while wet or dirty. A location that works perfectly for a clean dry plunger can fail immediately after a clog if the only return path is a closed cabinet or fabric basket.
The toilet brush has the same state change during routine cleaning. It may need a temporary drain or drying step before returning to a more enclosed holder, depending on the tool design and manufacturer instructions.
This is why storage and cleaning cannot be treated as completely separate systems even though this guide is not a sanitation protocol. The organizer still has to answer where residual water goes, whether the holder can be cleaned, and whether the tool is being enclosed too soon.
Do not invent one universal drying time or disinfection routine. Tool materials, holder designs, contamination, household context, and cleaning-product labels can all change the post-use method.
02
Test the Bathroom’s True Residual Floor Zone
Measure more than the base of the holder. Include handle lean or projection, the direction the tool has to be lifted, the user’s normal foot position, and the room the bathroom needs for doors, drawers, shower or tub access, and floor cleaning.
A few inches beside the toilet are not automatically residual space. If the holder sits where a foot naturally lands, catches the vanity door, blocks the shower entrance, or has to be moved every time the floor is cleaned, that strip is already doing another job.
Behind the toilet is equally conditional. The area may look visually empty while being difficult to reach, difficult to wipe, or too narrow to remove the tool without hitting the tank, wall, or nearby fixture.
Test with the actual bathroom operating normally. If the station survives every movement without becoming an obstacle, the floor zone is real. If not, stop trying to make the holder fit and move to another storage class.
Measure / Check First
Before buying a slim canister, combined station, cabinet bin, or removable mount, test the whole tool-and-bathroom relationship.
Check Footprint, Retrieval, and Post-Use Return First
01
Full operating footprint
Measure the holder base, handle projection, lift-out direction, and the user’s normal foot position. Then open the bathroom door, vanity doors or drawers, and shower or tub access through their normal paths.
02
Drying and containment path
Identify where residual water can go after use and whether the tool can dry or drain before longer enclosure. A covered holder or closed cabinet should not be assumed to solve this automatically.
03
Emergency and cleaning access
Confirm that the plunger can be reached quickly, the holder can be cleaned, and the station does not need to be moved for routine floor cleaning or plumbing access.
If the system fits only by blocking foot placement, trapping a wet tool, hiding the plunger behind other storage, or making the floor harder to clean, choose another location before buying the holder.
03
Split the Brush and Plunger If One Station Is Too Large
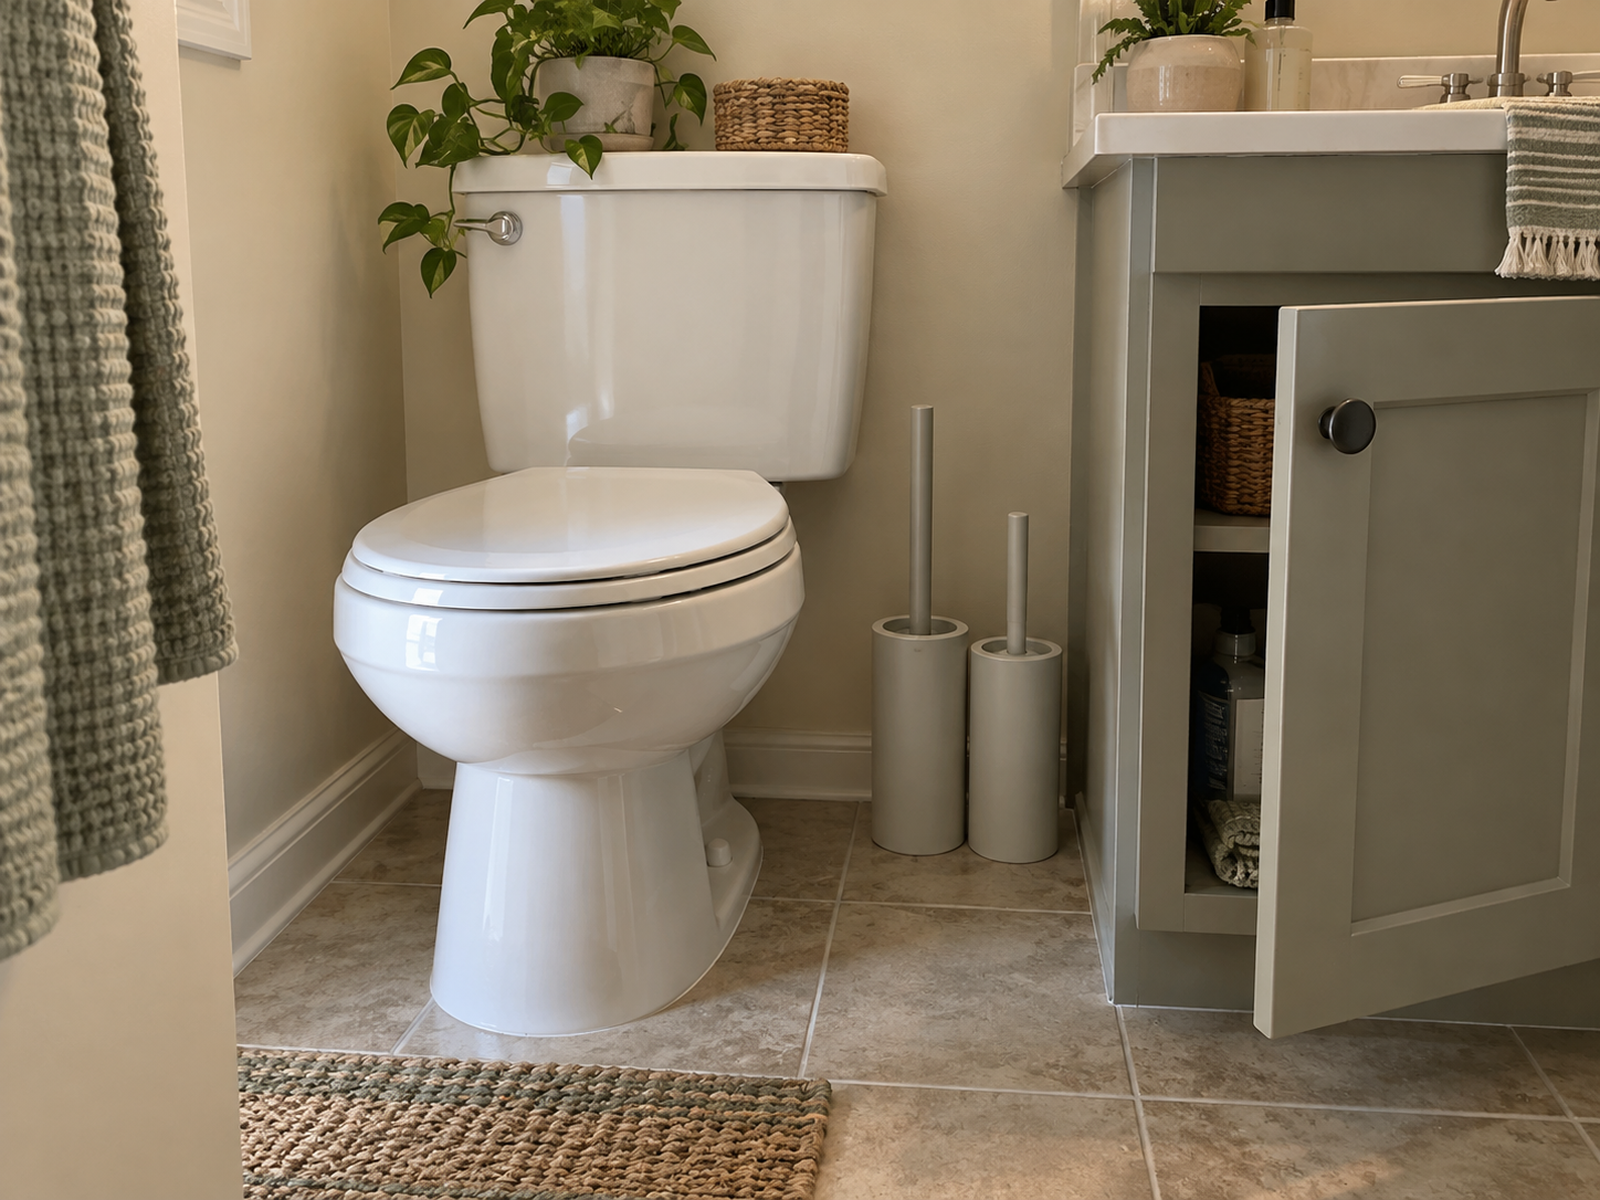
A combined brush-and-plunger station can reduce two separate floor footprints to one, but the combined unit still has to fit the bathroom. Matching the tools is not useful if the shared station becomes too wide, too deep, or awkward to clean around.
The two tools also have different access patterns. A toilet brush may be used on a routine schedule, while a plunger may sit untouched for long periods and then become urgent without warning.
That difference can justify separate homes. A brush can use a compact bathroom location while a dry, contained plunger lives in a very close cabinet or secondary zone if the bathroom truly has no emergency-safe floor capacity.
Keep the decision functional rather than decorative. The goal is not a coordinated set; it is the smallest combination of locations that preserves access, drying, containment, and normal bathroom movement.
04
Use a Floor Station Only When the Bathroom Still Works
A slim floor station remains the simplest answer when the geometry genuinely works. It keeps the tool close to the toilet, gives it a predictable home, and avoids wall or cabinet installation.
Evaluate the holder as part of the post-use system, not only as visual concealment. OXO’s current Good Grips Toilet Plunger and Canister is one product-specific example that combines a covered canister with a built-in drip tray and ventilation slots, showing that containment and drying can be designed as separate functions.
That does not make every covered holder self-drying or hygienic by default. A different canister may trap residual moisture, be difficult to clean, or require the wet tool to sit directly in collected water.
Choose a floor station only when its full footprint and retrieval direction stay outside the bathroom’s standing, door, fixture, and cleaning paths. If it has to be kicked, rotated, or moved every day, the floor space was not truly available.
05
Use Under-Sink Storage Only After the Tools Can Be Enclosed
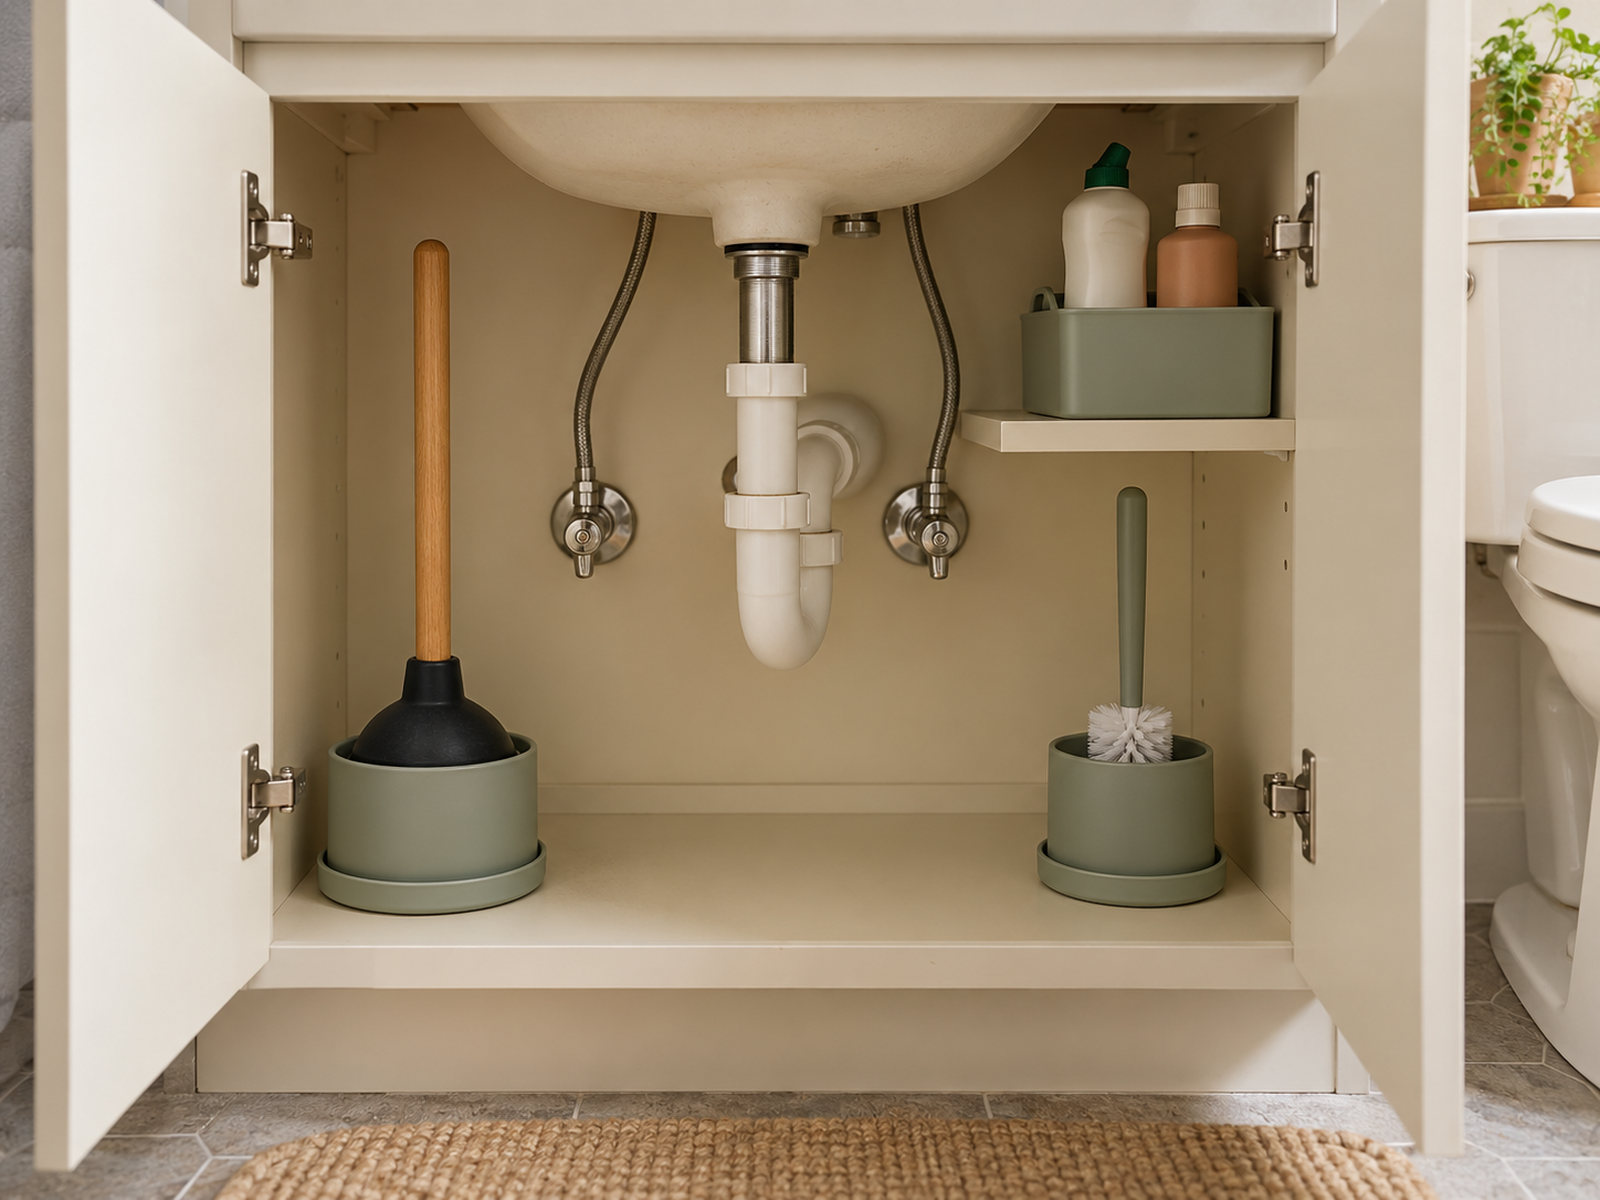
Under-sink storage can remove the tools from the floor and visual field, but it works best as a dry or sufficiently contained return location rather than the automatic first stop for a visibly wet tool.
Check the cabinet opening, plumbing, door swing, and the exact height and handle geometry of the plunger and brush. Keep a clear service path to the plumbing instead of wedging the tools into the narrowest leftover corner.
Use a washable rigid tray, bin, or holder that keeps the tools from contacting clean personal-care categories. If the cabinet already holds bathroom cleaning chemicals, treat chemical storage as its own safety decision rather than using the toilet-tool container as a shared catchall.
Cabinet storage also changes emergency access. If the plunger is behind several bottles or requires unloading the vanity during a clog, the cabinet has solved visibility at the expense of function.
06
Keep the Plunger Close Enough for an Emergency
Rarely used items normally belong in lower-access storage, but the plunger is an exception because infrequent use can still be urgent. That makes distance from the toilet more important than it would be for an ordinary backup cleaning tool.
A nearby hall or linen closet can be a valid fallback when the bathroom has effectively zero floor and cabinet capacity, provided the plunger is dry and contained before it is returned there and the household accepts leaving the bathroom to retrieve it.
Keep the secondary location predictable and close. A plunger buried behind seasonal linens or household backstock is not meaningfully accessible during a clog even if the closet is only a few steps away.
The post-use route matters as well. If the only way to return the tool is to carry a dripping plunger across the apartment, the system needs a temporary bathroom drying or containment step before secondary storage.
07
Use Removable Wall or Door Storage Only With Verified Hardware
Removable mounting can recover the floor in a bathroom that has no cabinet lane, but the exact tool has to suit the exact mount. Many plungers are large, awkward, or heavier than the lightweight accessories generic adhesive hooks are designed to hold.
Verify the product’s load rating, approved surface, bathroom or humidity suitability, cure or wait time, removal method, and the geometry needed to keep the tool stable. Tile, painted drywall, wallpaper, textured walls, and cabinet doors are not interchangeable surfaces.
Door-mounted storage also spends motion clearance. The tool must not hit the toilet, vanity, wall, or user when the door opens, and the holder should not make the door difficult to clean or close.
Use permanent drilled brackets or fixed cabinets only when the lease, surface, and exact mounting system support them. A renter-first solution should not create a larger repair or permission problem than the floor-space problem it replaces.
08
Clean the Holder as Part of the Storage System
The holder, tray, or canister is part of the tool system because it receives drips, contact, dust, and residue. Choose a form that can be opened, wiped, rinsed, or otherwise maintained according to its material and manufacturer instructions.
CDC distinguishes cleaning from disinfecting: cleaning uses soap or detergent and physical removal, while disinfecting uses chemicals to kill remaining germs. CDC also says routine home disinfection is generally not necessary unless someone is sick or at higher risk.
Clean before disinfecting when disinfection is appropriate, and follow the exact cleaning-product label. CDC guidance says dirt and impurities can reduce disinfectant effectiveness. Do not turn the storage guide into a blanket instruction to bleach the plunger or holder after every use.
If the station also contains toilet cleaner or disinfectant, keep those chemicals in their original containers and follow their label storage directions. Child or pet access, when relevant, is a separate safety constraint from tool placement; HealthyChildren.org supports keeping cleaning products away from children and pets where relevant.
09
Run the Emergency and Post-Use Reset Before You Finish
Test the storage system twice: once as if you need the plunger immediately and once as if the tool has just been used. Those two scenarios expose problems that a tidy dry-state photo can hide.
For the emergency test, retrieve the plunger without moving unrelated products, blocking the door, or stepping around a floor obstacle. For the post-use test, confirm where the wet tool can drain or dry and how it reaches its final contained location without dripping through the apartment.
Then test the toilet brush routine and the holder itself. The brush should return without snagging nearby fixtures, the holder should be serviceable, and floor cleaning around the whole zone should remain practical.
The strongest small-bathroom setup is not the most hidden one. It is the system that preserves urgent access, contains the tools, handles the wet post-use state, stays cleanable, and leaves the bathroom’s actual circulation and storage working normally.
Closing Decision
Give Each Tool the Smallest Location That Still Works in Every State
The right small-bathroom answer may be one compact floor station, two separate locations, or no permanent floor storage at all. Start with the bathroom’s real residual space, then keep the plunger urgent enough to reach, the brush practical enough to reset, and both tools able to move through their post-use state without being sealed away simply for appearance.
Use existing floor or cabinet geometry before adding mounted hardware, and treat nearby secondary storage as a valid fallback when the bathroom has zero capacity. Whatever combination you choose, test it during normal bathroom movement, during an urgent plunger retrieval, and immediately after use. A solution passes only when access, drying, containment, cleaning, and renter limits all work together.
RELATED GUIDES
What to Read Next
NEXT GUIDE
How to Use a Narrow, Deep Gap for Storage in a Small Bathroom
Use this next if the toilet tools are only one part of a difficult residual-space problem and you need to decide whether a narrow gap can hold other bathroom categories without creating access or retrieval issues.
GUIDE
How to Store Cleaning Supplies in a Small Bathroom With Limited Under-Sink Space
Use this if the toilet-tool system now competes with cleaners and disinfectants under the vanity; that guide handles chemical-storage lanes, caddies, and backstock without repeating the wet-tool access problem.