
Small Bathroom Storage
Where to Put a Trash Can in a Small Bathroom With No Floor Space
Measure more than the closed bin: test how it opens, how the liner comes out, and how the floor gets cleaned, then choose the smallest capacity and lowest-intervention location that still keeps bathroom waste easy to reach.
In This Guide
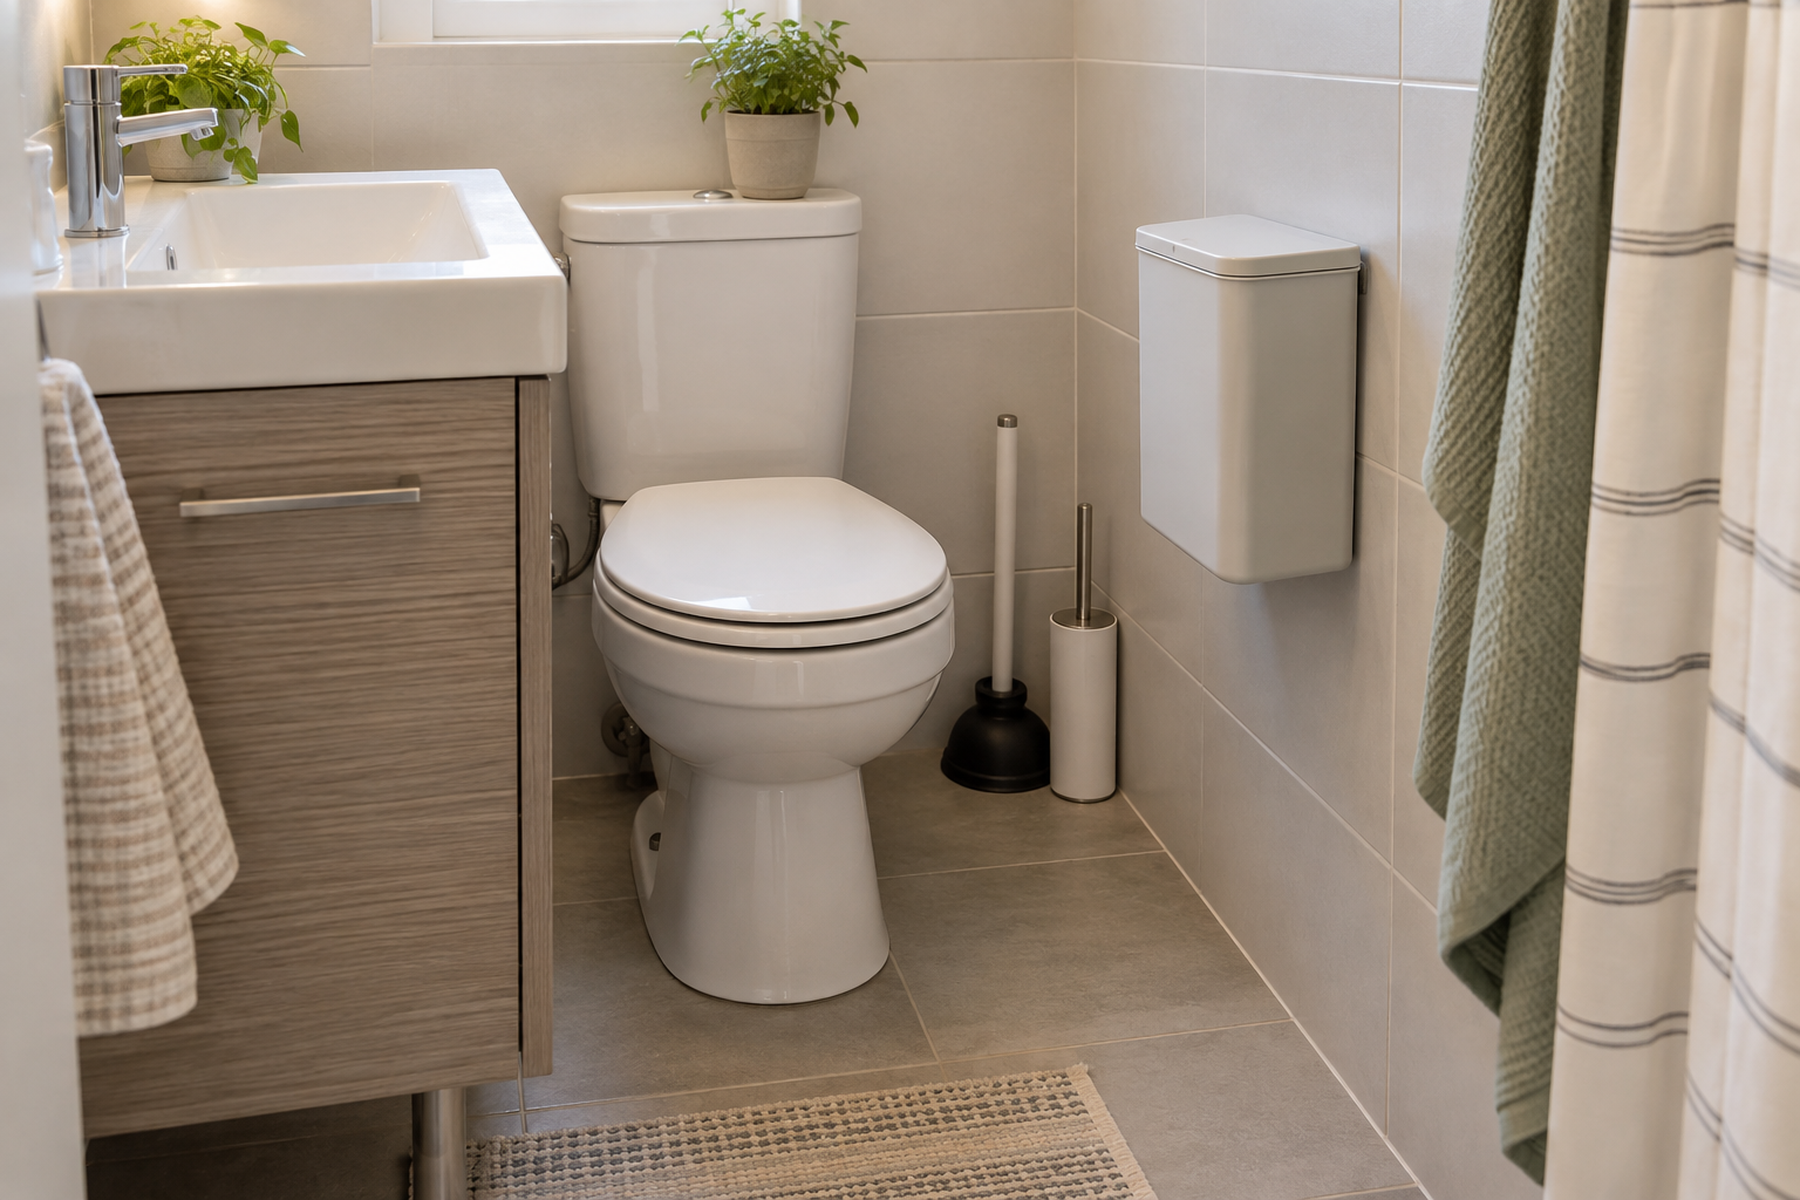
A bathroom trash can can fit perfectly while it is closed and still fail the room. The lid may hit the wall, the pedal may be impossible to reach, the liner may need more lift space than the gap allows, or the bin may block the same strip of floor needed for the toilet, vanity, shower, plunger, or cleaning.
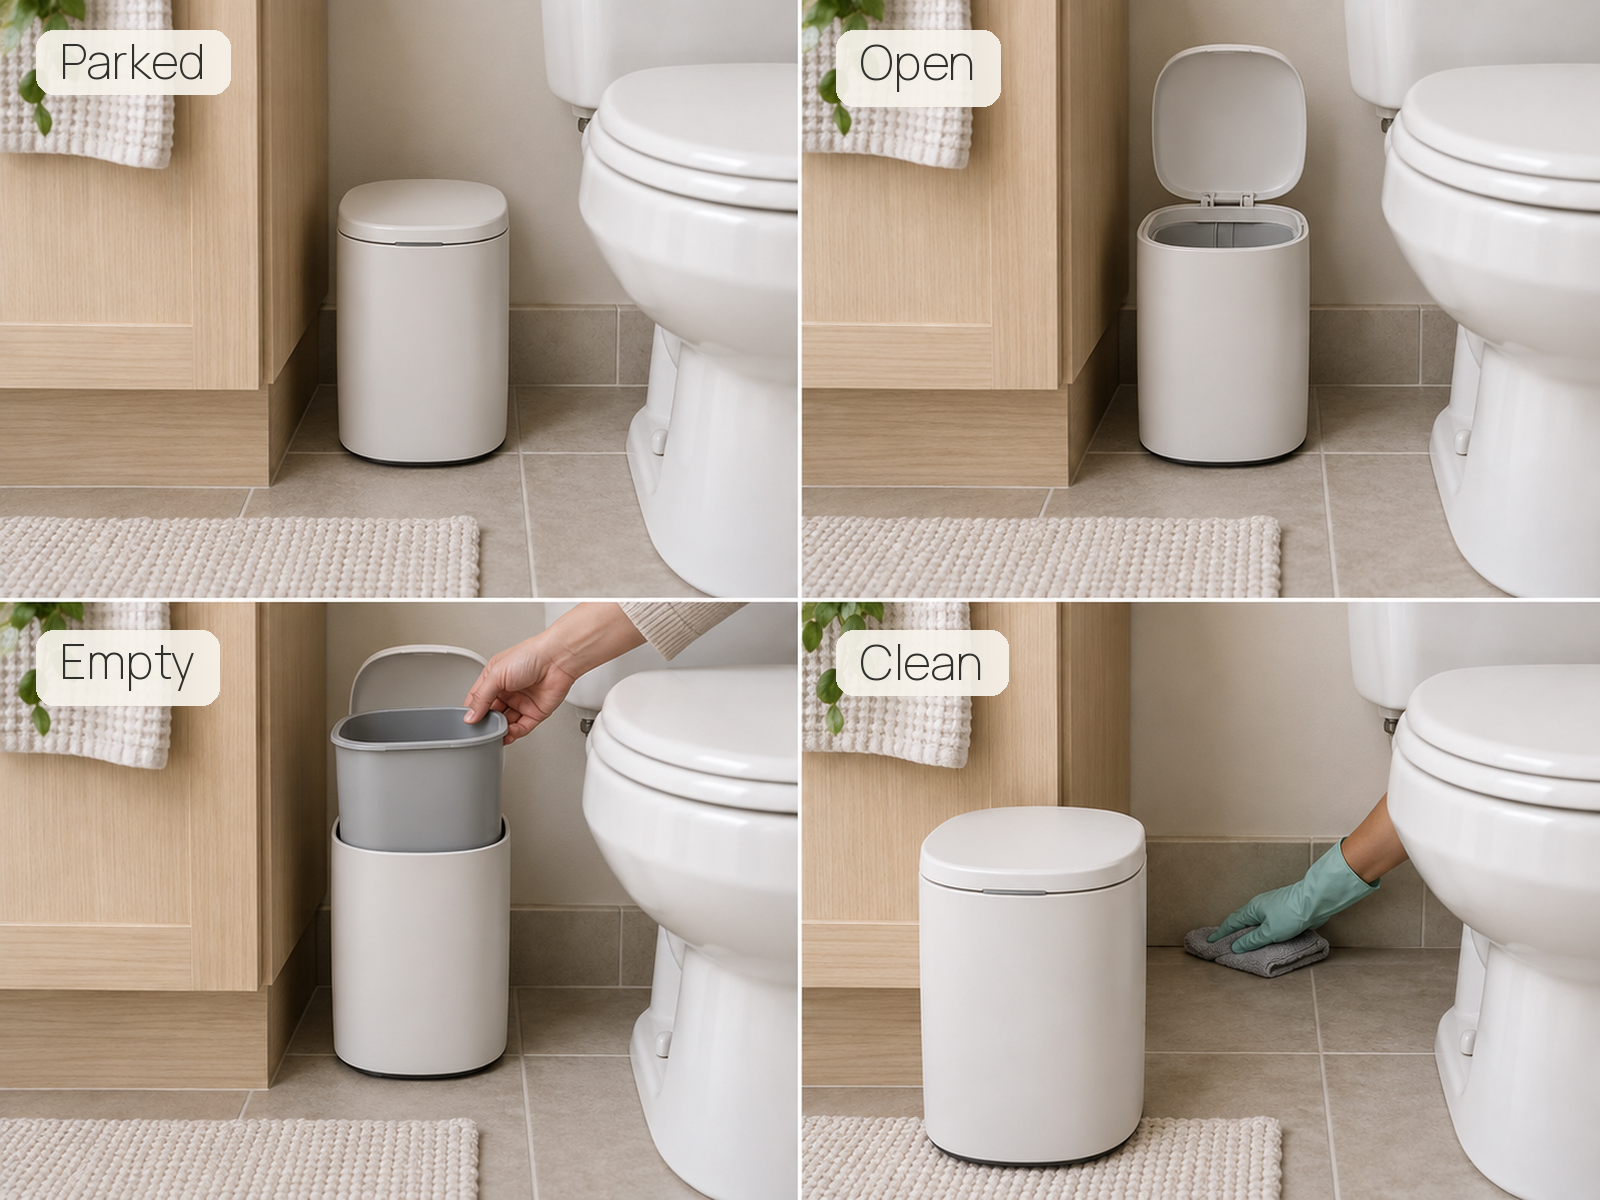
Treat the bin as an operating object rather than a decorative container. First decide how much bathroom waste the household actually generates, then test the parked, opening, emptying, and cleaning states before choosing whether the bathroom can afford a floor bin, needs to spend wall space instead, or should hide the bin inside existing cabinet capacity.
Quick Answer
Fit the Bin Around Bathroom Motion, Not Just Its Closed Dimensions
A useful bathroom bin has to stay close enough for point-of-use disposal without becoming another obstacle. Capacity, opening style, liner removal, and the reset path all count as part of the footprint.
01
Measure it in four states
Test the bin parked, fully open, while the liner or inner bucket is being removed, and while the floor and wall around it are being cleaned. A fit that works in only one state is not a finished placement.
02
Let capacity match the emptying routine
A smaller bin can be the right small-space choice when frequent emptying is realistic. Do not buy the largest capacity that fits, but do not choose a tiny bin that will predictably overflow for the household.
03
Move off the floor only when the new plane really works
Wall, adhesive, under-sink, and cabinet-door options can recover floor space, but they still need opening, projection, liner-removal, surface, and renter checks.
01
Decide What the Bathroom Bin Actually Has to Handle
Start with the waste job before the container. A powder room that mostly receives tissues and small packaging may need much less capacity than a bathroom used for grooming, menstrual products, cotton products, dental waste, and daily household routines.
Point-of-use access has real value. The bin is most useful when a person can discard waste without leaving the bathroom, and that can matter for privacy as much as convenience.
That does not mean the bin has to sit beside the toilet. The correct location is the closest practical spot that does not interfere with toilet approach, vanity use, shower or tub entry, door movement, cleaning, or another higher-priority toilet-side object.
Do not turn open, lidded, touch-top, and pedal bins into style categories. They are interaction classes. Each one spends a different kind of space when the bathroom is actually using it.
02
Measure the Bin in Four States
The closed width and depth are only the parked footprint. The bathroom also has to support the bin while it is being opened, emptied, and cleaned around.
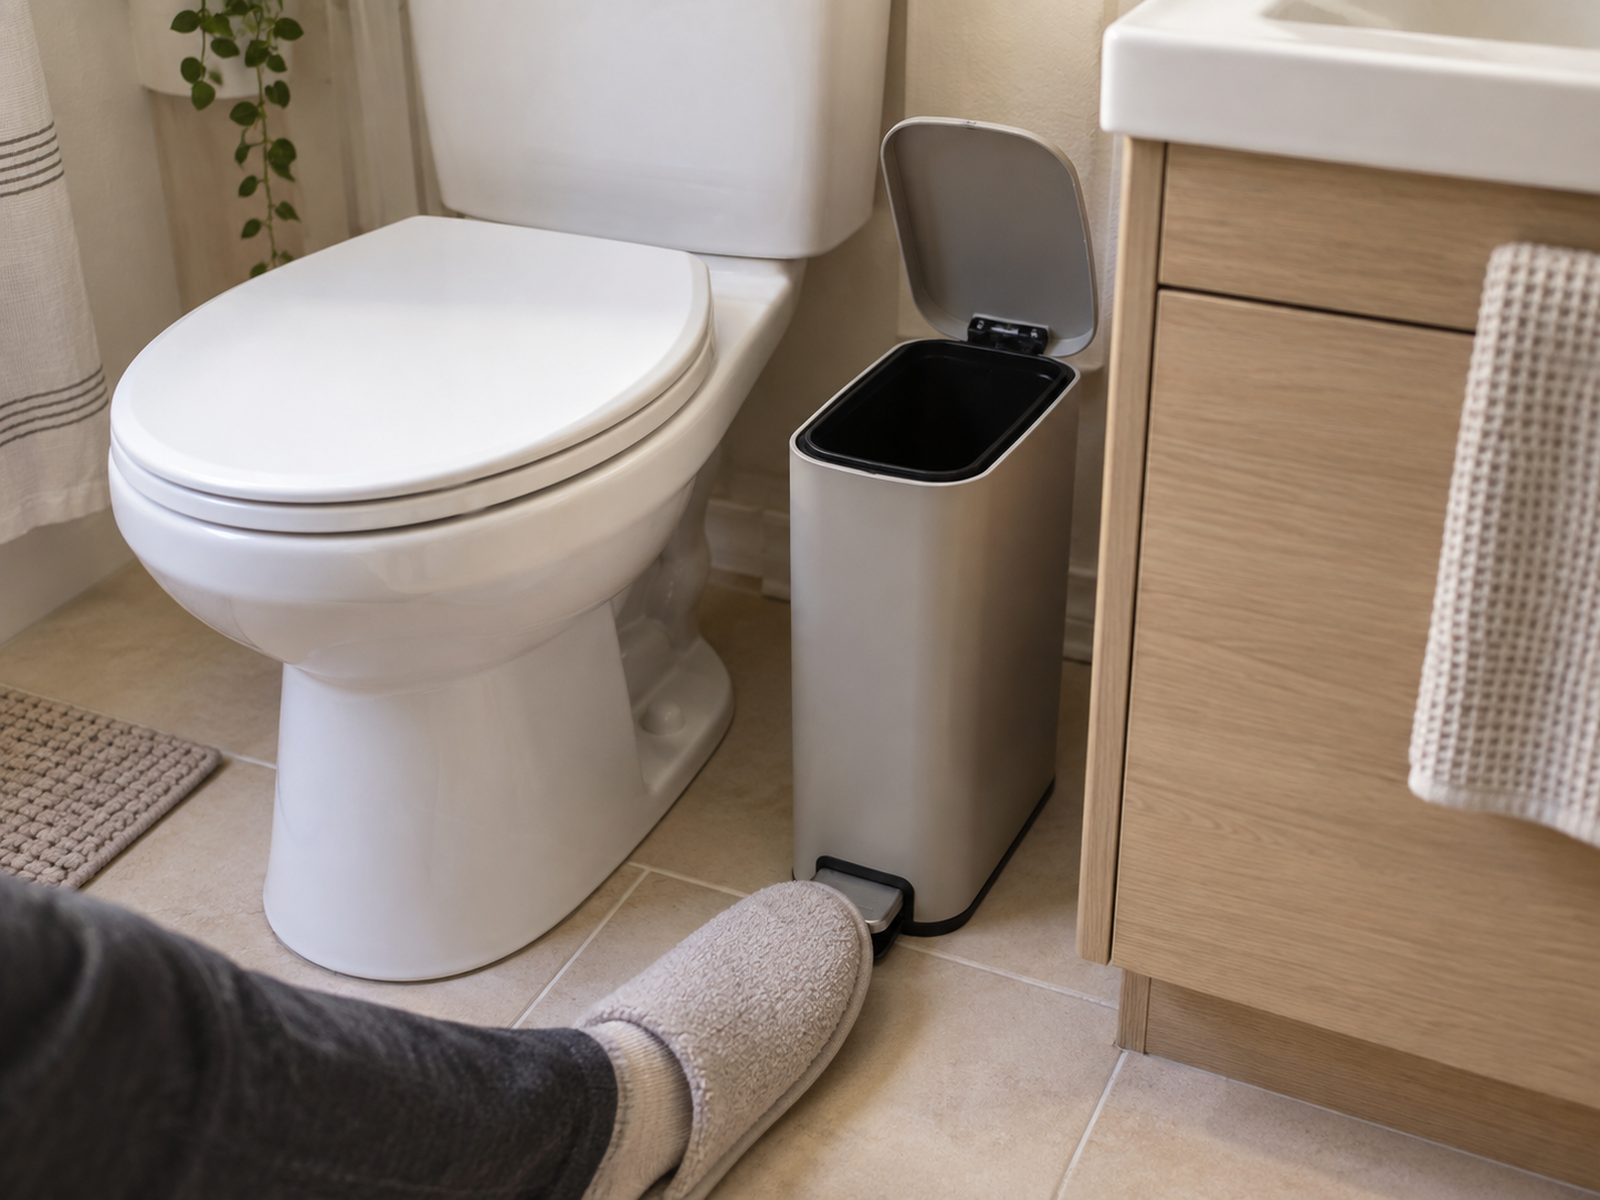
A lid may swing upward or outward. A touch-top needs hand access. A pedal bin needs toe space in front plus enough stability to stay put under foot pressure. A narrow gap can hide the body while making the opening mechanism unusable.
Emptying creates another footprint. A removable inner bucket may need to lift straight up; a liner may snag on the lid or wall; a wall-mounted bin may need to pull outward before the bag can clear the rim.
Cleaning is the fourth state. The bin should come out easily enough to wipe the floor, baseboard, wall, or cabinet surface without moving several unrelated bathroom objects every time.
Measure / Check First
Before buying or mounting a bathroom bin, test the actual object through its full operating and reset cycle.
Check Opening, Emptying, and Cleaning Space Before You Commit
01
Opening and foot or hand access
Place the bin where you want it, then fully open the lid or use the pedal / touch mechanism. Confirm that the wall, toilet, vanity, user’s foot, and nearby doors do not block normal operation.
02
Liner or inner-bucket removal
Remove the liner or inner bucket in the same direction it will travel when full. Check vertical lift, outward pull, hand clearance, and whether another fixture or stored object has to move first.
03
Cleaning and mounting surface
Verify that the floor, wall, or cabinet area remains cleanable. For adhesive or mechanical mounting, confirm the exact approved surface, loaded weight, installation / removal instructions, fastener requirements, and lease conditions.
If the bin fits only while closed, blocks the pedal or lid, traps the liner behind a fixture, or makes the floor and mounting surface difficult to clean, change the location before choosing a smaller-looking bin.
03
Choose Capacity With Emptying Frequency
There is no universal bathroom-bin capacity. The useful size is the smallest one that handles the household’s real waste volume between realistic emptying cycles.
A very small bin can be an intentional system when bathroom waste is light and the main household trash is easy to reach. Frequent emptying keeps the footprint small and can prevent the bathroom from carrying more waste than the room needs.
The trade-off is maintenance. If the bin fills faster than the household is willing to empty it, the small footprint has created overflow and extra handling rather than a better storage system.
Use the container as a capacity stop rule. When the bin repeatedly overflows, either increase the emptying frequency or move up one size if the operating envelope still passes. Do not solve overflow by wedging a larger bin into a space the bathroom cannot actually spare.
04
Test the Whole Toilet-Side Cluster
The few inches beside the toilet are shared capacity. A trash can, plunger, toilet brush, toilet-paper reserve, toilet approach, and floor-cleaning path cannot each claim the same strip independently.
Place the entire cluster in the room before deciding that the bin fits. Sit down, stand up, approach the toilet, open the bathroom door, and use any nearby vanity drawer or cabinet that normally moves through the same zone.
A bin deserves premium toilet-side space when frequent or private disposal makes point-of-use access more valuable than concealment. In another bathroom, the plunger may have the stronger emergency-access claim while the trash can can move to the wall or vanity.
Behind-toilet and narrow-gap locations need the same test. A location that hides the bin but makes the lid, liner, or cleaning access awkward is not free capacity; it is hidden labor.
05
Keep a Floor Bin Only When Its Interaction Envelope Works
A small freestanding bin remains the lowest-intervention baseline when a true residual floor zone exists. It needs no wall compatibility, lease approval, or installation hardware, and it can move easily for cleaning.
Open bins offer the simplest toss access but leave contents visible. Lidded bins add concealment and an opening motion. Pedal bins add foot access and pedal force. None of those interaction classes is universally better; the room has to support the motion.
Simplehuman’s current 5-liter Slim Step Can is one product-specific example of a narrow pedal bin whose internal hinge is designed so the lid can open while the can sits flush against a wall, and it includes a removable inner bucket. Those features show why hinge and reset geometry matter, but they should not be generalized to every slim pedal bin.
If the pedal is buried beside the toilet, the lid strikes a fixture, or the bin has to be moved before every floor wipe, the floor zone is not genuinely available even if the closed body technically fits.
06
Move the Bin to the Wall When the Floor Cannot Afford It
Wall mounting can recover toe space, improve floor-cleaning access, and preserve a point-of-use location without leaving a can on the floor. It trades horizontal floor cost for wall projection and installation complexity.
IKEA’s current KINNASJÖ is useful evidence for the adhesive branch because its self-adhesive bracket is intended for specific flat surfaces such as glass, mirrors, and tiles, requires surface preparation and a wait before loading, and is not recommended on wallpaper. That makes surface compatibility a real gate rather than a generic “stick it to the wall” solution.
Mechanical mounting is a separate intervention class. IKEA’s BROGRUND can operate on the floor or be wall-mounted, and its instructions note that different wall materials require different fasteners. The product form proves the option, not a universal screw or anchor method.
Whichever mounting class is used, test the bin as a projected object. The wall may be free while the lid, hand, liner, or bin body still extends into the toilet approach, vanity path, or narrow circulation lane.
Use / Skip
Adhesive Wall Mounting
Use
Use it when the exact surface and loaded geometry are verified
Choose an adhesive wall-mounted bin when the manufacturer approves the actual bathroom surface, the loaded weight and wait time are within the product instructions, the bin’s projection and lid motion stay clear, and the liner can be removed without stressing the bracket or finish.
Skip
Skip it when the surface or rental exit is uncertain
Do not use the adhesive branch on unsupported wallpaper, textured or unknown finishes, or when the required removal method cannot be followed. If the household expects heavy waste, repeated loading, or uncertain wall conditions, use a freestanding, cabinet, or properly approved mechanical solution instead.
07
Use Under-Sink or Cabinet-Door Storage Only When Access Still Works
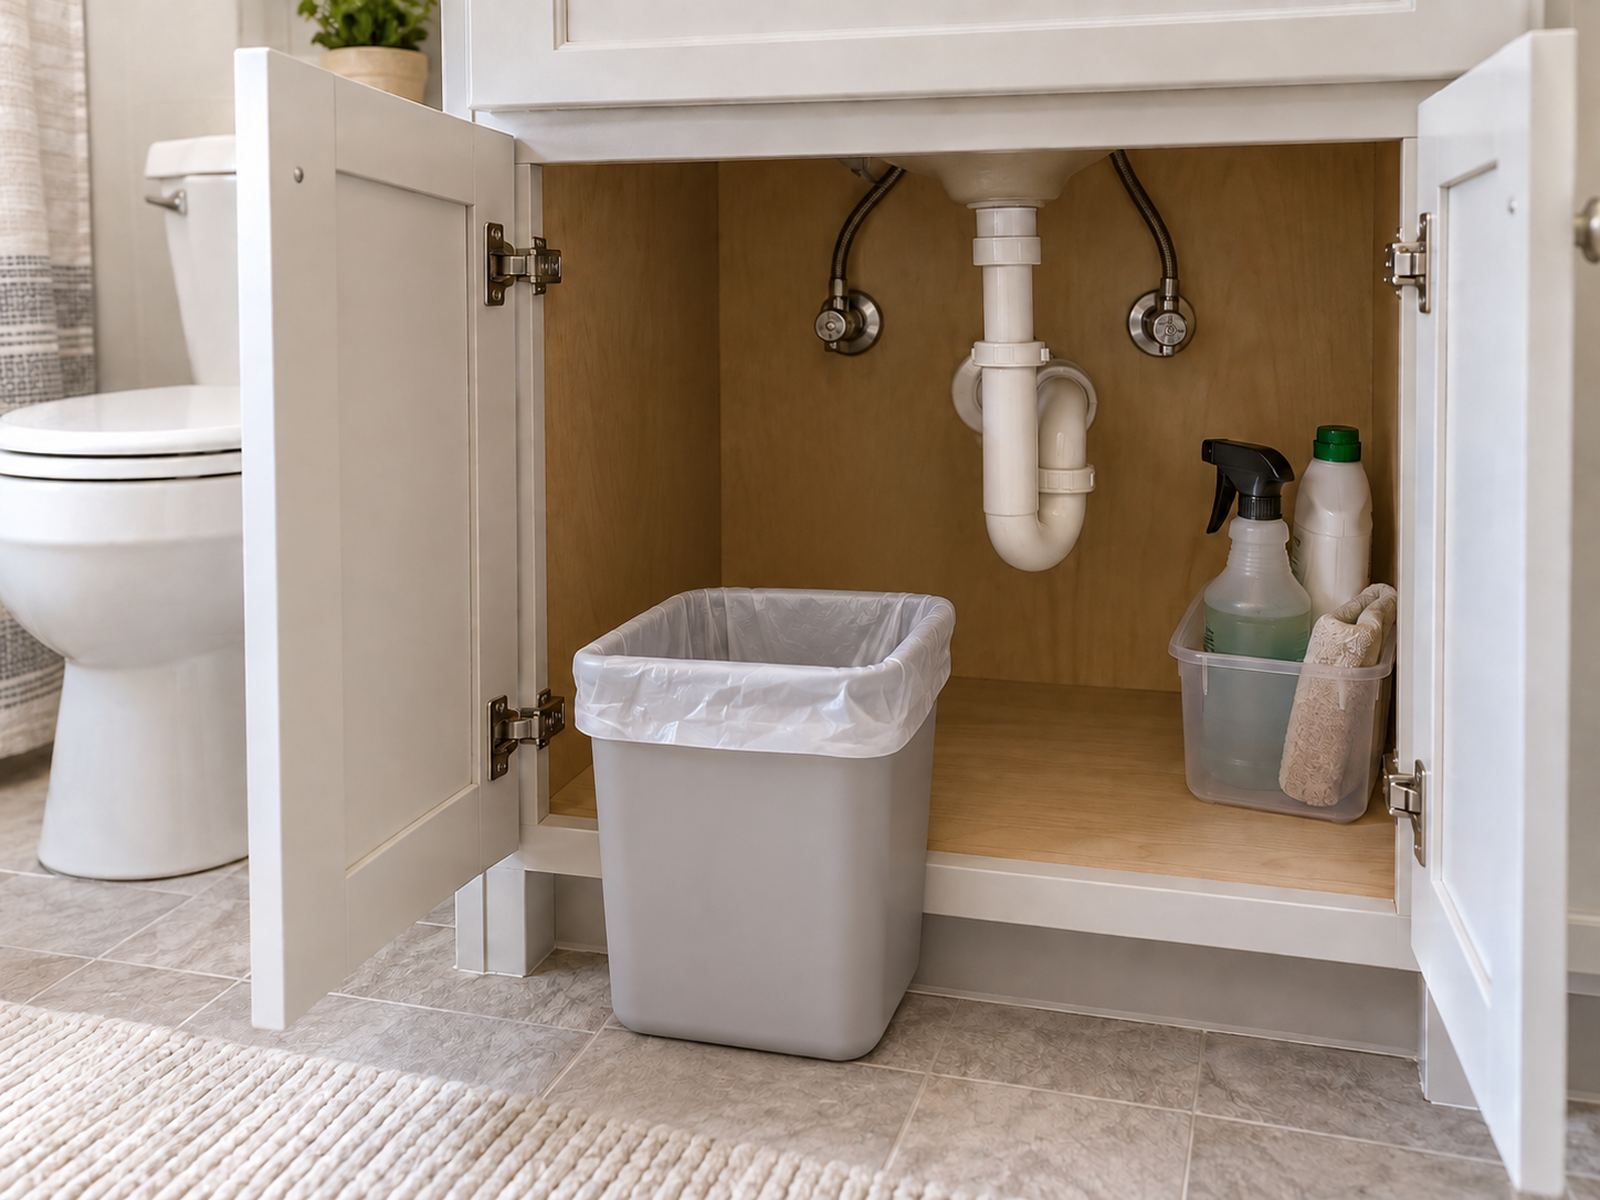
Under-sink storage can clear the visible floor and hide the bin, but it adds a cabinet-opening step to every disposal. That trade can be acceptable for lower-frequency waste and frustrating when the bin is used constantly.
Check the plumbing, cleaning-supply layout, door handles, and the path required to pull the bin out for liner changes. A cabinet with nominal spare volume is not usable bin capacity if the waste can only come out after unloading bottles or working around pipes.
A cabinet-door or over-door bin can keep the floor clear without wall drilling, but the moving surface becomes part of the geometry. Verify the exact door thickness, closure, hinge load, projection, lid movement, and collision with the toilet or user.
Keep point-of-use privacy in mind. Concealment is not automatically an upgrade if the extra door movement makes ordinary disposal awkward enough that waste ends up temporarily on the counter.
08
Make Liner Removal and Cleaning Part of the Reset
The final placement should be tested during the reset, not only during disposal. Remove the liner or inner bucket exactly as it will be removed when full and confirm that the path does not require moving the toilet brush, plunger, towels, or other bathroom storage.
Then clean the zone. Pull the bin out or access the mounted surface and verify that the floor, wall, baseboard, cabinet door, and the bin itself can be wiped without turning a one-minute reset into a reorganization task.
Wall-mounted bins still need cleaning below and behind them. Floor bins still need enough grip and stability to operate without becoming annoying to move. Under-sink bins still need a simple route from cabinet to main household trash.
A placement is finished when the bin stays useful through the whole cycle: easy disposal, appropriate capacity, reliable opening, simple emptying, cleanable surroundings, and a renter-safe return to normal bathroom function.
Closing Decision
Choose the Smallest Bin System That Still Survives Real Use
A tiny bathroom does not need the smallest trash can available; it needs the smallest complete system that still handles the household’s waste volume and interaction pattern. That may be a compact open bin, a slim lidded or pedal model, an approved wall-mounted bin, or a concealed cabinet solution.
Judge the location through the full cycle: point-of-use disposal, opening, emptying, cleaning, and renter exit. If the bin repeatedly competes with the toilet, vanity, shower, plunger, brush, or cleaning path, move the footprint to another plane or reduce capacity and increase the reset frequency instead of forcing a false fit.
RELATED GUIDES
What to Read Next
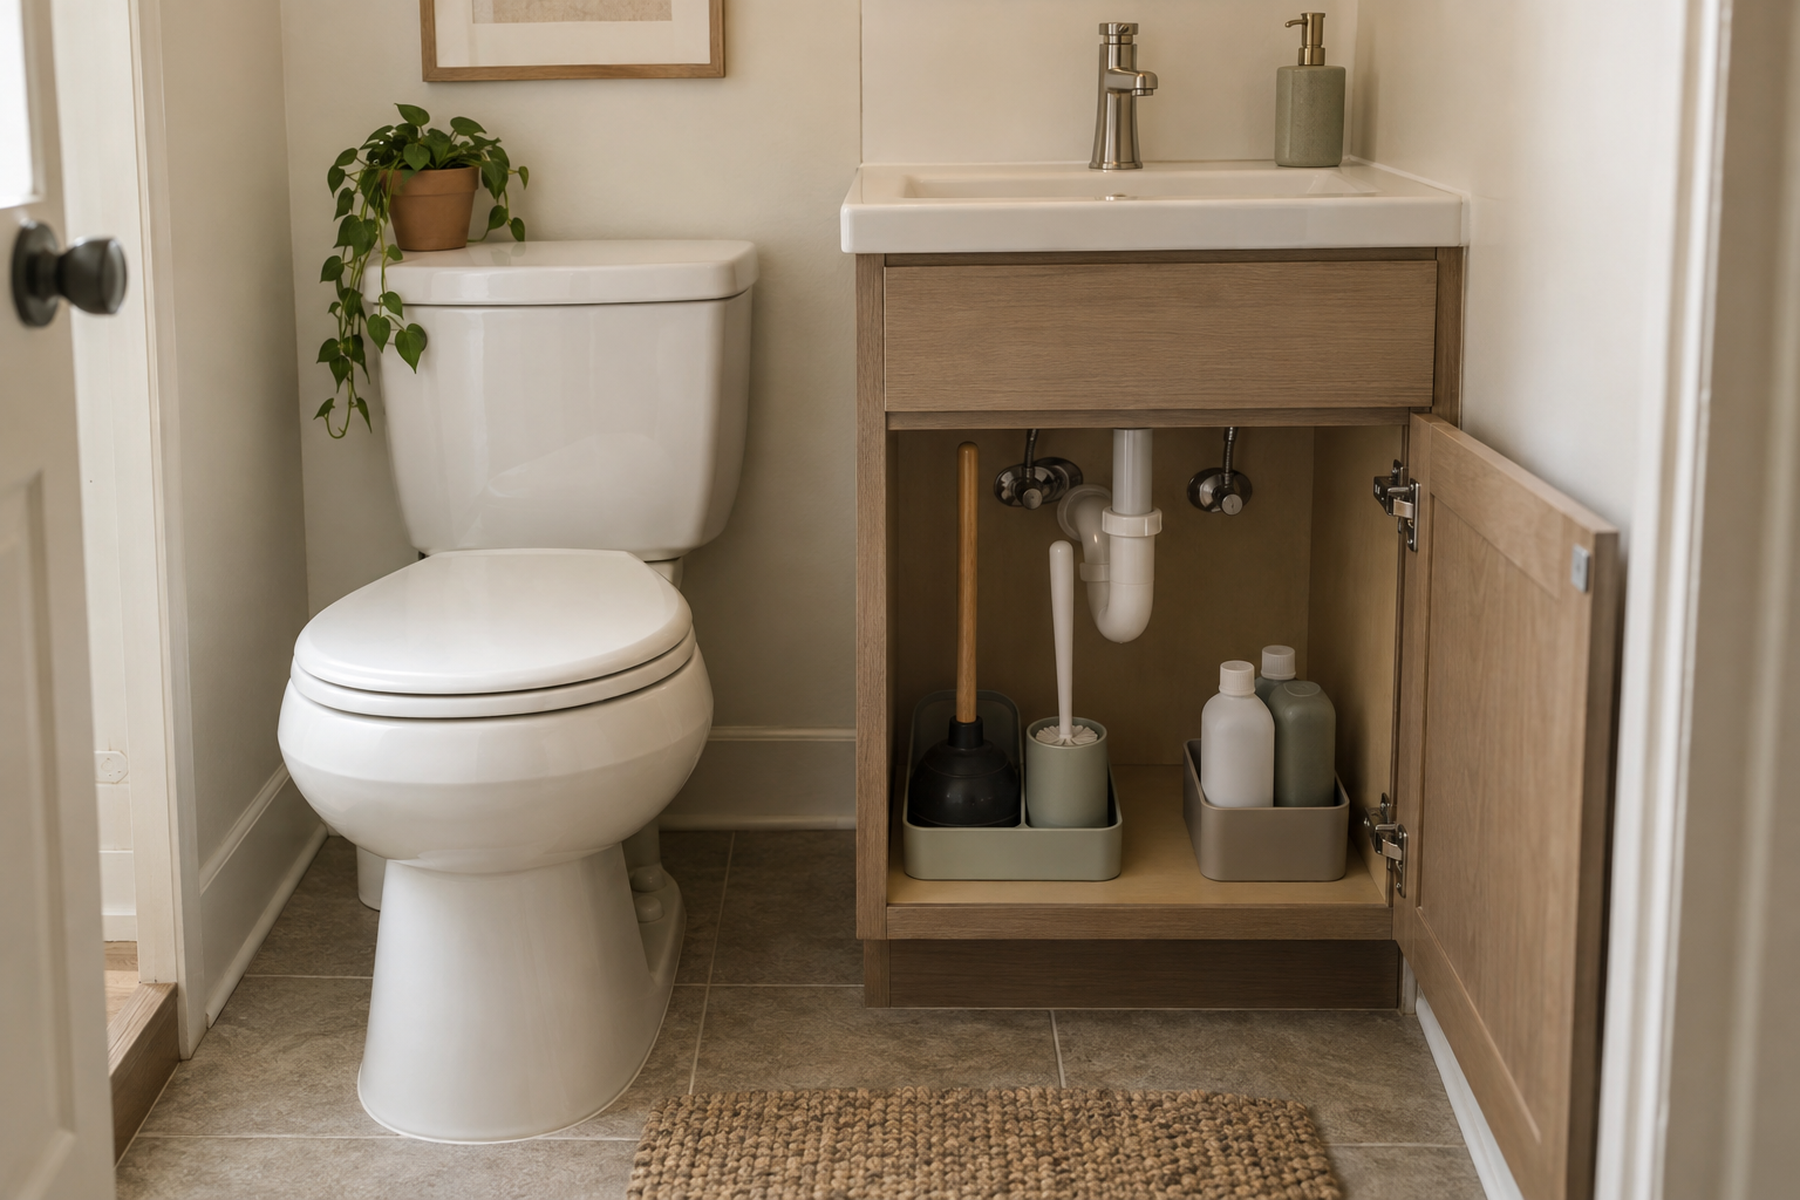
NEXT GUIDE
How to Store a Plunger and Toilet Brush in a Small Bathroom With No Floor Space
Use this next if the trash can is competing directly with the plunger and toilet brush for the same toilet-side floor strip; that guide handles wet-tool states, emergency access, and containment.
GUIDE
How to Use a Narrow, Deep Gap for Storage in a Small Bathroom
Use this if a narrow residual gap looks like the only available bin location and you need to test access, retrieval, door movement, and whether the depth creates hidden labor.
GUIDE
How to Add Storage Around a Pedestal Sink in a Small Bathroom
Use this if the bathroom has no useful vanity cabinet and the trash can is competing with the sink zone for wall, floor, or renter-friendly storage capacity.