
Small Bathroom Storage
How to Store and Charge Electric Toothbrushes in a Small Bathroom
Let each brush air-dry first, then decide whether storage and charging really need to happen in the same place. A ventilated holder, removable wall or mirror mount, cabinet-after-drying routine, or periodic charging zone can free the counter without adding an in-cabinet outlet.
In This Guide
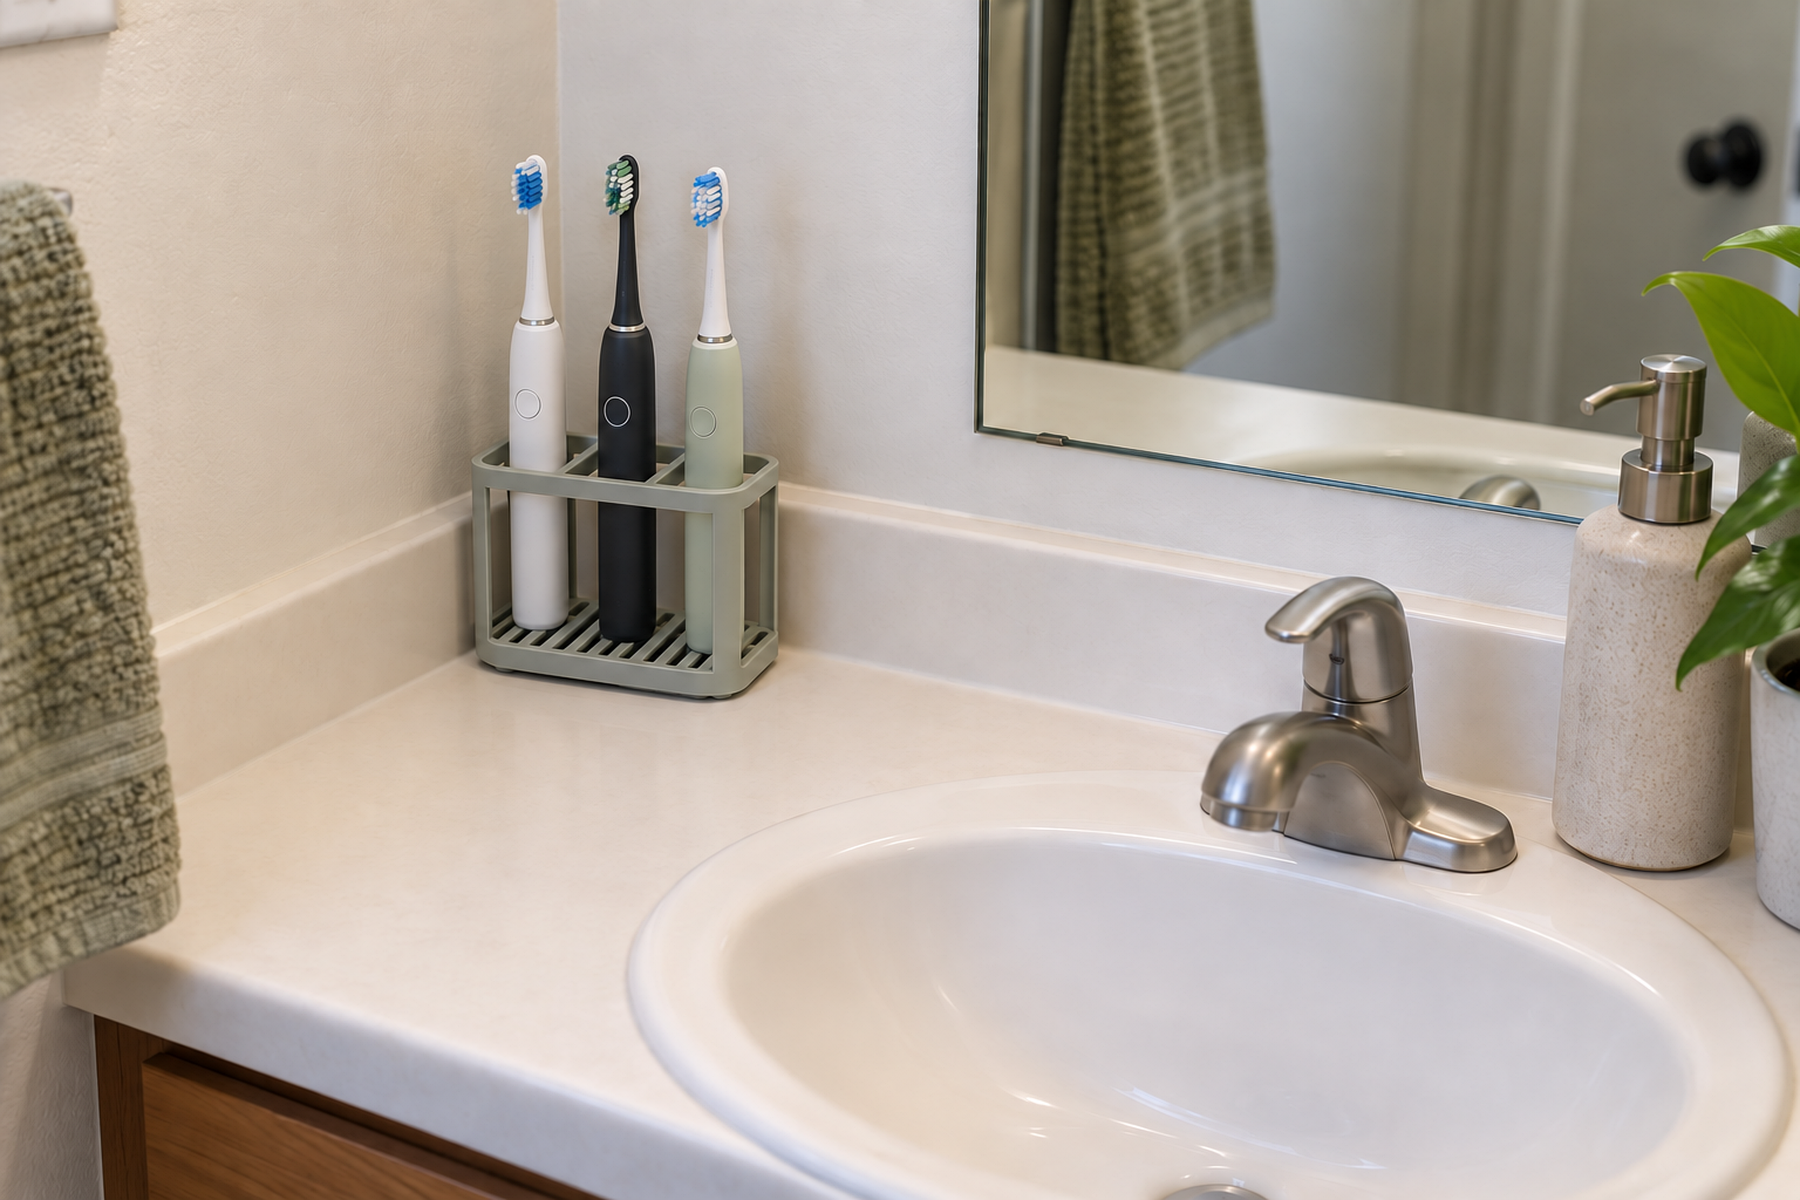
An electric toothbrush is not one bathroom object. It moves through a short cycle: it is used, becomes wet, needs time to dry, then may need to be stored or charged. When a small bathroom tries to make all of those states happen in one hidden charging station, counter clutter can simply turn into cord clutter, damp closed storage, or an electrical-installation problem.
The cleaner small-space strategy is to separate the jobs unless the exact toothbrush already supports combining them. Give the wet brush a place to air-dry, keep the charger only where the manufacturer allows it, and decide whether the brush can live off-counter between charges instead of making the charging base its permanent home.
Quick Answer
Solve the Drying Problem Before the Charging Clutter
01
Let the brush air-dry after use
Current ADA guidance supports upright storage and air-drying and warns against keeping a moist toothbrush closed up immediately after use.
02
Check the exact charger and battery routine
Charging forms and compatibility vary by model. Do not assume every brush needs permanent charging or that several family toothbrushes can share one charger.
03
Separate brush storage from charger storage when possible
A brush can live in a ventilated holder, wall or mirror mount, or cabinet-after-drying zone while its charger stays elsewhere for periodic use.
04
Do not turn concealment into an electrical project
If the plan requires a new outlet, permanent cabinet wiring, or modified bathroom power routing, the task has moved beyond ordinary organization.
01
Treat Drying, Storage, and Charging as Separate Jobs
Start with the four states of the toothbrush: in use, wet and drying, stored, and charging. Many counter setups feel crowded because the charging base is treated as the permanent storage location even when the brush only needs power periodically.
The American Dental Association advises rinsing toothbrushes after use, storing them upright, and allowing them to air-dry. The ADA also notes that storing a moist toothbrush in a closed container promotes more microbial growth than leaving it exposed to open air.
That makes immediate sealed concealment a weak default. If the bathroom needs a visually quiet cabinet or opaque storage zone, let the brush dry first or use a storage form that is deliberately ventilated rather than closing a wet brush into a box simply to clear the counter.
02
Check How the Exact Toothbrush Charges
Before designing a charging station, check the exact toothbrush model. Philips currently documents several Sonicare charging forms across compatible products, including standard bases, charging stands or glasses, travel cases, and wireless charging systems.
Compatibility is also model-specific. Philips explicitly states that not all Sonicare chargers are interchangeable, so a shared bathroom should not reduce several chargers to one unless the exact brushes are verified to use the same charging system.
Battery life changes the storage problem too. Some current products can go long periods between charges; SURI 2.0, for example, states more than one month of battery life and separates its mirror storage mount from its charging stand. That is a product-specific example, not a universal charging interval.
The useful question is therefore not whether the charger looks tidy. It is how often this particular brush actually needs the charger and whether that charger needs to occupy the bathroom counter every day.
Measure / Check First
Before buying a holder or deciding where the charger should live, verify the actual brush, surface, cabinet, and outlet relationship.
Check Drying, Fit, and Charging Before You Commit
01
Drying state and storage timing
Decide where the wet brush can stand upright and air-dry before any fully closed storage step. Do not assume an opaque box or closed cabinet is the immediate post-use location.
02
Handle, holder, and cabinet fit
Measure the powered handle and any attached head, then verify holder opening size, upright height, shelf depth, door closure, adhesive surface compatibility, and the exact product load limit where relevant.
03
Charger and outlet compatibility
Confirm the exact approved charger, whether household brushes can actually share it, where the manufacturer allows it to be placed, and whether the chosen setup avoids new wiring or permanent cabinet modification.
If a storage idea saves counter space only by sealing a wet brush away, using an unverified charger, placing power hardware in a water-risk location, or requiring new bathroom wiring, choose a simpler separation of drying, storage, and charging.
03
Use a Ventilated Counter Holder When Simplicity Wins
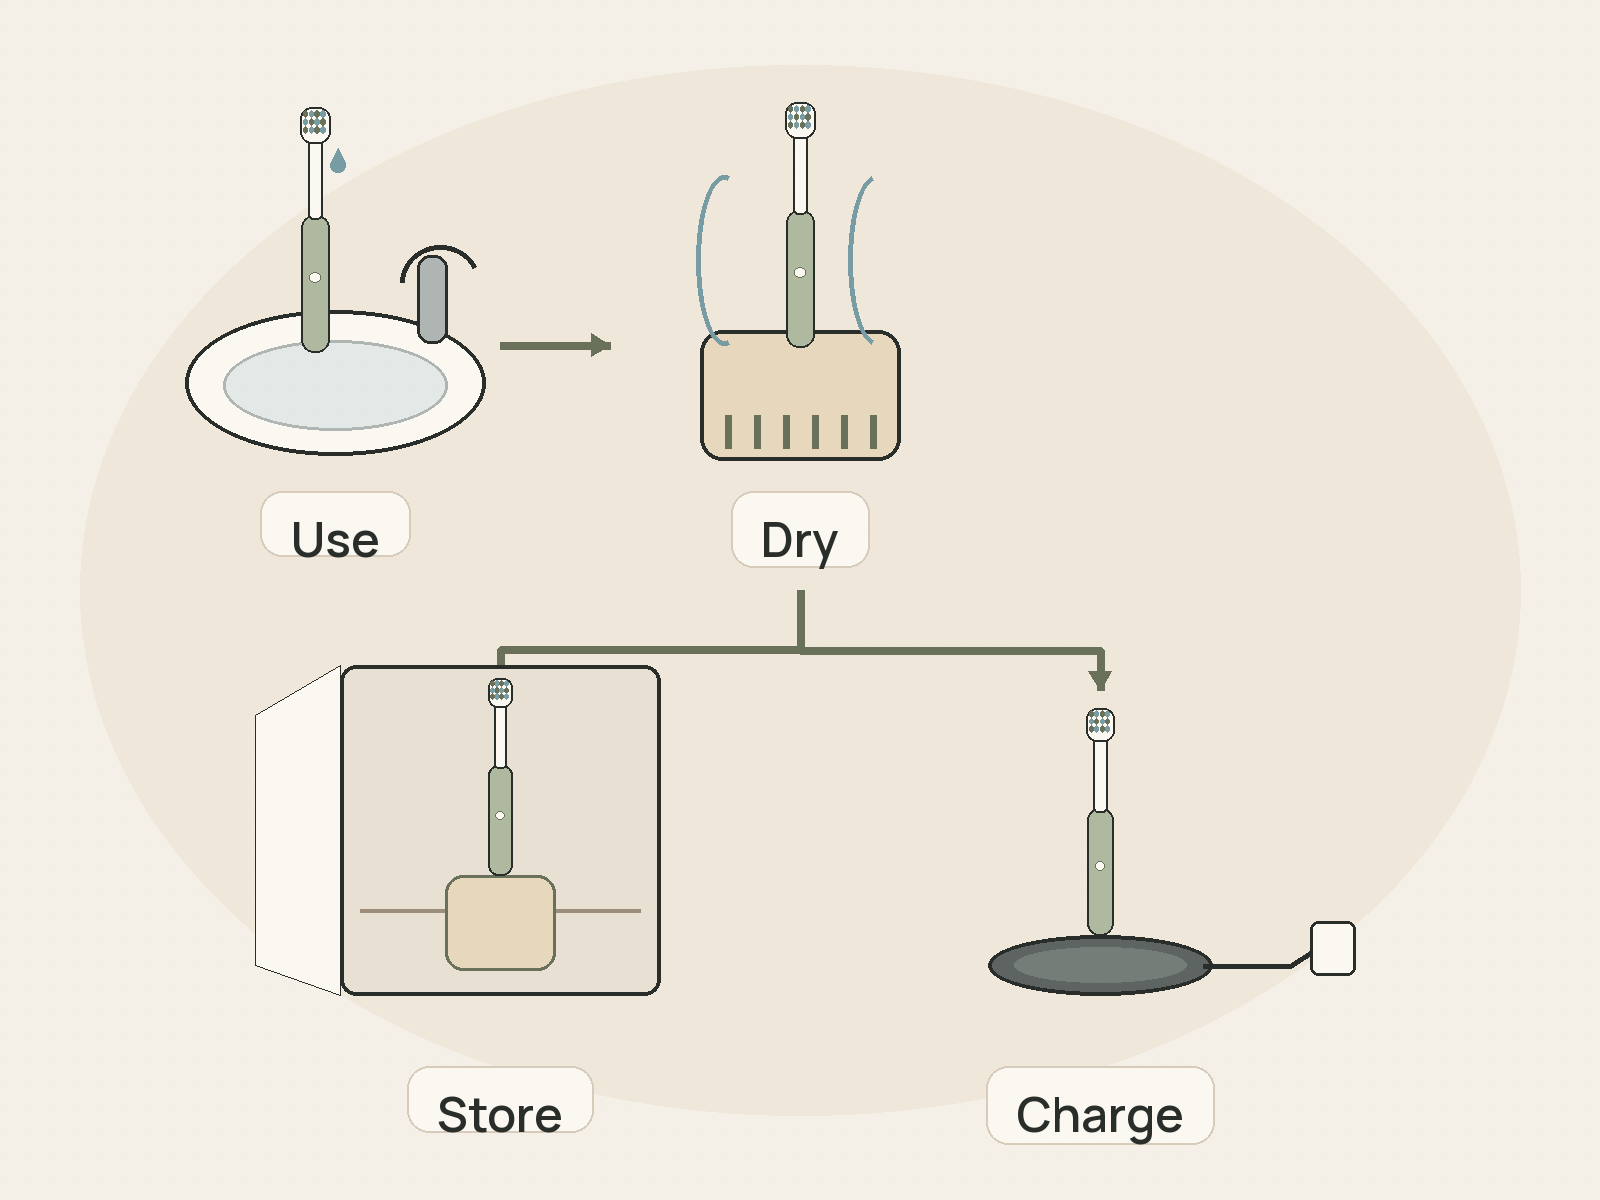
A ventilated countertop holder is the lowest-complexity solution when the bathroom can spare a small footprint. It keeps the brush upright, supports air-drying, and avoids wall, cabinet, or electrical modification.
Joseph Joseph’s current EasyStore holder is one verified example of the form. The manufacturer lists it for manual or electric toothbrushes, includes ventilation, and gives a footprint of about 3.5 by 3.5 inches. A larger family version is about 6.75 inches wide by 3.5 inches deep.
These caddies consolidate the oral-care zone, but consolidation is not the same as reclaiming the counter. If the holder plus charger still occupies the same prep or sink-side area that was already causing frustration, use the caddy only as a drying station and move storage or charging elsewhere.
Keep the holder easy to clean and make sure the actual powered handles fit without crowding one another. A generic toothbrush cup should not be assumed to fit every electric handle simply because the category name matches.
04
Move the Brush Off-Counter Without Moving the Charger
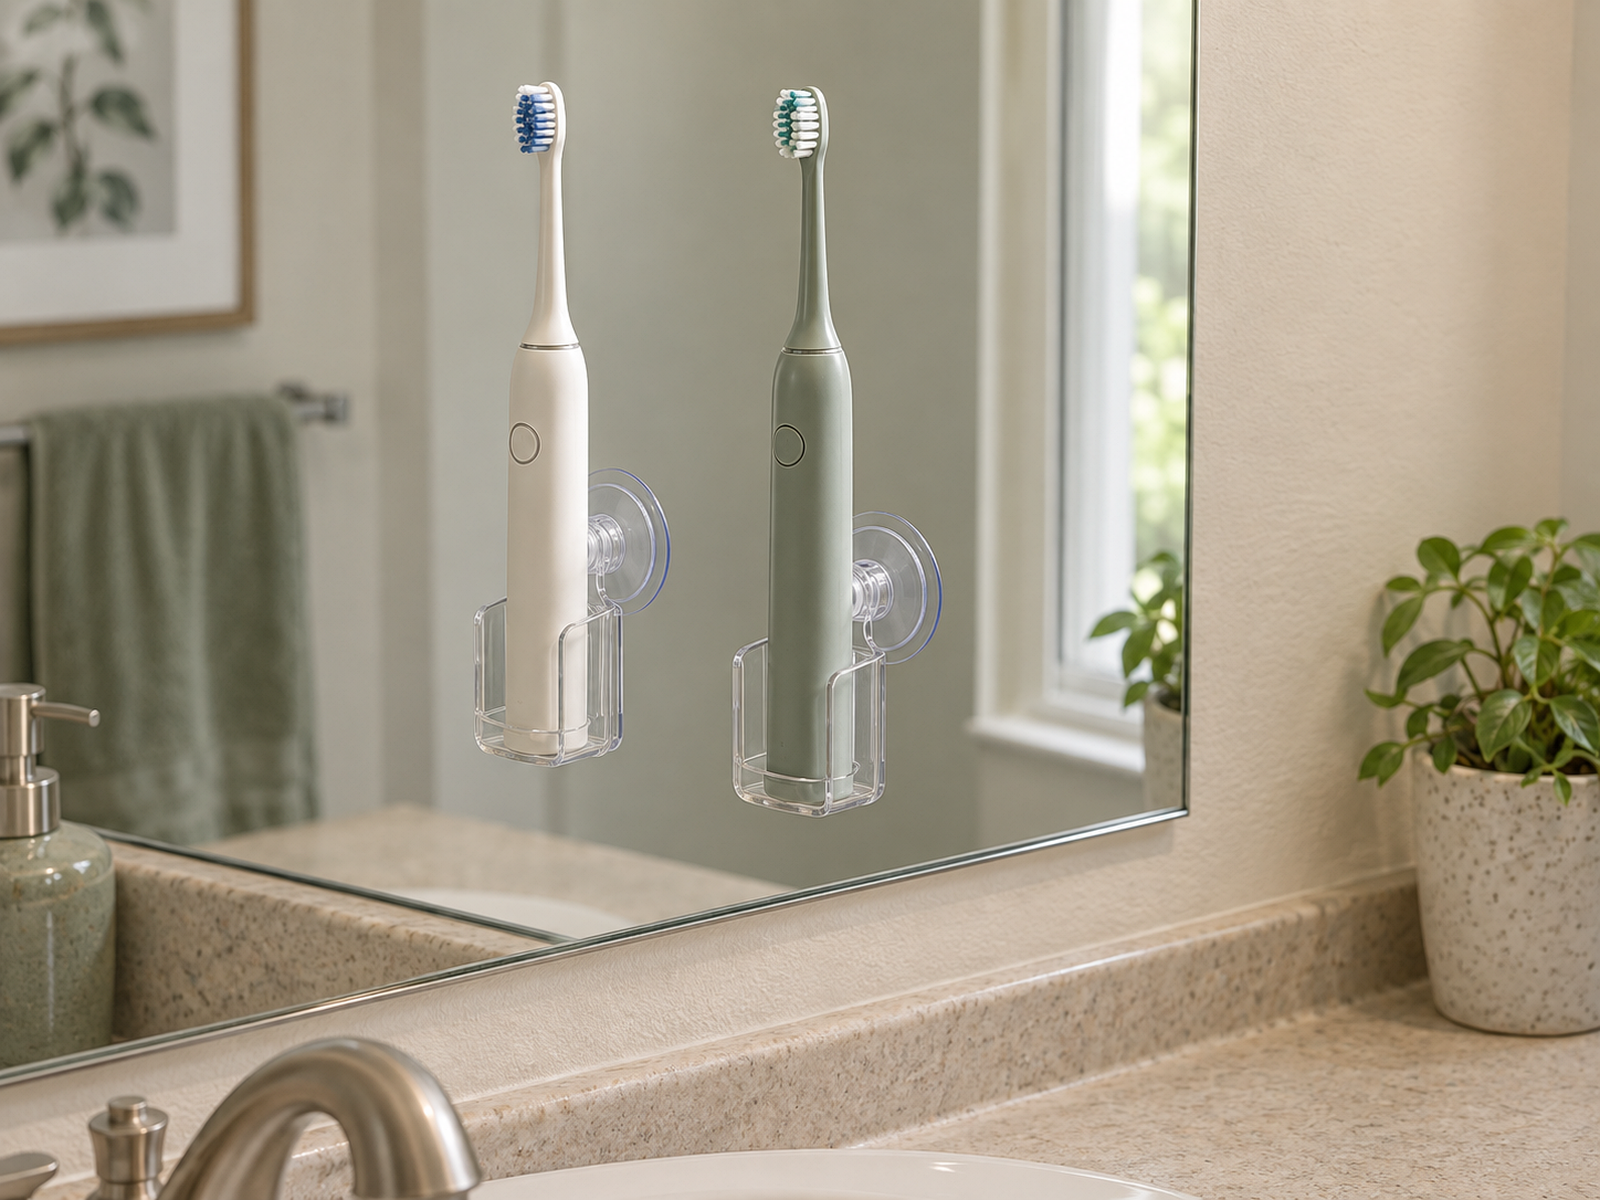
If the brush does not need continuous charging, the simplest surface-recovery move may be to relocate only the handle. A compatible removable wall or mirror holder can create a defined drying and storage position while the charger is kept in a drawer, cabinet, closet, or another dry location until it is needed.
SURI’s current system demonstrates this separation with a magnetic mirror mount and a separate charging stand. Other brushes will use different hardware, so the principle matters more than the product: storage and charging can be two different zones.
A removable adhesive holder can also work when the exact product, bathroom surface, handle size, and load all match. 3M’s current Command Toothbrush Holder is rated up to 2 pounds and lists several compatible surfaces, but the product page does not establish universal fit for every powered toothbrush.
Treat fit and surface compatibility as hard checks. A holder that is secure on tile but too narrow for the handle, or one that fits the handle but is not approved for the surface, has not solved the problem.
05
Conceal the Brush Only After It Has Dried
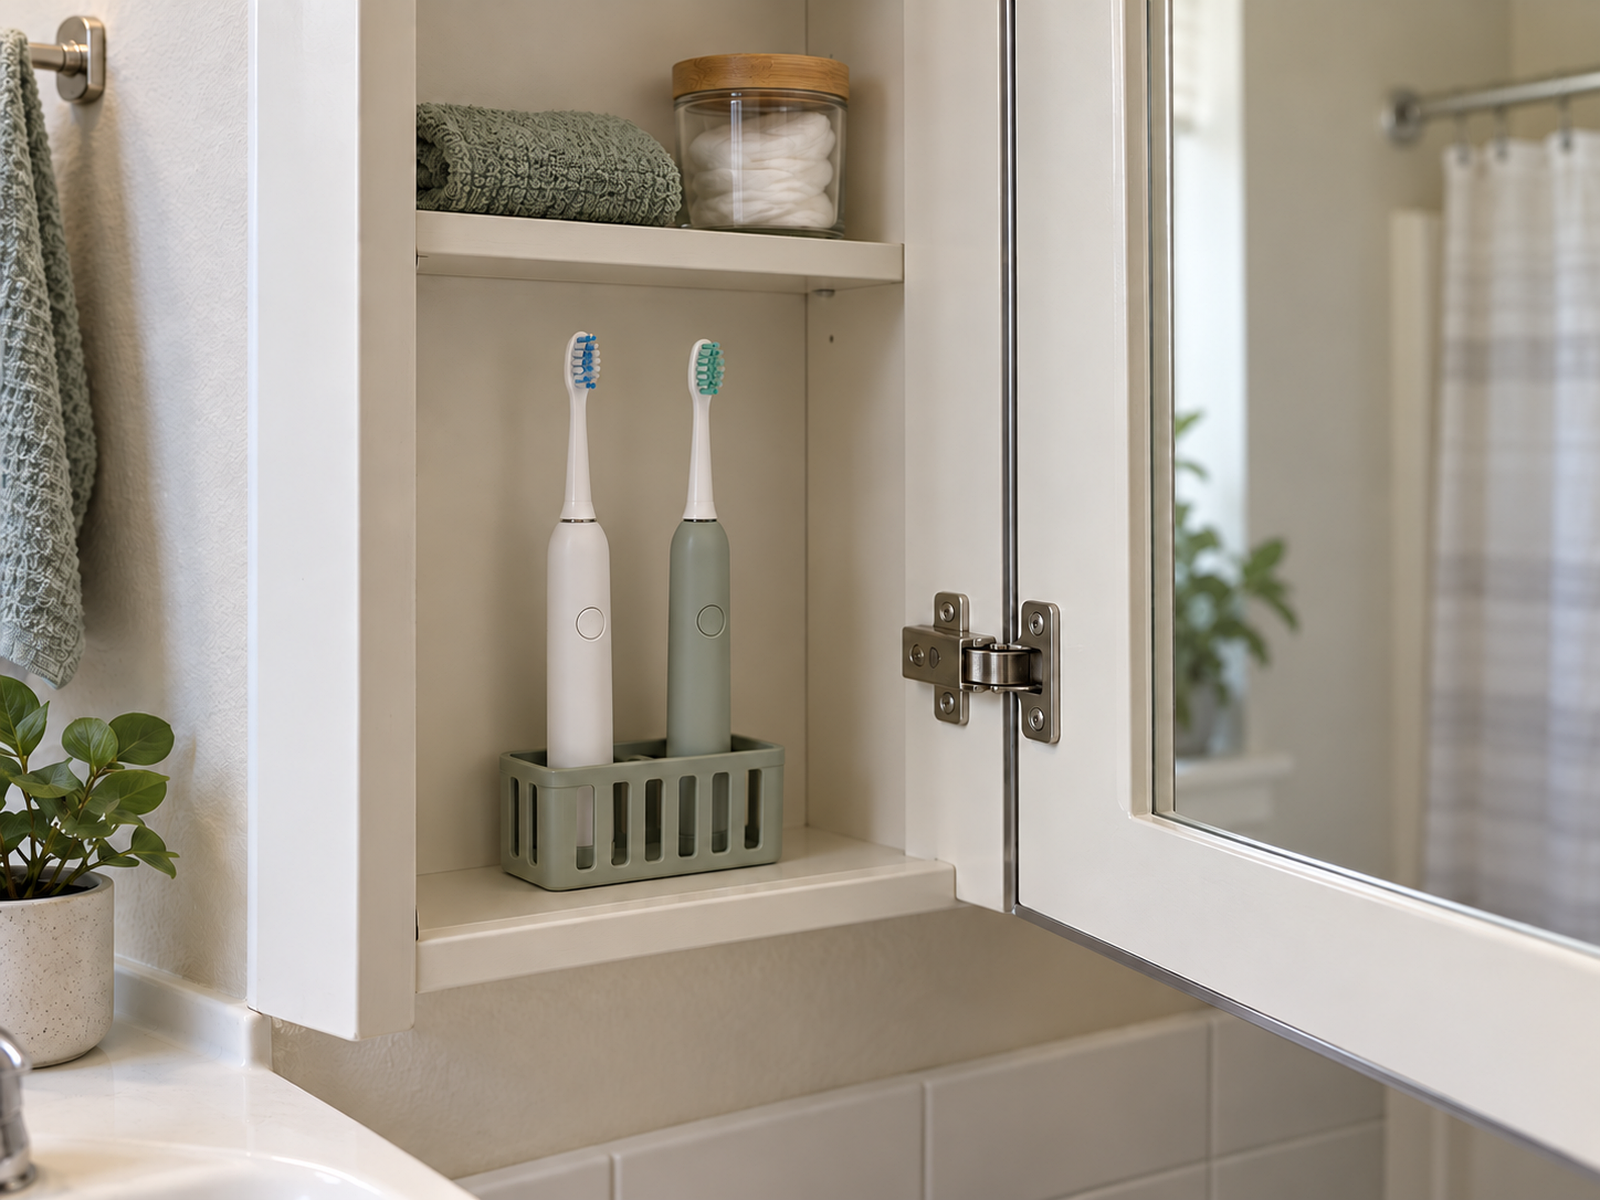
Closed cabinet storage can give the bathroom the calmest visual result without adding a permanent charger to the counter. The trade is timing: the brush should not go straight from rinsing into a sealed, poorly ventilated container while still moist.
A practical two-stage routine is open drying first, concealed storage second. The drying position can be a ventilated holder or compatible open mount; once dry, the handle can move into a medicine cabinet, vanity cabinet, or other defined zone.
The cabinet still needs real geometry. Check upright height, shelf depth, door closure, and whether another stored item forces the brush to lie in a damp pile. A medicine cabinet that is shallow or crowded may be worse than a small visible holder.
Do not turn a cabinet into a mixed charging drawer simply because the counter looks cleaner afterward. Hidden cord clutter is still operational clutter.
06
Give Each Brush a Defined Position in a Shared Bathroom
Several powered toothbrushes create a second problem beyond surface area: ownership and charger compatibility. A family caddy can reduce visual scatter, but it should not make the handles difficult to identify or encourage several charging cables to become one tangled bundle.
Give each brush a repeatable return position. Keep the daily drying locations together if that saves space, but label or arrange them clearly enough that each person can return the correct handle without moving the others.
Then group chargers by actual compatibility rather than by appearance. If two brushes use different charging systems, store or use those chargers separately instead of inventing a one-dock solution that the manufacturers have not verified.
If the household already charges only occasionally, one dry secondary charger zone outside the bathroom can reduce both cable clutter and outlet competition without changing the daily brushing routine.
07
Keep New Cabinet Power Out of the Organization Plan
An outlet inside a vanity or medicine cabinet can make concealed charging convenient when that infrastructure already exists. Adding new bathroom power is a different category of work.
The research package treats new outlets, permanent cabinet cable routing, and wiring changes as electrical work rather than a DIY organization step. U.S. electrical-safety guidance also treats bathrooms as GFCI locations, and CPSC advises using qualified electrical help for home electrical work.
For renters, the distinction is even clearer: a tool-free holder, existing cabinet, or out-of-bathroom charging routine is reversible; new powered cabinetry is permission-dependent infrastructure.
If the only way to hide the charger is to modify bathroom wiring or drill permanent cable routes through a cabinet, first reconsider whether the charger needs to live there at all.
08
Keep Charger Hardware Away From Water Risk
A charger should not be placed wherever the cable happens to reach. Philips currently warns users not to place Sonicare charging equipment where it risks contact with water.
That means counter-space recovery should never push charging hardware into a wet corner, directly beside a sink splash zone, or into another location that conflicts with the exact manufacturer instructions.
The safest editorial rule is intentionally qualitative: follow the toothbrush manufacturer’s charging guidance and keep the charger out of water-contact risk. Do not invent a universal number of inches from the sink or prescribe a bathroom electrical layout.
If the only available outlet creates an awkward or wet charging zone, periodic charging in another appropriate location may be a better storage decision than forcing the bathroom to host the charger full-time.
09
Test the Full Use-to-Reset Cycle
A toothbrush system is finished only when the entire cycle works: use the brush, rinse it according to the manufacturer guidance, place it where it can dry, then return it to storage or the charger without creating a pile of handles and cables.
Run that sequence for every brush in the bathroom. Check whether doors close, holders stay secure, cords remain out of the sink area, and no one has to move another person’s brush to reach their own.
If the system looks neat but requires a five-step transfer every morning and night, reduce the number of zones. If it is convenient but the counter is still crowded, separate charging from storage more aggressively.
The goal is not a bathroom where nothing is visible. It is a dry brush, a usable counter, an appropriate charging location, and a reset simple enough that the system survives daily use.
Closing Decision
Let the Brush Dry First, Then Decide What Really Needs to Stay in the Bathroom
A small bathroom does not need one station that permanently holds every powered handle, charger, cable, and toothpaste tube. Give the wet brushes a clear drying job first, then decide which handles need visible daily storage and which chargers actually need to remain connected.
A ventilated caddy is the simplest option when a small counter footprint is acceptable. A compatible removable mount can recover more surface when the charger can live elsewhere. Cabinet storage can provide concealment after the brush dries, and periodic charging outside the bathroom can eliminate charger footprint entirely for models that support that routine. The best system keeps the brush dry, the counter usable, and the charging setup appropriate without turning organization into electrical work.
RELATED GUIDES
What to Read Next

NEXT GUIDE
How to Organize a Small Bathroom With No Medicine Cabinet
Use this next if the toothbrush system is only one part of a broader daily-toiletry problem and the bathroom still needs accessible storage without relying on a medicine cabinet.
GUIDE
How to Organize a Small Bathroom Shared by Two People With One Sink
Use this if multiple toothbrushes are part of a larger shared-sink conflict; that guide handles ownership, everyday access, and counter-sharing beyond the powered charging problem.