
Small Bathroom Storage
How to Store Hair Tools in a Small Bathroom Without Losing Counter Space
Hair dryers, straighteners, curling tools, and their cords can take over a small bathroom fast. Separate cool-down from permanent storage, then choose a dry, easy-return home that protects the counter without creating a door, water, cord, or renter-installation problem.
In This Guide
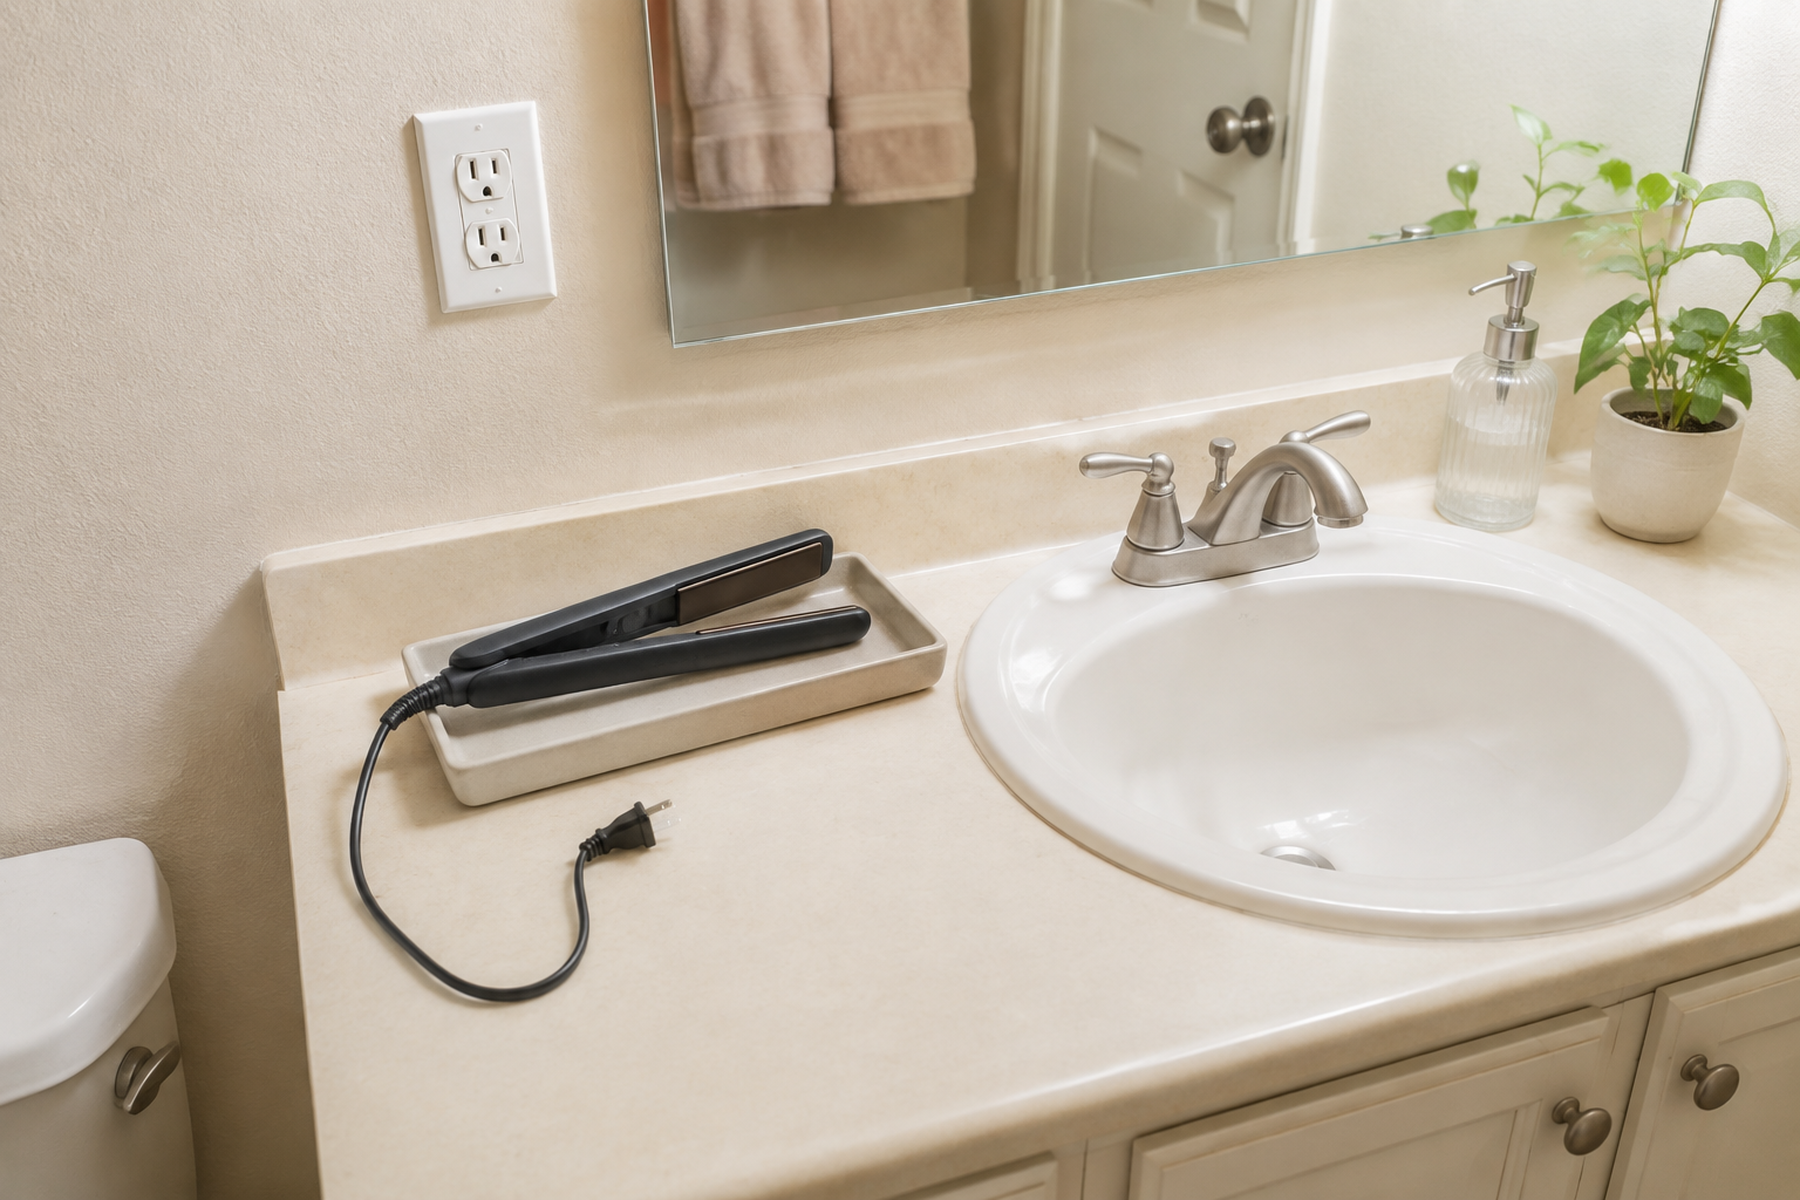
Hair tools behave differently from ordinary bathroom supplies because they change state during the routine. A straightener or curling tool may be hot immediately after use, a dryer has a bulky cord and plug, and all of them are electrical items commonly used near a sink. Hiding everything in the nearest bin can make the counter look better while leaving the actual routine unsolved.
A more workable small-bathroom system uses two homes: a temporary dry place for an unplugged tool to cool, and a permanent place for the cooled tool and cord. Once those two states are separated, storage becomes a geometry decision—counter, cabinet, door, cart, or a nearby room—rather than a search for one organizer that is supposed to do everything.
Quick Answer
Build a Two-State Hair Tool System
Treat hot hair tools as a two-state storage problem: give the unplugged tool a dry cool-down zone, reserve the easiest bathroom access for the tools used most often, and choose the permanent stored home from the real tool, cord, door, plumbing, and circulation geometry. Follow exact mounting and cord-care instructions rather than assuming no-drill storage is universally compatible.
01
Separate the cool-down zone from permanent storage
Give an unplugged styling tool a defined dry place to cool before it goes into ordinary enclosed storage.
02
Reserve prime bathroom access for the tools used most often
Daily tools earn the easiest return path. Backups, travel tools, and occasional-use items can move to slower storage.
03
Choose the stored home by real geometry
Check the tool body, plug, cord, plumbing, hinges, shelves, door movement, and circulation before choosing a cabinet, door, cart, or wall-adjacent solution.
01
Separate Cool-Down From Permanent Storage
A small bathroom works better when the hot or recently used tool does not have to jump straight from your hand into its permanent storage. Define a temporary dry resting zone first—somewhere the unplugged tool can sit without occupying the sink basin, blocking the faucet, or hanging into a walkway.
The exact cooling and storage instructions depend on the appliance. For example, a cited Remington straightener manual tells users to unplug the tool, let it cool before storage, and keep it in a safe, dry location. Conair’s CD851 instructions likewise direct users to disconnect the appliance when it is not in use and store it in a safe, dry place. Use the instructions for your own model rather than assuming a generic holder is rated for a hot tool.
This separation also makes organization easier. The cool-down zone can stay small and temporary; the permanent storage zone can prioritize containment, cord room, and quick reset after the tool has cooled.
Hair dryers deserve an additional water-boundary check. The U.S. Consumer Product Safety Commission notes in its technical background that hand-held hair dryers are typically used in bathrooms near water sources, and its hair-dryer safety page treats dryers without integral immersion protection as a substantial product hazard. That protection reduces shock risk; it does not make sink-side storage a recommended location. Keep corded styling tools out of routine splash and fall zones and follow the instructions for the actual appliance.
02
Keep Only the Active Tool Set in Prime Bathroom Space
Daily access is valuable in a small bathroom, so give it to the tools that actually participate in the routine. A dryer used every morning may deserve a cabinet-door holder or front-of-cabinet caddy; a travel dryer, backup straightener, or occasional curling wand usually does not need the same priority.
This is not a rule about owning a certain number of tools. Hair type, household routines, accessibility needs, and styling habits vary. The practical distinction is simply active versus occasional: move the slower category away from the most contested counter and cabinet zones.
Reducing the prime-access set often solves more than buying a larger organizer. It leaves more room for each tool body, plug, and cord, and makes the system easier to reset after use.
03
Choose a Dry Stored Home That Fits the Tool and Cord
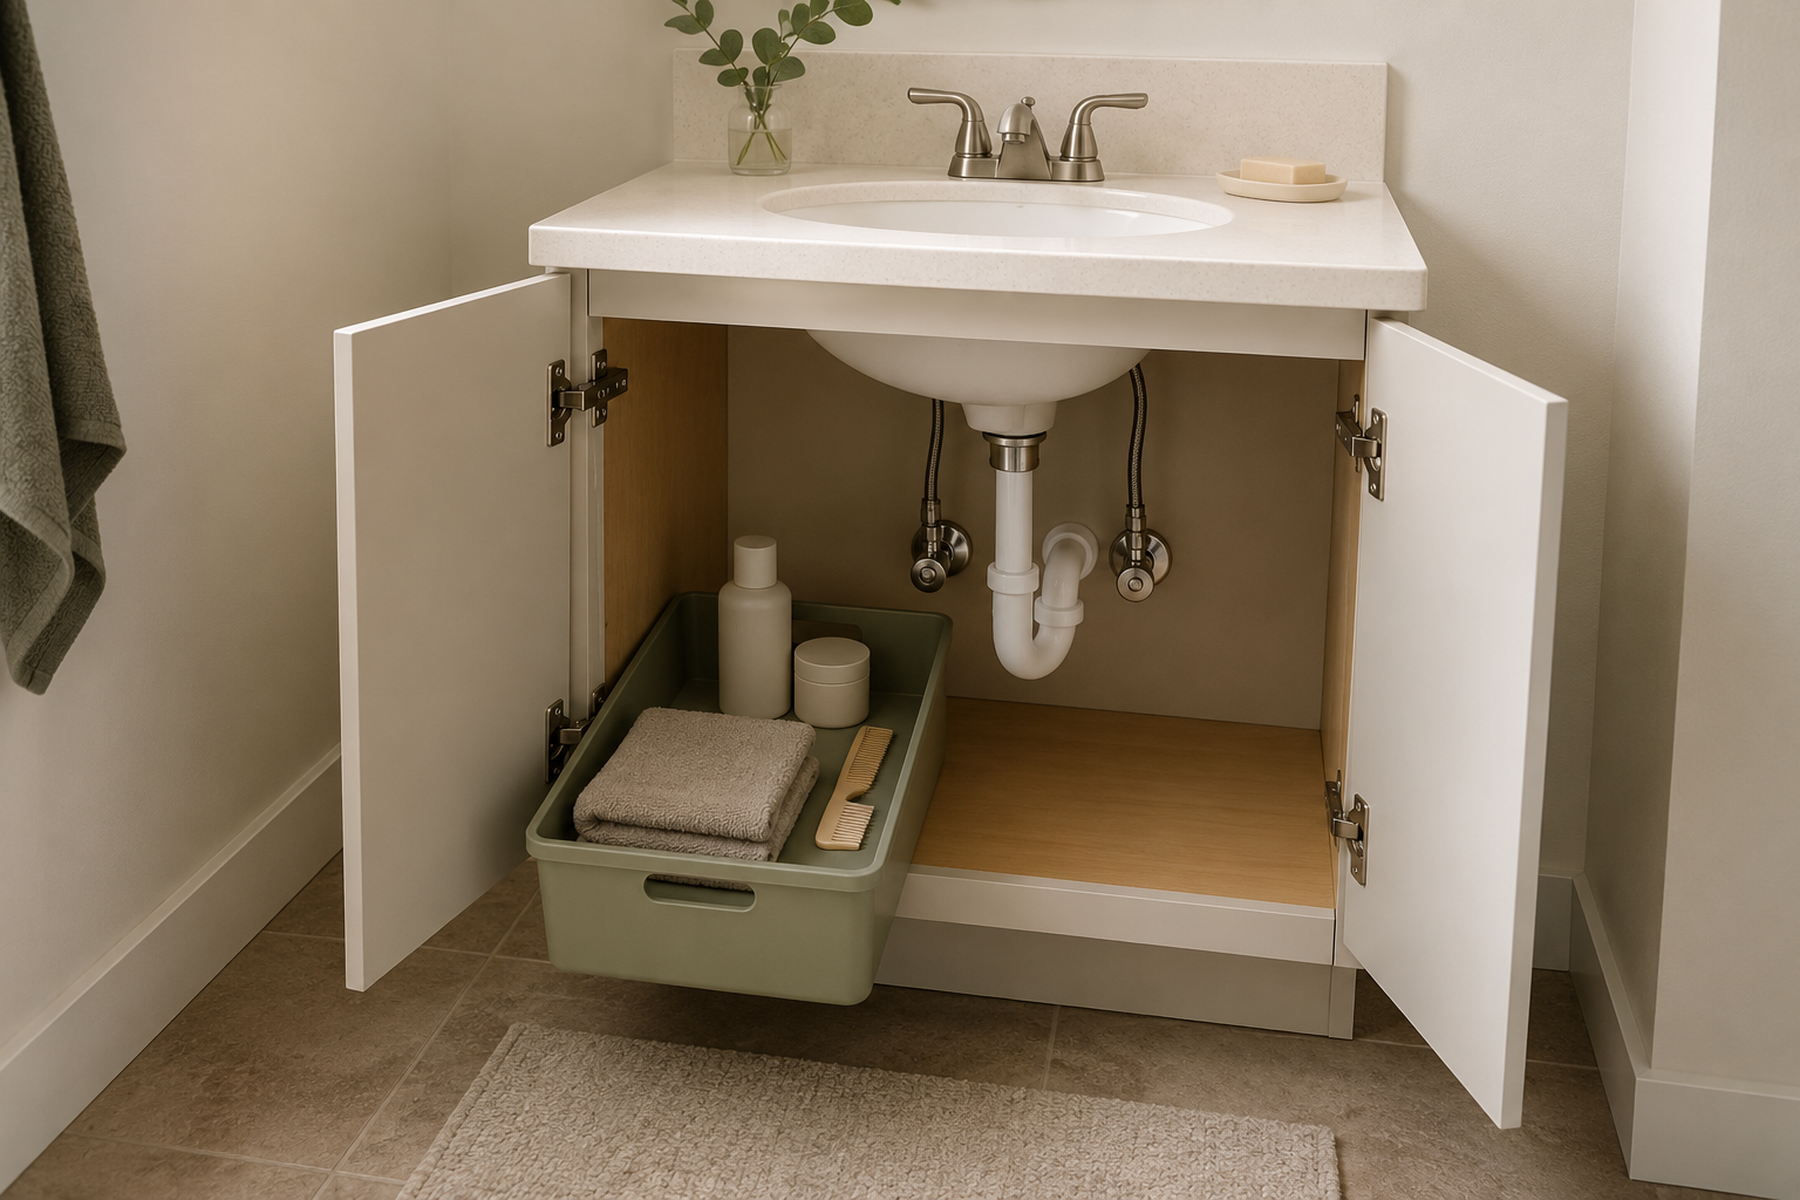
After cooling, choose the stored home by what the room can give up most cheaply. A compact countertop holder offers the fastest access but still consumes work surface. A vanity or under-sink caddy clears the counter but spends cabinet volume and may have to work around plumbing. A freestanding cart adds capacity without drilling but costs floor space.
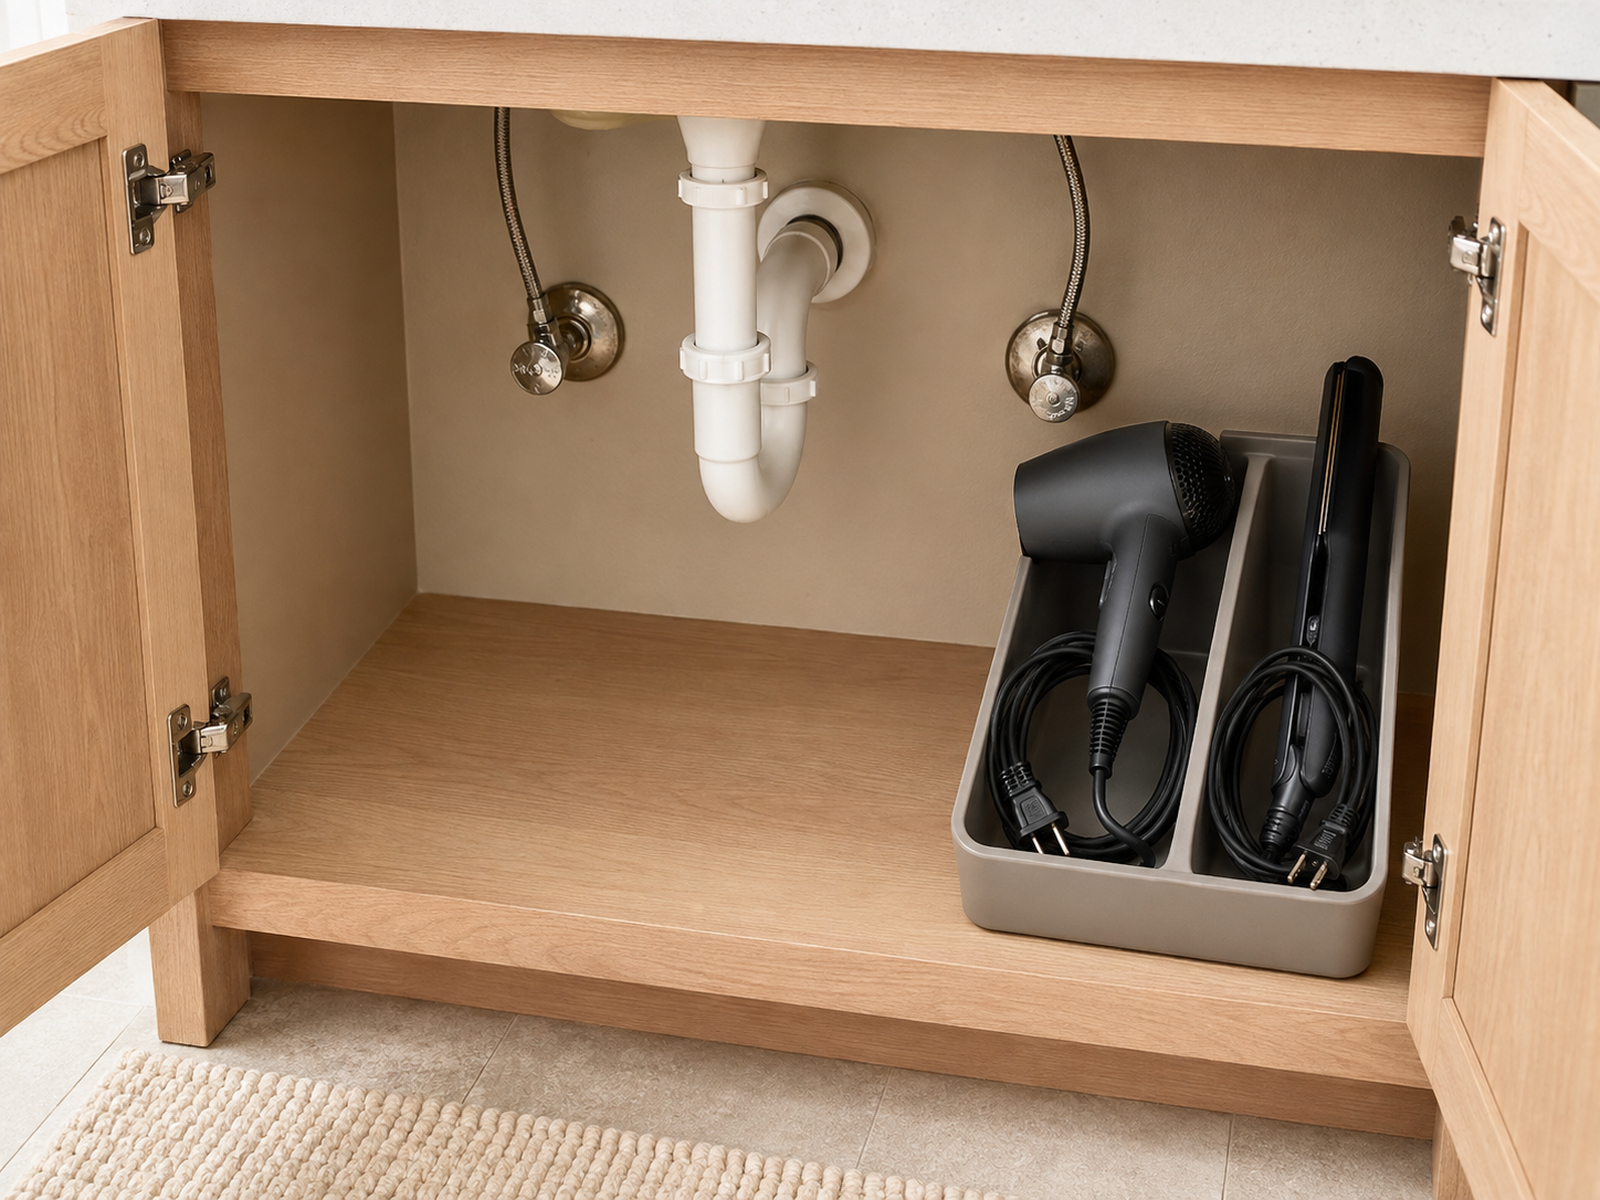
For a vanity, the tool should fit without being forced around the trap, shutoff valves, shelves, or other contents. Keep the plug and cord visible enough that they do not disappear into a deep pile. If the bathroom has almost no vanity storage, a broader guide to pedestal-sink storage may help with the room-level capacity problem, while this article stays focused on the electrical tools themselves.
Do not treat hidden storage as an automatic safety upgrade. The appliance should be unplugged and in the storage state supported by its own instructions before it goes into an ordinary cabinet, bin, or drawer.
Measure / Check First
A hair-tool holder has to fit more than the appliance body. Check the whole movement and storage path before you buy, mount, or dedicate a zone.
Measure the Tool, Plug, and Movement Path Before You Add Storage
01
Define the dry cool-down footprint
Identify a temporary resting area that stays away from routine water contact and does not block the sink, faucet, toilet use, or walkway.
02
Measure the complete stored bundle
Use the actual dryer or styling tool, plug, strain-relief area, and loose cord—not just the product body—as the space requirement.
03
Check door, plumbing, and attachment clearance
Test cabinet-door closure, hinges, shelves, plumbing, over-door projection, and the real mounting surface before committing to the organizer.
If any part of the routine only works when a door stays partly open, a cord is forced into a tight bend, or the tool sits in a splash-prone zone, change the storage location rather than squeezing the system into the wrong geometry.
04
Use Cabinet-Door Storage Only if the Door Still Works
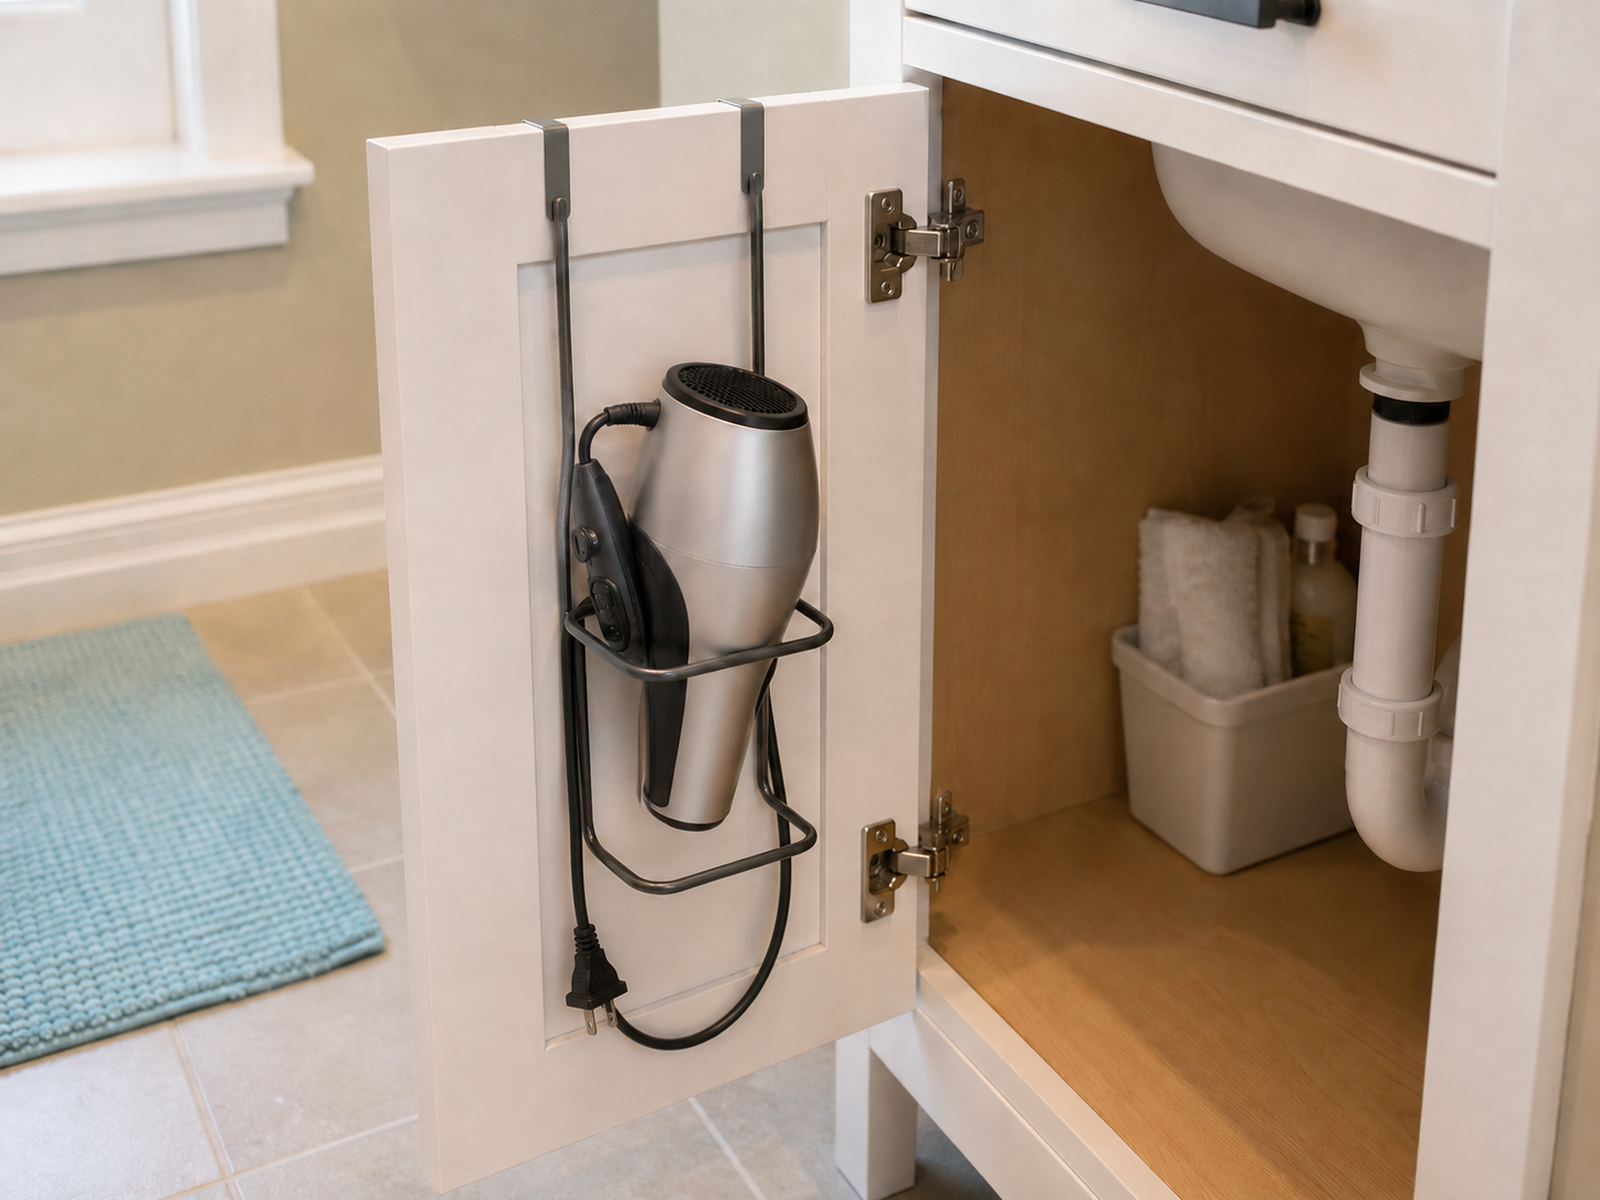
The inside of a vanity door can be useful because it preserves the cabinet floor and keeps a daily tool near the front. But the storage only earns that space if the door can still close naturally with the actual dryer body, barrel, plug, and cord in place.
Open the door through its full movement and check the organizer against shelves, plumbing, bins, and the cabinet frame. A holder that looks compact while the door is open can collide with the cabinet interior as soon as the door swings shut.
For rentals, prefer a genuinely removable mounting method when it is compatible with the door. A no-drill label is not enough by itself: the bracket, adhesive, door finish, and tool weight still have to match the product instructions. If a vanity has no drawers and daily items are already crowding the surface, the related guide on organizing a bathroom vanity with no drawers can help with the broader category split.
05
Test Over-Door and Adhesive Storage Against the Real Surface
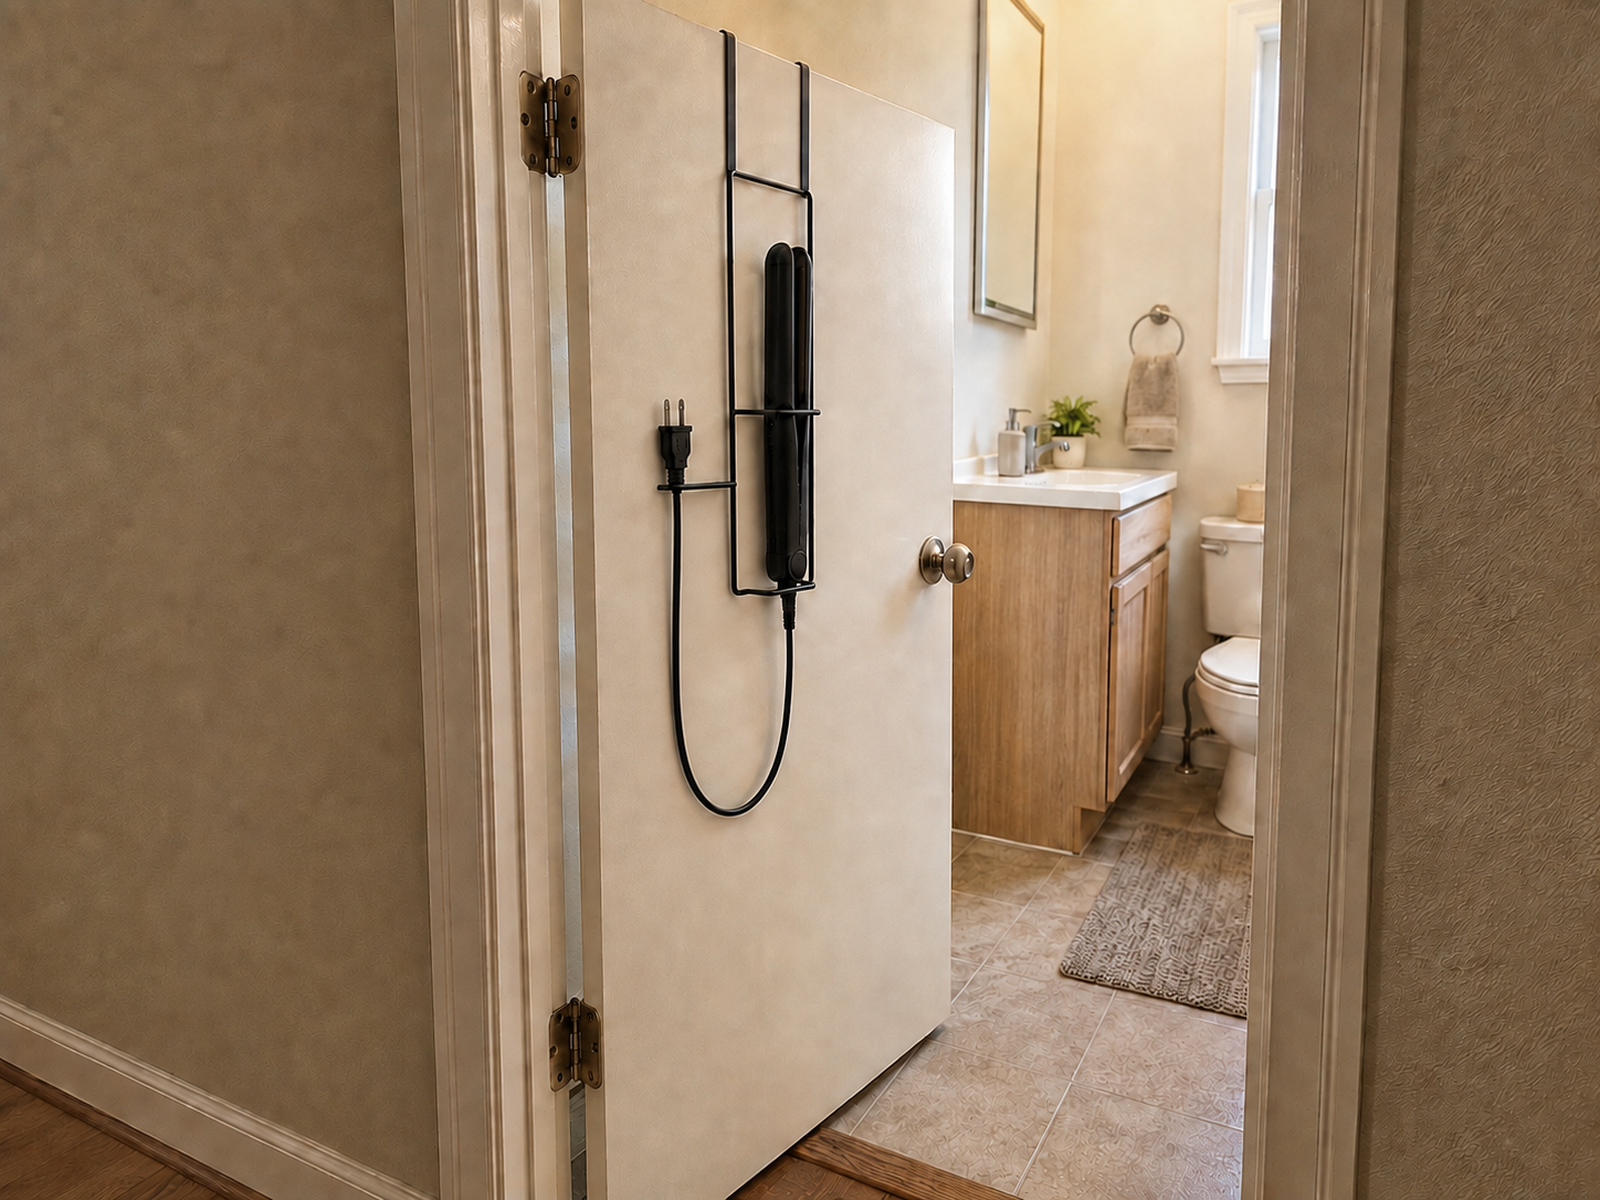
A bathroom door can create vertical storage without using the counter or vanity, but the organizer still projects into the room. Test the door at full swing and check whether the stored tools can be bumped by a person, towel, wall, or nearby fixture. In a narrow bathroom, an organizer that saves floor area can still make the circulation path worse.
Adhesive systems need a different check. The official 3M Command Bathroom guidance lists surface restrictions and installation steps for its own products, including surfaces it says not to use. That is a useful reminder that “removable” and “damage-free” claims belong to the specific product, surface, preparation, load, and removal method—not to adhesive storage as a whole.
If the wall or door surface is uncertain, choose another zone rather than using a stronger claim than the manufacturer supports. Freestanding and over-door options can be simpler for renters when their geometry works.
06
Give the Cord Its Own Space Instead of Winding It Around the Tool
A hair-tool organizer can fit the appliance and still fail because the plug and cord have nowhere to go. Leave a small secondary pocket, open loop, or adjacent section so the cord can sit without being crushed behind the tool or pulled sharply at the strain-relief point.
The cited Conair and Remington manuals both caution against wrapping the line cord around the appliance. That guidance is model-specific evidence rather than a universal cord-care rule for every tool, but it supports a better storage habit: make enough room for a relaxed cord instead of designing the organizer around a tight wrap.
Cord space also improves reset speed. If putting the tool away requires a careful winding routine every morning, the counter or floor will eventually become the easier storage location.
What Not to Do
Common Hair-Tool Storage Mistakes in a Small Bathroom
- Do not make immediate enclosed storage the only option for a tool that still needs to cool.
- Do not store a corded styling appliance where it can easily fall or be pulled into a sink or tub.
- Do not assume an adhesive hook or basket is compatible with every painted, tiled, textured, or rental surface.
- Do not choose inside-door or over-door storage without testing the full door movement and projection into the room.
- Do not design the system around tightly wrapping the cord around the appliance when the tool’s instructions warn against it.
07
Move Permanent Storage Outside the Bathroom When That Works Better
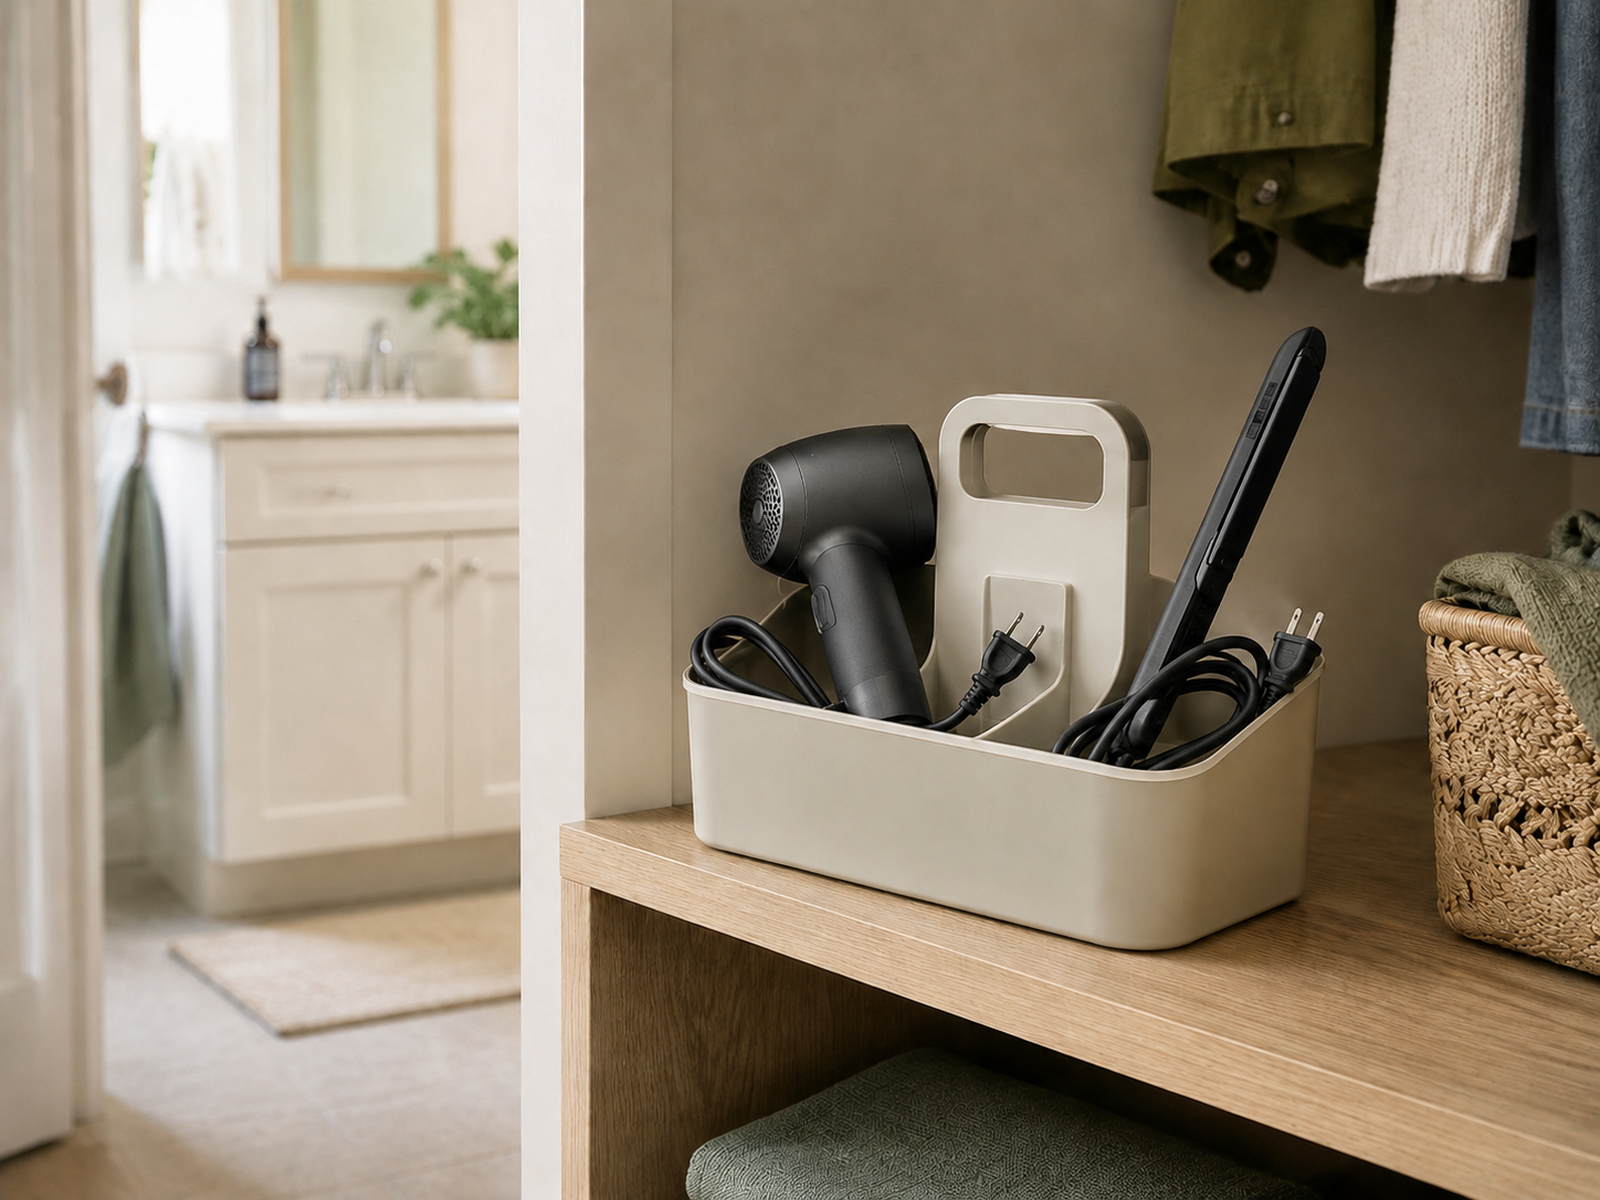
The bathroom can be the use location without being the permanent storage location. If the room has a pedestal sink, almost no dry counter, unreliable mounting surfaces, or no place for cords, a handled caddy in a nearby bedroom drawer, closet shelf, or dry cabinet may be the cleaner system.
This works especially well for tools that already need a setup-and-reset step. Bring the caddy in, use the tools, let them cool in the defined dry zone, then return the cooled tools to the nearby storage home. The trade-off is a little more movement; the benefit is keeping a tiny bathroom from carrying storage it cannot support well.
A smaller appliance does not automatically solve the problem if the cord, cool-down state, or storage location is still unresolved. Choose a different permanent zone before replacing working tools solely for storage reasons.
Decision Sequence
Use the Same Four-Step Reset After Every Styling Session
01
Finish the routine and unplug
End the active-use state before you start organizing the tool.
02
Place the tool in the defined dry cool-down zone
Keep it away from the sink or tub area and out of the main circulation path while it cools.
03
Let the tool cool according to its instructions
Do not assume an ordinary drawer, plastic bin, fabric pocket, or generic holder is meant for immediate hot storage.
04
Return the cooled tool and relaxed cord to the stored home
The permanent location should be easy enough to reset that the counter does not become the default again.
Closing Decision
Choose the Storage Zone That Solves the Whole Routine
A good small-bathroom hair-tool system is easy to judge: there is a dry place for the unplugged tool to cool, a permanent home for the cooled tool and cord, and neither location steals the sink, blocks a door, or depends on an installation method the room cannot support.
If the bathroom cannot provide all of that, do not force every tool to live there. Keep the bathroom as the use location and move permanent storage to the nearest dry, easy-return zone; that extra step is often a better trade than sacrificing the room’s working surface.
RELATED GUIDES
Related Guides
NEXT GUIDE
How to Organize a Bathroom Vanity With No Drawers—Without Filling the Counter
Use when the broader vanity lacks shallow storage and daily items are already spilling onto the counter.
GUIDE
How to Add Storage Around a Pedestal Sink in a Small Bathroom
Use when the bathroom has almost no vanity or counter capacity beyond the hair-tool problem.
GUIDE
How to Organize a Small Bathroom With No Medicine Cabinet
Use when missing shallow daily-use storage is causing broader counter spillover.