
Small Bathroom Storage
How to Organize a Bathroom Vanity With No Drawers—Without Filling the Counter
When the vanity has only a cabinet under the sink, the problem is often access before capacity. Create removable drawer-like zones around the plumbing, keep daily items in the easiest-reach space, and add outside storage only if the cabinet still cannot carry what truly belongs in the bathroom.
In This Guide
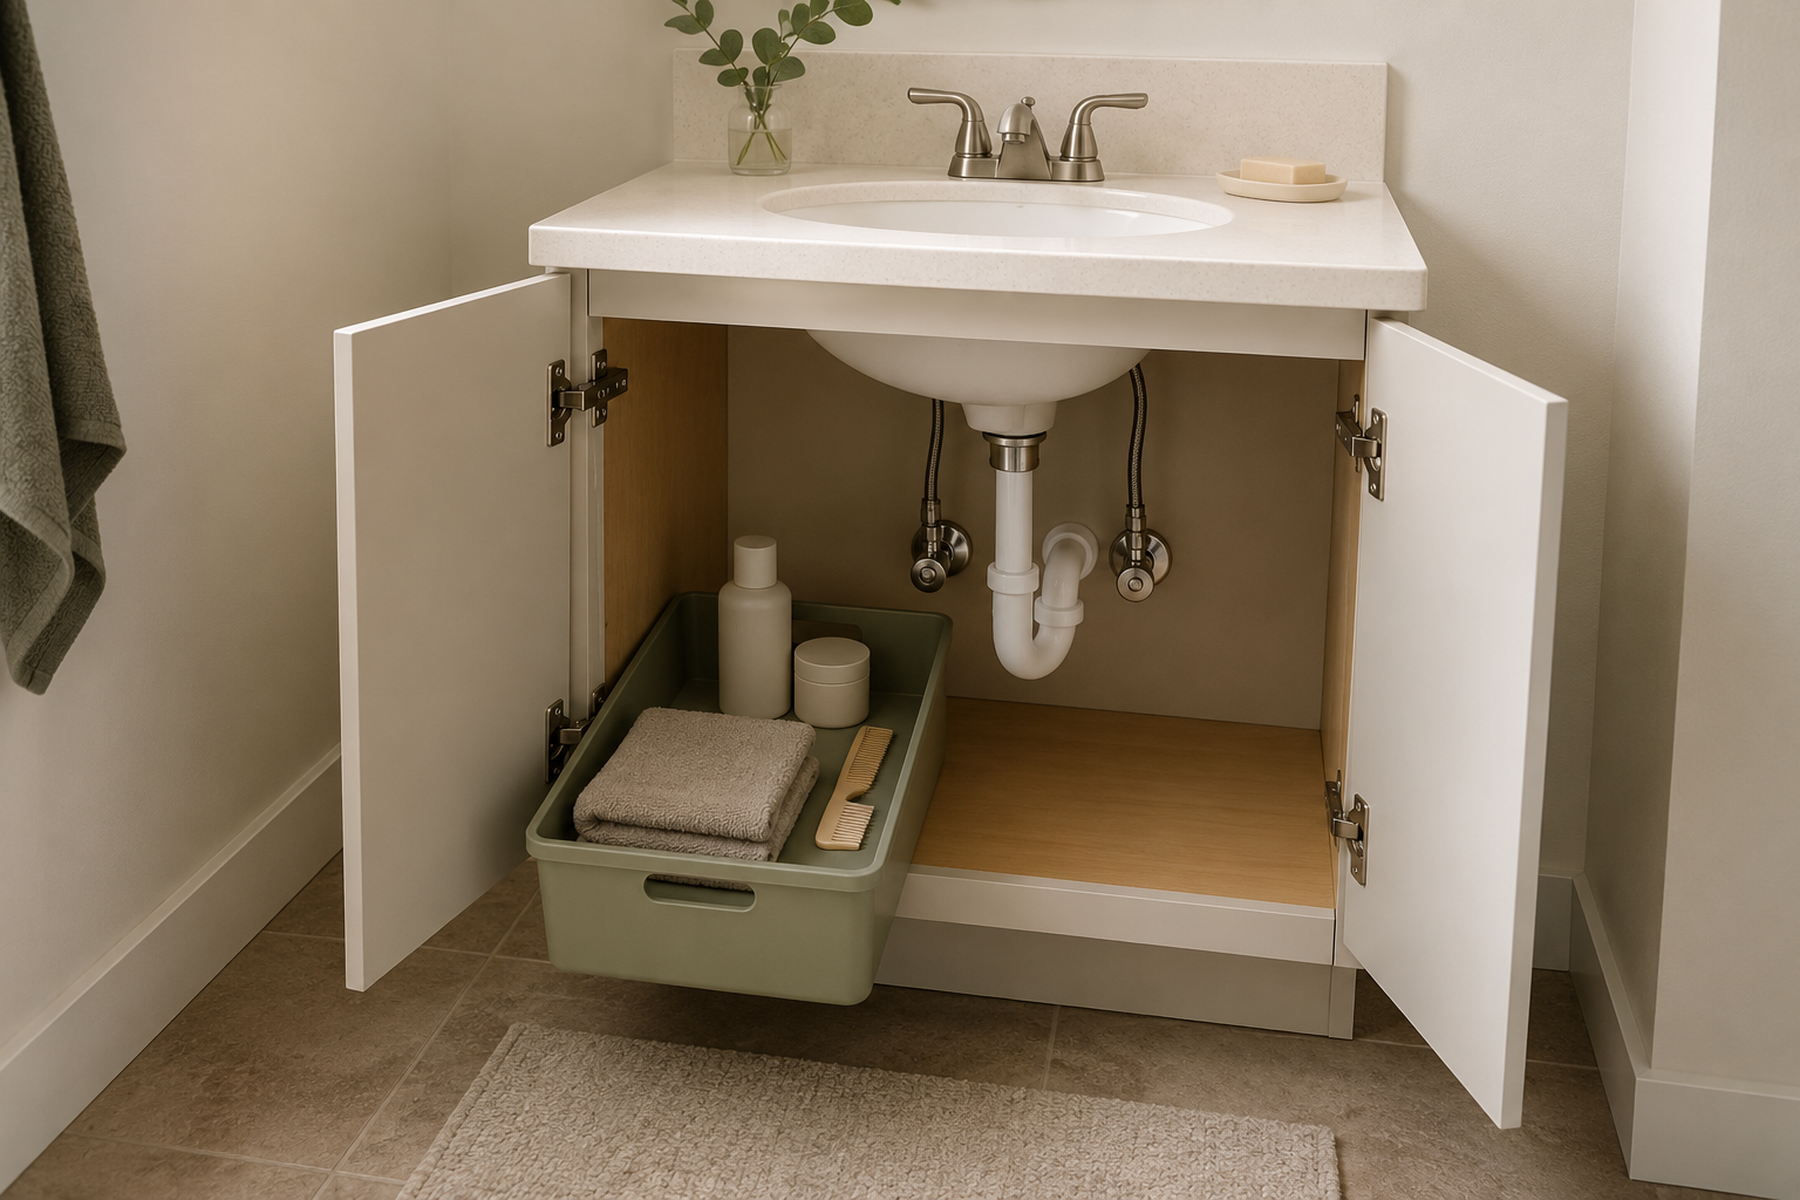
A vanity can have a surprising amount of cabinet volume and still feel almost useless when there are no drawers. Small toiletries disappear behind taller bottles, the plumbing breaks the cabinet into awkward pockets, and the easiest response is often to leave daily items on the counter.
The better goal is not to use every inch under the sink. Make the existing cabinet easier to retrieve from, keep plumbing and damp areas easy to inspect, and reserve the fastest-access zones for the routines you actually use every day.
Quick Answer
Solve Access Before You Add More Bathroom Storage
A cabinet-only vanity works better when you replace the missing drawer functions rather than trying to maximize raw capacity. Start with the items that truly belong in the bathroom, then organize around the plumbing and frequency of use.
01
Reduce the load before you organize it
Separate daily toiletries from backups, cleaning supplies, low-frequency items, and anything that may be better stored outside the bathroom. A smaller cabinet load is easier to make visible and retrievable.
02
Create removable front-access zones
Use handled bins, shallow pull-forward containers, or another removable drawer-like system that fits the real clear space around the pipes. The best fit may intentionally leave some cabinet volume unused.
03
Keep prime access for daily routines
Daily items belong in the easiest-reach front zone. Backups and lower-frequency supplies can live farther back or elsewhere, while external furniture stays a last step rather than the first response.
01
Decide What Actually Needs Bathroom Storage
Start by separating what you use every day from what simply happens to be stored in the bathroom. Dental care, skincare, hair or grooming tools, contact-lens supplies, and other routine items may deserve fast access, but backups and occasional supplies do not need to occupy the same prime zone.
This is also the point to remove categories that do not benefit from a humid bathroom location. MedlinePlus advises that heat and moisture from showers, baths, and sinks may damage medicines, so a cabinet labeled or designed as a “medicine cabinet” is not automatically the right storage location for medication.
Once the cabinet holds fewer competing categories, it becomes easier to see whether the real problem is insufficient capacity or simply poor retrieval. That distinction matters because adding a cart or wall shelf will not fix a deep cabinet where daily items still get buried.
Measure / Check First
Do not shop from the vanity’s outside width. Open the doors and map the clear spaces that actually exist around the drain, supply lines, hinges, center rails, shelf cutouts, and anything else that interrupts the cabinet.
Map the Cabinet Around the Plumbing
01
Check the left, right, front, and rear zones
Treat the plumbing as a fixed divider. A container that fits one side may not fit the other, and a wide organizer can fail even when the cabinet looks large from the outside.
02
Test the full retrieval path
Confirm that a bin or pull-out can move forward without hitting the P-trap, door, hinge, or another container. The organizer is only useful if you can reach the stored category without unloading the cabinet first.
03
Preserve inspection and clean-out access
Make sure the storage can be removed quickly enough to see dampness, reach the plumbing area, and clean or dry the cabinet when needed. Do not create a tightly packed layer that hides the places you may need to inspect.
There is no universal vanity size, P-trap geometry, or organizer dimension that guarantees a fit. Measure the usable zones in the real cabinet and keep the plumbing area accessible rather than forcing a standard organizer into an irregular space.
02
Create Drawer-Like Access Inside the Cabinet
The missing function is shallow, pull-forward access. A handled bin, shallow basket, removable drawer unit, or similar container can act as a pseudo-drawer when it brings one category forward instead of making you reach through several layers.
Choose the form by the movement it needs to make. A simple handled bin may work better than a framed pull-out when the plumbing blocks a sliding path, while a compact drawer-style unit can work when the clear height and travel path are genuinely available.
Avoid turning the cabinet into a stack of tiny containers. The point is to reduce retrieval steps, not recreate drawer fragmentation with more lids, trays, and boxes than the routine actually needs.
03
Reserve the Front Zone for Daily Use
The easiest-reach part of the cabinet is valuable. Give it to the categories you reach for most often rather than to backups, cleaning inventory, or bulk refills.
A daily dental bin, skincare bin, or grooming caddy can work when each group is small enough to pull forward as one unit. Lower-frequency items can move behind those zones only when they remain visible and do not force you to remove the daily containers every time.
This is where a little unused space can be a feature. A cabinet that is slightly less full but easy to scan, pull forward, and reset often works better than one that wins on theoretical capacity but loses on everyday access.
Use / Skip
When a Pseudo-Drawer Is Worth the Space
Use
Use — Use it when one motion improves retrieval
A removable bin or pull-out earns its footprint when it keeps one useful category together, clears the plumbing, and lets you bring the contents forward without moving other storage first.
Skip
Skip — Skip it when the organizer creates a new obstacle
Do not force a tall multi-tier unit, wide frame, or rigid drawer system into a cabinet where the pipes block travel, the doors cannot close, or the unit has to stay in place when you need plumbing or cleaning access.
04
Keep the Plumbing Zone Inspectable and Removable
Under-sink storage is also a maintenance zone. EPA guidance emphasizes moisture control, prompt attention to plumbing leaks, and drying wet materials, so a neat cabinet should not make dampness harder to notice or the cabinet harder to empty.
Keep the area around pipe penetrations and shutoff access understandable rather than burying it behind permanent-looking layers. Removable containers make it easier to clean, inspect, dry, or reconfigure the cabinet when something changes.
If you find an active leak or persistent dampness, storage optimization is not the first task. EPA’s renter guidance says plumbing leaks and moisture problems should be reported to the building owner, manager, or superintendent; this article does not make a legal or lease-remedy claim.
What Not to Do
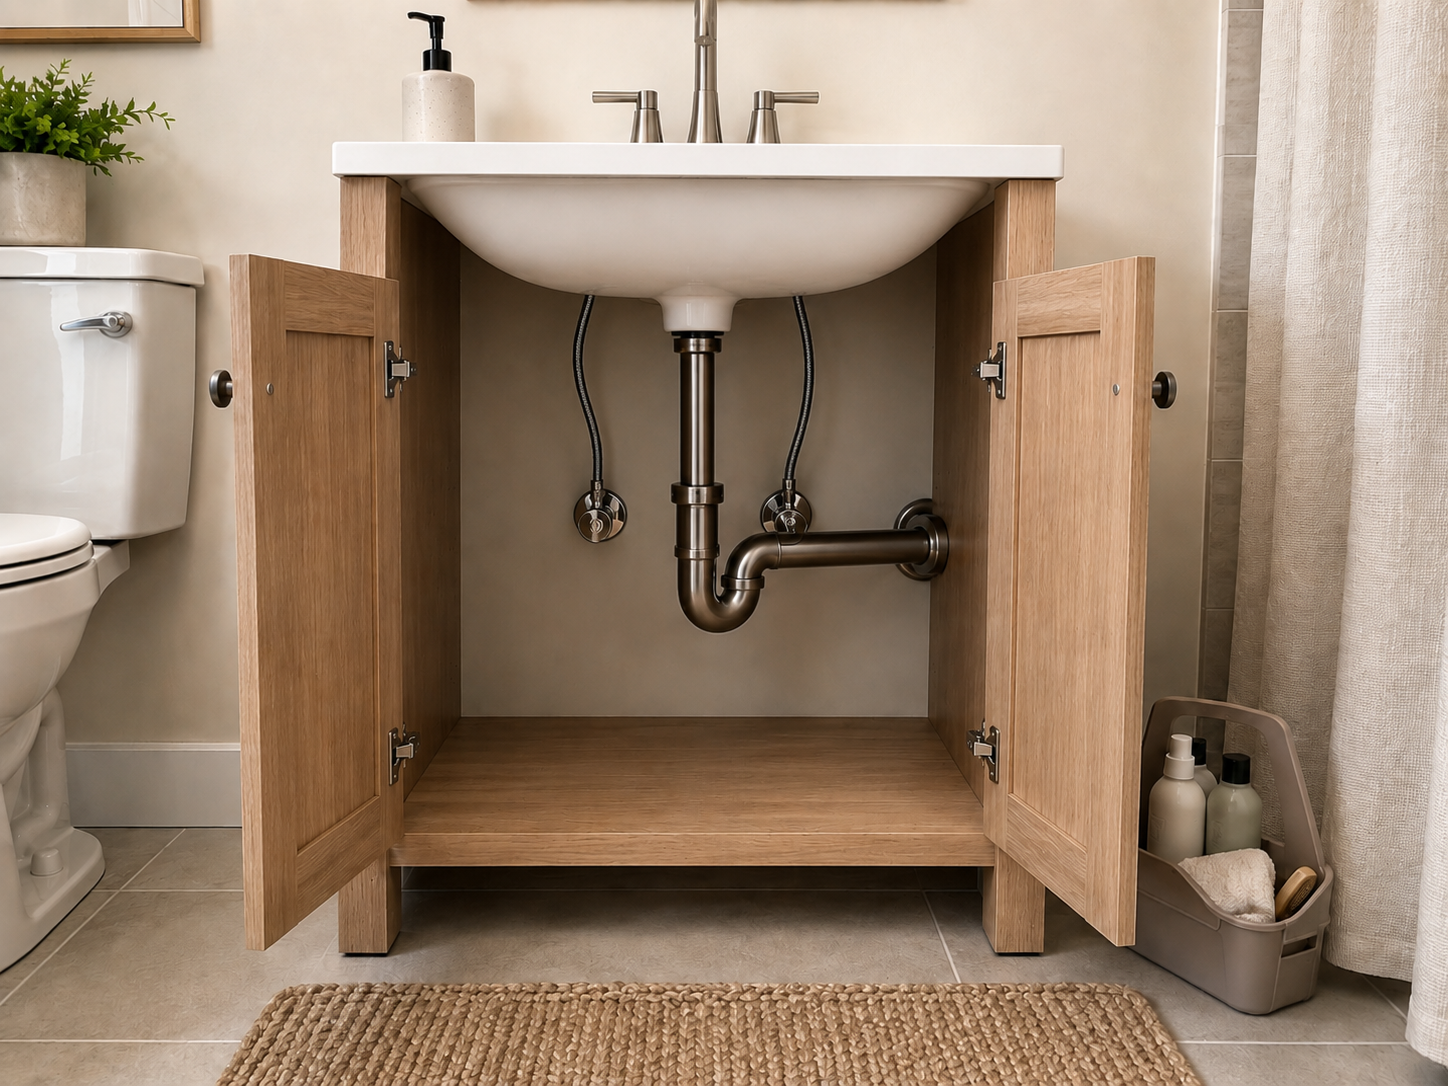
Don’t Use Every Inch Under the Sink
Packing tightly around the plumbing can hide leaks, make cleaning slower, and turn every retrieval into a small unloading job. Leave enough visual and physical access that the cabinet can be inspected, emptied, and dried without dismantling the entire storage system.
05
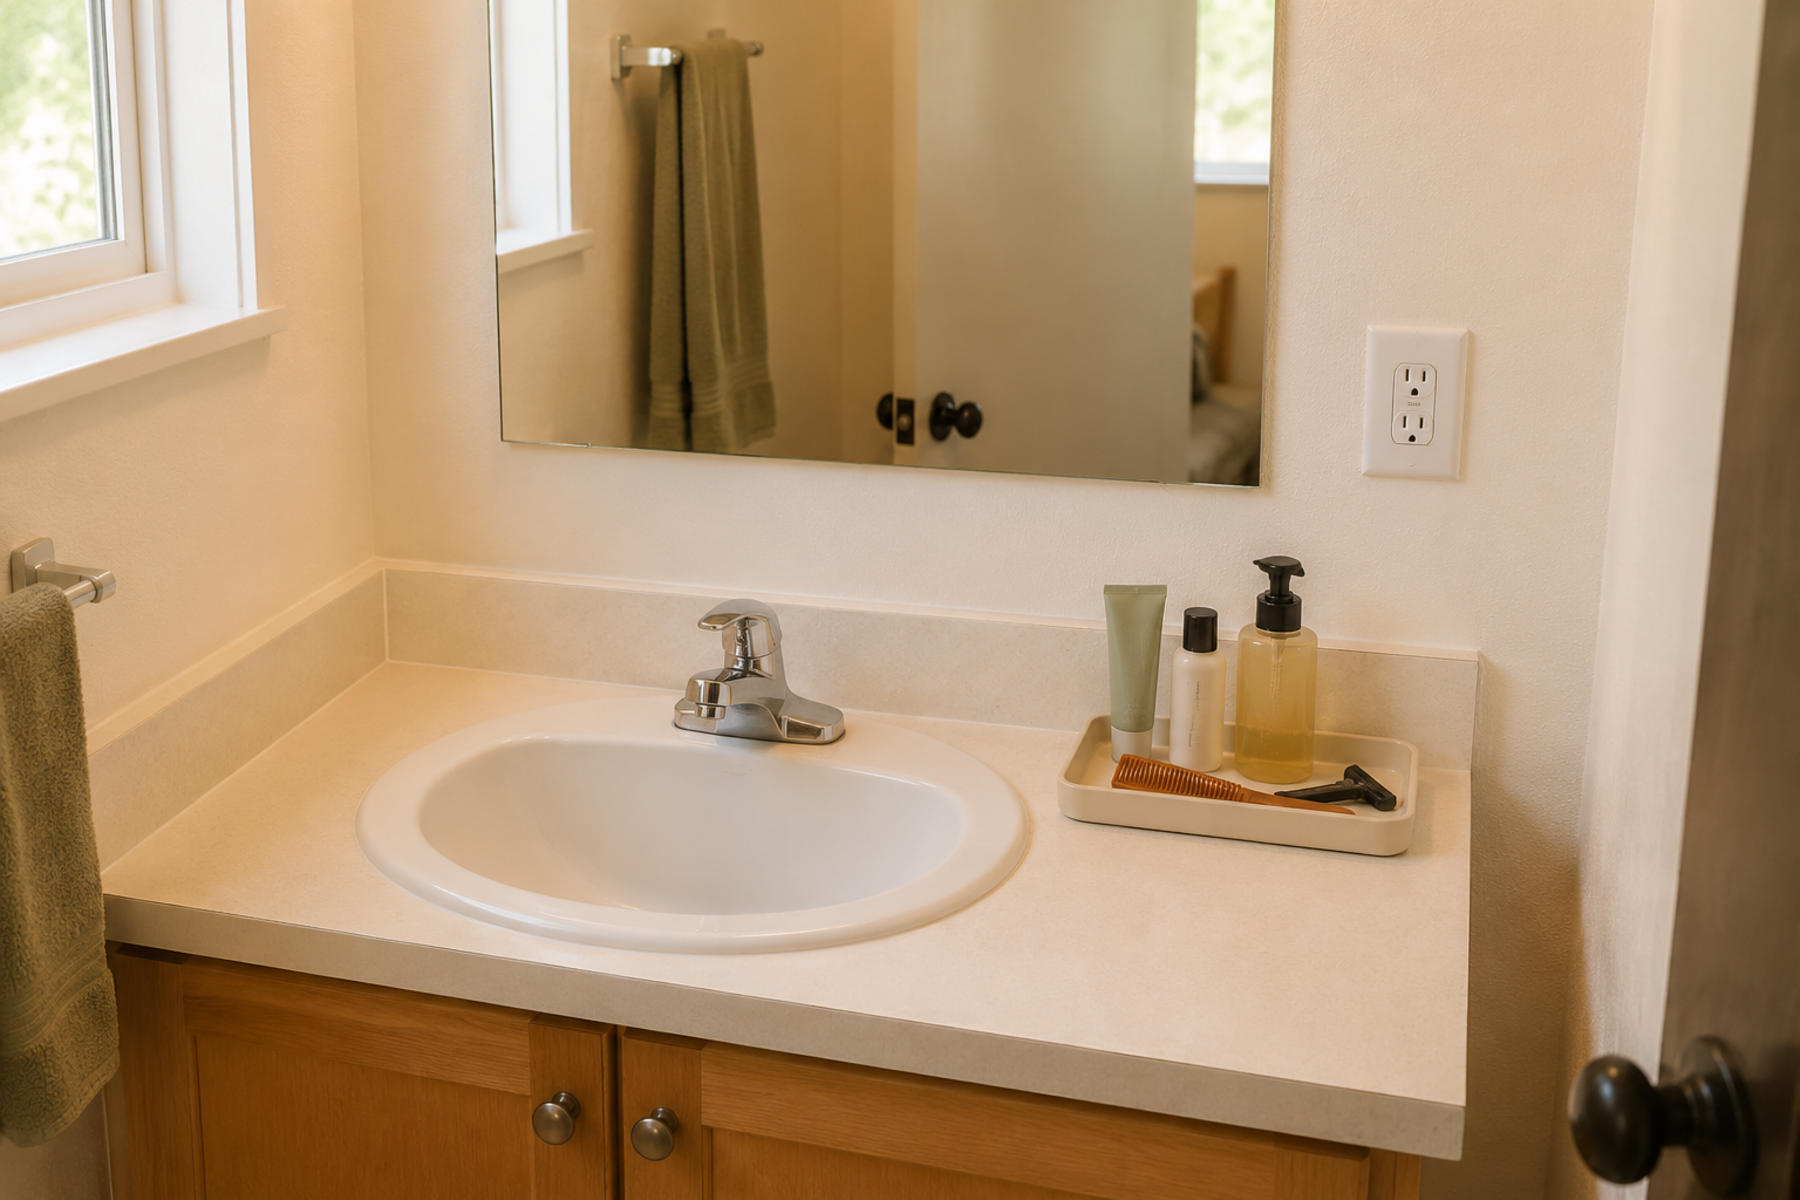
Keep Only a Small Daily Counter Zone
Counter clutter is often a symptom of storage friction. If putting away a toothbrush, skincare item, or grooming tool requires opening a deep cabinet and moving several containers, the counter becomes the easier home.
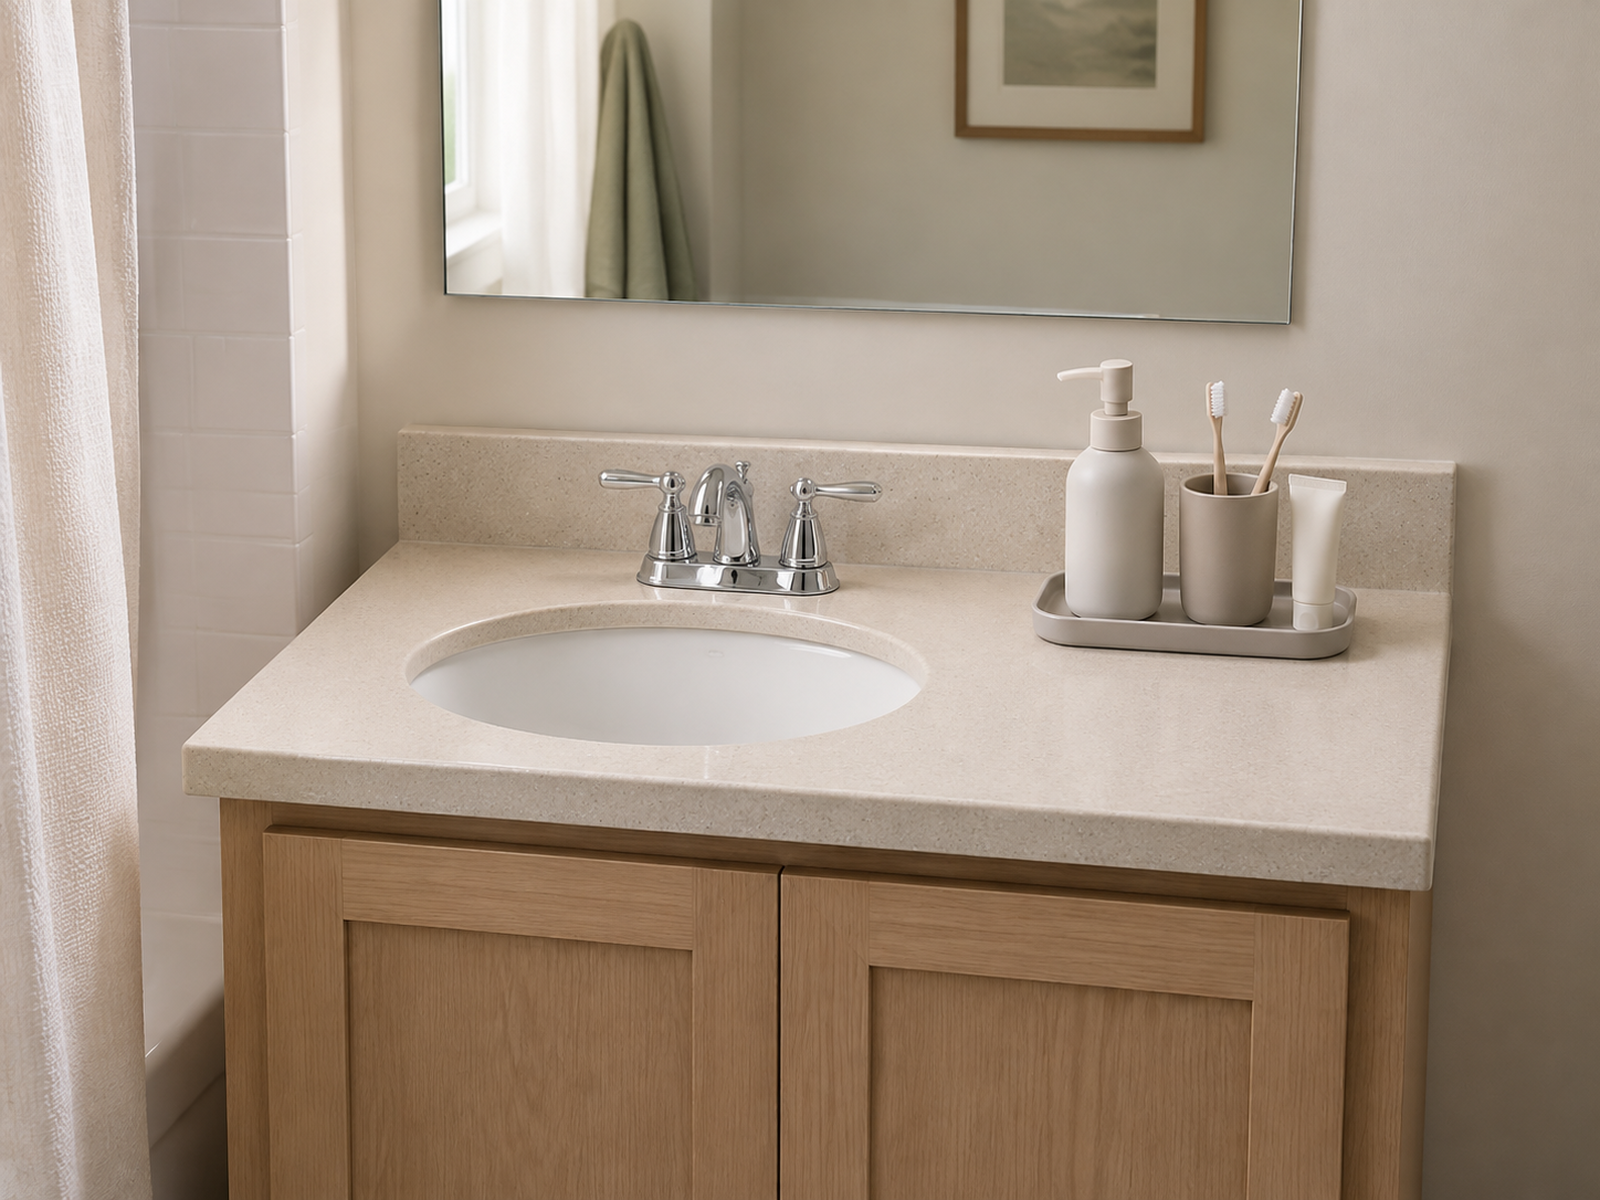
A completely empty counter is not the only successful outcome. One small tray, cup, or daily caddy can be reasonable for the few items that genuinely need immediate sink access, as long as it does not expand into the replacement for the missing drawers.
Use the counter as a deliberately limited access zone. Everything else should have an easier return path inside the vanity or another appropriate storage area so the sink surface remains usable for the routines that happen there.
06
Add External Storage Only After the Vanity Is Working
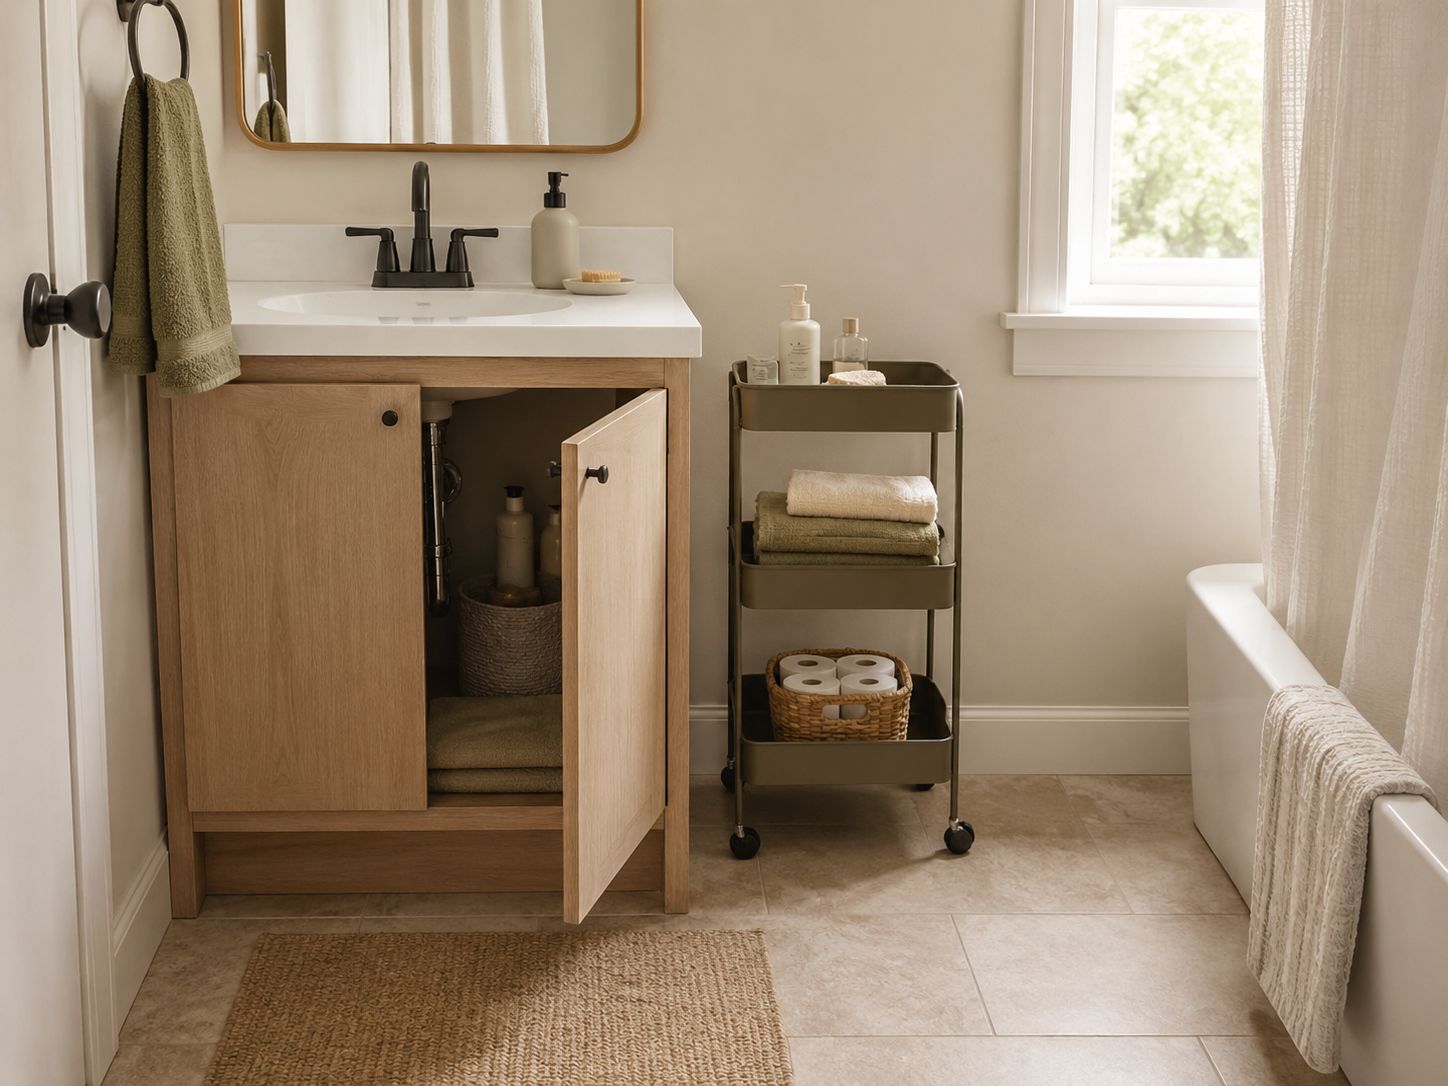
If the cabinet still cannot hold the categories that genuinely belong in the bathroom, then consider an external layer. A low freestanding cart or compact shelf can add capacity when there is a real floor zone that does not block the vanity doors, toilet, entry path, or cleaning access.
Wall or door storage needs a higher compatibility check. Inside-door organizers must clear hinges, pipes, shelves, and stored items. 3M’s current Command Bathroom instructions also show why adhesive storage must be verified against the exact product, surface, load, application, removal method, and lease context.
Tall storage is not automatically the simplest renter option just because it stands on the floor. CPSC’s Anchor It! guidance advises following manufacturer instructions and securing top-heavy furniture. If a storage tower requires anchoring, that requirement belongs in the renter decision rather than being ignored.
Closing Decision
Make the Cabinet Easier to Reach Before You Make the Bathroom Hold More
A no-drawer vanity does not automatically need more furniture. First reduce the cabinet to the items that truly belong there, map the usable zones around the plumbing, and create removable drawer-like access for the categories you reach for most. Keep the plumbing area easy to inspect, protect a small working counter zone, and add external storage only for a proven remaining deficit. The goal is not maximum bathroom capacity; it is everyday access that still leaves the cabinet cleanable, inspectable, and workable in a rental.
RELATED GUIDES
What to Read Next
NEXT GUIDE
How to Organize a Small Bathroom With No Medicine Cabinet
Useful when missing vanity drawers are paired with another common loss of shallow, easy-reach bathroom storage.
GUIDE
How to Add Storage Around a Pedestal Sink in a Small Bathroom
Continues the bathroom-storage problem when the sink provides even less enclosed storage below.
GUIDE
How to Store Period Products in a Small Bathroom With No Storage Near the Toilet
Useful for creating point-of-use storage when nearby drawers or cabinets are unavailable.