
Small Kitchen Organization
How to Store Food Scraps for Compost Collection in a Small Kitchen With No Counter Space
Choose the collection cadence before the container: confirm what the destination accepts, decide how long scraps will stay indoors, then spend the kitchen resource it can most easily spare—cabinet, refrigerator, freezer, or more frequent reset.
In This Guide
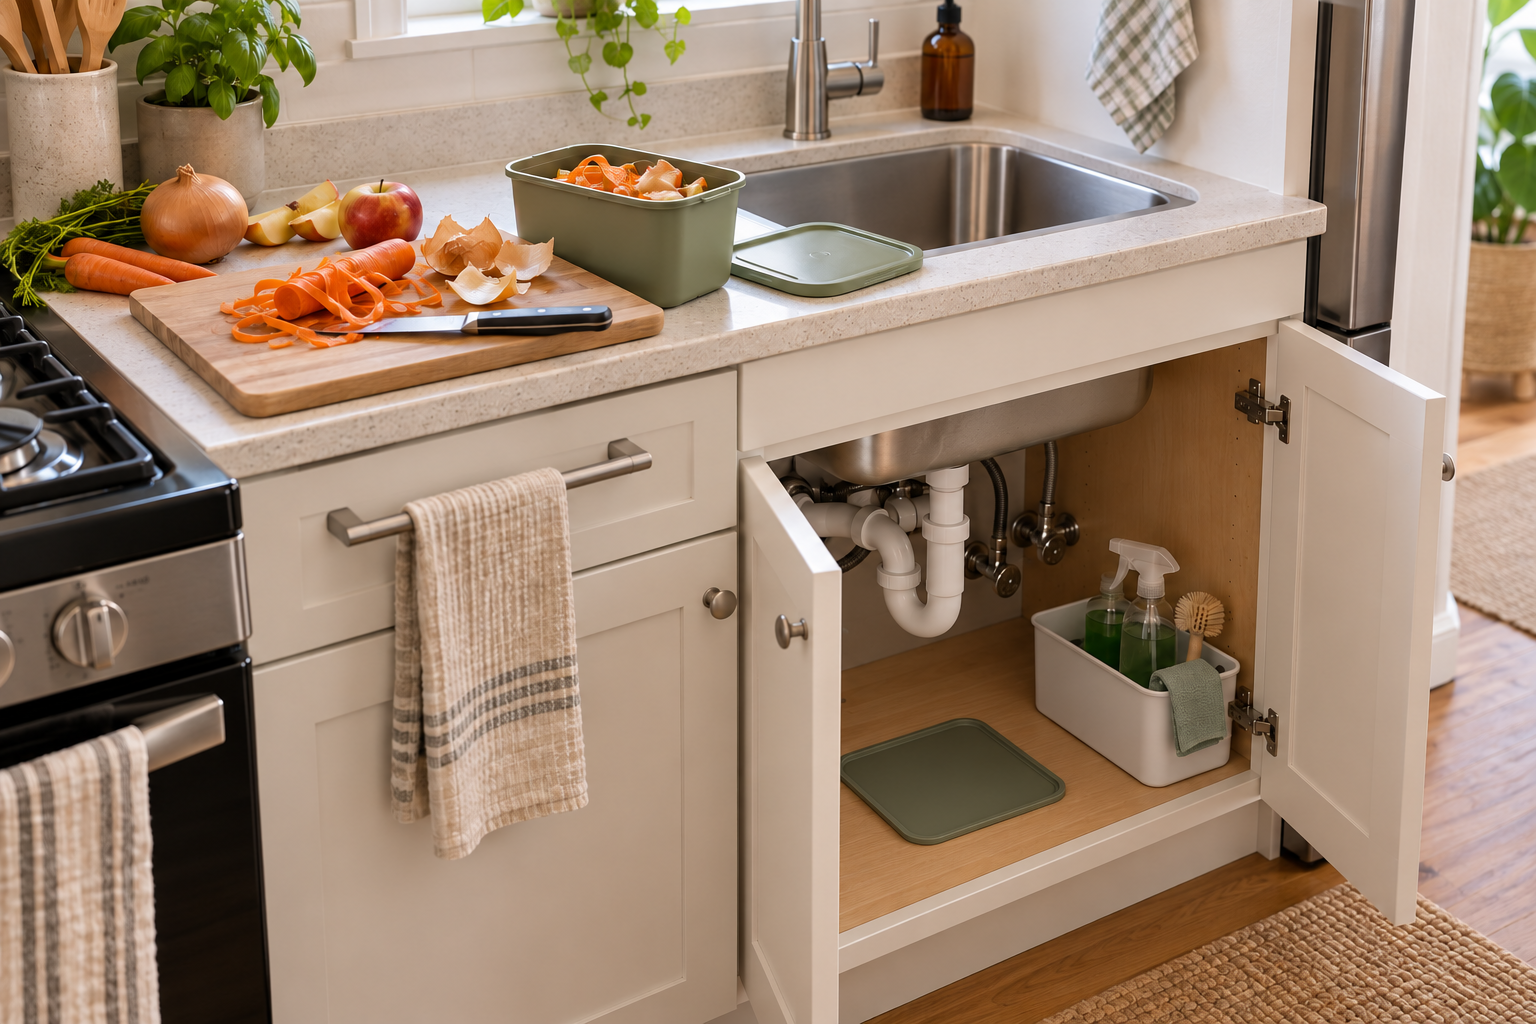
Apartment compost participation often creates an indoor holding problem before it creates a composting problem. The scraps may eventually go to a building cart, curbside collection, community drop-off, or private pickup, but they still need a workable place inside the kitchen between food prep and that transfer.
Do not start by shopping for a countertop compost pail. Start with the destination rules and the next realistic transfer, then choose the smallest container and holding location that can manage the actual scraps without consuming a more valuable part of the kitchen.
Quick Answer
Choose the Collection Cadence Before You Choose the Container
Every holding method spends something: prep surface, cabinet access, refrigerator capacity, freezer capacity, or more frequent trips to the collection point. The best system spends the resource this kitchen can most easily afford.
01
Verify what the destination accepts
Check the building, municipal, community, or private program before choosing liners or deciding what goes into the container. Accepted food scraps, paper, bags, and compostable plastics can vary by program.
02
Set the next realistic transfer
Decide whether scraps will leave the apartment the same day, every few days, or on a longer pickup or drop-off cycle. That cadence determines how much capacity and temperature control the indoor system needs.
03
Spend the cheapest storage resource
Use under-sink, refrigerator, freezer, or a very small short-stay counter container according to the space the kitchen can genuinely spare, not according to which compost container looks most specialized.
01
Start With the Destination Rules
Before choosing an indoor container, confirm where the scraps are going next. The destination may be a building compost room, outdoor cart, curbside program, community drop-off, or private pickup service.
EPA guidance explicitly warns that community composting programs differ. Meat, dairy, food-soiled paper, compostable bags, compostable plastics, bones, shells, and prepared food may be accepted in one program and rejected in another.
That makes local rules part of kitchen organization. A perfectly fitted container still fails the system if the household repeatedly fills it with materials or liners the receiving program does not accept.
Keep the rule check practical: use the building or hauler guidance that applies to the actual destination, then build the indoor routine around that list instead of relying on a generic internet definition of compostable.
02
Choose Cadence Before Container Size
The useful container size depends on how long scraps remain in the apartment. A building cart one floor down supports a different system from a weekly pickup or a community drop-off that requires a separate trip.
Short transfer intervals make a very small container practical. The kitchen gives up less surface or storage volume, and the household accepts more frequent resets in exchange.
Longer holding periods increase pressure on capacity, odor control, moisture management, and fruit-fly control. That may justify refrigerator or freezer space, but cold storage is not free capacity in a small kitchen.
Choose the service rhythm the household can actually maintain, then size the container around that rhythm. Do not buy a large pail merely to reduce trips if the kitchen has no low-conflict place to keep it.
Measure / Check First
Before buying a dedicated compost pail, test the receiving program, the next transfer, and the full empty-and-clean cycle.
Check Program Rules, Capacity, and the Full Reset Path First
01
Accepted materials and liner rules
Confirm the exact building, municipal, community, or private collection rules for food scraps, paper products, bags, and compostable plastics before choosing liners or building a shopping list.
02
Holding time and true capacity
Estimate how much scrap volume the household creates between realistic transfers. Choose the smallest container that can handle that interval without making overflow or constant emergency trips the normal routine.
03
Carry, empty, wash, and return
Fill the container conceptually to its normal level and trace the route to the collection point. Confirm that it closes, carries cleanly, empties without awkward handling, fits the cleaning routine, and returns to storage without displacing other kitchen essentials.
If the indoor system depends on an unverified liner, occupies space the kitchen needs more, or becomes difficult to carry and clean at the real transfer interval, change the cadence or holding location before buying a larger container.
03
Spend the Storage Resource the Kitchen Can Spare
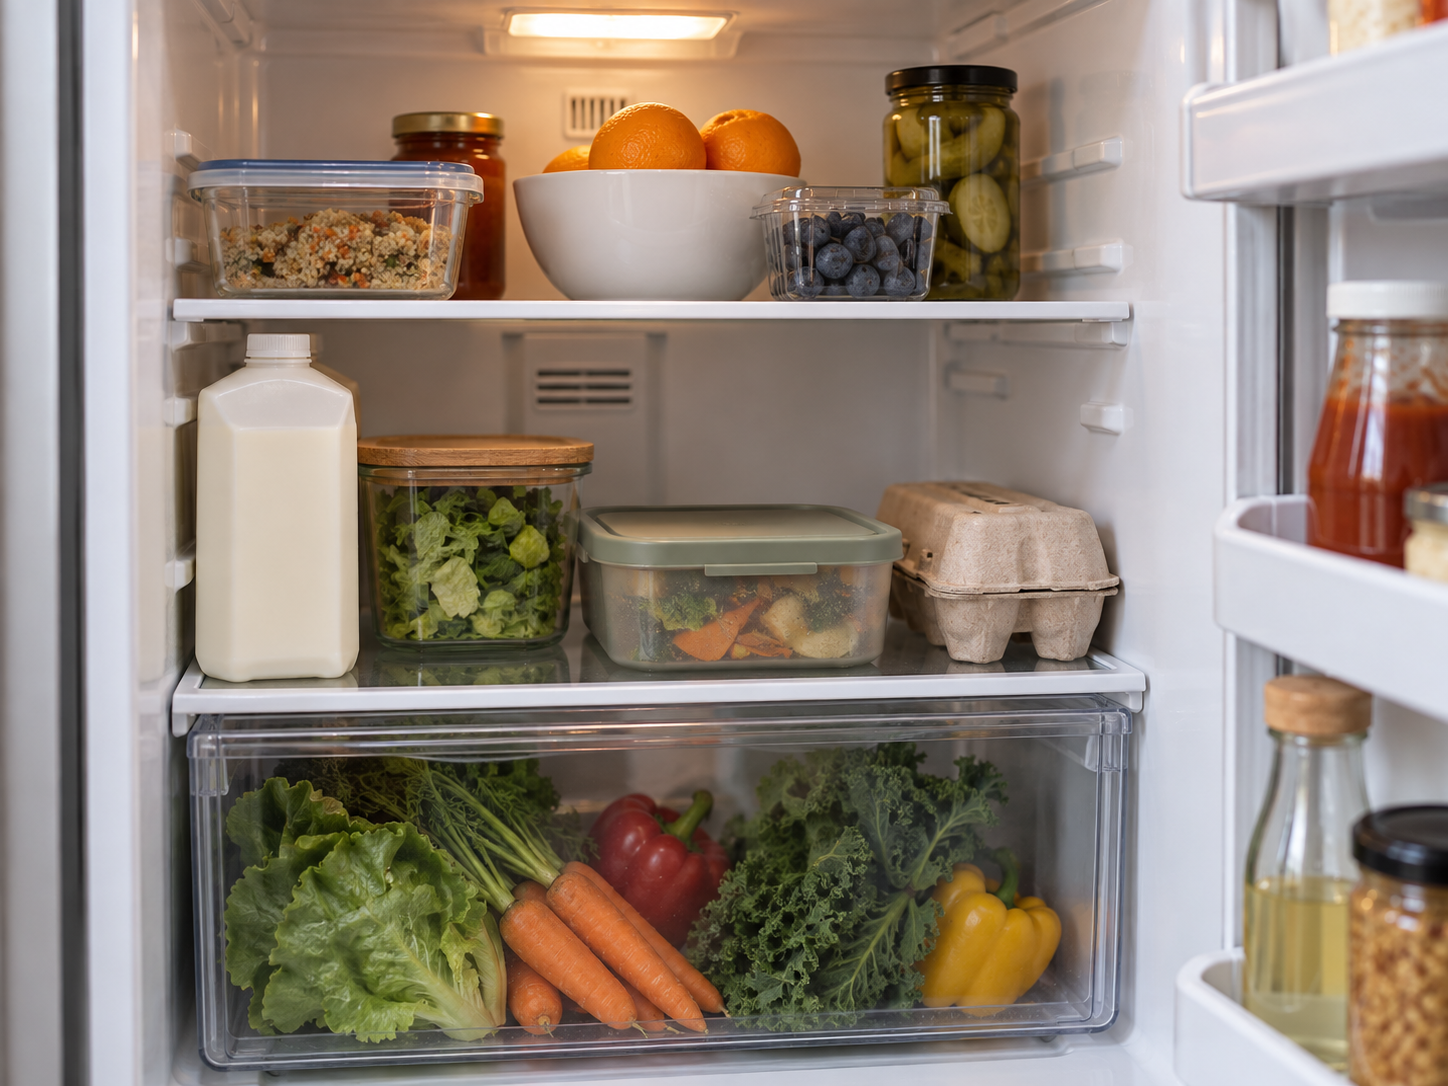
Each holding location solves one problem by spending a different scarce resource. A counter container spends prep surface; under-sink storage spends cabinet and plumbing access; refrigerator storage spends chilled-food capacity; freezer storage spends premium frozen-food capacity.
EPA currently identifies a closed counter container, under-sink space, refrigerator space, and freezer space as valid food-scrap holding locations before composting. That is a menu of options, not a ranking.
Look for the resource with the lowest opportunity cost in this kitchen. A household with almost no counter but an underused freezer drawer has a different best answer from one with a packed freezer and real spare space under the sink.
Do not create a new piece of furniture or installed cabinet system before testing the removable options. The purpose is to make the collection stream fit the existing apartment, not to redesign the kitchen around food scraps.
04
Use Under-Sink Space Only When Capacity Is Real
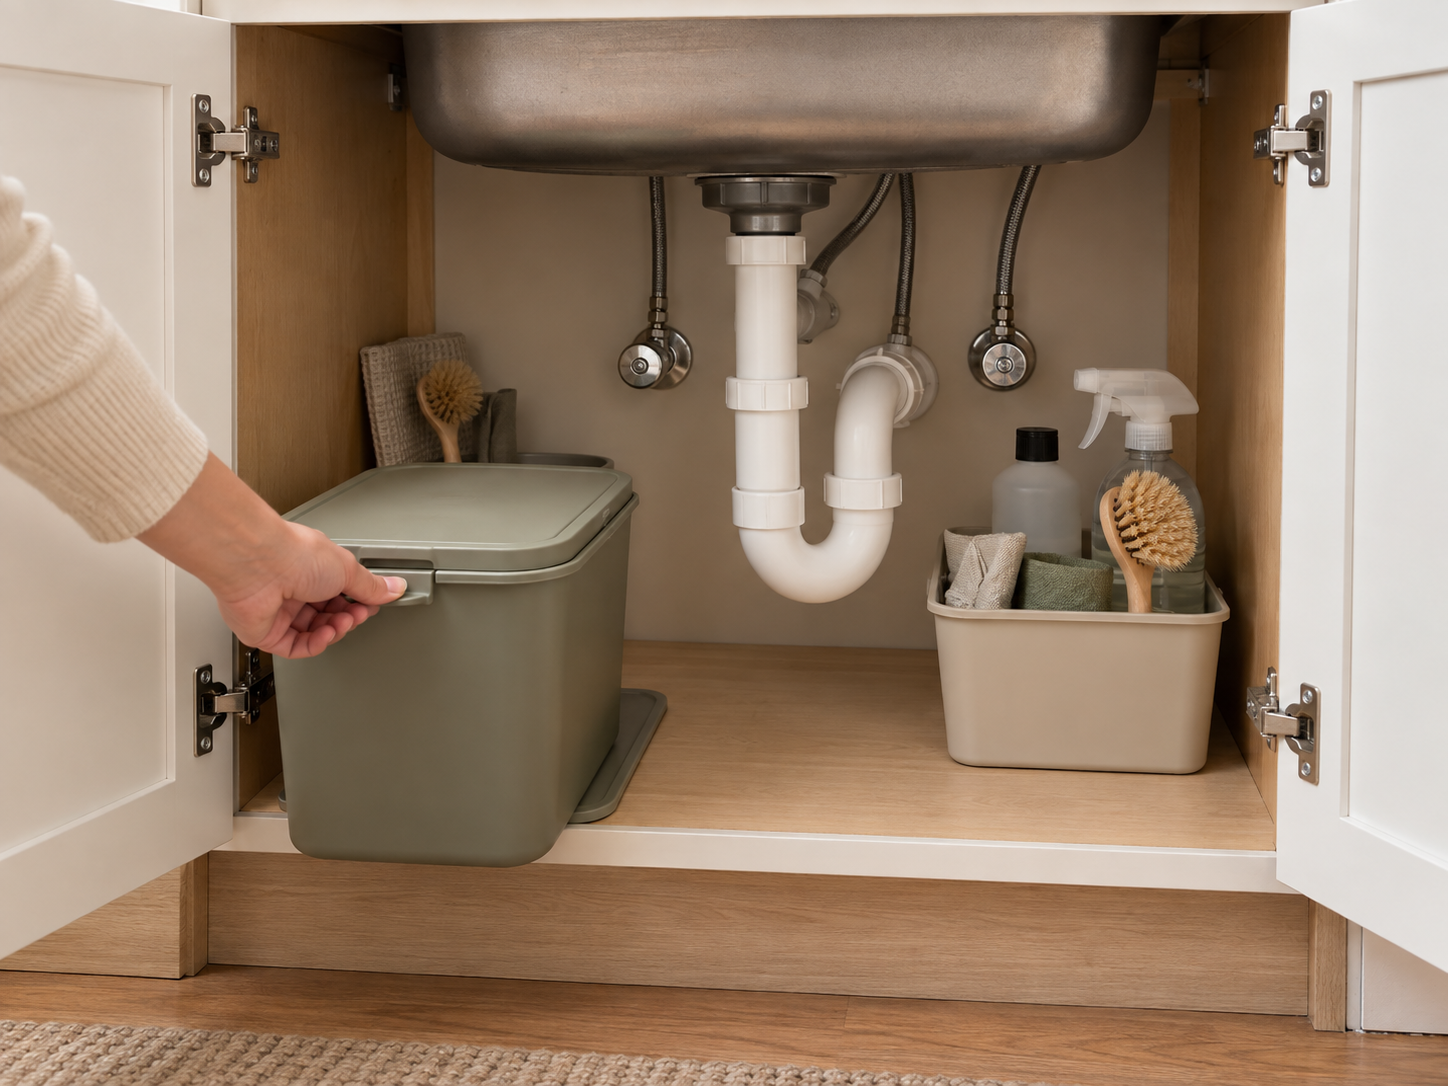
Under-sink storage can clear the counter while keeping scraps close to the food-prep and cleanup zone. EPA includes under-sink space as one valid holding location.
The cabinet has to provide real capacity, not nominal empty volume. Keep plumbing, shutoff access, leak visibility, trash or recycling, and cleaning supplies in the test before assigning the bin a permanent spot.
Place the container where it can come out in one simple movement. If liner removal, carrying, or washing requires unloading bottles or reaching behind pipes, concealed storage has created maintenance friction rather than solving it.
Use a leak-resistant, washable container that the household can identify clearly as the food-scrap container. Concealment should not make the scraps so easy to forget that holding time quietly stretches beyond the intended cadence.
05
Use Cold Storage When Room-Temperature Holding Is the Problem
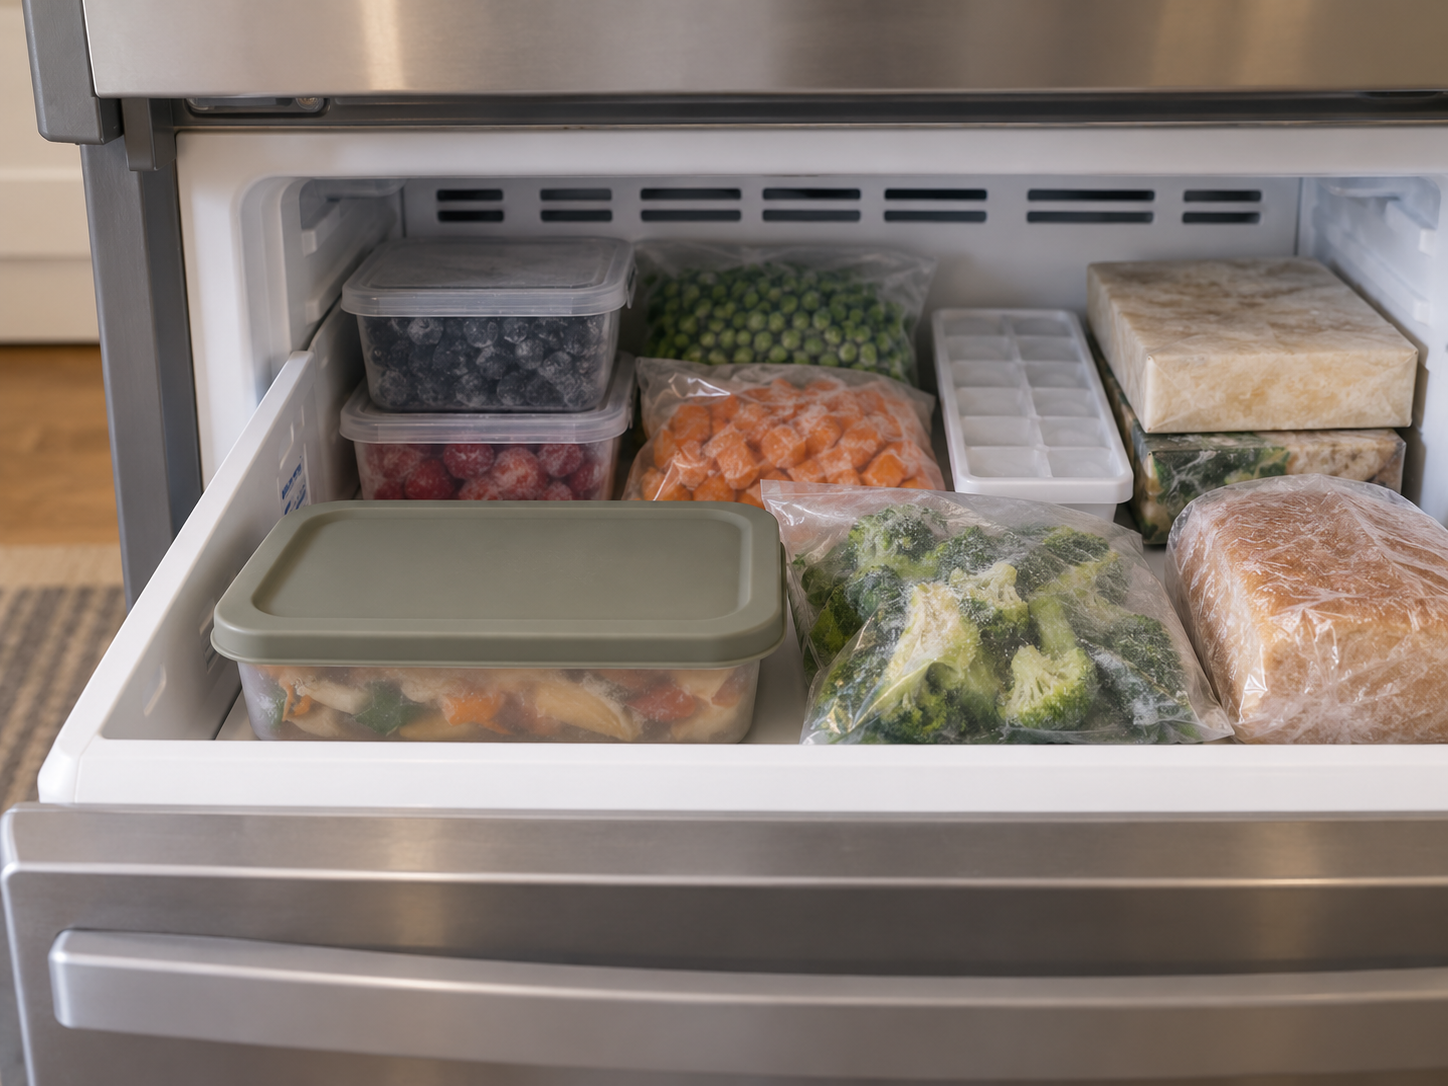
Refrigerator or freezer storage can be strong when scraps need to stay indoors longer or when room-temperature odor and fruit-fly pressure keep breaking the routine. EPA lists both locations as valid holding options.
Current Seattle apartment guidance also recommends refrigerator or freezer storage as a way to keep food scraps longer or reduce odor pressure, and NYC guidance specifically says scraps can be stored in the freezer to prevent odors before transfer.
The small-space trade is capacity. A tall compost pail that works on a generous counter can be a poor cold-storage shape, while a shallow rectangular container may fit a refrigerator shelf or freezer zone with less disruption.
Treat cold storage as a branch, not the universal answer. If the household already struggles to fit groceries or frozen food, using premium cold-storage volume can solve odor while creating a more expensive everyday storage problem.
Use / Skip
Freezer Storage
Use
Use it when longer holding is real and freezer capacity is available
Choose freezer storage when the collection cycle is long enough that room-temperature odor or fruit-fly pressure is a recurring problem, and the household can dedicate a bounded freezer zone without crowding normal frozen-food storage.
Skip
Skip it when premium cold-storage space costs more than extra resets
Use a smaller under-sink, refrigerator, or short-stay counter system when the freezer is already full, the building collection point is easy to reach, or a more frequent transfer is cheaper than permanently surrendering frozen-food capacity.
06
Keep a Counter Container Only When Convenience Earns the Footprint
EPA recognizes a closed kitchen-counter container as a valid collection location, and the convenience is real: scraps can move directly from cutting board or plate into the container without opening cabinets or rearranging cold storage.
In a no-counter-space kitchen, however, that convenience has to justify a permanent claim on prep surface. A small container may work when scraps leave the apartment daily or every couple of days and the footprint stays outside the main cutting, sink, and dish-drying zones.
A lid alone does not create an unlimited room-temperature holding period. Odor, moisture, fruit-fly pressure, scrap type, temperature, cleaning, and transfer frequency all affect how well the routine works.
If the counter container keeps getting pushed aside during cooking or becomes another object that must be cleared before prep begins, move the holding stage to cabinet or cold storage instead of defending the convenience at the expense of the kitchen’s primary work surface.
07
Make Carrying and Cleaning Part of the System
The indoor container is only one stage of the workflow. Test it when full and closed, because the household may need to carry it down stairs, to a basement room, outside to a cart, along an alley, or to a separate community drop-off.
A container that parks neatly but leaks, opens unexpectedly, becomes too heavy, or is awkward to grip during transfer is not a good apartment collection tool. Carry form matters as much as parked footprint.
Cleaning belongs in the reset. Current Seattle guidance tells residents to wash food-scrap containers after emptying, which makes reach, sink fit, rinsing, drying, and return-to-storage part of the organization decision.
Keep the routine short enough to repeat: collect, close, carry, empty, wash, dry, return. If one stage regularly requires moving unrelated kitchen storage, reduce the container size or change the holding location.
08
Keep Collection Separate From Composting
This system is for holding scraps before another program or process handles them. A countertop pail, freezer container, or under-sink bucket collects food scraps; it does not turn them into finished compost.
EPA makes the same distinction for residential pre-processing appliances: grinding or dehydrating can reduce the volume and weight of scraps, but the dried output still has to enter a composting system rather than being treated as finished compost.
Indoor composting methods such as vermicomposting or bokashi are separate workflows with different maintenance, space, and material rules. Do not add them to the kitchen merely because the collection container feels inconvenient.
Use a stop rule. If there is no practical building collection, curbside program, private pickup, drop-off, or home-processing method the household will realistically maintain, adding a dedicated food-scrap bin can create another unresolved waste stream instead of a useful organization system.
Closing Decision
Choose the Smallest Holding System That Matches the Next Transfer
The best apartment food-scrap setup starts with the destination. Verify the receiving program, choose a transfer cadence the household will actually maintain, and then spend the least expensive kitchen resource on the holding stage.
That may mean a tiny counter container with frequent resets, a removable under-sink bin, a refrigerator container, or a bounded freezer zone. The right system is the one that keeps local rules clear, controls the indoor holding pressure well enough for the real interval, and remains easy to carry, empty, wash, dry, and return.
RELATED GUIDES
What to Read Next
NEXT GUIDE
How to Create a Trash and Recycling Zone in a Small Kitchen
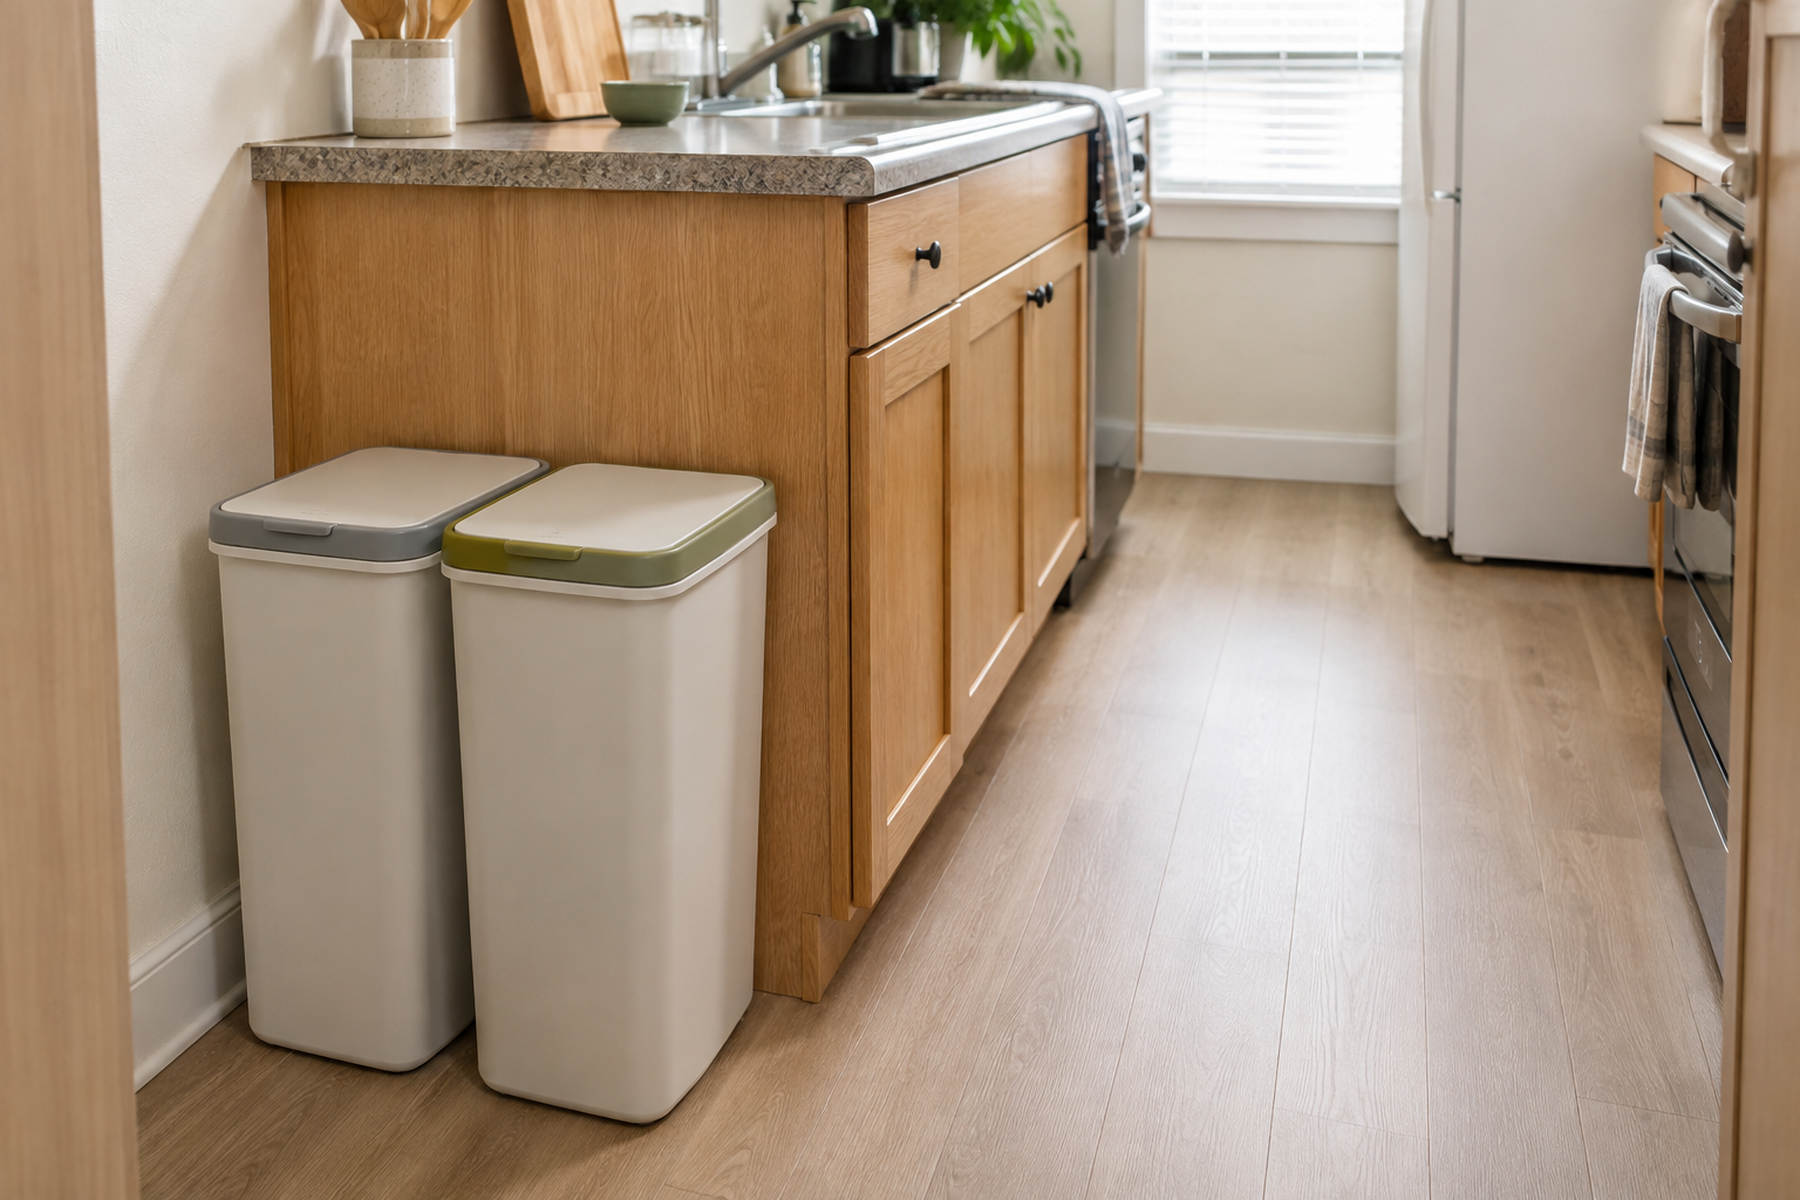
Use this next if food scraps are only one part of a crowded waste area; that guide handles ordinary trash and recycling streams, bin access, removal paths, and small-kitchen floor or cabinet trade-offs.
GUIDE
How to Organize Food Storage in a Small Kitchen With No Pantry
Use this if refrigerator, freezer, or cabinet food storage is already under pressure and the food-scrap system is competing with groceries for the same limited capacity.
GUIDE
How to Organize a Sponge and Dish Soap Around a Tiny Kitchen Sink
Use this if the food-scrap container is competing with the sink and cleanup zone; that guide focuses on active wet tools, counter preservation, drainage, and under-sink reserve storage.