
Small Kitchen Organization
How to Create a Trash and Recycling Zone in a Small Kitchen
A trash can can fit a tiny kitchen and still fail the moment the lid opens, the oven door swings, or a full bag has to come out. Plan the waste streams first, test the whole operating cycle, and choose the location that sacrifices the least valuable kitchen function.
In This Guide
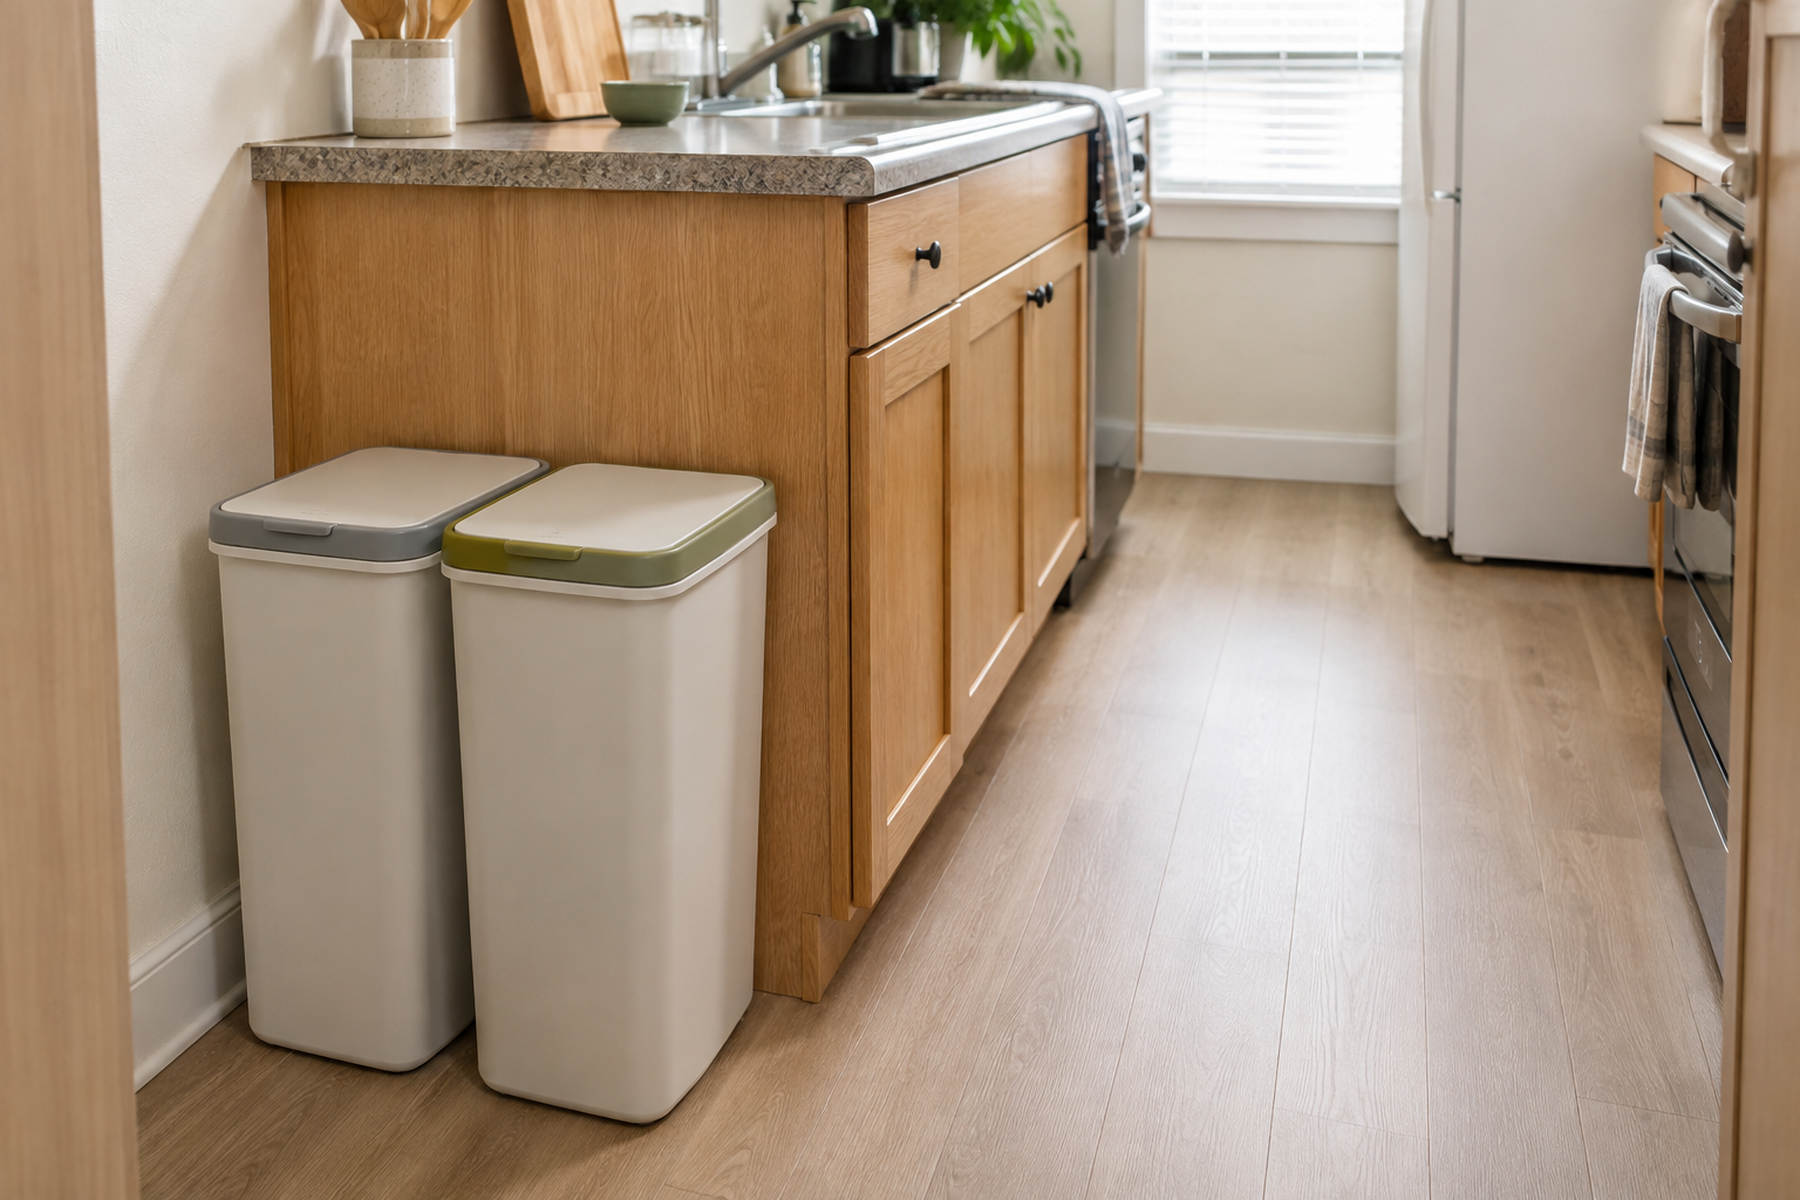
In a compact kitchen, waste storage behaves more like infrastructure than decor. It is used throughout cooking and cleanup, and it has to keep working while cabinet doors open, appliances operate, people move through the room, and full bags or bins leave the space.
That is why the right question is not simply where a bin can stand. The useful question is which zone can handle every required waste stream through use, opening, sorting, closing, removal, cleaning, and return—without spending more floor space, cabinet capacity, or maintenance effort than the kitchen can afford.
Quick Answer
Build the Waste Station Around the Kitchen, Not the Bin
A workable trash and recycling zone should match the streams the household actually needs, survive the whole operating cycle, and protect the kitchen resource that matters most.
01
Confirm the streams before the containers
Recycling requirements vary by locality. Work out what must actually be separated before deciding whether the kitchen needs one recycling container, several, or another arrangement.
02
Test the full operating envelope
Measure more than the closed bin body. Include lid or door movement, foot access, pull-out travel, neighboring appliance doors, bag or bin removal, and cleaning access.
03
Spend the least costly resource
A floor can spends floor and circulation space. A hidden system spends cabinet capacity. A smaller container spends service frequency. Choose the trade the kitchen can absorb most easily.
01
Confirm the Waste Streams Before You Choose Bins
Start with the local program rather than a two-bin assumption. The U.S. Environmental Protection Agency notes that recycling options vary by locality and that some programs use single-stream collection while others require materials to be separated. Check the current guidance from your municipality, county, building, or recycling provider before you decide how many indoor streams the kitchen needs.
When trash and recycling are both required, plan them together instead of solving trash first and squeezing recycling into whatever space is left. EPA’s current National Recycling Strategy consumer guidance includes placing the recycling bin and trash bin together. That supports co-location as a planning principle, but it does not require matching containers or one universal side-by-side layout.
Keep the article’s scope ordinary: household trash and the locally accepted recycling streams that belong in normal collection. Special items and locally restricted materials should follow the instructions of the relevant local authority rather than a generic kitchen-storage rule.
02
Decide Which Scarce Resource the Kitchen Can Spend
Every waste setup costs something. A narrow freestanding station preserves base cabinets but occupies floor space. Loose under-sink bins remove the floor footprint but compete with plumbing access and cabinet storage. A cabinet pull-out can clear the room visually while converting one of the kitchen’s most accessible cabinets into waste capacity.
Vertical or stackable sorting can reduce how far multiple streams spread across the floor, but it only works when every stream remains easy to reach and the containers can still be removed. A smaller indoor bin can protect circulation or storage, but the household has to accept more frequent emptying for the same waste volume.
This trade is more useful than asking which bin looks most compact. Identify the kitchen function you cannot afford to lose—clear circulation, an essential base cabinet, appliance access, or a manageable emptying routine—then reject waste-zone locations that spend that resource.
Measure / Check First
Before you buy or install anything, run the candidate location through the movements the waste station and the surrounding kitchen actually need.
Test the Full Operating Envelope, Not Just the Closed Footprint
01
Trace every opening path
Open the lid, cabinet door, drawer, pull-out, and nearby appliance doors that can conflict with the proposed zone. Do not invent a universal clearance number; use the real kitchen geometry.
02
Trace the service path
Simulate removing a full bag or lifting the entire bin. Make sure it can leave the station and travel out of the kitchen without moving appliances or dismantling the setup.
03
Trace the cleaning path
Check whether the container and the surrounding floor or cabinet area remain reachable for routine cleaning and whether plumbing or other infrastructure stays accessible.
A universal aisle, lid, or cabinet-clearance number would be misleading here. The fit test is whether the exact kitchen, exact waste form, and exact neighboring doors can complete their normal movements without repeated conflict.
03
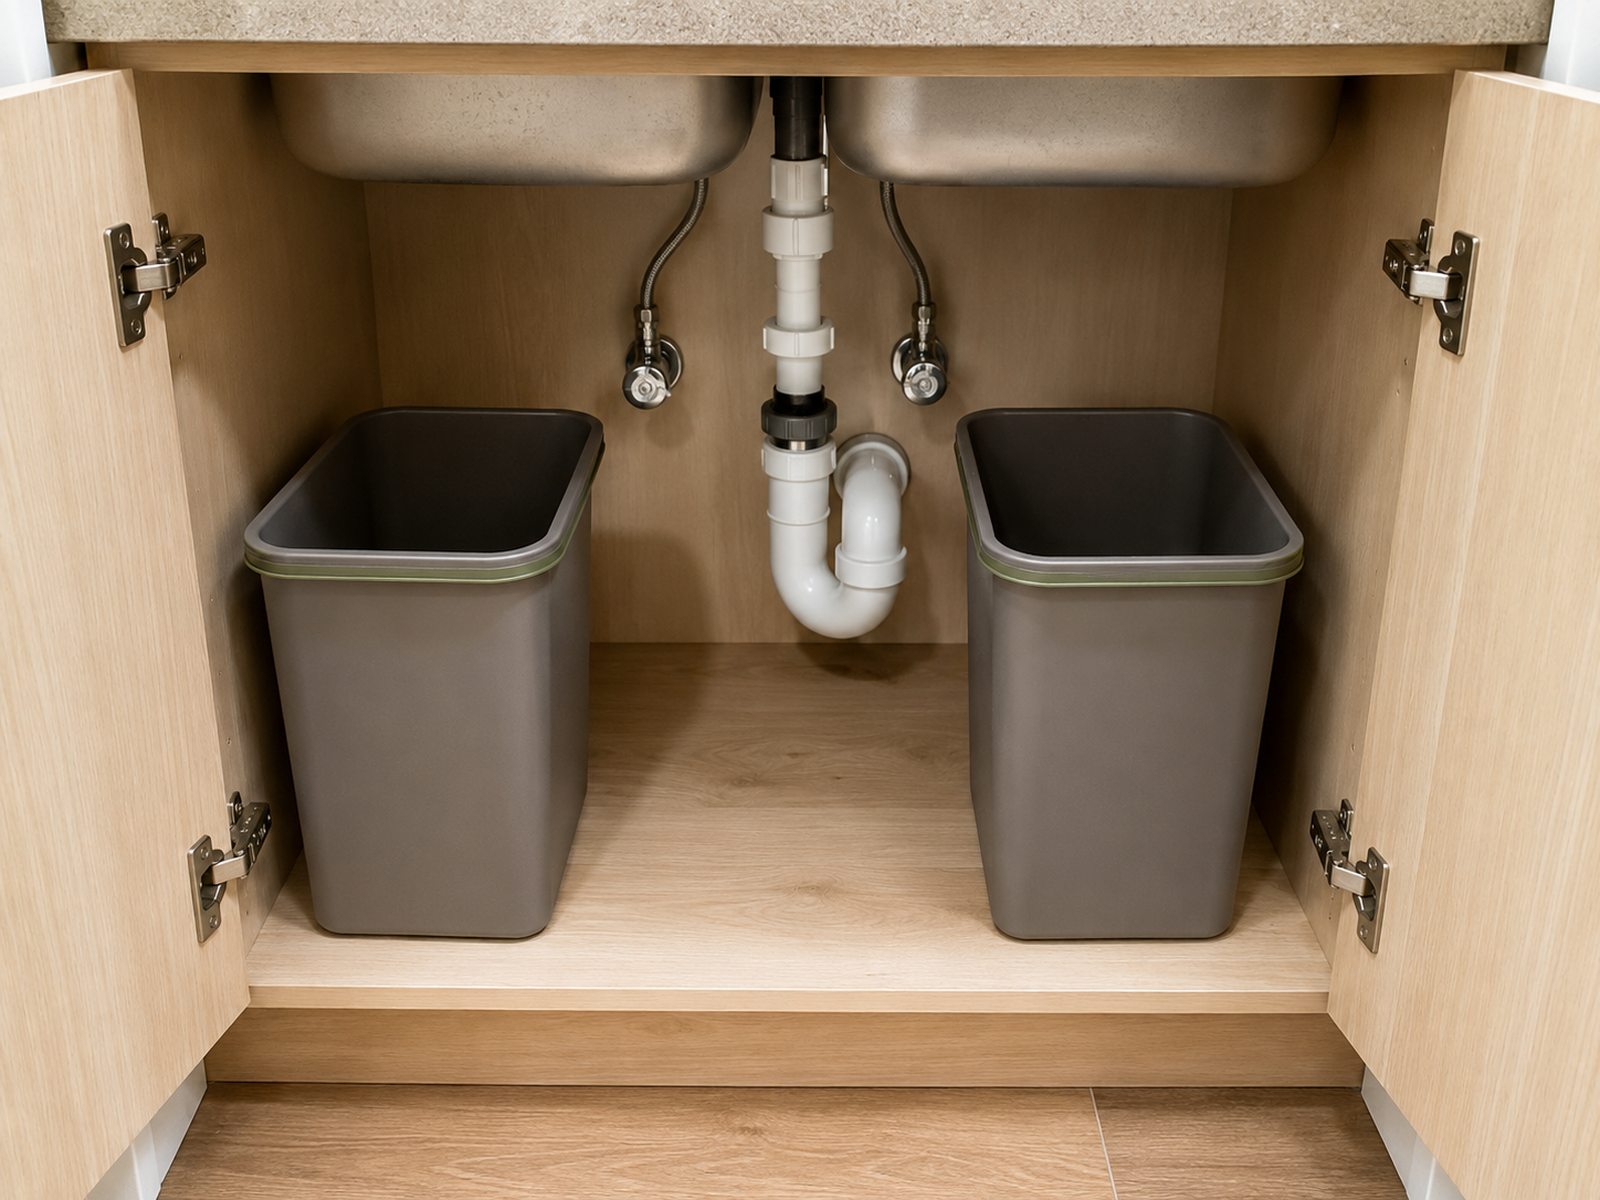
Treat Under-Sink Space as a Candidate Zone, Not the Default
Under-sink waste can be a strong low-intervention option when one or more loose containers fit around the real infrastructure. It keeps the floor clear and can hide the station without adding a mounted mechanism.
But nominal cabinet width tells you very little. Read the actual voids around pipes, disposal equipment, valves, hoses, water-heater equipment where present, and anything else that needs continued access. The cabinet doors must open normally, each container must come out without a complicated tilt-and-twist routine, and the surrounding area still needs to be cleanable.
Do not pack the cabinet so tightly that a leak is hard to see or plumbing becomes difficult to reach. If the useful under-sink volume disappears after those requirements are protected, move on to another zone rather than forcing a container into the cabinet.
04
Use Floor Space Only When the Strip Is Truly Low-Conflict
A slim freestanding can is a legitimate small-kitchen form because it trades cabinet capacity for a narrower floor footprint. Current products such as the Simplehuman 45L Slim Step Can demonstrate that the form exists; they do not establish that a particular gap is suitable.
Test the bin in use, not just standing closed. The lid or opening mechanism needs room. A foot pedal needs an approach. The oven, refrigerator, dishwasher where present, drawers, and cabinet doors still need their normal movement. A full bag also has to lift out without colliding with a counter overhang or requiring the bin to be dragged into the main walkway.
If the station has to be moved every time an appliance opens or every time someone passes through the kitchen, the floor strip is not low-conflict. The body may fit, but the waste zone does not.
Use / Skip
When a Freestanding Floor Station Is the Better Trade
Use
Use — Use the floor when it protects more valuable cabinet space
Choose a freestanding solution when a genuine low-conflict strip exists, appliance and cabinet movement remain clear, the main route stays usable, and the saved base-cabinet capacity has more value than the floor strip.
Skip
Skip — Skip the floor when the bin becomes moving furniture
If the station must shift for the oven, refrigerator, cabinet doors, normal circulation, cleaning, or bag removal, it is not a stable floor zone. Test another location or another resource trade.
05
Give Up a Base Cabinet Only When the Trade Is Worth It
A cabinet waste zone can be excellent when floor circulation is the kitchen’s real bottleneck. It can also be a poor trade when the chosen cabinet is the only easy-to-reach storage for cookware, food, or everyday tools.
Start with a loose-bin trial when possible. Empty the candidate cabinet, place temporary containers inside, and live through the open, sort, remove, and clean cycle before committing to hardware. This tests the location without pretending that a mounted pull-out is the only way to use a cabinet for waste.
The point is not to protect every cabinet at all costs. It is to value the cabinet honestly. Hidden trash is not free space; it is a deliberate exchange of cabinet capacity for a cleaner floor and a different access pattern.
06
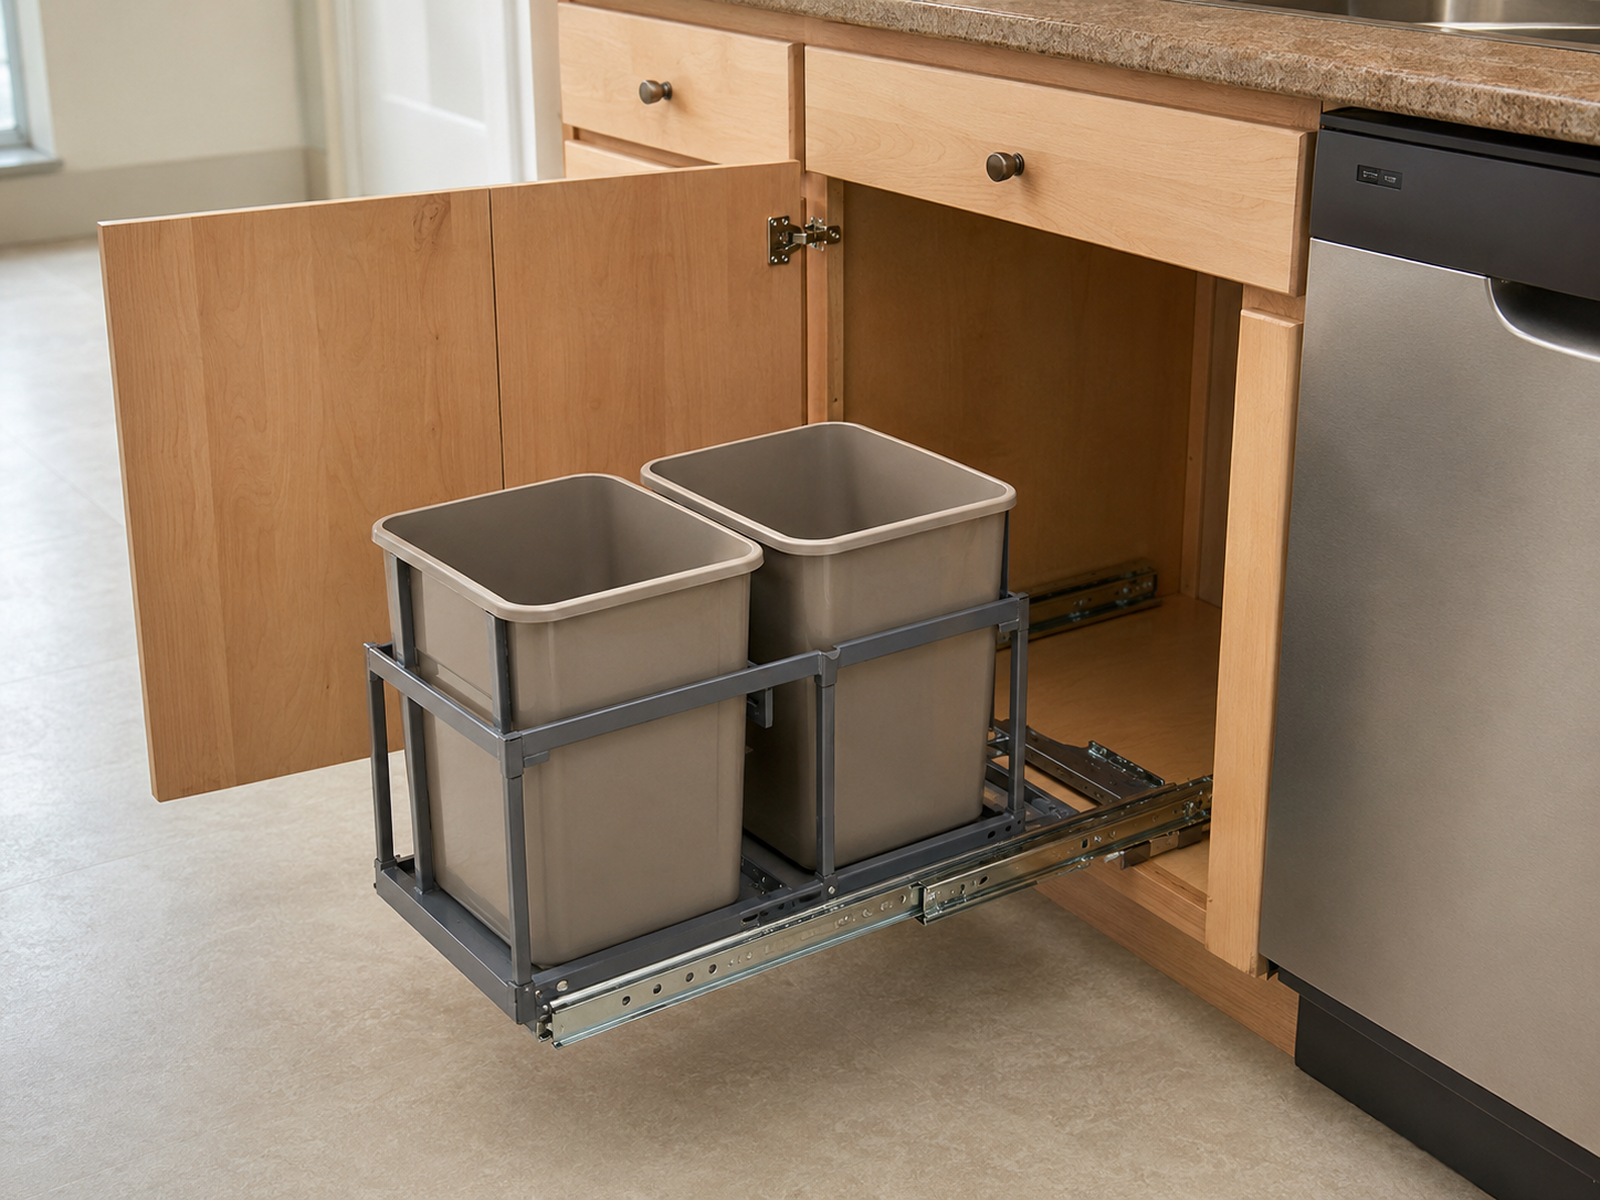
Keep Door-Mounted and Pull-Out Systems as an Escalation Branch
Mounted systems solve real problems, but they belong later in a renter-first sequence. A door-hanging form uses the inside face of a cabinet door instead of the floor. Simplehuman’s current 10L in-cabinet can verifies that this storage plane exists, but mounting method, hinge clearance, door closure, and loaded behavior remain product-specific.
Installed pull-outs are a larger intervention. IKEA’s HÅLLBAR pull-out recycling solution mounts a frame inside the cabinet, while Simplehuman’s current 30L under-counter pull-out is another manufacturer-specific example of a full-extension mechanism.
Before installation, verify the exact cabinet dimensions, door and frame geometry, obstructions, travel path, cleaning and service access, and the product instructions. In a rental, also resolve the lease or owner-permission question. Do not describe a mounted or installed waste system as universally renter-friendly, no-drill, or damage-free.
What Not to Do
Don’t Treat “Hidden” as a Synonym for “Space-Saving”
A cabinet pull-out can remove a bin from view and clear the floor while still consuming one of the kitchen’s highest-value storage zones. Judge the whole trade: cabinet capacity, mechanism travel, installation, service access, and rental permission—not appearance alone.
07
Use a Stop Rule When the Kitchen Cannot Hold the Station Cleanly
Not every small kitchen should force all waste capacity into the kitchen itself. If every floor location blocks circulation, the under-sink cabinet is infrastructure-heavy, and a base-cabinet conversion would sacrifice essential storage, a nearby utility, pantry, dining, or hall zone may be the better compromise.
Another valid strategy is to reduce indoor holding capacity deliberately. A smaller container can preserve a critical floor strip or cabinet, but the trade is more frequent servicing—not guaranteed odor control. The right size depends on household waste generation, local collection, recycling separation, and how often the household is willing to empty the station.
Stop optimizing the container when the location itself keeps failing. A waste zone is successful when the streams are easy to use, appliances and circulation remain functional, full bags or bins can leave cleanly, the surrounding area can be maintained, and the intervention level fits the rental.
Closing Decision
Choose the Waste Zone That Fails the Fewest Kitchen Functions
A small kitchen does not need the smallest possible trash can. It needs a waste station that works through the entire routine. Confirm the local streams, plan trash and recycling together when both are required, identify which scarce resource the kitchen can afford to spend, and test every candidate zone through opening, appliance movement, removal, and cleaning. Start with reversible placement and loose containers, then escalate to door-mounted or pull-out hardware only after the location itself has proved worthwhile. If no in-kitchen option survives those tests, reduce indoor capacity or move the station to a nearby usable zone instead of accepting a bin that blocks the room.
RELATED GUIDES
What to Read Next
NEXT GUIDE
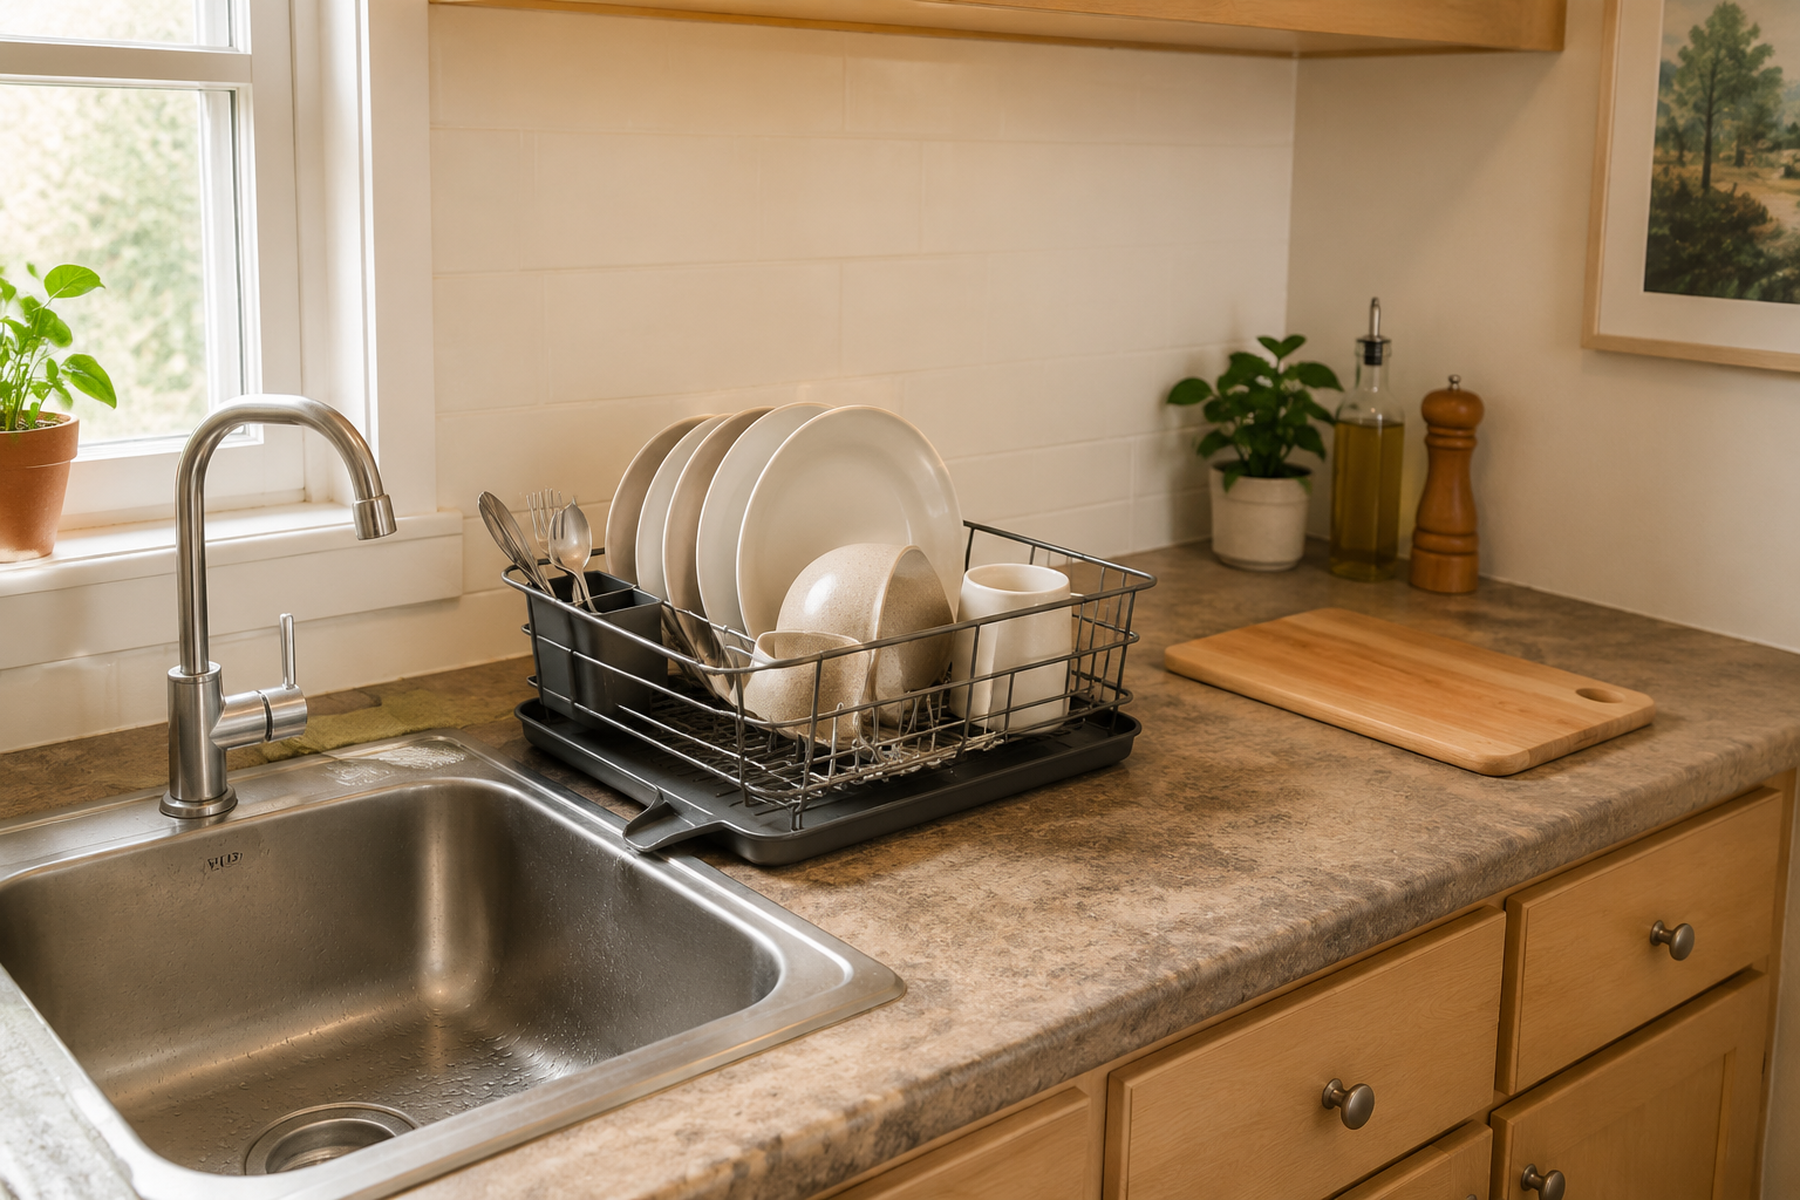
How to Create a Dish-Drying Zone in a Small Kitchen With No Dishwasher
Useful for another daily-use kitchen zone that must fit around circulation, cabinets, and limited counter space.
GUIDE
How to Store Small Kitchen Appliances Without Losing Counter Space
Continues the zone-allocation problem when appliances also compete for scarce floor, cabinet, or counter space.
GUIDE
How to Organize Food Storage in a Small Kitchen With No Pantry
Useful when the same small kitchen also needs a deliberate storage plan for food without a dedicated pantry.