
Small Kitchen Organization
How to Organize a Sponge and Dish Soap Around a Tiny Kitchen Sink
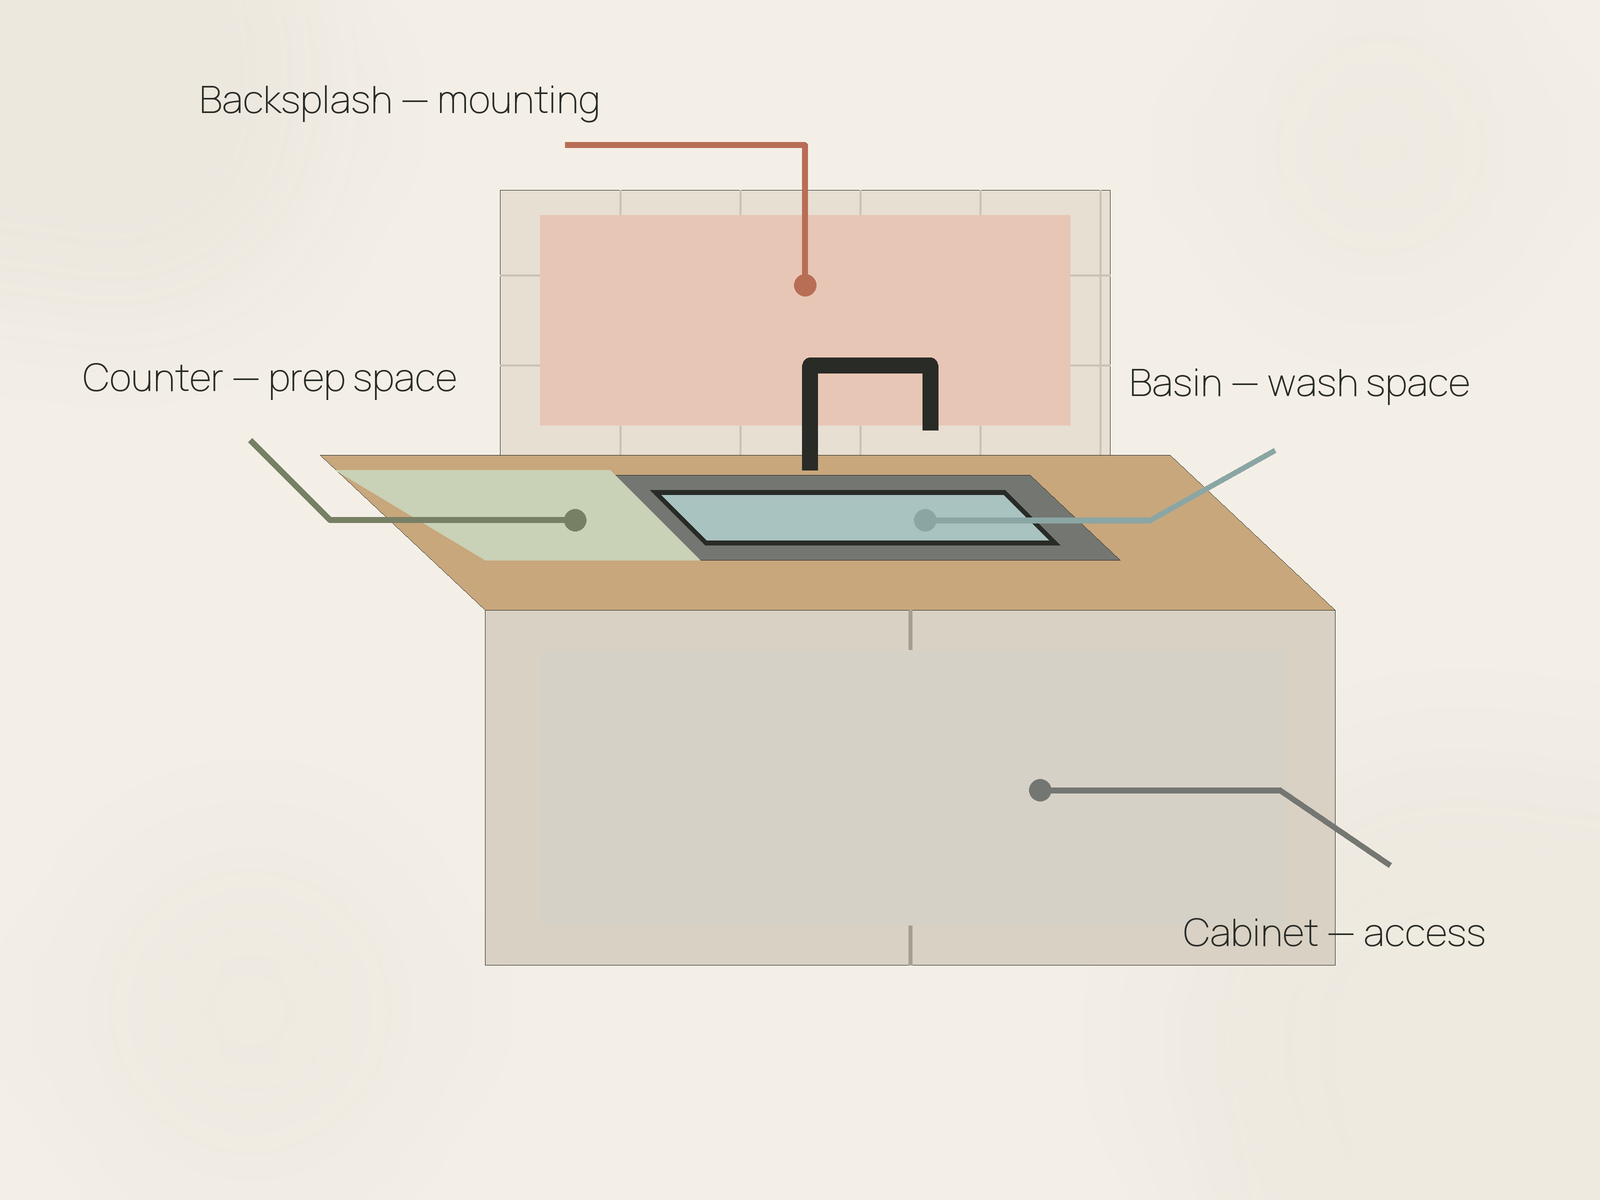
Keep only the active washing kit at the sink, give damp tools a real drainage and drying path, then decide whether the kitchen can better spare counter space, basin space, backsplash area, or cabinet access.
In This Guide
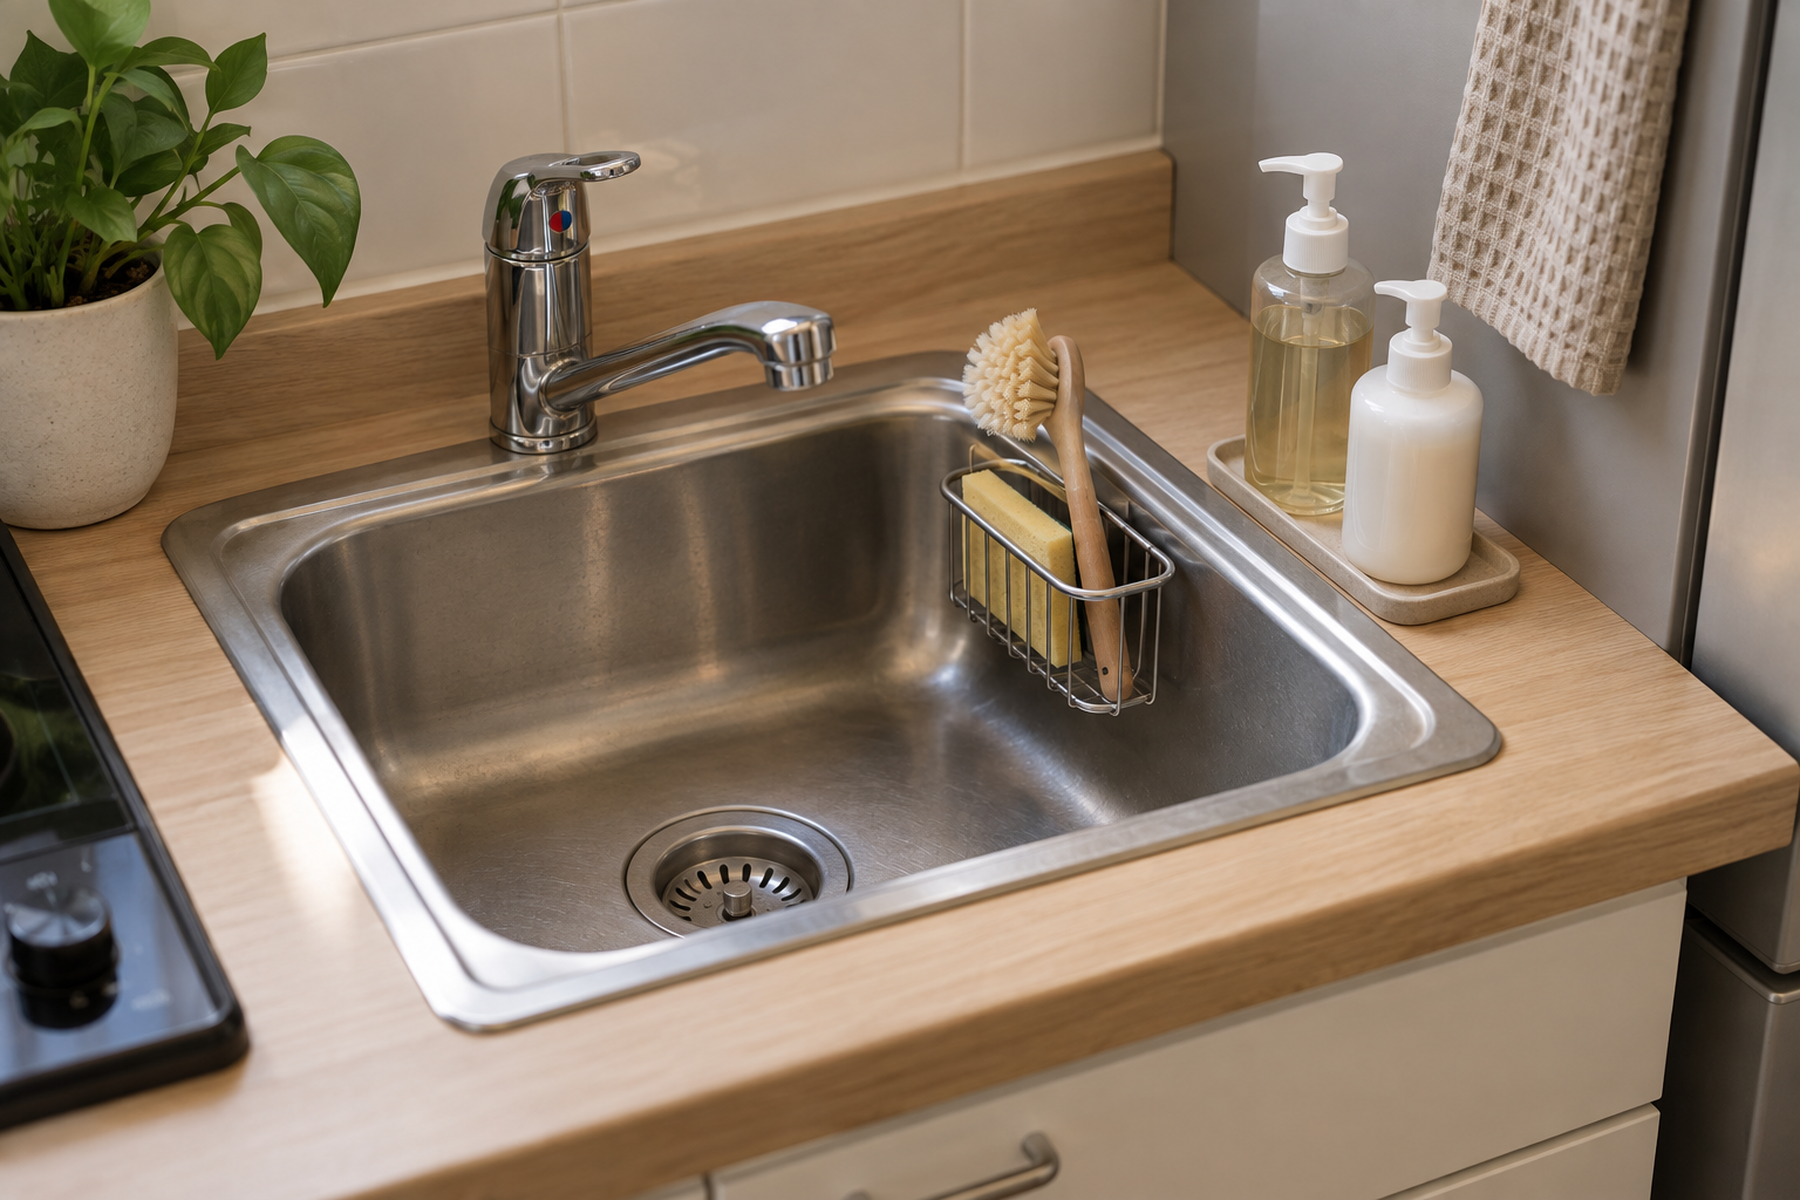
A tiny sink has two scarce surfaces at once: the counter around it and the basin inside it. Moving a sponge, brush, or soap bottle off one plane can make the other harder to use, especially when the dish rack already competes for the same few inches.
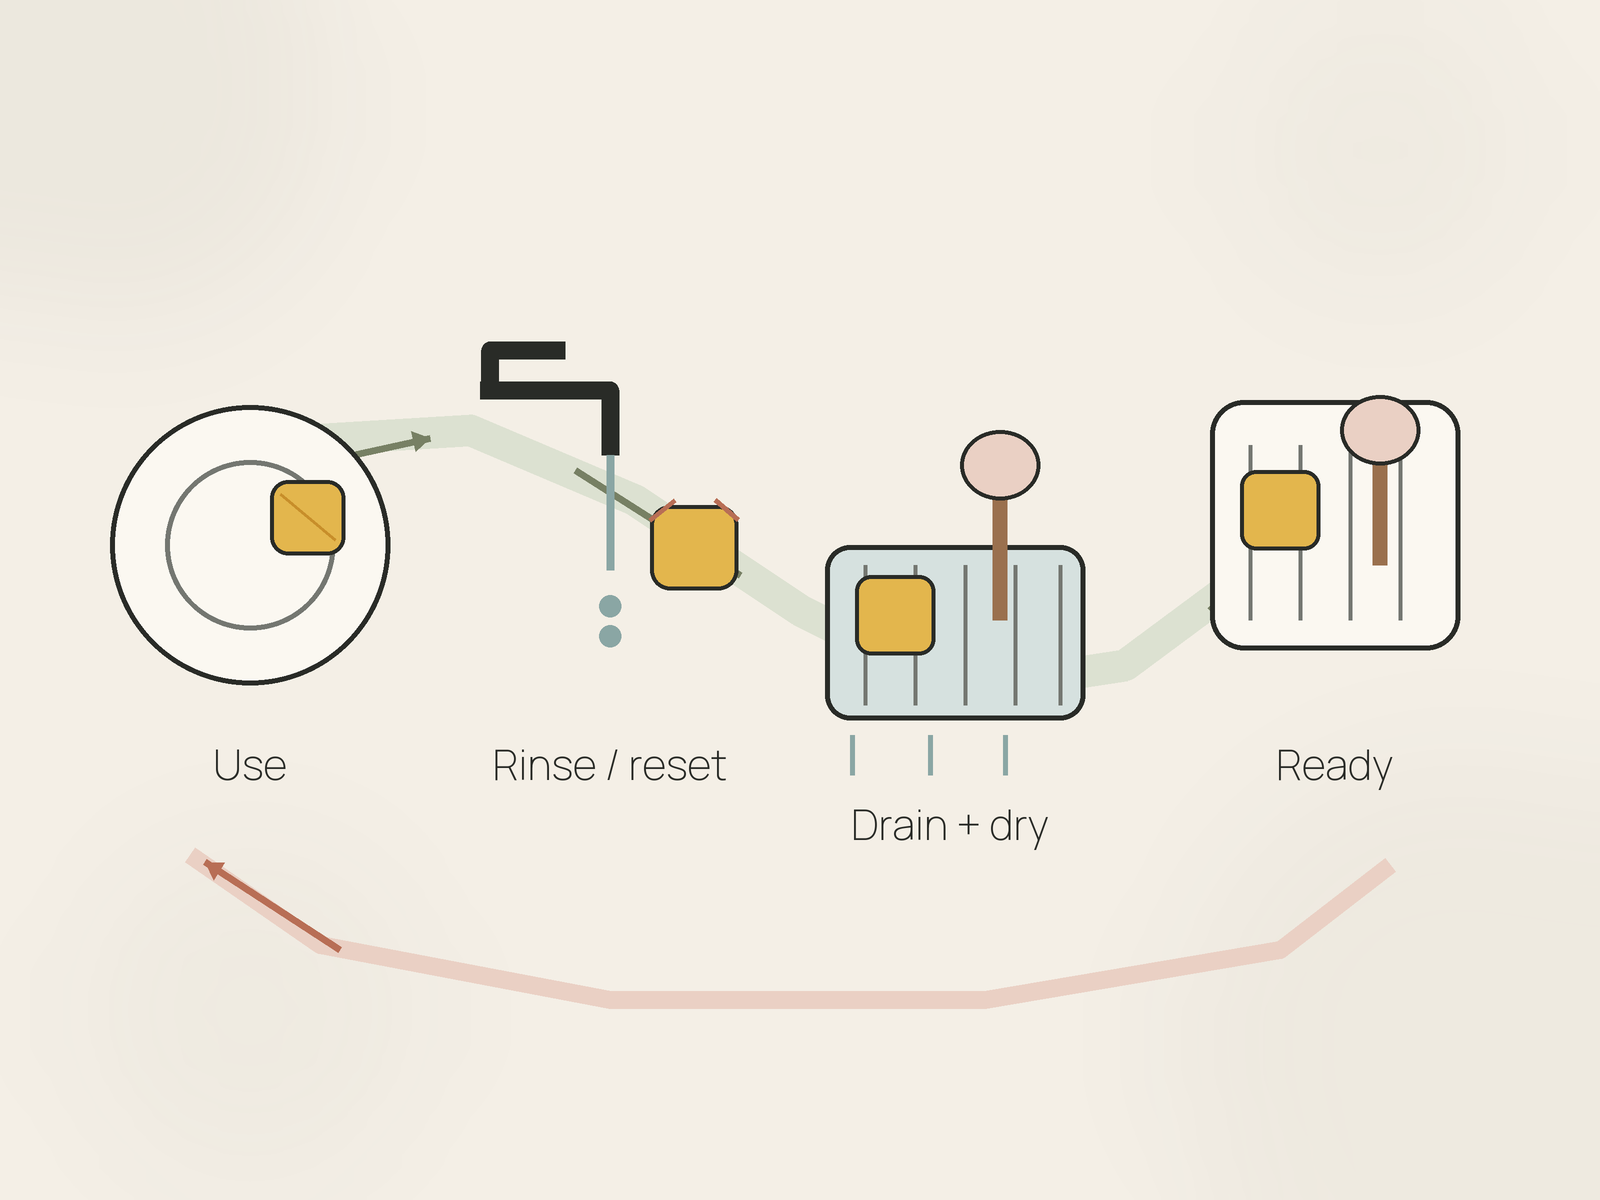
The best sink station starts with the tools after they have been used, not with a dry product photo. Decide what stays active, where water can drain, how the sponge or brush can dry, and which plane the kitchen can most afford to spend before choosing a caddy.
Quick Answer
Build the Sink Station Around Water, Not Around the Caddy
Keep the active set deliberately small, separate wet tools from reserve inventory, and judge every organizer by what happens immediately after washing—not just by how neatly it groups bottles.
01
Keep only the active washing kit nearby
One dish soap, hand soap when needed, and one primary sponge or brush usually deserve prime sink access. Move backup bottles, spare sponges, and rarely used scrubbers out of the active zone.
02
Give damp tools drainage and air
A sponge or brush should return to a holder that lets water leave and supports drying between uses. Containment alone is not the same as a drying path.
03
Spend the cheapest usable plane
Use counter space only if a real residual strip exists, basin space only if washing clearance remains, and suction or adhesive mounting only when the exact surface and product are compatible.
01
Keep Only the Active Kit at the Sink
Start by reducing what the sink zone has to hold. The active station does not need the entire kitchen-cleaning inventory; it needs the few tools used during ordinary dishwashing.
For many kitchens, that means one dish-soap bottle, hand soap if it belongs at this sink, and one primary sponge or dish brush. A second tool can earn the space when it has a genuinely different job, but duplicate bottles, backup sponges, specialty scrubbers, and reserve brush heads do not need premium sink-edge access.
This matters because every extra item increases the footprint and makes the organizer harder to clean around. A six-compartment caddy can look efficient while using more counter or basin space than the unorganized tools actually required.
Keep reserve inventory under the sink, in a utility cabinet, or another dry storage zone. The sink station should be sized for the active workflow, not for maximum storage capacity.
02
Store the Sponge and Brush for Their Wet State
Judge the tool immediately after use. A sponge may still hold water even after it is squeezed out, and a dish brush may continue to drip from the bristles and handle. The storage form has to work in that state.
USDA FSIS identifies kitchen sponges as potential bacterial sources that are difficult to clean, and University of Minnesota Extension advises storing a sponge so it can dry completely between uses. Good organization can support that drying and reset; it does not sanitize an old sponge.
Brushes and sponges do not need identical geometry. University of Minnesota Extension notes that a dish brush is easier to rinse and clean and can dry more quickly between uses. A brush can often stand or hang vertically, while a sponge benefits from broad exposure and a holder that does not trap it in pooled water.
Do not use one narrow closed cup simply because it holds both tools upright. The right holder is the one that gives each active tool a believable water path and can itself be emptied, rinsed, or wiped without a maintenance project.
Measure / Check First
Before buying a sink caddy or moving the active tools to another plane, test the wet tool, the water path, and the sink’s working clearances together.
Check Basin Clearance, Drainage, and Attachment Before You Commit
01
Basin and faucet clearance
Move the faucet through its full range and place the largest cookware you routinely wash in the sink. Confirm that the caddy, sponge, and brush do not block washing space, drain access, or disposal access.
02
Drainage and cleanability
Return the sponge or brush while it is still damp and identify exactly where the water goes. Make sure the holder or tray can be emptied, rinsed, or wiped without unloading the whole sink station.
03
Surface, load, and renter fit
For suction or adhesive storage, verify the exact product’s surface requirements, load, wet-area instructions, preparation, and removal method. For tool-free hanging forms, verify faucet, sink-divider, or edge geometry before treating them as compatible.
If the organizer saves counter space only by blocking the basin, traps water in a hard-to-clean tray, depends on an unsupported surface, or makes the faucet and cookware harder to use, choose another plane before adding the caddy.
03
Give Drips a Destination
A sink organizer should answer one simple question: where does the water go after the tool returns? If the answer is “into a tray,” the next question is how that tray is emptied and cleaned.
Current OXO sink-caddy designs illustrate the difference between containment and drainage. Its Stainless Steel Sink Caddy uses ventilation holes plus a detachable drip tray and pour spout. Those features are product-specific, but the broader lesson is useful: collected water still needs an exit and the wet surface needs to stay serviceable.
Simplehuman’s current Sink Caddy takes another approach, using ventilation holes and elevated sponge storage. Again, the important point is not the brand; it is that airflow and elevation are separate design jobs from simply keeping the sponge in one place.
Avoid creating a permanent soap-water reservoir beside the sink. If a tray needs to be carried across the kitchen to empty or requires unloading four bottles before it can be rinsed, the organizer has made the reset harder.
04
Use an In-Sink Holder Only If the Basin Can Spare It
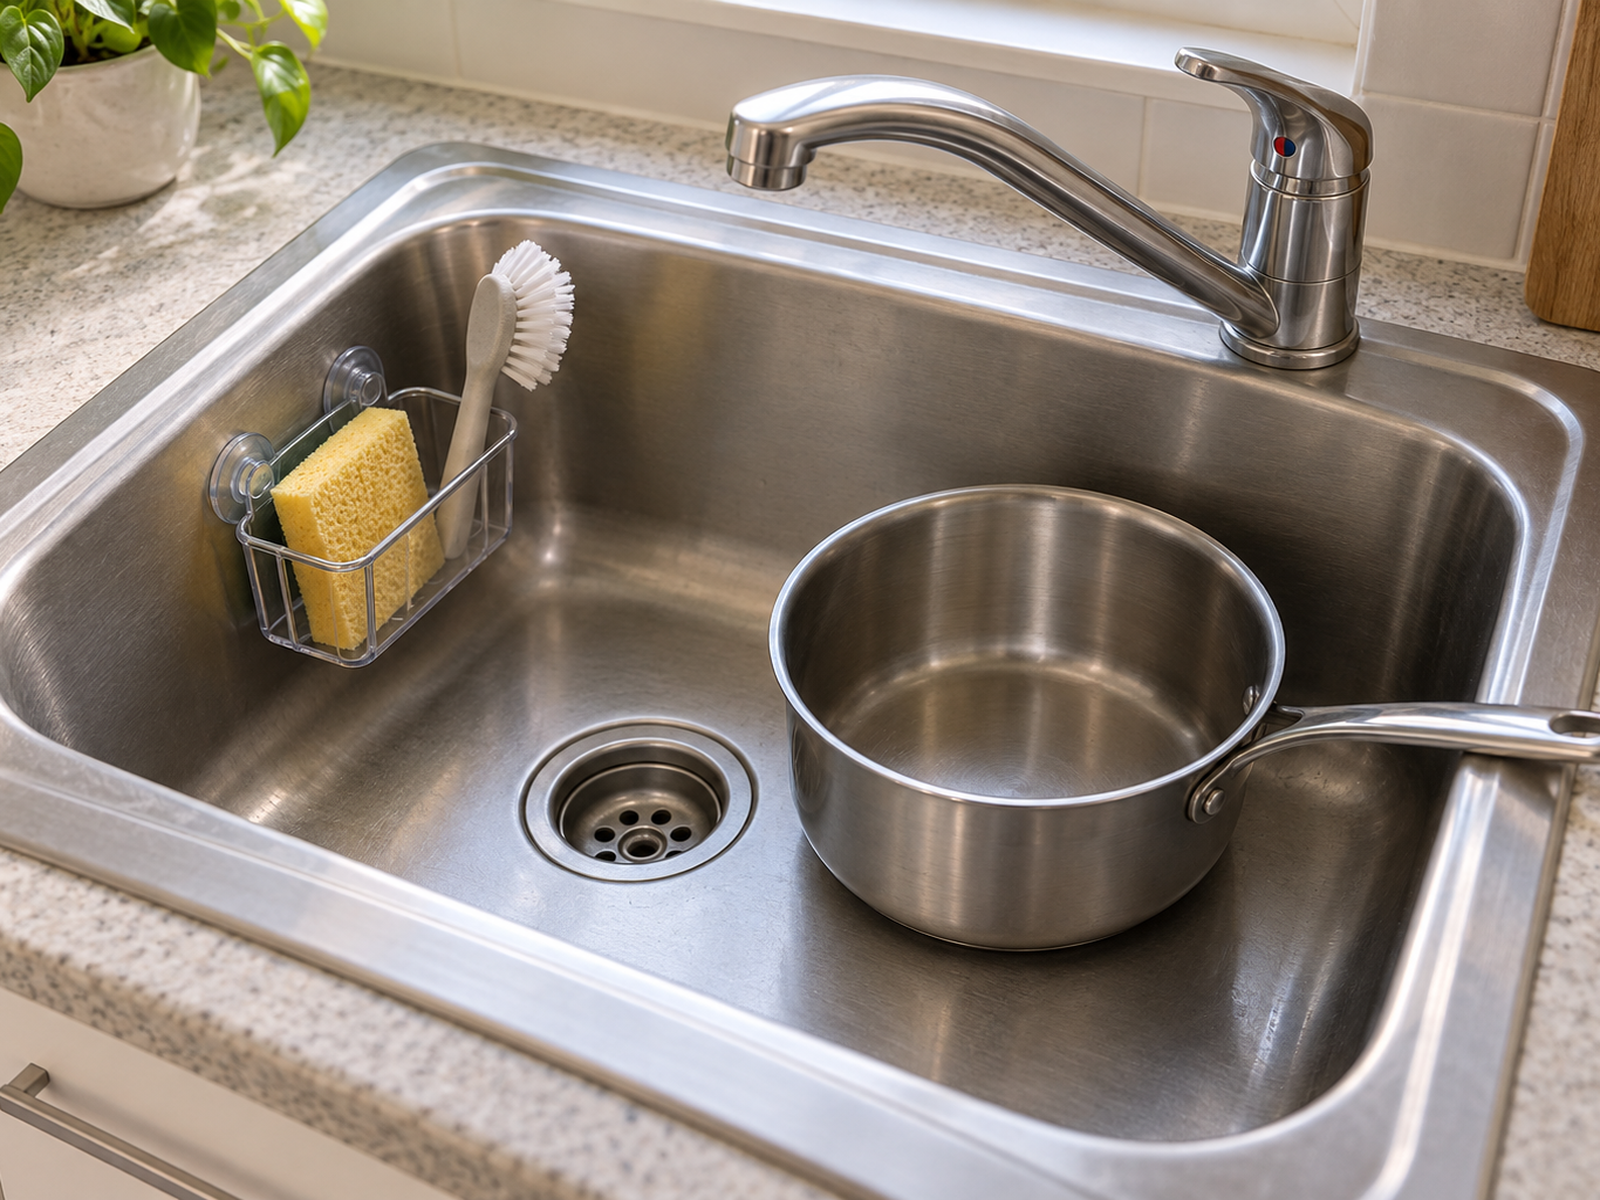
An in-sink holder can recover all of the counter footprint and let sponge water drain directly into the basin. On a tiny sink, however, it spends the other scarce resource: washing clearance.
Test the holder with the faucet moving and with the largest pot, pan, cutting board, or bowl you routinely wash. Keep the drain or disposal area accessible and make sure the sponge or brush can be removed without knocking the caddy loose.
Suction attachment is also surface-specific. IKEA’s current RINNIG Sink Container states that its suction cups are intended for flat surfaces such as glass, mirrors, and tiles and publishes a 1-pound maximum load for that product. Those specifications should not be generalized to other suction holders or to every sink finish.
If the sink wall is curved, textured, irregular, or simply too valuable as washing space, do not force an in-sink system. The fact that it saves counter space does not make the basin cost free.
05
Use a Faucet-Hanging or Sink-Saddle Caddy When the Geometry Works
A faucet-hanging caddy or sink saddle can keep wet tools near the water without drilling, adhesive, or a permanent counter footprint. It is one of the strongest renter-first branches when the sink shape supports it.
Check the faucet controls, sprayer hose, sink divider, and the path used to move large cookware. A caddy that swings into the faucet lever or has to be removed every time a stockpot goes into the sink is not low-friction storage.
Keep the wet tool exposed enough to drain and dry rather than wedging a sponge behind tall soap bottles. The caddy should also come off easily enough that the faucet base, sink divider, or rim can still be cleaned.
Treat this as a geometry class rather than one universal product recommendation. Single-basin sinks, thick dividers, pull-down faucets, and unusual spout shapes can make the same form excellent in one kitchen and unusable in another.
06
Separate Soap Bottles From Wet Tools When One Caddy Stays Wet
The sponge, brush, dish soap, and hand soap do not have to share one all-in-one organizer. In a tiny sink zone, splitting the jobs can create a smaller and easier-to-clean system.
A narrow dry tray can group the soap bottles on a true residual counter strip while the sponge or brush drains into the sink from a separate holder. That keeps wet residue away from the bottle bases and prevents the entire caddy from becoming a permanent damp surface.
The split only works when both zones remain compact. Two organizers are not automatically better than one if the bottles spread across the prep area and the wet holder blocks the basin.
Choose the split when the maintenance needs are genuinely different: bottles need drip control and easy wiping; wet tools need drainage, air exposure, and fast grab-and-return access.
07
Use a Counter Caddy Only on a Real Residual Strip
A countertop caddy remains the simplest no-install option. It works on any counter material, moves easily, and keeps soap and tools visible. The cost is straightforward: it spends horizontal work surface.
Use it only when the sink has a strip of counter that does not function as the main chopping zone, grocery landing area, coffee station, or dish-drying lane. If the caddy has to be moved before normal cooking, that strip was not truly available.
Prefer a form that is easy to lift or disassemble for wiping underneath. Tall bottles in a narrow base can make a small caddy top-heavy, while a deep tray can hide dirty water and soap residue.
A caddy with ventilation holes, removable drainage, or elevated storage can be useful, but those features need to be verified on the exact product. Do not assume every perforated organizer drains well in the way your sink is actually used.
08
Keep Backup Supplies Under the Sink, Not Active Wet Tools
Under-sink storage is strong for reserve dish soap, unopened sponges, spare brush heads, and dry specialty tools because those items do not need to be reached with wet hands several times a day.
It is a weaker default for the active damp sponge when the only plan is to close the cabinet door and hope it dries. The active tool should complete its water-management step before it becomes hidden storage.
Keep backup products organized around the plumbing rather than blocking it, and separate food-contact tools from household chemicals when the cabinet contains both categories. The important distinction is that the active wet-tool zone and reserve inventory are different storage jobs.
A useful reset is visible: when the active sponge or brush wears out or is removed from service, a dry replacement comes from reserve storage and the sink station returns to its same small footprint.
Closing Decision
Spend the Plane the Kitchen Can Afford, but Keep the Wet Tool Able to Dry
A tiny sink does not need the largest possible caddy. It needs a deliberately small active kit with a believable post-use path: soap within easy reach, a sponge or brush able to drain and dry, and enough open sink and counter space for the kitchen to keep doing its real work.
Choose the cheapest usable plane for that kitchen—counter, basin, faucet or divider, backsplash, or cabinet access—and verify the exact attachment before committing. Keep reserve inventory elsewhere, clean the organizer as part of the reset, and remember the hygiene boundary: good storage supports drying and separation, but it does not make an old sponge sanitary.
RELATED GUIDES
What to Read Next
NEXT GUIDE
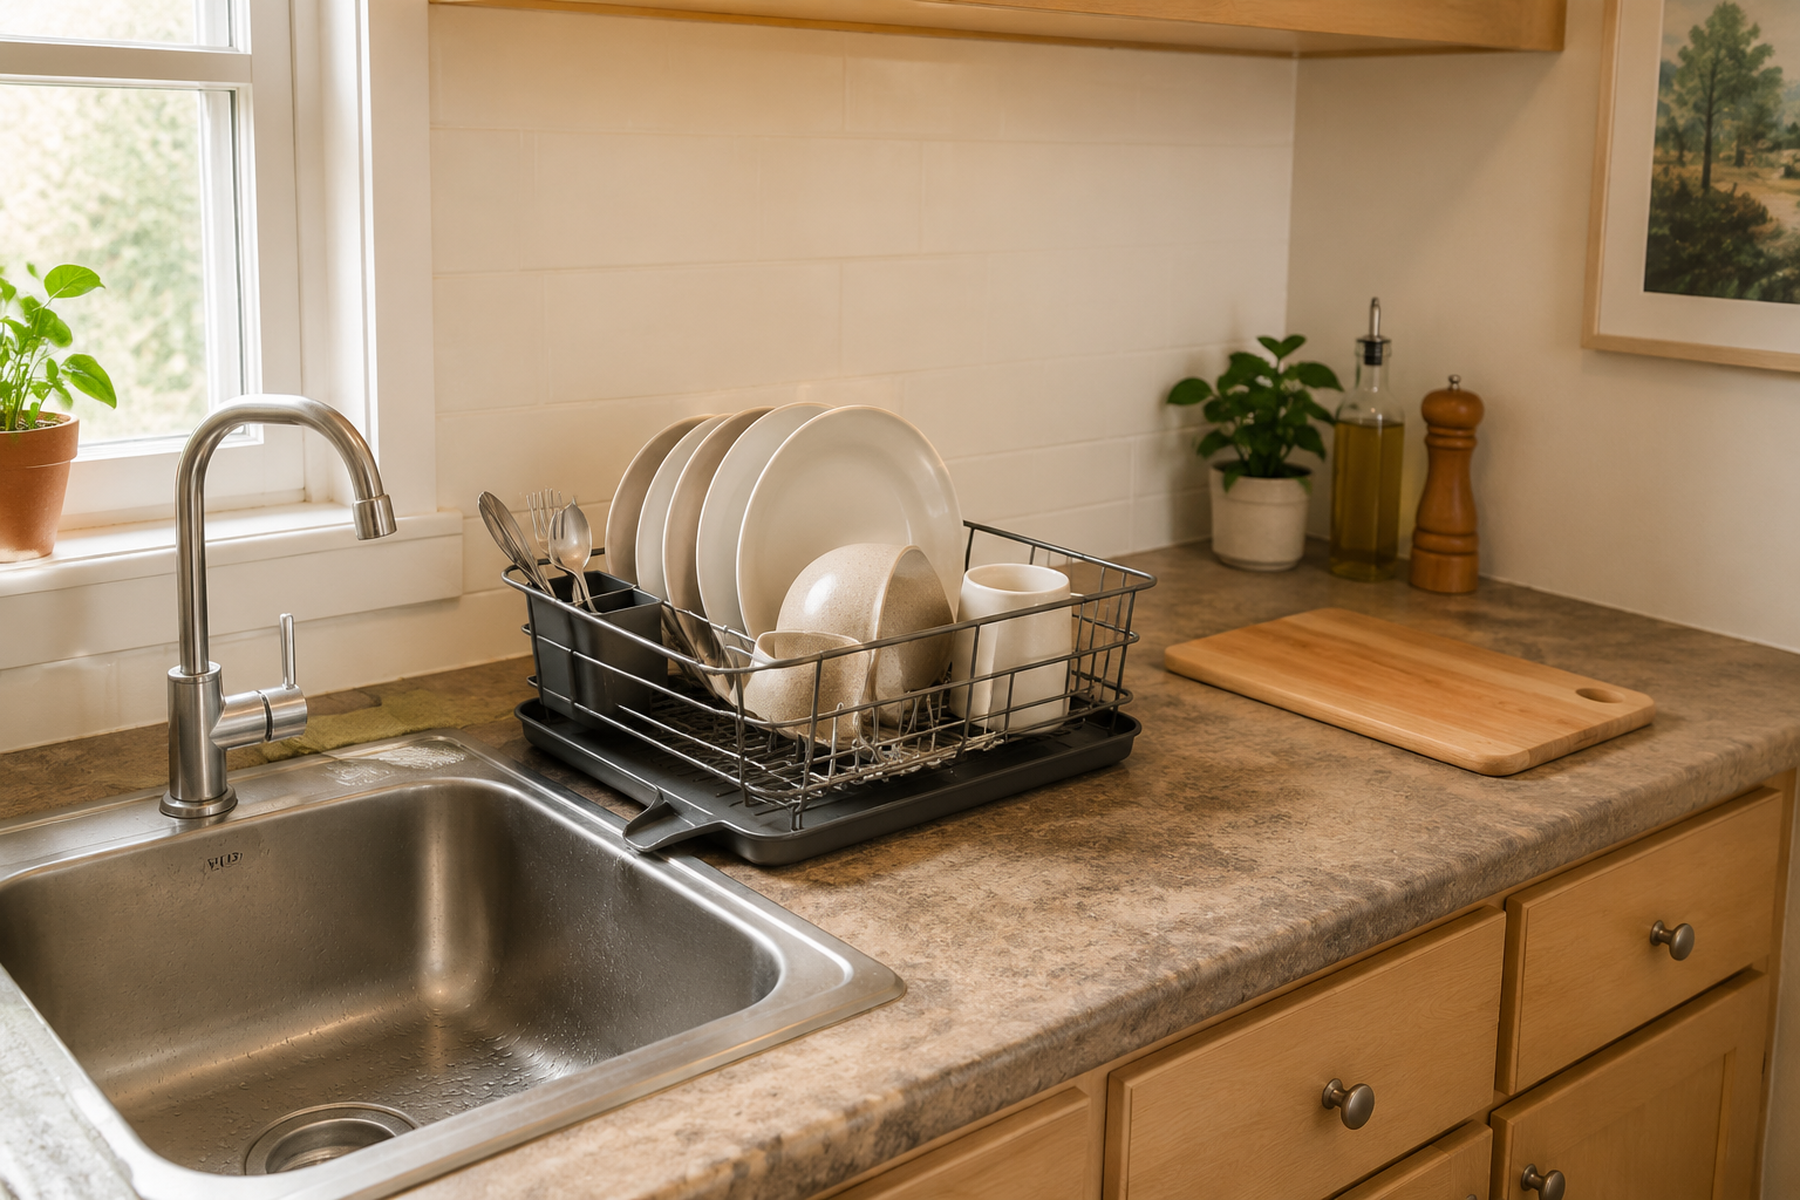
How to Create a Dish-Drying Zone in a Small Kitchen With No Dishwasher
Use this next if the active sponge-and-soap station is competing with wet dishes and rack space; that guide handles the larger sink-versus-counter drying footprint.
GUIDE
How to Hang and Dry Dish Towels in a Small Kitchen With No Towel Bar
Use this if the same sink zone still has damp towels with no dedicated drying position; that guide focuses on towel roles, airflow, and renter-friendly hanging rather than sponge or caddy geometry.
GUIDE
Where to Put Paper Towels in a Small Kitchen With No Counter Space
Use this if paper towels are competing for the same backsplash, cabinet, refrigerator, or counter planes; that guide focuses on dispensing, refill clearance, fire safety, and no-drill mounting.