
Small Apartment Storage Ideas
Where to Put a Humidifier in a Small Apartment With Limited Floor Space
Measure the room first, then give the humidifier enough space to operate without creating a wet wall, damp bedding, mineral dust on electronics, or a difficult refill routine. The right location balances body footprint, moisture footprint, and maintenance access—not just where the appliance physically fits.
In This Guide
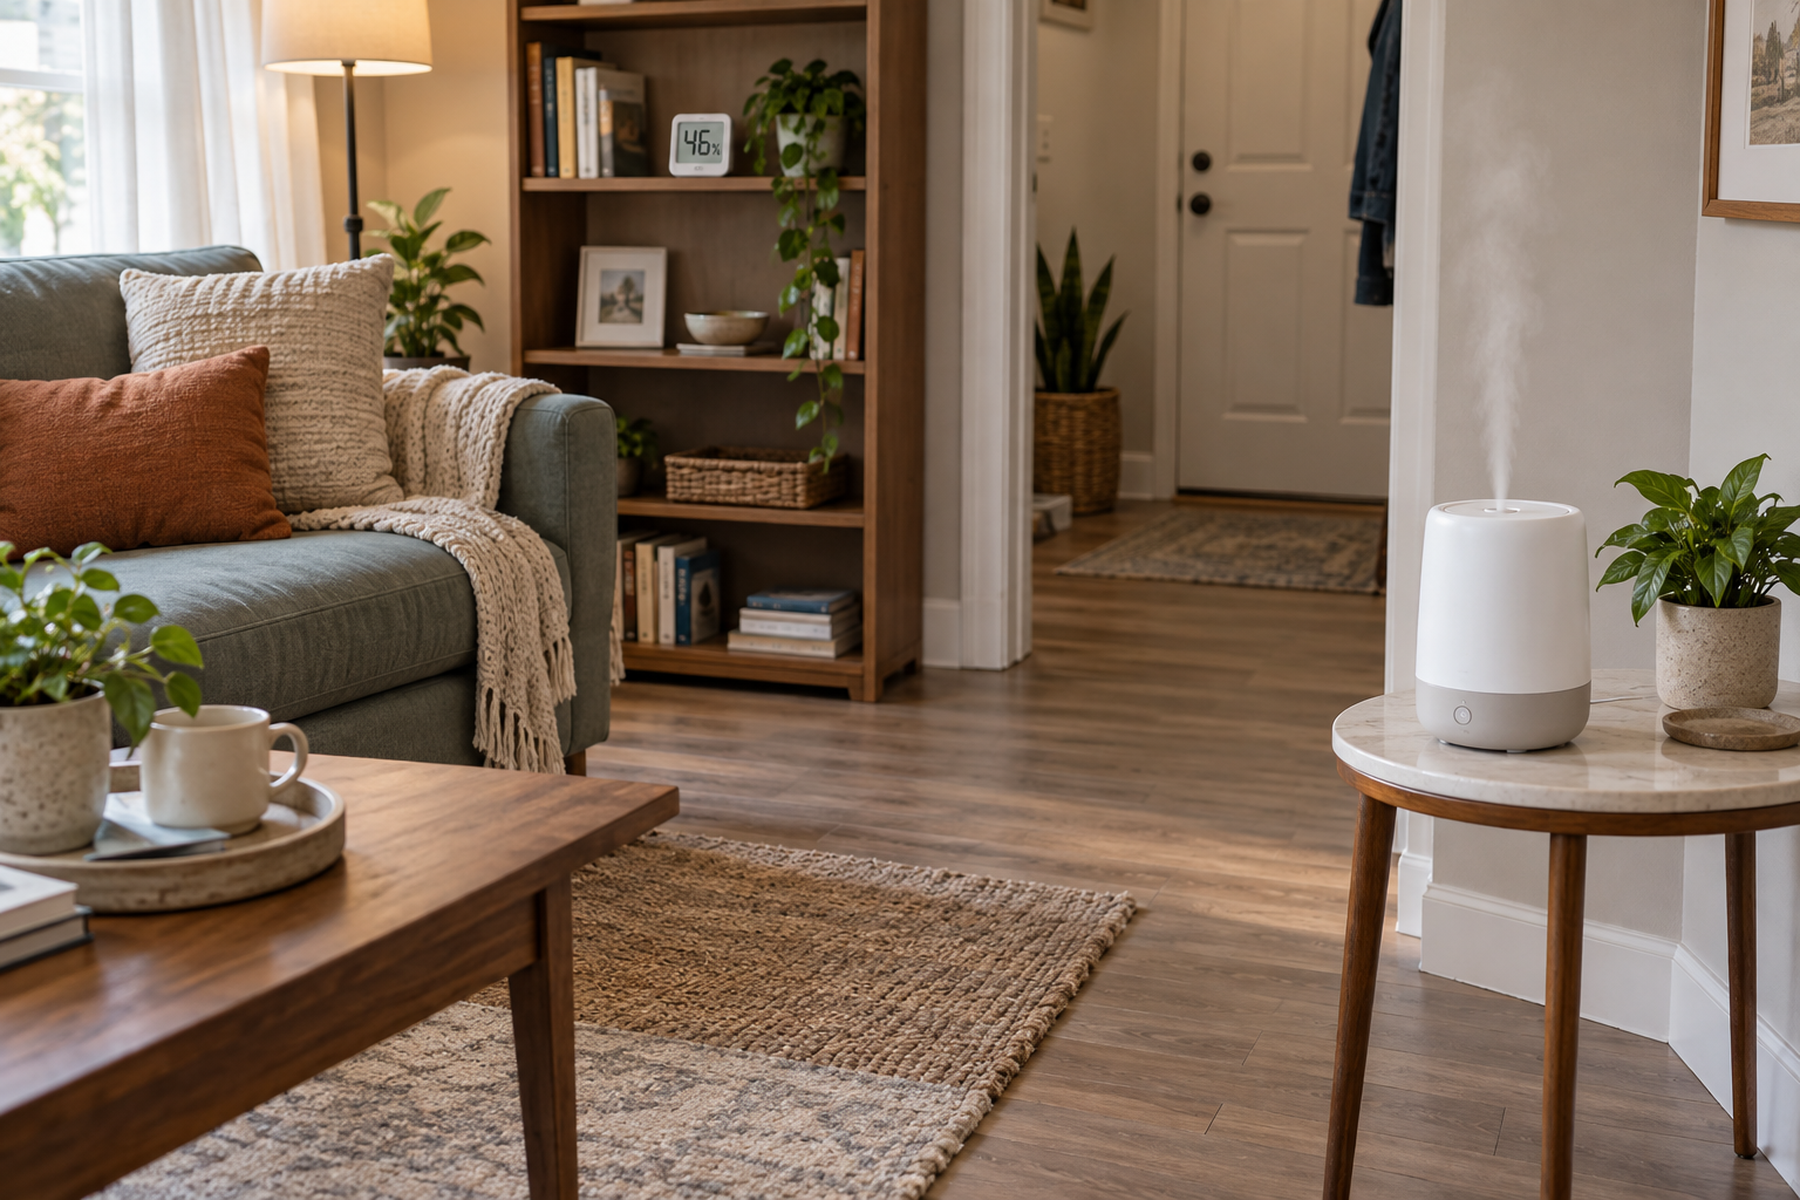
A portable humidifier can solve one dry-room problem and create another if it is wedged into the only empty corner. The unit may fit on a nightstand or narrow shelf while its mist reaches the wall, dampens bedding, settles mineral dust on electronics, or makes daily refilling awkward.
Treat placement as a moisture-management loop rather than a fixed coordinate. Measure the room’s relative humidity, choose a stable operating zone, protect the surrounding materials, run the lowest useful output, then watch the room and adjust when surfaces or humidity readings say the setup is too aggressive.
Quick Answer
Measure First, Then Place, Observe, and Adjust
The strongest humidifier location is the one that adds only the moisture the room actually needs while keeping nearby surfaces dry and making daily water handling easy.
01
Confirm the room actually needs more humidity
EPA says not to humidify indoor air above 50% relative humidity. Use a hygrometer or reliable built-in humidistat so the decision starts with a reading rather than how dry the room feels.
02
Plan body, moisture, and maintenance footprints together
The appliance needs physical support, an open zone where mist or steam will not wet walls, bedding, furniture, or electronics, and enough access to remove the tank, refill, clean, and service the unit.
03
Let condensation change the setup
If windows, walls, pictures, furniture, or nearby materials become damp, EPA recommends relocating the humidifier, lowering the humidistat or output, or reducing use. A location that creates wet surfaces has failed even if the average room reading looks acceptable.
01
Measure the Room Before You Choose the Location
Start with relative humidity rather than the appliance. EPA recommends controlling indoor moisture and specifically says not to humidify indoor air above 50% relative humidity.
A small hygrometer can tell you whether the bedroom or living room actually needs more moisture and whether the humidifier is producing the intended result. That measurement is part of the placement system, not a separate gadget decision.
Treat the target as a room-level condition, not a reason to maximize output. CPSC guidance likewise describes roughly 30–50% RH as a useful indoor range when possible, while warning that dirty humidifiers and excessive moisture can create their own problems.
If the room is already near the upper end of an appropriate range, or if indoor clothes drying, cooking, showers, weather, or another moisture source is already raising humidity, the correct small-space decision may be to reduce or skip humidifier use rather than find a tighter location.
02
Map the Humidifier’s Three Footprints
The first footprint is the body footprint: the physical width, depth, height, tank size, and support area of the humidifier itself.
The second is the moisture footprint: the open zone around the output where walls, curtains, bedding, books, art, wood furniture, rugs, and electronics need to stay dry. EPA says the area around the humidifier should not become damp or wet.
The third is the maintenance footprint: the space needed to lift or remove the tank, carry water, unplug the unit, wipe the base, reach filters or wicks, and clean and dry the appliance.
A location is only compact when all three footprints work at the same time. A tiny device on a crowded shelf is not a small-space win if every refill requires moving lamps and books or if the mist immediately reaches the wall behind it.
Measure / Check First
Before assigning a nightstand, dresser, floor corner, or side table to the humidifier, test the full operating and maintenance zone with the exact model.
Check Humidity Need, Moisture Clearance, and Refill Access First
01
The measured room humidity
Check the room with a hygrometer before use and again while the humidifier is running. Set a conservative target and do not use the device as though maximum output is the goal.
02
The support surface and moisture path
Verify that the surface is stable, level, and appropriate for the exact unit, then follow the manufacturer’s wall, furniture, bedding, and object clearances and direct mist or steam into open air.
03
The tank, sink, cord, and cleaning route
Remove the tank or top-fill lid as required, carry it to the sink, return it without spilling, and confirm that the cord, filter access, and cleaning steps remain easy enough for repeated daily use.
If the unit fits only by aiming moisture at a wall, crowding electronics, crossing a walkway with the cord, or making the tank difficult to refill, choose a different zone before increasing output.
03
Use a Tabletop Zone Only on a Stable, Moisture-Safe Surface
A tabletop cool-mist unit can be an efficient choice when floor space is scarce because it spends a small piece of furniture surface instead of a permanent floor rectangle.
Use a firm, flat, water-resistant surface or a setup explicitly permitted by the exact manufacturer. Current Honeywell and Vicks guidance for tabletop models emphasizes stable surfaces and surrounding clearance rather than balancing the appliance on soft materials or narrow unstable furniture.
Protecting the base does not solve the whole moisture problem. A tray or mat can catch drips at the appliance, but mist can still reach the wall, shelf edge, upholstery, books, or electronics beyond the mat.
Leave the top-fill or tank-removal path clear. A location under a shelf may support the appliance body while making it impossible to remove or fill the tank without dragging the humidifier into another room.
04
Keep Mist and Steam Away From Walls, Bedding, and Electronics
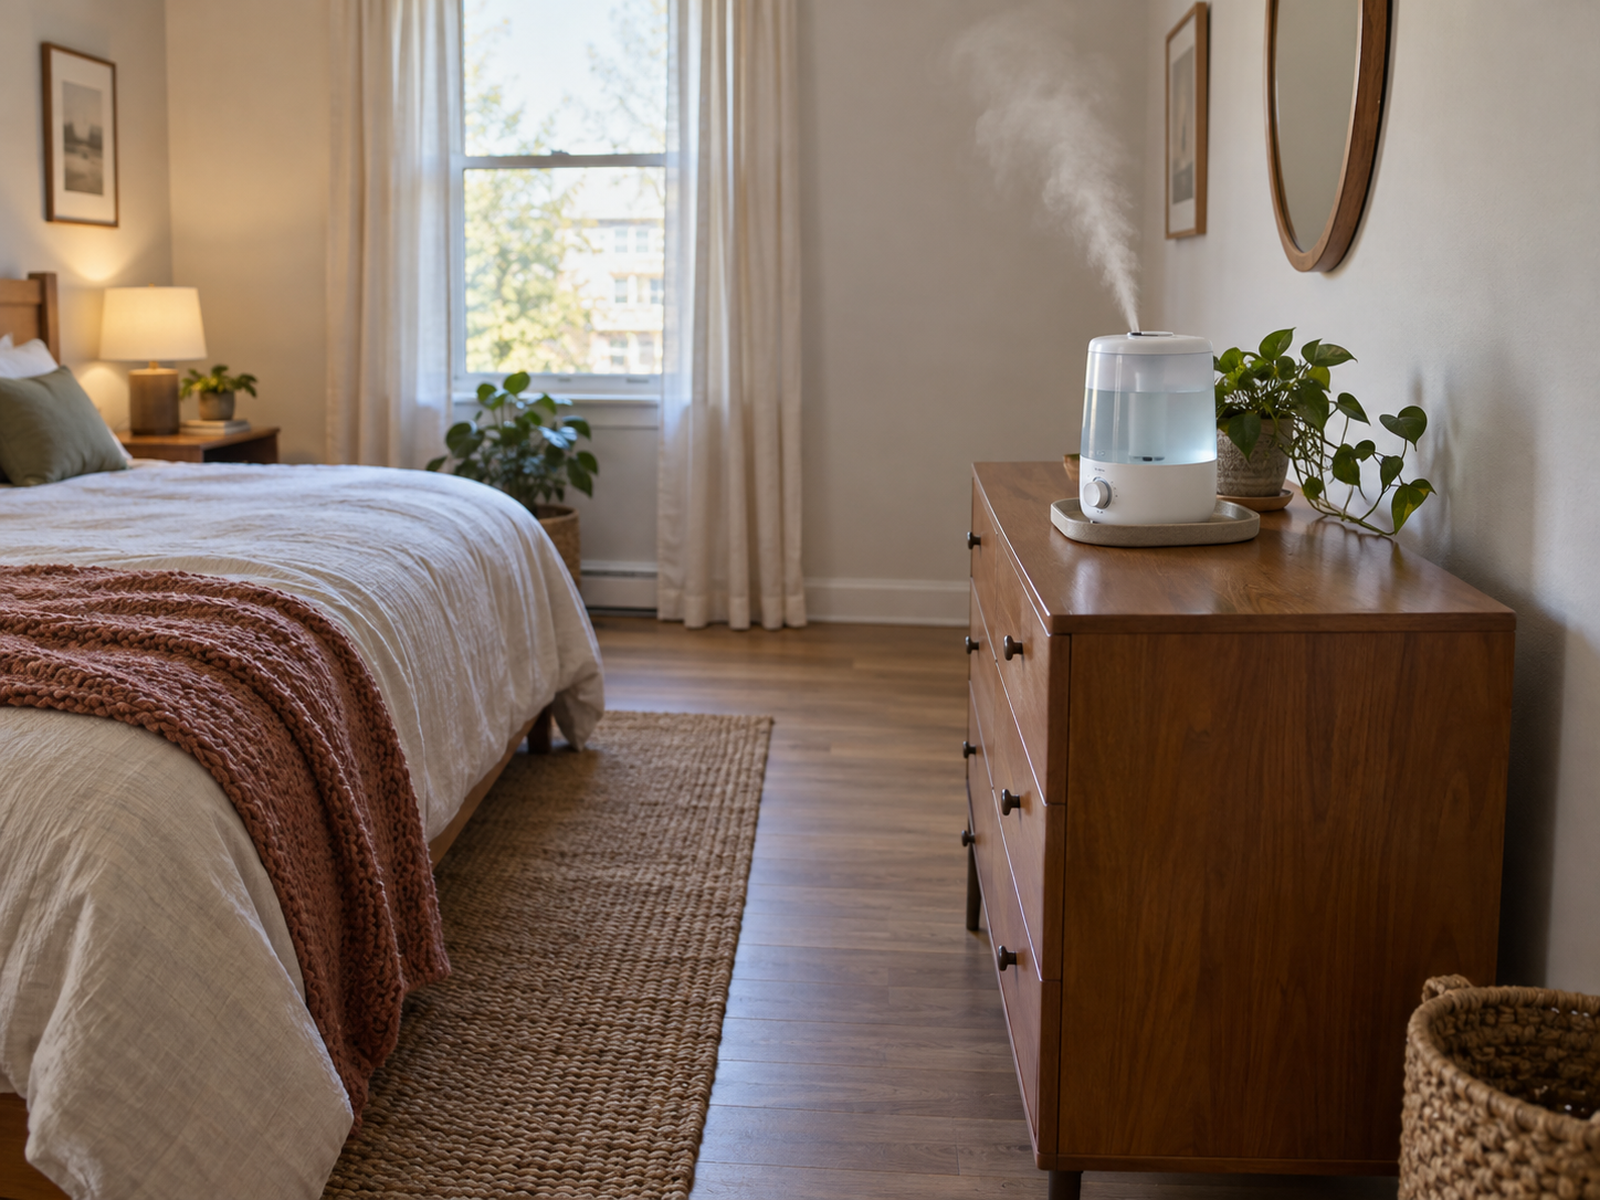
The nearest empty nightstand is not automatically the strongest bedroom location. Mist aimed at a headboard, mattress, wall, curtain, or bedside electronics can create a localized wet zone long before the whole room reaches excessive humidity.
Current manufacturer examples commonly require separation from walls and nearby objects and tell users to direct output into open space. Honeywell and Vicks both publish model-specific clearance guidance; those numbers should remain tied to the exact product rather than becoming one universal Aptly Small rule.
Electronics deserve extra distance because the device combines water, electricity, and sometimes visible mist. Avoid placing the humidifier directly above or beside power strips, chargers, laptops, speakers, televisions, routers, or desktop equipment.
Treat windows as feedback surfaces rather than targets. If the nearby glass fogs or the sill becomes damp, reduce output or change the location instead of assuming the device is working “better.”
05
Match the Location to the Humidifier Type
Ultrasonic cool-mist units can be compact and quiet, but EPA notes that ultrasonic and impeller humidifiers can disperse minerals and microorganisms from tank water. In a small room, that makes nearby dark furniture, books, electronics, and visible white mineral dust especially relevant to placement.
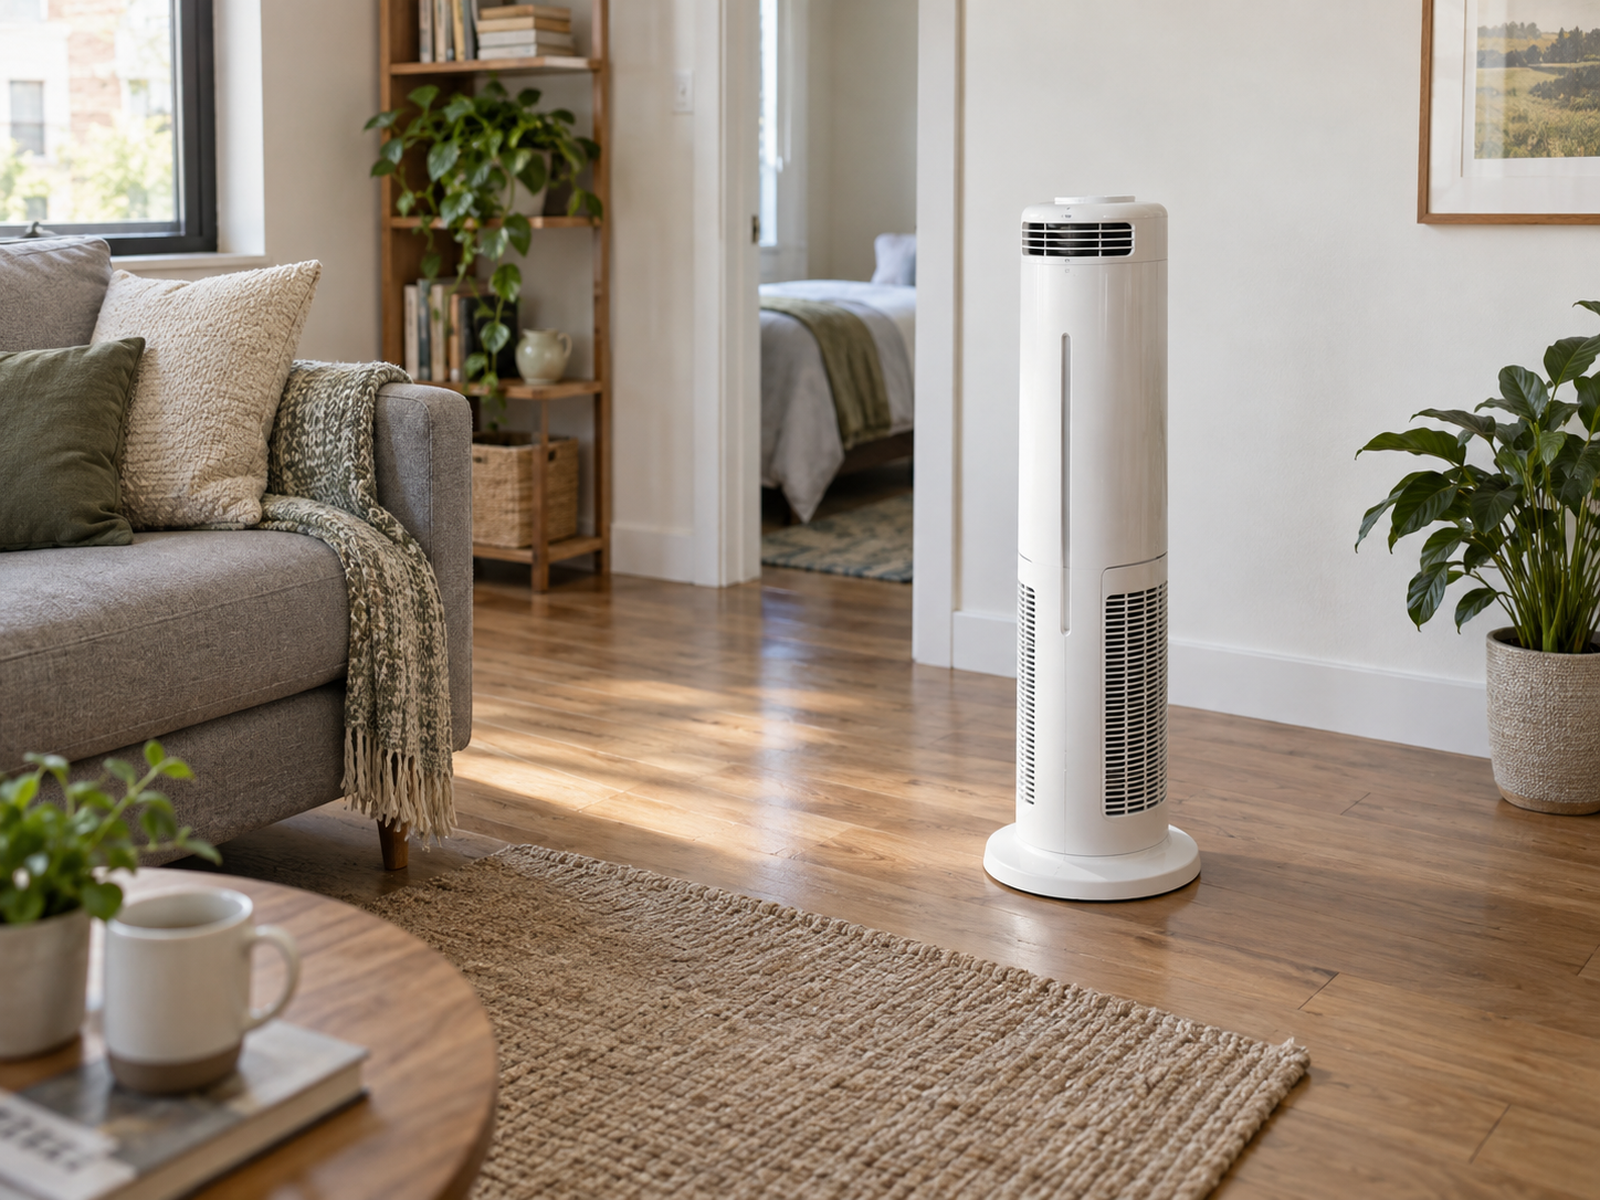
Evaporative units use airflow through a wet wick or filter rather than sending a visible mist plume into the room. A slim tower can preserve tabletop space, but it spends floor area and needs open intake, outlet, filter, and refill access.
Warm-mist or steam humidifiers add a stronger burn and scald boundary. Current Vicks warm-mist guidance, for example, requires a firm waterproof surface, separation from nearby objects, and placement out of reach of children and pets.
Do not choose the room location before deciding which appliance architecture the household actually has. A tabletop ultrasonic model and a floor-oriented evaporative tower spend different space resources and create different immediate-zone constraints.
06
Use Bedroom Furniture Only When the Bedside Zone Passes the Moisture Test
A dresser or side table can be a practical bedroom zone because it keeps a tabletop unit off the floor and close to the room the household wants to humidify.
The furniture still has to earn the job. It should be stable under the full tank weight, large enough that the unit cannot be bumped easily, and positioned so the output points away from bedding, walls, curtains, and electronics.
Keep the humidifier far enough from the bed to satisfy the exact product instructions and to prevent damp sheets, pillows, or headboards. Warm-mist models may have stricter bedside and child/pet boundaries than cool-mist units.
If the only available nightstand also holds a lamp, phone charger, books, medications, or other moisture-sensitive items, a small dedicated stand in a safer open zone may cost more floor area but create a better overall system.
Use / Skip
A Tabletop Humidifier on Bedroom Furniture
Use
Use it when the surface is stable and the output clears the bed, wall, and electronics
A dresser or side table can work when the exact manufacturer permits that type of surface, the full tank is stable, required clearances fit, mist or steam points into open air, the cord stays out of the walking path, and daily refill access is simple.
Skip
Skip it when bedside convenience creates a damp or crowded operating zone
Choose a different table, a dedicated stand, or a floor-oriented model when the nightstand is too shallow, already crowded with electronics, directly against absorbent materials, inside the output path of bedding or curtains, or difficult to refill without spills.
07
Treat Condensation and Damp Surfaces as Placement Feedback
Placement is not finished when the humidifier turns on. EPA specifically says that condensation on windows, walls, or pictures should trigger a response: relocate the humidifier, lower the humidistat or output, or reduce use.
Check the immediate zone first. A wet wall, clammy nightstand, damp rug, musty corner, or moisture on bedding means the setup is concentrating water where the apartment cannot tolerate it.
Then check the room reading. A humidifier can make one corner wet while the sensor across the room still reports a moderate average, especially when airflow is weak.
Use the lowest output that maintains an appropriate room condition without wetting surfaces. In a small apartment, successful humidification is controlled moisture—not the largest visible mist cloud or the longest continuous run time.
08
Build the Refill, Cleaning, and Seasonal Storage Routine Into the Location
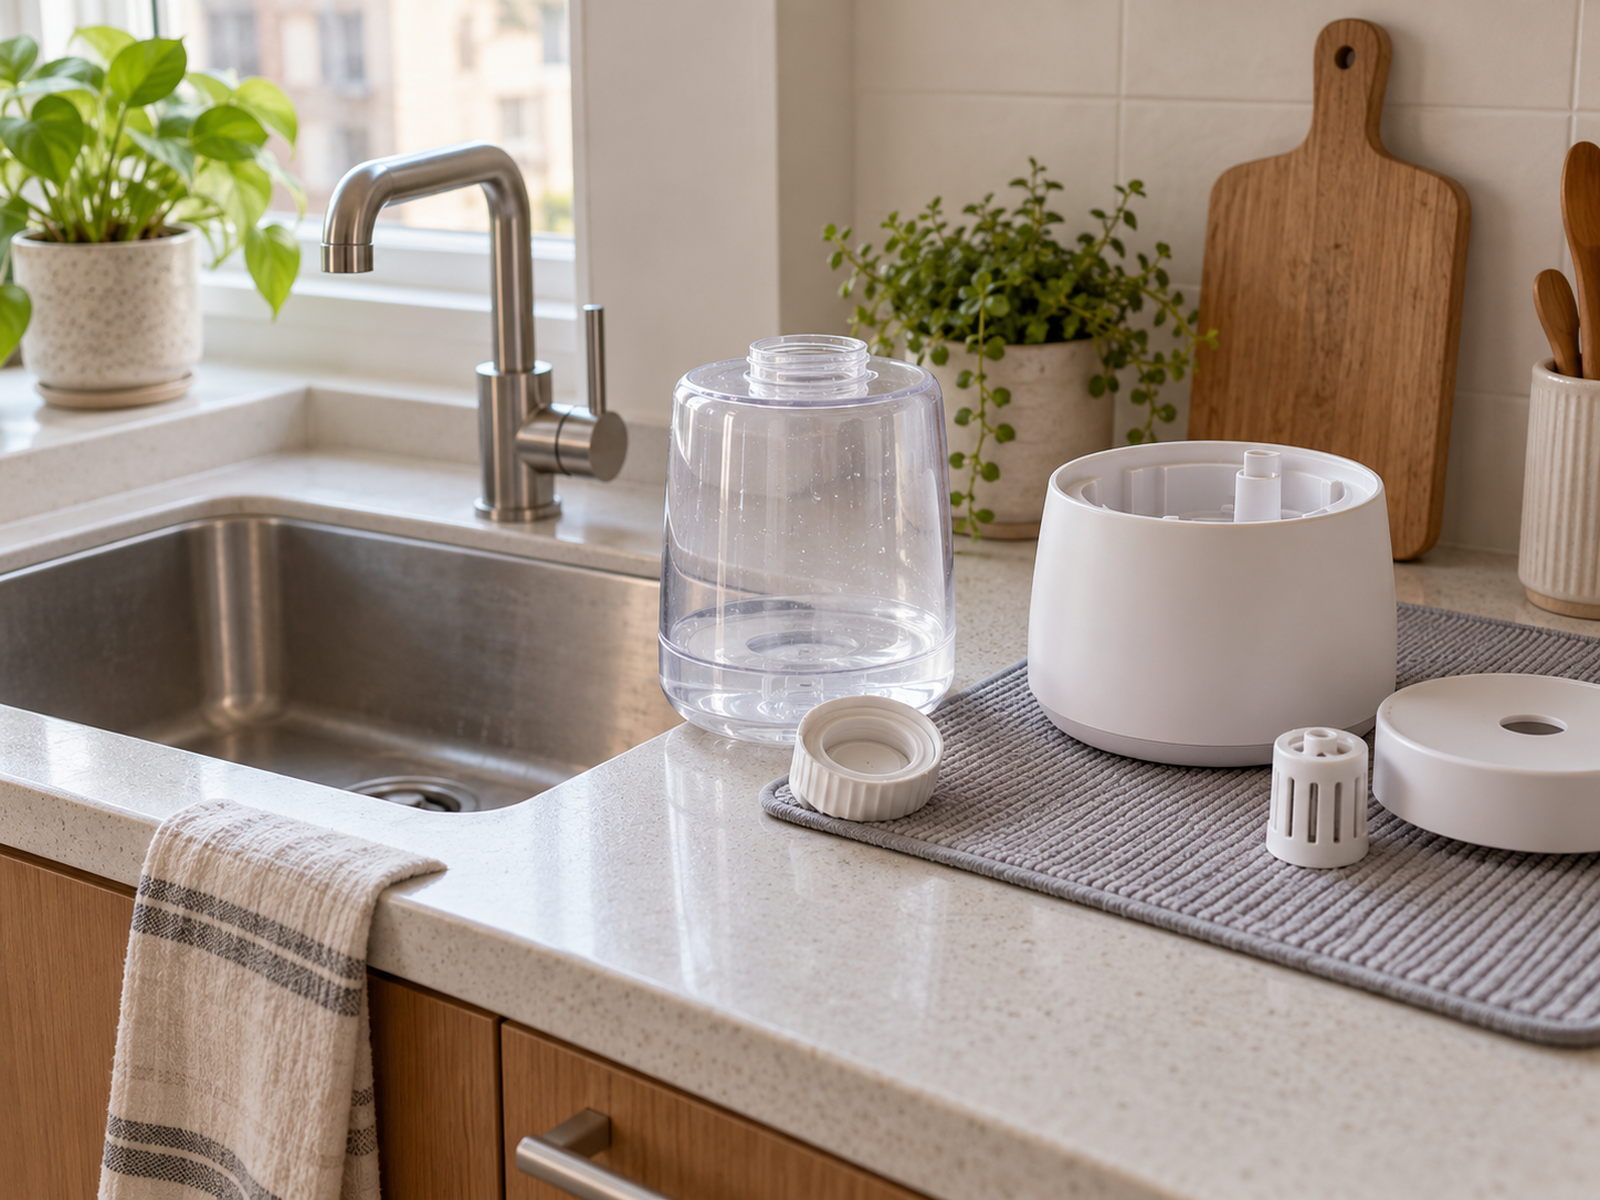
EPA recommends frequent water changes and regular cleaning for portable humidifiers. That makes sink access and daily maintenance part of the placement decision rather than housekeeping that happens later.
Choose a zone where the tank can be removed or filled without crossing clutter, where spills can be noticed and wiped quickly, and where the base, wick, filter, or other service parts remain reachable.
Do not assume one portable unit will evenly control an entire apartment. Closed bedrooms, hallways, weak air mixing, and different room loads can create separate humidity zones, so treat the actual target room as the planning unit.
At the end of the dry season, clean, drain, and dry the unit according to the manufacturer and applicable EPA/CPSC guidance before storing it. A damp humidifier sealed in a closet simply moves the moisture problem out of sight.
Closing Decision
Give the Humidifier a Moisture-Safe Operating Zone
A successful small-apartment humidifier setup begins with a reading and stays adjustable. The appliance body, surrounding moisture zone, and daily maintenance path all have to fit before the location is truly compact.
Measure first, follow the exact model’s placement rules, keep output away from moisture-sensitive surfaces, and use condensation as a reason to change the setup. If the safest location uses a little more floor or furniture space, that can still be the better small-space decision than a tighter spot that stays damp.
RELATED GUIDES
What to Read Next
NEXT GUIDE
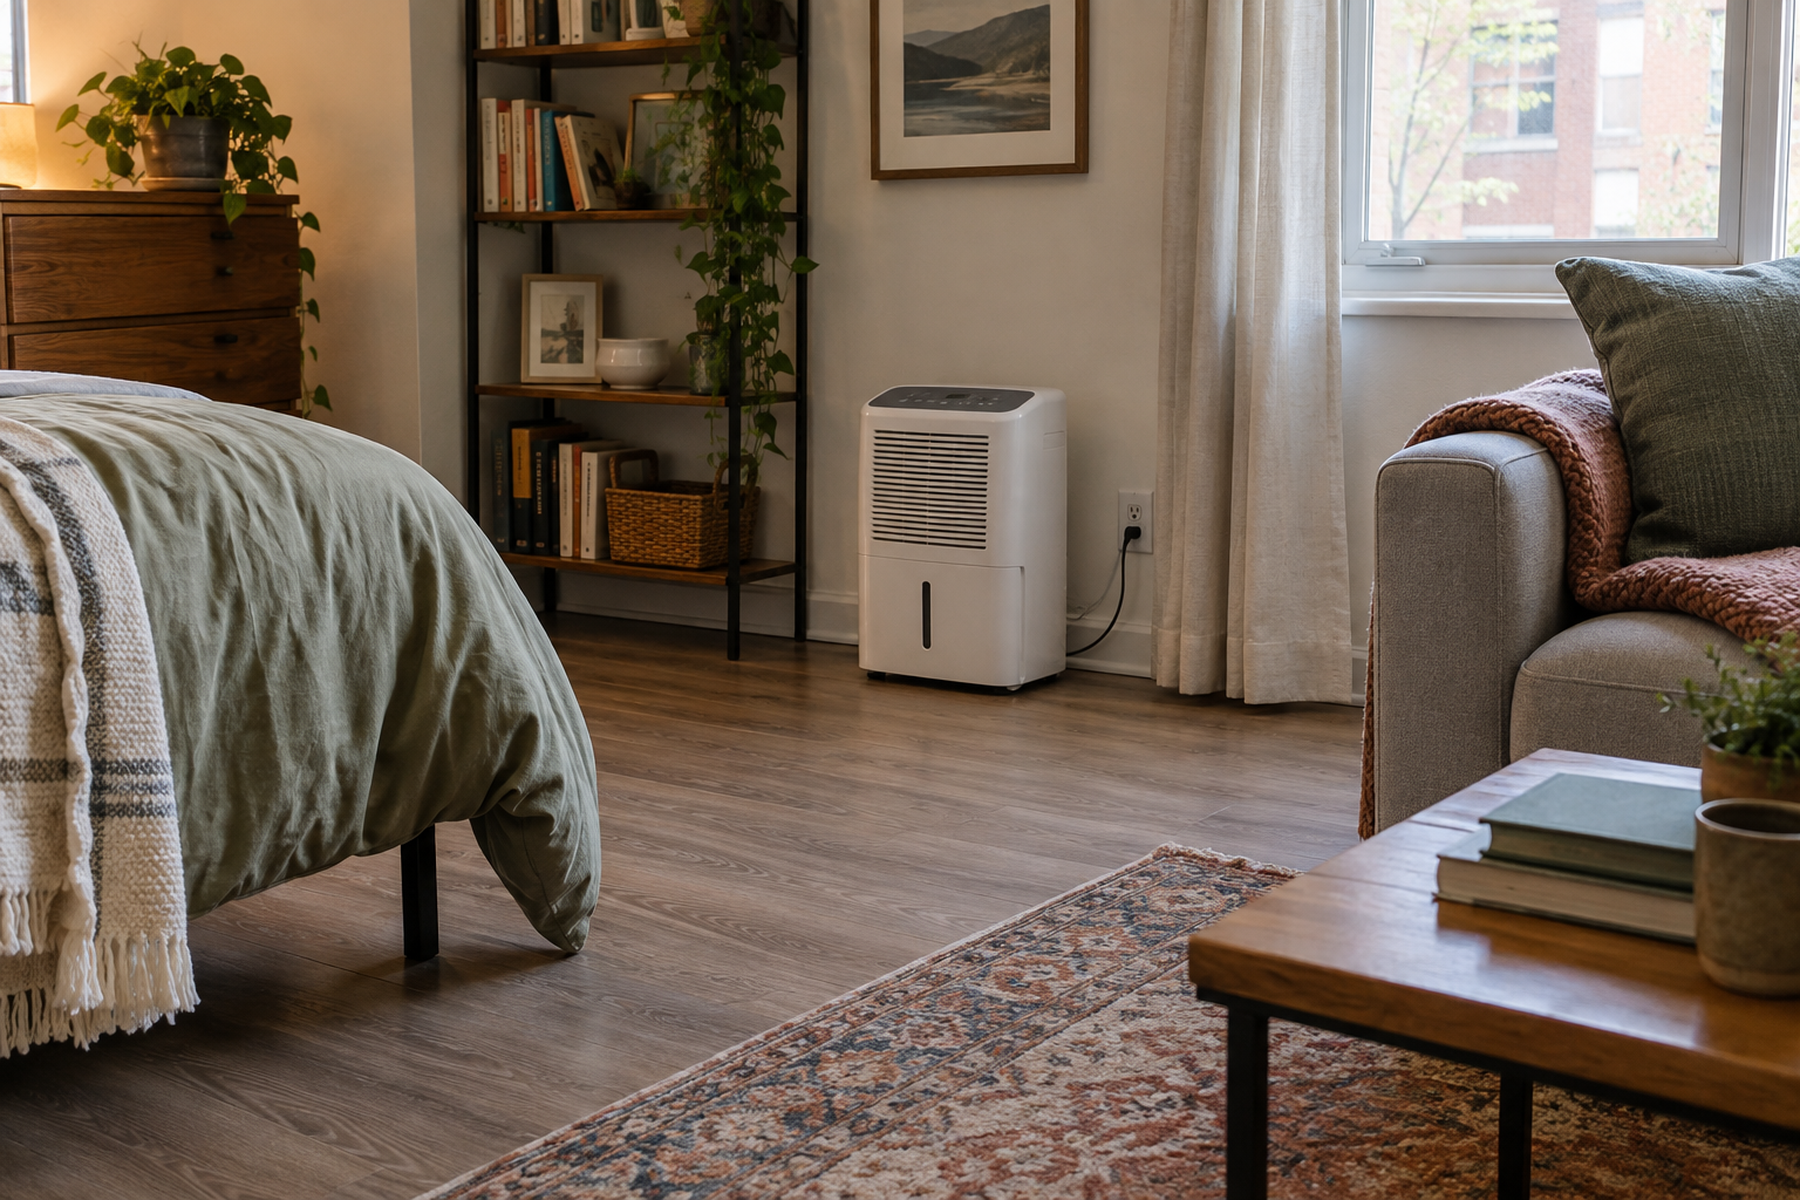
Where to Put a Dehumidifier in a Small Apartment With Limited Floor Space
Use this next if measured humidity is already high or condensation persists without humidifier use; that guide handles the opposite moisture-control problem and helps place equipment for moisture removal.
GUIDE
Where to Put an Air Purifier in a Small Apartment With Limited Floor Space
Use this if air-treatment equipment is competing for the same bedroom or living-room zone; that guide focuses on intake/outlet airflow rather than added moisture.
GUIDE
How to Dry Clothes Indoors in a Small Apartment With No Dryer
Use this if indoor laundry is already adding moisture to the apartment; that guide helps manage drying without assuming the room also needs humidification.