
Small Desk Organization
How to Mount a Microphone on a Small Desk That Won’t Fit a Boom Arm Clamp
Check the desk edge in three dimensions before you shop for another arm, then match the complete microphone load, speaking-position reach, monitor clearance, and modification level to the least-committed support method that actually fits.
In This Guide
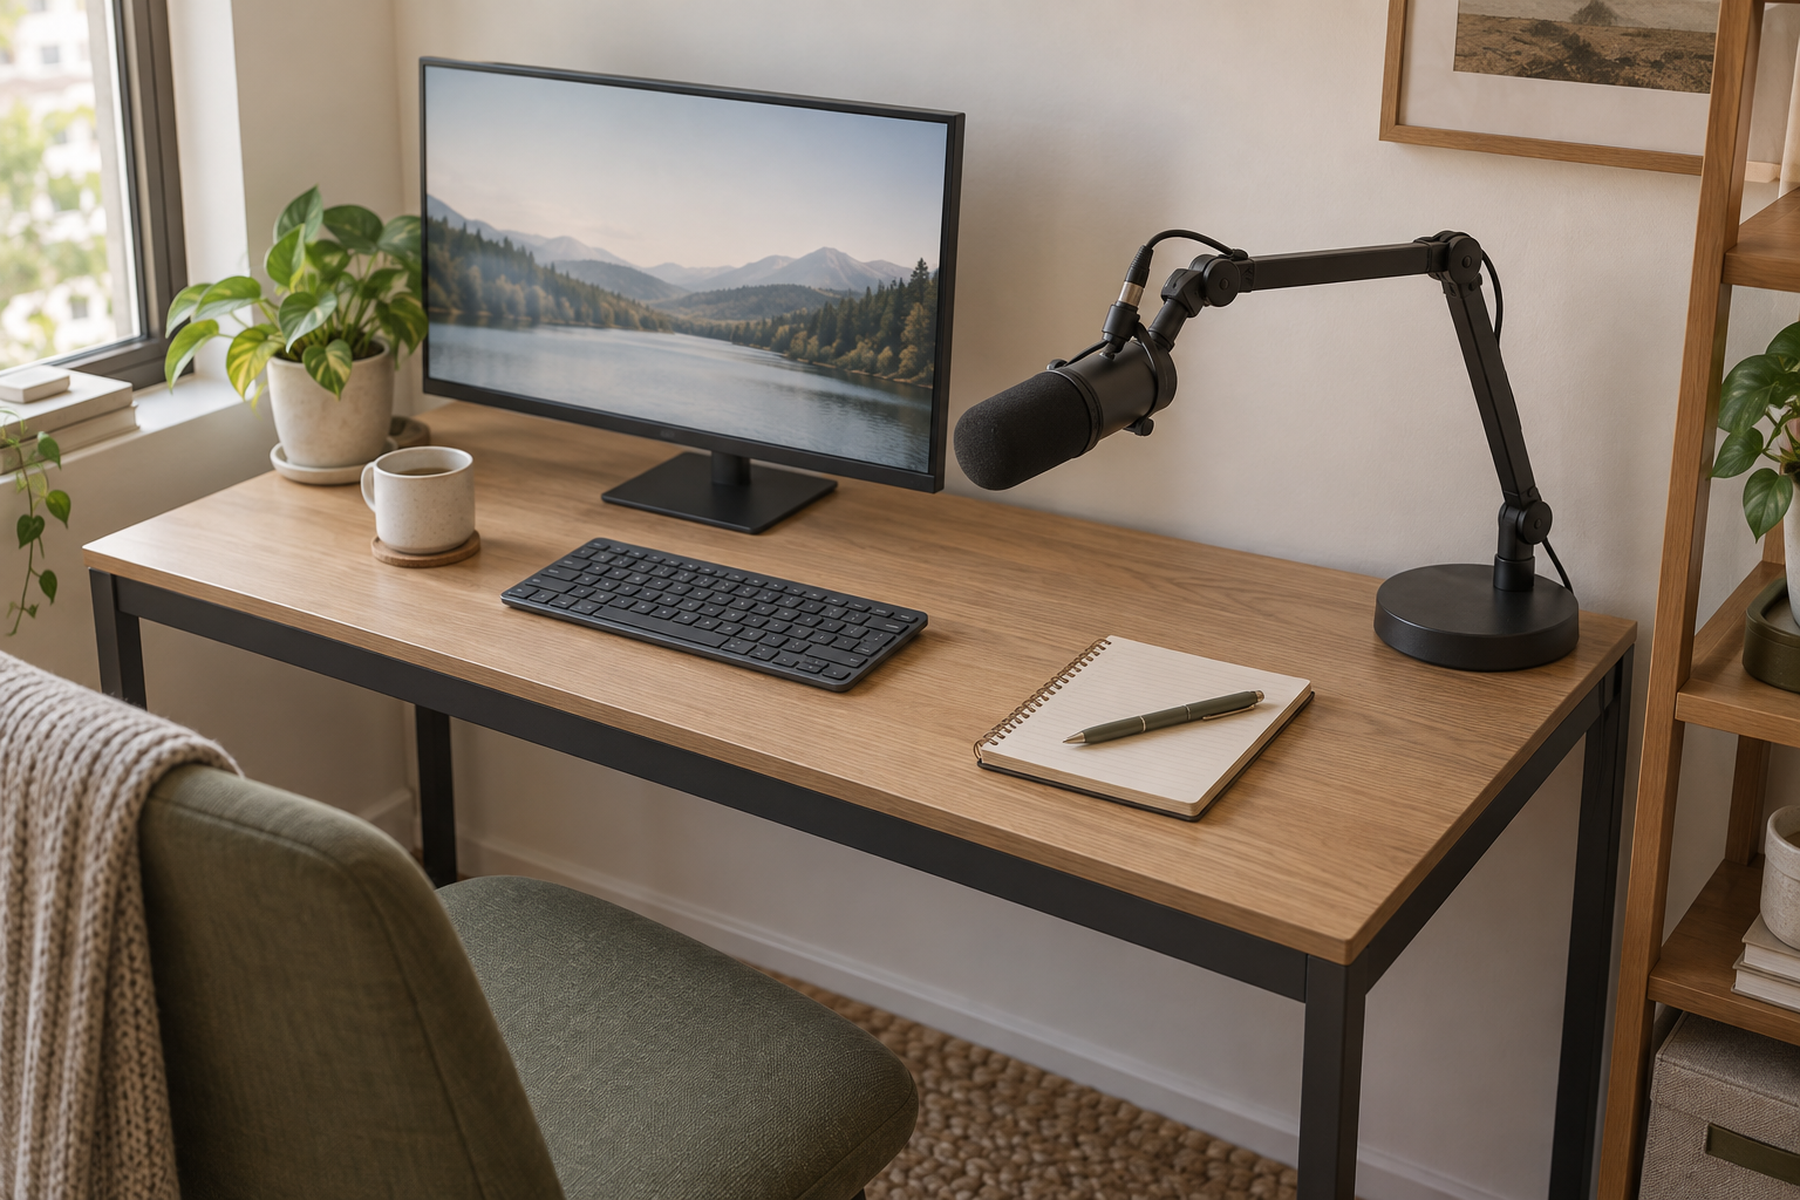
A microphone boom arm can recover valuable work surface, but only when the desk gives the clamp a real place to sit. A desktop can fall within the clamp’s stated opening and still be incompatible because a metal apron, drawer, cable tray, bevel, glass panel, or shallow lip blocks full contact.
Treat the support system as a chain of fit checks rather than a product upgrade. The desk edge has to accept the mount, the arm or stand has to support the full microphone assembly, the microphone has to reach the actual speaking position, and the arm still needs room to move and park without taking over the monitor, keyboard, cable, or chair zone.
Quick Answer
Check the Desk Before You Buy a Different Boom Arm
01
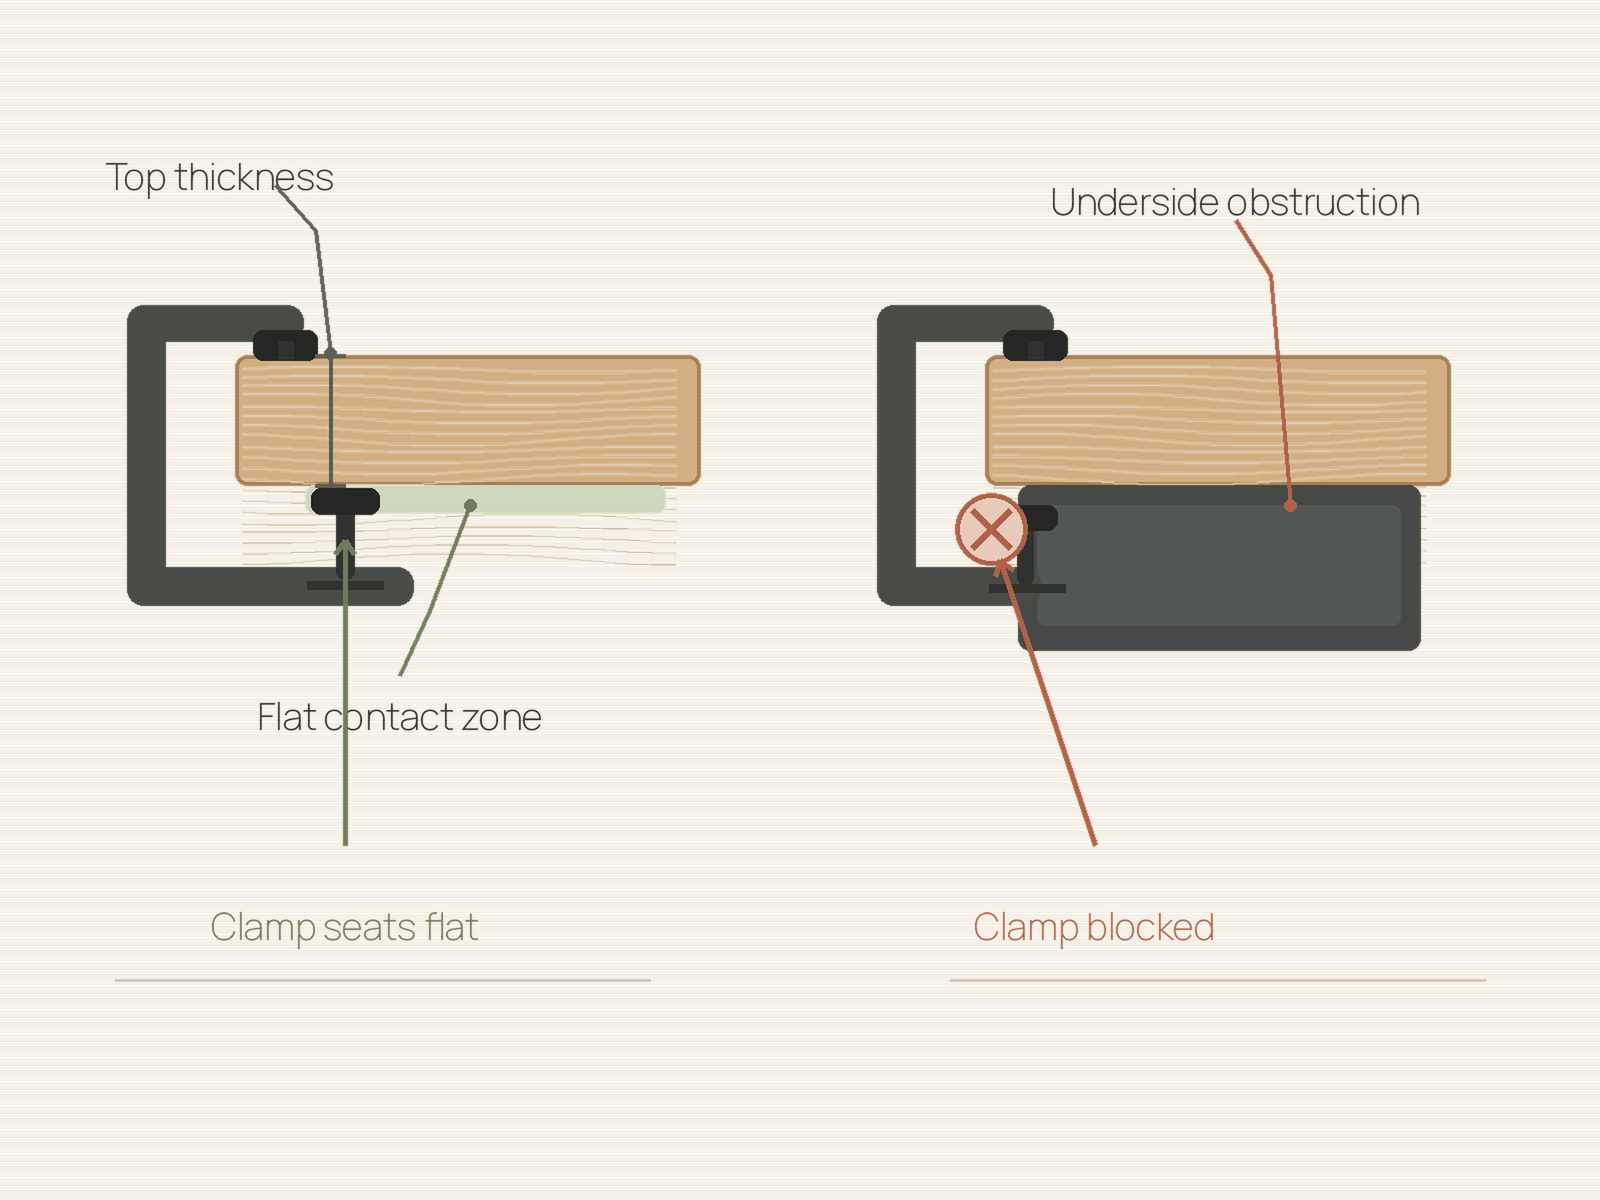
Measure the flat clamp zone, not only desktop thickness
Record the top thickness, underside obstruction, distance from the edge to that obstruction, and the flat contact area available to both clamp pads. A wider clamp cannot fix a contact surface that does not exist.
02
Use the full mounted weight
Add the microphone, shock mount, pop filter, adapters, and other attached hardware before comparing the setup with an arm or stand’s stated load range.
03
Measure reach in both working states
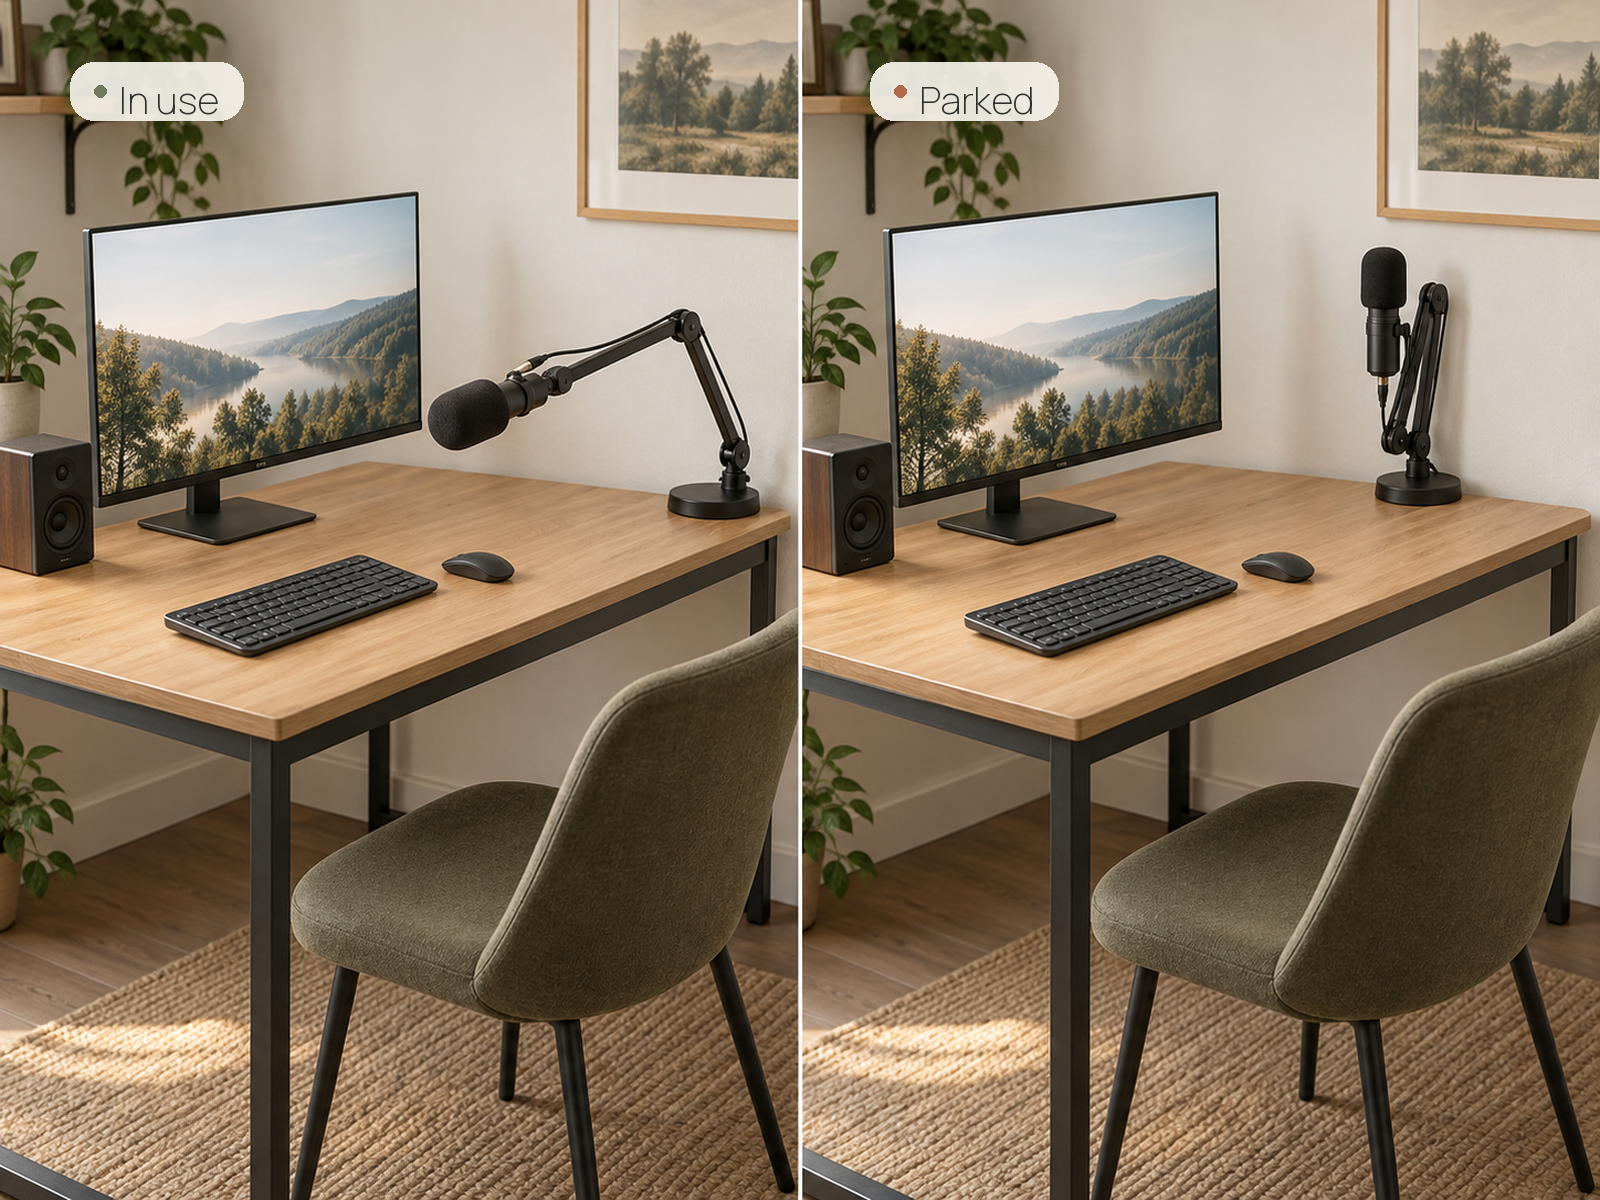
Check from the only viable mount or base position to the actual speaking position, then test where the arm parks when it is not in use so the monitor, keyboard, wall, and speakers remain clear.
04
Move to a no-clamp support before improvising a bad clamp
If the desk edge cannot seat a clamp correctly, a weighted desktop arm or floor stand is usually a cleaner reversible branch than partial contact, makeshift spacers, or furniture modification you do not own or cannot safely alter.
01
Measure the Clamp Zone in Three Dimensions
Begin at the desk, not the microphone-arm catalog. Measure the desktop thickness, then look underneath the edge and record what sits behind it: a metal support rail, apron, drawer, cable tray, crossbar, reinforcement, bevel, or other obstruction.
The clamp needs more than enough opening height. Its upper and lower contact surfaces must be able to seat squarely on a structurally appropriate part of the desk. A one-inch metal apron directly behind the edge can make a relatively thin desktop unusable if the lower pad or screw has no flat place to land.
Current arm specifications illustrate why thickness is only one gate. Elgato’s Wave Mic Arm LP and Wave Mic Arm Pro both open to about 60 mm / 2.4 inches, while RØDE’s PSA1+ clamp supports desktop thickness or depth up to roughly 70 mm. The larger opening helps only when extra thickness is the actual problem.
Do not treat partial, angled, or improvised clamp contact as a normal workaround. If the arm manufacturer cannot be installed with the clamp fully seated as intended, move to another edge or another support class.
02
Weigh the Entire Microphone Assembly
The arm supports more than the bare microphone. Include the shock mount, pop filter, thread adapter, extension hardware, and any other accessory that remains attached while the microphone is on the support.
Manufacturer limits vary widely enough to change the decision. Elgato currently rates the Wave Mic Arm LP to 2 kg / 4.4 lb and the Wave Mic Arm Pro to 3 kg / 6.6 lb. RØDE specifies a microphone-and-shockmount range up to about 1.2 kg for the PSA1+.
No-clamp desktop options can have lower capacity. RØDE’s current DS2 weighted desktop arm supports up to about 950 g / 2 lb, while Elgato’s Wave Desk Stand lists about 1,000 g / 2.2 lb.
Use the complete mounted weight rather than buying to the microphone’s product-page weight alone. A support that is comfortable with the mic body can become marginal once the shock mount and other hardware are added.
Measure / Check First
Before buying another microphone arm or drilling the desk, measure the support problem in the order that can eliminate options early.
Check Clamp Geometry, Total Load, and Working Envelope First
01
Clamp opening and flat seating area
Measure desktop thickness, underside obstruction, distance from the edge to that obstruction, and the flat contact area available to both clamp pads. A stated maximum opening does not prove the clamp can seat correctly.
02
Complete mounted weight
Add the microphone, shock mount, pop filter, thread adapter, extension hardware, and any other attached accessories. Compare that total with the support’s manufacturer-rated load range.
03
Mount-to-mouth reach and parking clearance
Measure from every viable clamp or base position to the real speaking position, then trace the swing and parked envelope around the monitor, wall, shelf, keyboard, speakers, chair, and cable path.
If a support passes only one or two of these checks, keep looking. A microphone mount is not compatible until the desk geometry, load, reach, and movement envelope all work together.
03
Measure From the Mount Point to the Speaking Position
Once the viable mount or base locations are known, measure from those exact points to where the microphone actually needs to sit while you work. The useful endpoint is the speaking position, not the center of the desk.
This matters because microphone placement is model- and use-specific. Shure’s MV7 guidance, for example, includes near positions around 1–6 inches and farther positions around 6–18 inches for different uses. Those distances belong to that microphone and should not be copied as a universal rule.
Arm reach is equally product-specific. Elgato lists about 740 mm / 29.1 inches of horizontal reach for the Wave Mic Arm LP, while RØDE lists roughly 940 mm for the PSA1+. The longer number does not automatically make the arm better on a small desk; it only tells you what travel is available.
Check the parked state at the same time. An arm that reaches the microphone perfectly but blocks a monitor, speaker, wall shelf, or keyboard when parked still consumes valuable workstation space.
04
Relocate the Clamp Before Replacing the Arm
If the rear edge is blocked by a metal apron, monitor-arm clamp, drawer, or cable tray, inspect the side edges before buying new hardware. A clean side edge can turn an incompatible rear mount into a workable clamp setup at no additional furniture commitment.
Relocation changes the reach and swing path, so re-run the measurements rather than assuming the same arm will behave identically. The microphone may now need to travel diagonally across the desk, the arm may enter the chair path, and the cable may need more slack.
Corners can be especially restrictive. A wall directly behind or beside the desk may stop the arm from rotating through its intended range even when the clamp itself fits.
If the only available edge forces the arm across the keyboard or requires the microphone to sit outside its useful speaking position, that edge is technically clampable but functionally poor.
05
Use a Low-Profile Arm Only After the Clamp Zone Passes
A low-profile arm can be excellent when the microphone needs to travel below the monitor sightline, but “low profile” describes the arm route—not the desk compatibility.
Elgato’s current Wave Mic Arm LP still uses a clamp with a maximum opening of about 60 mm. The manufacturer also specifies lower-arm desk clearance of about 70 mm / 2.8 inches and upper-arm desk clearance of about 160 mm / 6.3 inches.
Those clearances need to coexist with the monitor base, keyboard, speakers, audio interface, and any other equipment along the rear or side edge. A low arm that fits under the monitor can still sweep through the mouse or writing zone on a shallow desk.
Choose this branch when the edge already passes the clamp test and the lower travel path solves a real monitor or sightline problem. Do not buy a low-profile arm to fix an underside apron that prevents the clamp from seating.
06
Use a Weighted Base When the Desk Edge Fails
When the desk edge is genuinely unclampable and you do not want to drill, a weighted desktop support removes the entire clamp-geometry problem. The cost is straightforward: it returns some footprint to the work surface.
RØDE’s DS2 is one current example of the form. It uses a weighted base rather than a desk clamp and has a base/body footprint of roughly 170 by 120 mm. Its current supported load is about 950 g / 2 lb.
Elgato’s Wave Desk Stand is another no-clamp tabletop class, with about 22 cm / 8.5 inches of horizontal reach, 41 cm / 16.2 inches of vertical reach, and a listed 1,000 g / 2.2 lb maximum load.
Place a weighted base in a low-conflict zone such as a rear corner only if the microphone still reaches the actual speaking position. If the base forces the keyboard forward or consumes the writing area the setup was meant to protect, the no-clamp solution has traded one small-desk problem for another.
07
Move the Footprint to the Floor When the Desk Cannot Spare It
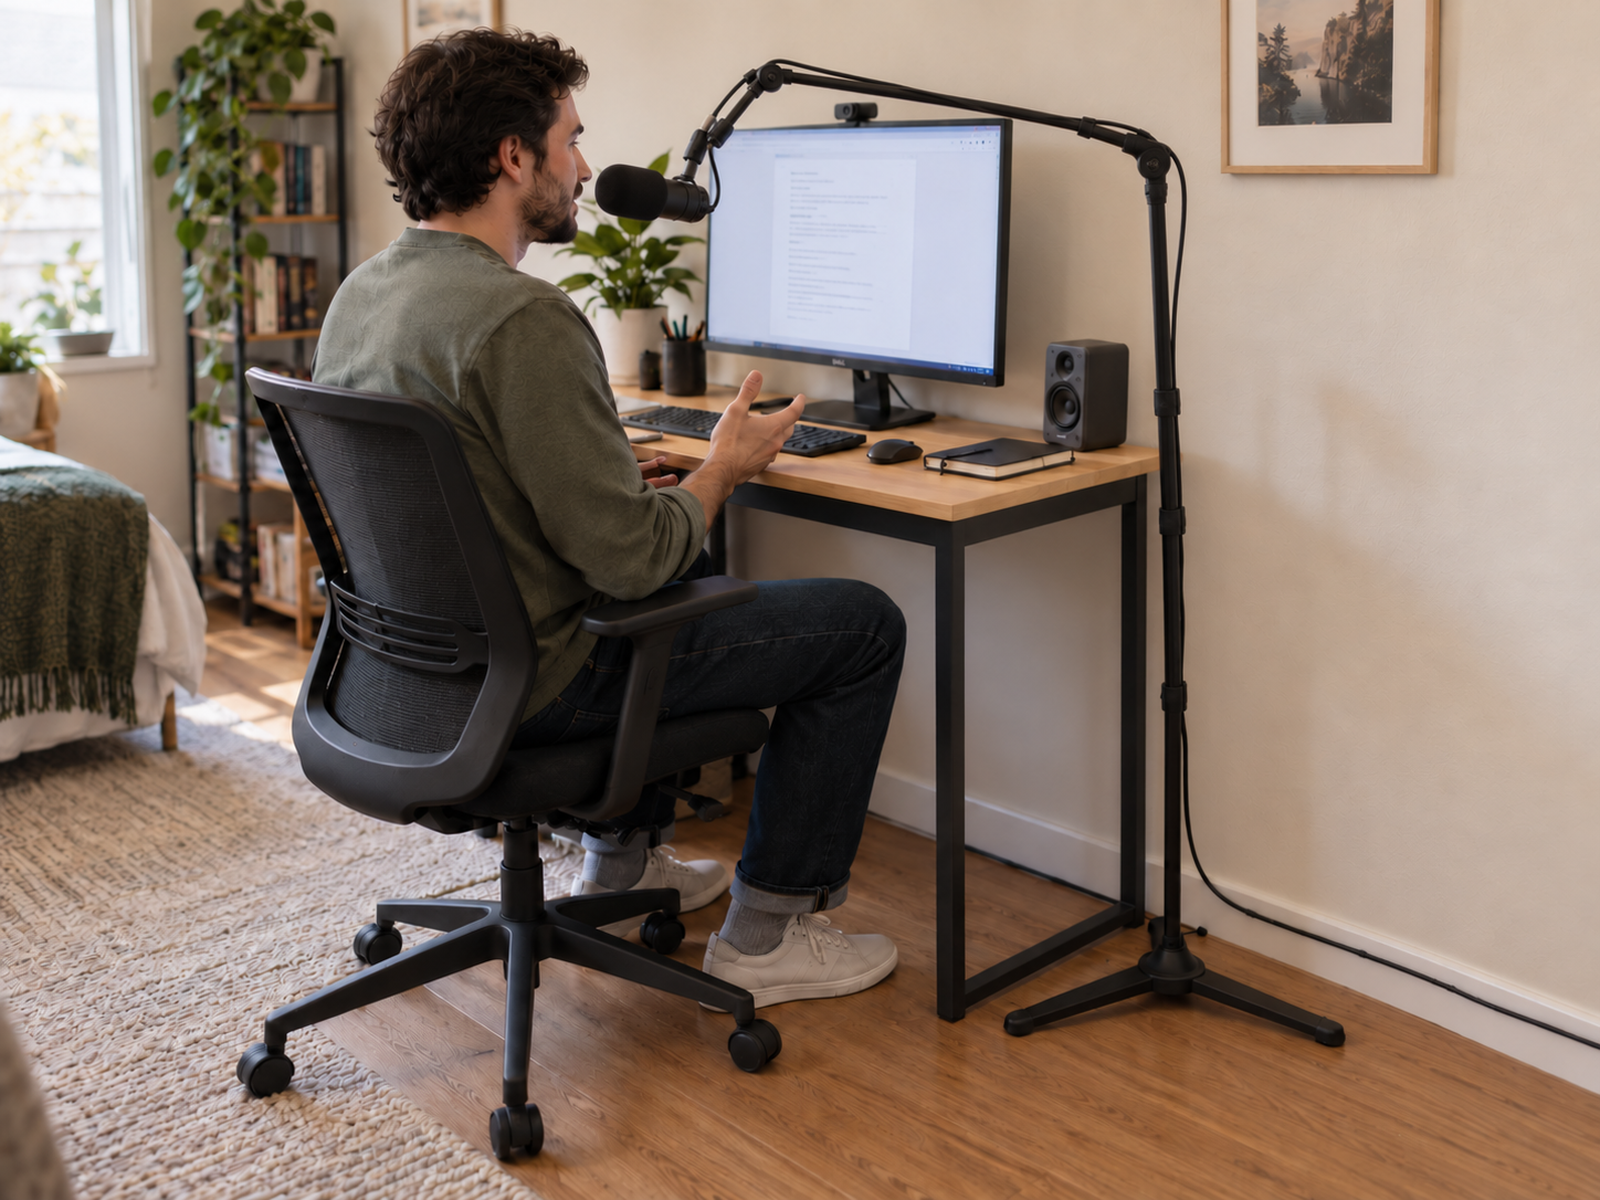
A floor microphone stand or floor boom bypasses both desk-edge geometry and desktop footprint. It can be the cleanest reversible answer when the desk is framed, glass, extremely shallow, or already full of essential work equipment.
The footprint does not disappear; it moves to the room. The base or legs must stay clear of the chair, feet, walkway, desk frame, and any sit-stand travel. Cable routing also has to remain stable through the microphone’s working and parked positions.
This package does not establish one floor stand as the default choice, so keep product selection evidence-specific. If a particular stand is recommended later, its base size, height, boom reach, load, and stability need their own verification.
A floor stand earns its place when losing floor area is less disruptive than losing desk surface or modifying the furniture. In a very narrow room, that trade can fail just as quickly as a weighted desktop base.
08
Modify the Desk Only When Ownership and Material Allow It
Through-desk and screw-down mounts can solve an edge obstruction by creating a mounting point farther inward, but they are furniture modifications rather than upgraded clamp accessories.
RØDE includes a threaded desk-mount option with the PSA1+ for compatible desks. Elgato’s Wave Desk Plate uses three screws and is designed around solid-wood desktops; Elgato separately cautions that pressboard or composite material may require different screws to reduce tear-out risk.
That distinction matters in rentals. Drilling a user-owned desk may be acceptable even when drilling the apartment wall is not. Drilling a furnished or landlord-owned desk can be property damage. Building rules and furniture ownership are separate decisions.
Do not give generic drilling, anchor, or glass-mount instructions. Glass, hollow, honeycomb, and unknown composite desktops require exact furniture-manufacturer support before they are treated as drillable or high-force clamp substrates. Wall mounting is even more installation-dependent and belongs late in the decision tree.
09
Test the Complete Setup in Use and Parked
Before calling the support system finished, test it in at least two states: microphone in the real working position and microphone parked away. Check both states with the monitor, keyboard, speakers, chair, and cables in their normal positions.
Confirm that the support remains stable at full intended reach, the microphone stays within the approved load range, and the cable has enough slack for movement without pulling on the connector or snagging another device.
Follow the arm or stand manufacturer’s adjustment instructions rather than treating maximum clamp force as a safety feature. Elgato specifically tells users not to overtighten the Wave Mic Arm Pro clamp and warns about pinch or snap-back hazards around moving and spring-loaded parts.
The strongest small-desk microphone setup is the least-committed support method that passes every gate at once: stable mounting, adequate load capacity, real speaking-position reach, clear active and parked envelopes, workable cable routing, and an acceptable level of furniture or building modification.
Closing Decision
Use the Least-Permanent Support Method That Passes Every Fit Check
A small desk with an incompatible edge does not automatically need a more expensive boom arm. First determine whether another edge can take the existing clamp, whether a low-profile route solves the monitor problem, or whether the desk should bypass clamping entirely with a weighted base or floor stand.
Furniture modification belongs after those reversible paths, not before them. A grommet or screw-down plate can be excellent on a compatible user-owned desk, but it changes the commitment level. Judge the final choice by the complete system: proper support, full mounted weight, real speaking-position reach, clear in-use and parked states, workable cables, and no modification the desk or rental cannot reasonably support.
RELATED GUIDES
What to Read Next
NEXT GUIDE
How to Use a Monitor on a Shallow Desk Without Losing Usable Depth
Use this next if the microphone support is competing with monitor depth or under-monitor clearance; that guide focuses on recovering usable desk depth without repeating clamp and microphone-load decisions.
GUIDE
How to Manage Cables on a Small Desk Without Drilling
Use this if the microphone arm or stand now works but the moving cable still needs a renter-friendly route that preserves slack and keeps the work surface clear.