
Small Desk Organization
How to Use a Monitor on a Shallow Desk Without Losing Usable Depth
A shallow desk only saves space if the monitor, keyboard, and mouse can still share it comfortably. Diagnose what is consuming the depth, protect a workable monitor position, try the lowest-intervention fixes first, and treat monitor arms or wall mounts as fit decisions rather than automatic upgrades.
In This Guide
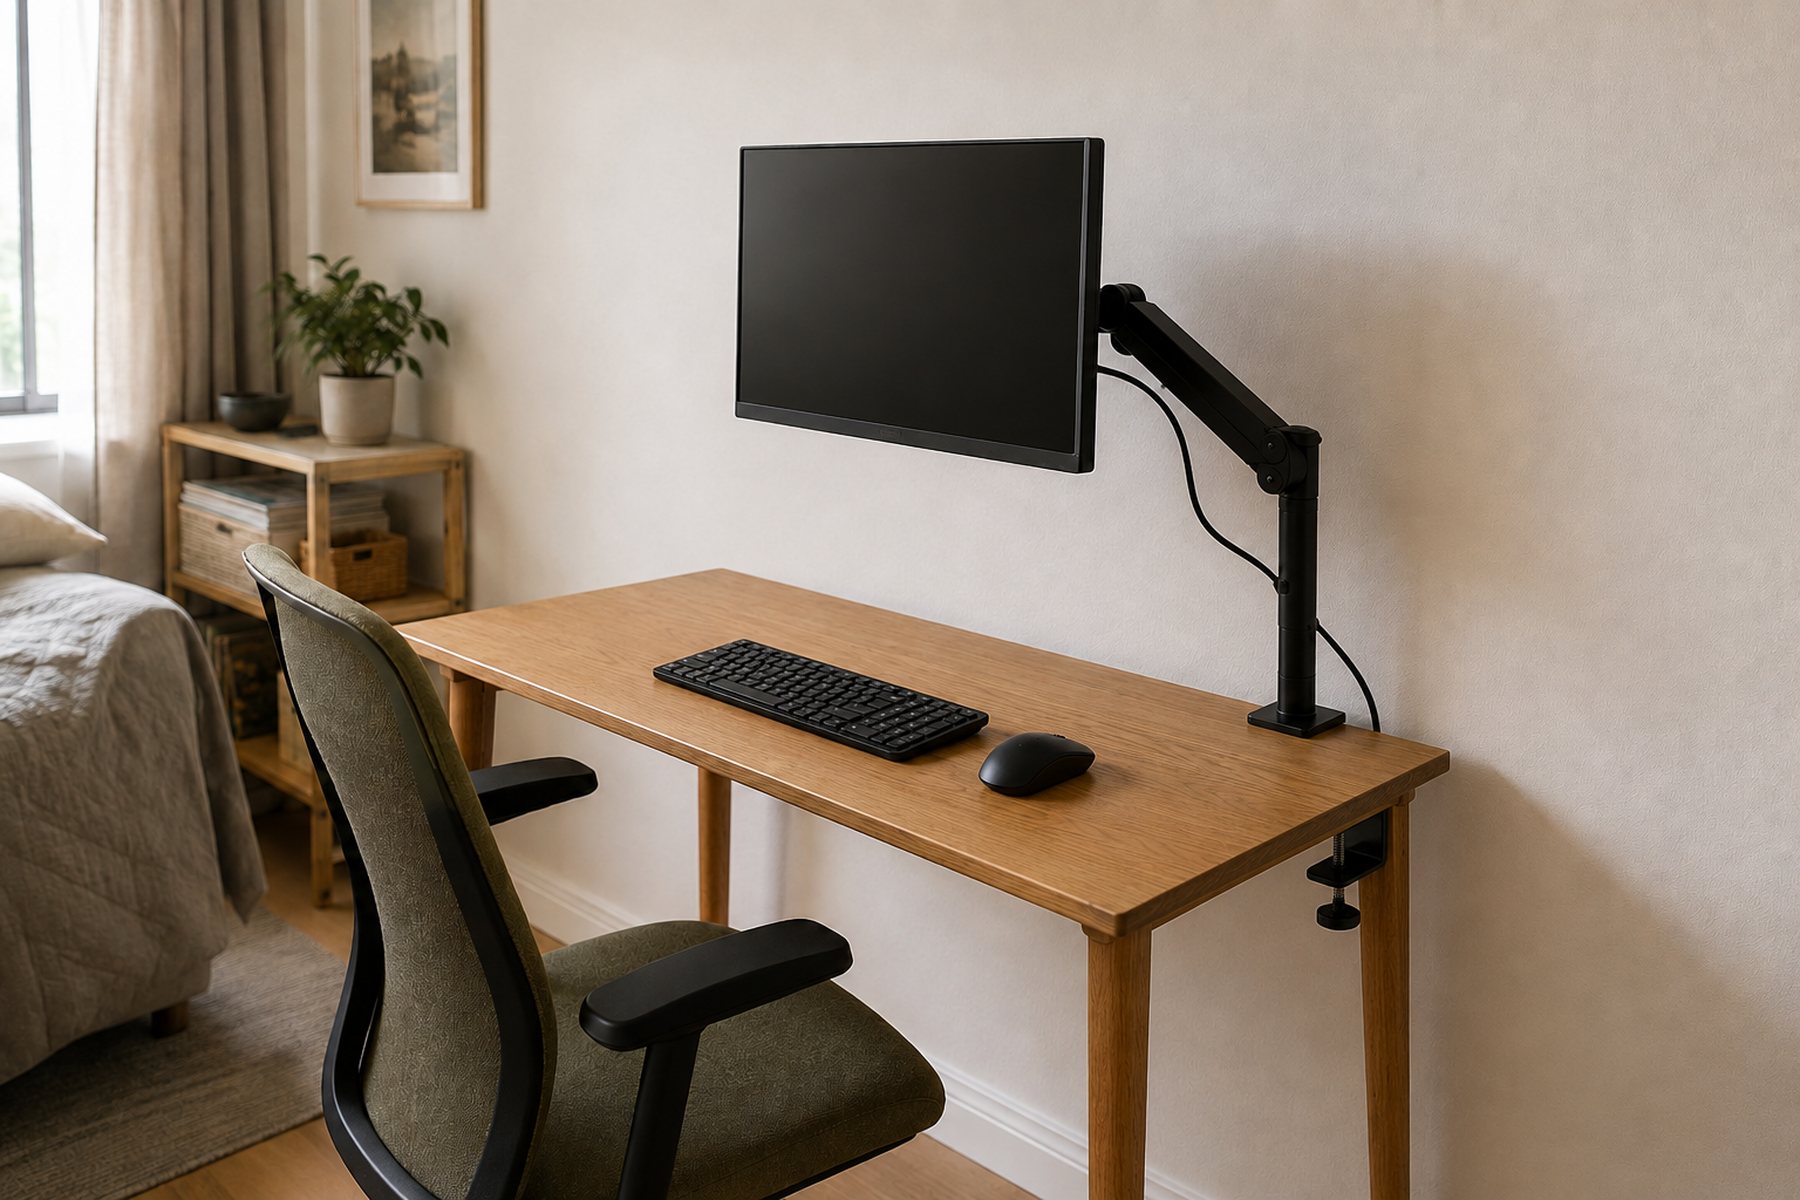
A compact desk can fit neatly into a small apartment and still fail as a workstation. Once a monitor stand occupies the rear of a shallow surface, the screen may move too close while the keyboard and mouse are pushed toward the front edge.
The goal is not simply to make the desktop look emptier. The goal is to recover usable depth without putting the monitor in a worse position, blocking the desk’s rear edge, or choosing mounting hardware that does not actually fit the monitor, desk, wall relationship, or rental.
Quick Answer
Fix the Workstation Geometry Before You Buy More Desk Gear
A shallow-desk solution should improve the relationship between the screen, input devices, desk edge, and wall. Start with the actual working depth, then escalate only when the next support method really solves the constraint.
01
Protect the monitor and input-device relationship
OSHA’s workstation guidance places the monitor at least 20 inches away and keeps frequently used devices such as the keyboard and mouse within easy reach. Treat that relationship as a boundary, not an afterthought.
02
Identify what is actually stealing the depth
Separate ordinary desktop clutter from the stock monitor stand, rear cable space, wall gap, drawers, rails, and other geometry that a new organizer cannot fix.
03
Use the lowest-intervention fix that passes the fit test
Repositioning, layout changes, or an exact-fit clamp can be useful in the right setup. A new desk hole or wall mount belongs later because it adds modification without guaranteeing a better workstation.
01
Audit the Depth You Actually Work With
Start by clearing the desk down to the equipment required for a normal work session: monitor, keyboard, mouse, laptop if it is part of the setup, and any notebook or document space you genuinely use. Move mail, spare cables, decor, chargers, and low-frequency accessories out of the primary work zone before blaming the furniture.
Then look at the monitor stand itself. A wide or deep stock base can consume the exact rear area a shallow desk cannot spare, while cable connectors and bends may require additional room behind it. If the stand is the main problem, ordinary desk organizers will not recover the missing distance.
This is the difference between product depth and usable depth. The useful measurement is not how deep the desktop looks on a specification sheet; it is how much working space remains once the display is positioned and the keyboard and mouse still have a practical place to live.
Measure / Check First
Before buying a riser, arm, or wall mount, test the monitor, input devices, rear edge, and wall as one system.
Measure the Desk as a Workstation, Not Just a Furniture Top
01
Check the monitor position first
OSHA’s Computer Workstations eTool advises placing the monitor directly in front of the user and at least 20 inches away. Use that as a general workstation boundary rather than turning it into one universal ideal distance for every screen or person.
02
Map the rear edge and underside
Check for drawers, aprons, rails, backboards, cable trays, thick sections, and anything else that could block a clamp or grommet plate. A desktop edge can look open from above and still offer no valid mounting path.
03
Test the wall and movement envelope
Measure the real space behind the desk and imagine the monitor moving through the arm’s supported range. The clamp may fit while the arm still conflicts with the wall, shelf, cables, or surrounding furniture.
There is no universal desk thickness, wall gap, clamp opening, or recovered-depth number that proves a monitor arm will work. Those values belong to the exact monitor, mounting system, desk, and room layout.
02
Try Zero-Modification Depth Recovery First
Before changing the monitor support, use the depth the desk already has as efficiently as possible. Keep only frequently used devices in the primary work zone and place the stock stand as far back as the desk safely supports it.
Do not let the stand base hang unsupported beyond the desktop unless the monitor manufacturer explicitly permits that arrangement. Likewise, do not crush cable connectors against the wall just to gain another fraction of an inch.
If the room layout allows it, a corner or naturally deeper work-surface zone can also increase effective monitor distance without new mounting hardware. OSHA’s desk guidance notes that corner work surfaces can provide additional depth for workstation components. The trade-off is room geometry: the new position still has to preserve chair movement and circulation.
03
Know What a Monitor Riser Can—and Cannot—Fix
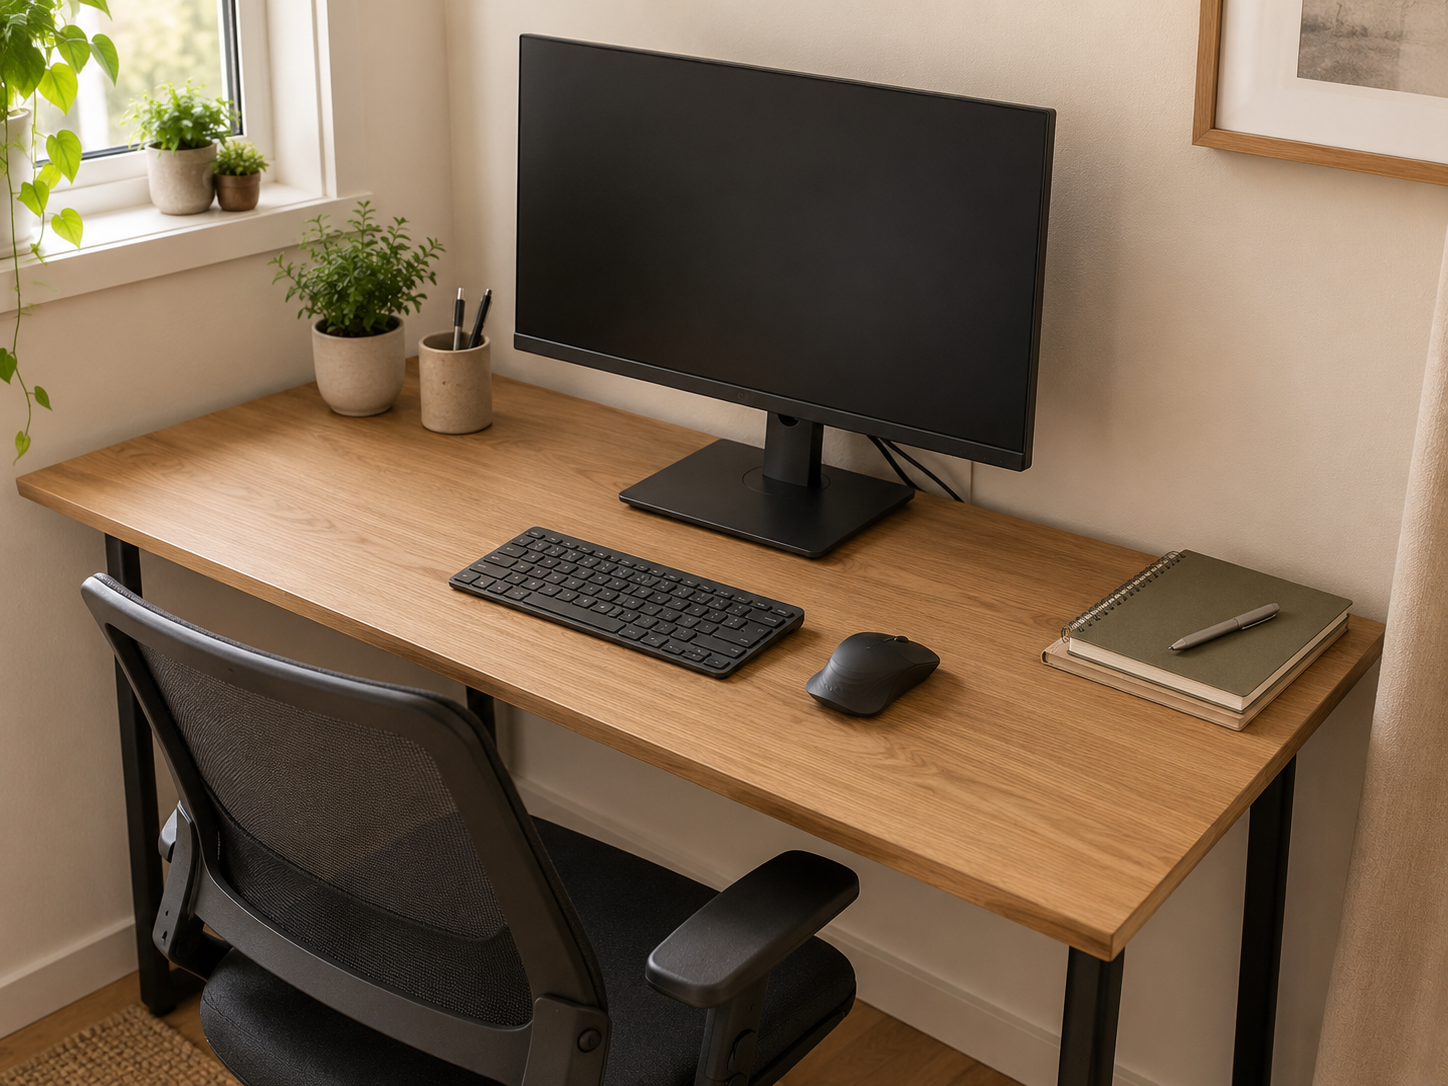
A monitor riser can be useful when the real problem is screen height or the need for a small storage zone under the display. It can lift the monitor and create a place for a keyboard or small accessories when they are not in use.
But a riser usually keeps the stock monitor stand on the desk. That means it does not automatically remove the stand footprint or move the screen farther away.
Use a riser for the function it actually provides. If the complaint is specifically that the monitor sits too close because the stand occupies too much depth, adding another layer under the same stand can make the setup look organized without solving the depth problem.
Use / Skip
When a Monitor Arm Is Worth the Trade
Use
Use — Use an arm when the stand is the real depth problem and every fit gate passes
A desk-mounted arm can remove the stock stand from the active surface and change where the display sits. It is a strong option when the monitor is compatible, the desk provides a valid attachment path, the arm has enough wall and movement clearance, and the mounting method is appropriate for the rental.
Skip
Skip — Skip the arm when the desk edge or room geometry defeats the mount
If a rear rail, drawer housing, backboard, wall, or unsuitable attachment surface blocks the mount, do not force a partial clamp or buy increasingly complicated hardware just to preserve the idea. Use another support path—or accept that the desk may be the limiting part.
04
Run Four Fit Gates Before You Buy a Monitor Arm
A monitor arm is not one universal small-desk accessory. Run four independent checks: the display must match the arm, the desk must accept the attachment, the wall and surrounding furniture must allow the supported movement, and the intervention must fit the rental.
For the display, verify the exact weight range and mounting interface rather than assuming screen size is enough. For the desk, verify the exact clamp or grommet range and make sure the attachment can seat fully on a structurally appropriate surface.
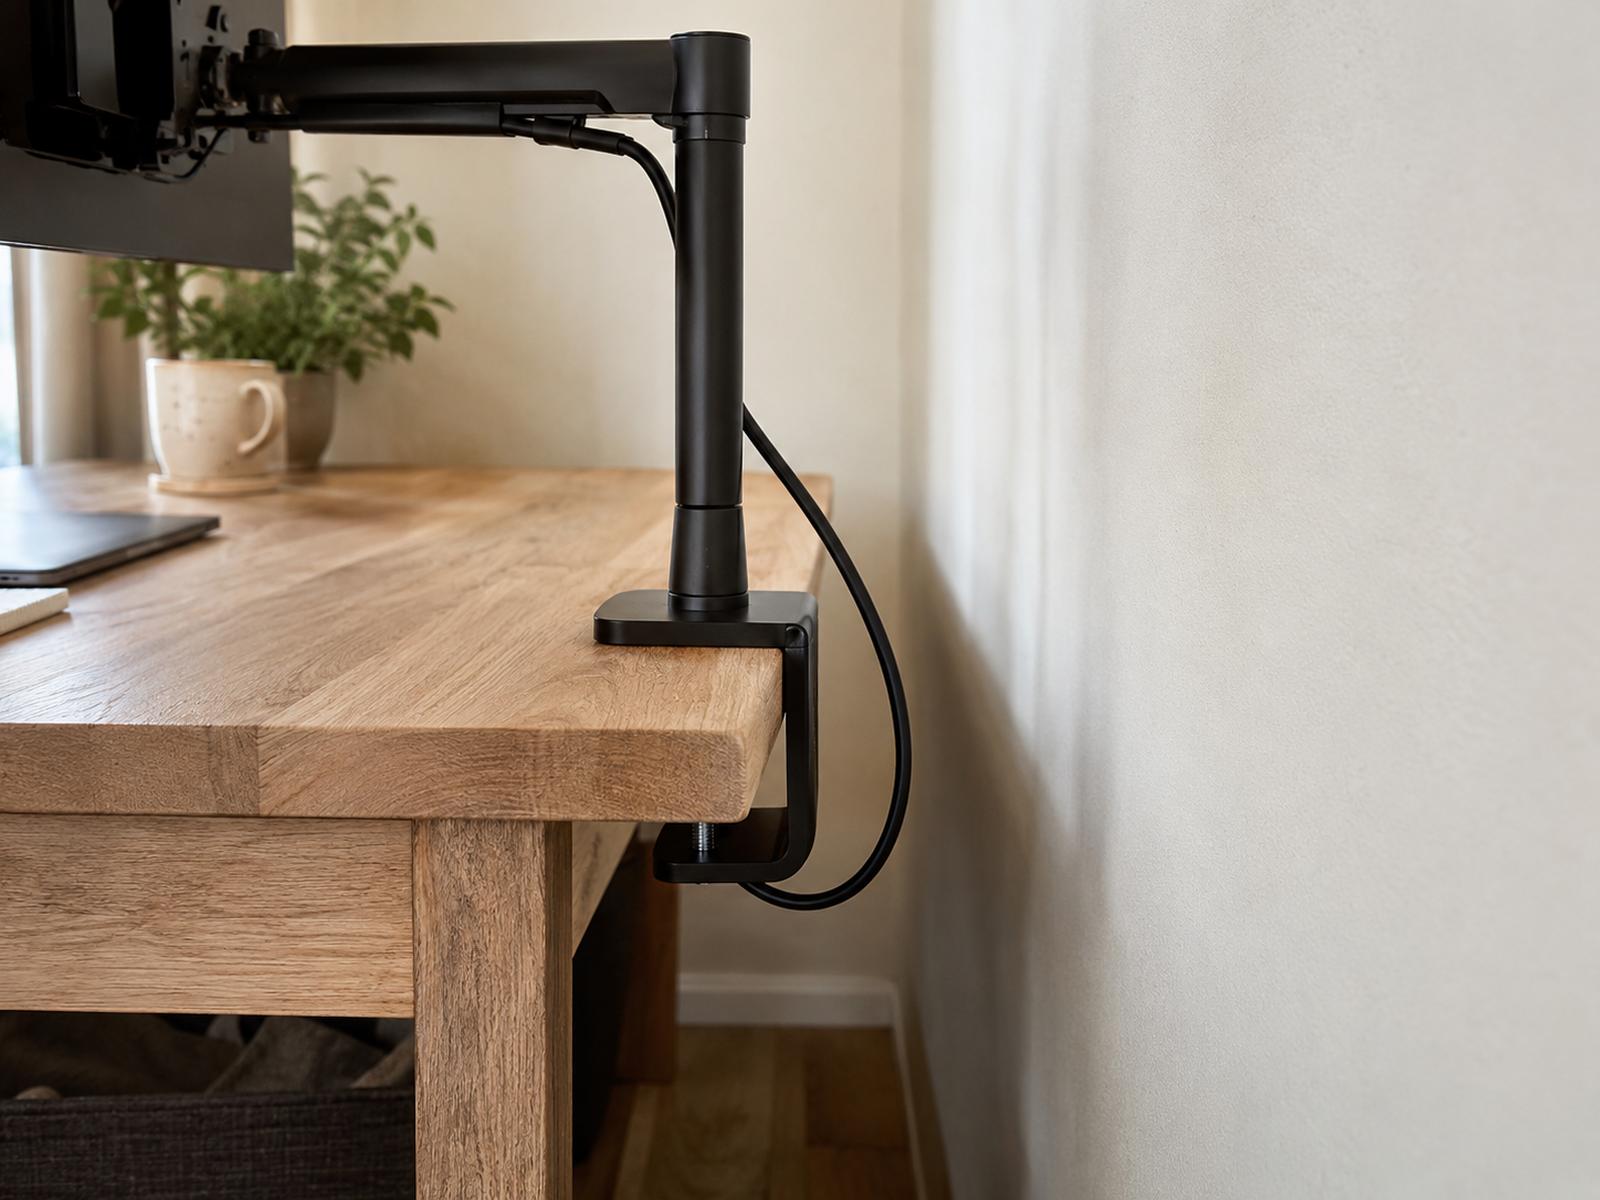
Current manufacturer documentation shows why those checks matter. Ergotron’s LX under-mount C-clamp publishes exact surface-thickness, rear-clearance, VESA, and display-weight requirements for that specific mounting system. Those numbers should not be generalized to other arms; the useful lesson is that mount geometry is a product specification, not an assumption.
Finally, leave enough cable slack for the monitor’s supported movement without pinching or pulling connectors. If the arm only works by forcing the clamp, trapping cables, or limiting the intended movement, it has not passed the fit test.
What Not to Do
Don’t Force a Clamp Onto a Rear Edge That Cannot Support It
A drawer, rail, apron, backboard, cable tray, or wall can make a desk incompatible with a particular clamp even when the desktop thickness looks acceptable. Do not use a partial grip, improvise fasteners, or assume that matching the monitor’s weight alone makes the installation valid.
05
Treat Grommet and Wall Mounts as Higher-Intervention Branches
When the rear edge cannot accept a clamp, an existing compatible grommet hole can create another attachment path. That can remain relatively low-intervention when the hole already exists and the exact mount supports the desk geometry.
Drilling a new grommet hole is different. It modifies the desk, which may be inappropriate for landlord-owned or furnished-rental furniture. A wall mount moves the support off the desk entirely but transfers the problem to wall compatibility, fasteners, exact placement, and rental permission.
That intervention ladder matters because the maximum surface recovery is not automatically the best small-space choice. A solution that saves desktop depth but creates an installation problem, a poor monitor position, or a future repair issue has simply moved the constraint.
06
Use a Stop Rule When the Desk Is Still Too Shallow
There is a point where adding more accessories stops being space-efficient. If the monitor cannot remain in a workable position while the keyboard and mouse still fit in the primary work zone, the desk may be too shallow for the intended external-monitor setup.
At that point, compare the cost of another mounting workaround with the cost in floor area of a slightly deeper or differently shaped desk. A freestanding desk change can be a cleaner renter solution than drilling a wall or modifying furniture simply to preserve a footprint that no longer works.
Future monitor or desk purchases can also include geometry as a buying criterion: stock-stand depth, VESA compatibility, rear-edge structure, expected wall clearance, and the real working depth of the desk. This article does not rank products; the point is to avoid repeating the same mismatch.
Closing Decision
Recover Working Depth, Not Just Empty Surface
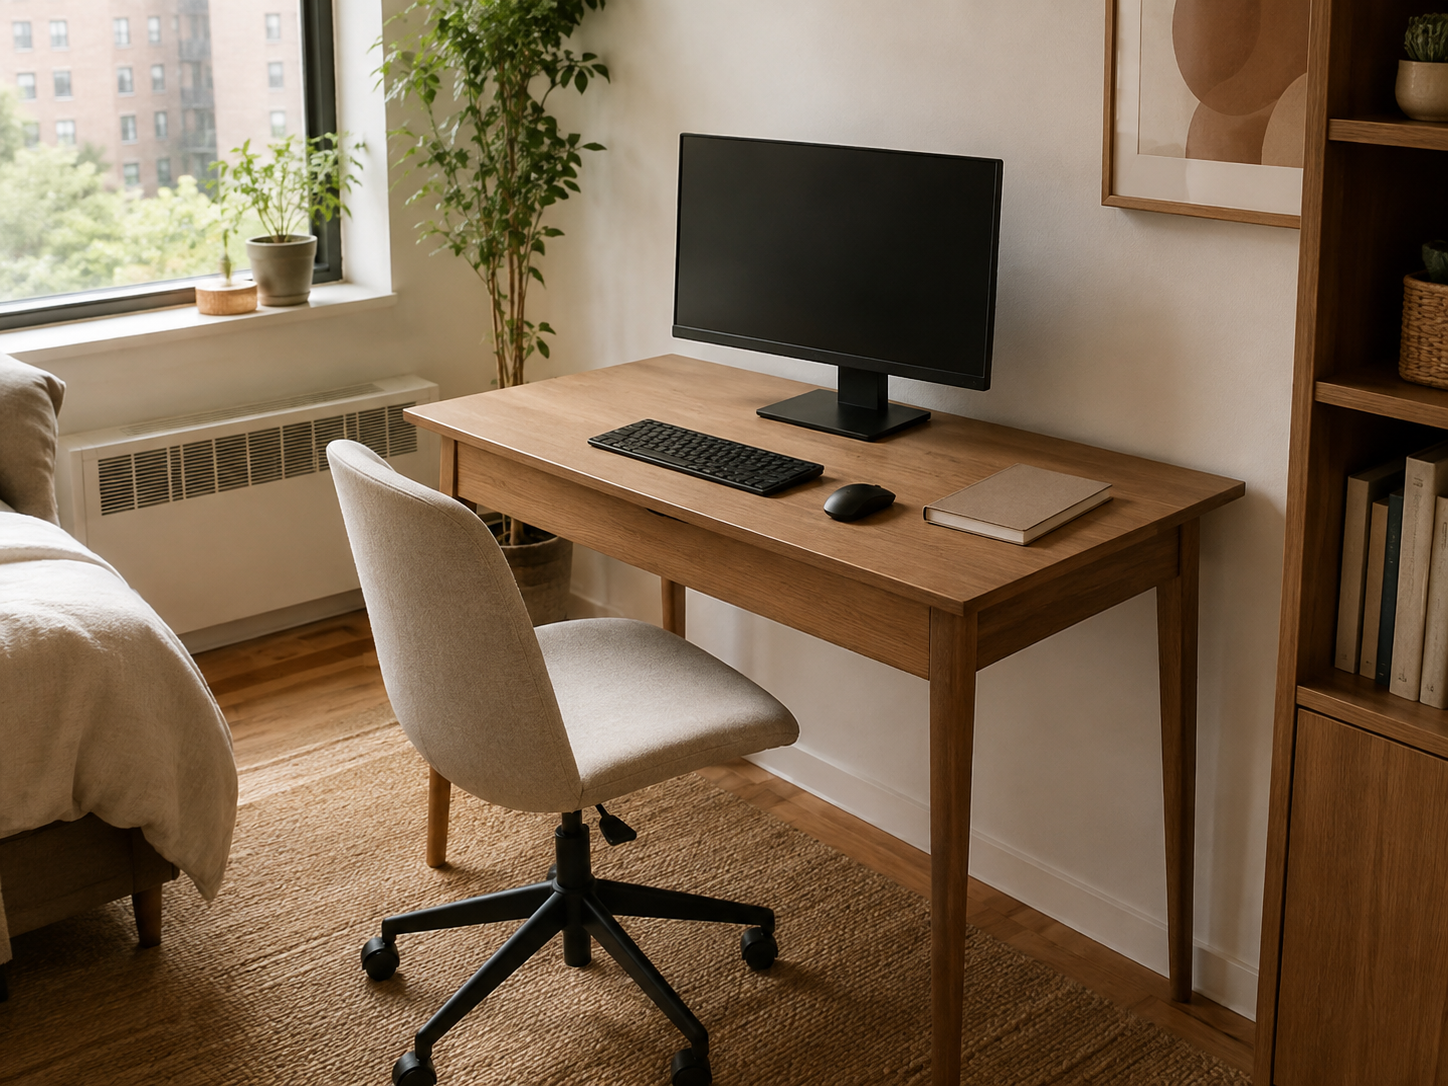
A shallow desk works when the monitor, keyboard, mouse, wall, and mounting method all fit the same small footprint. First remove ordinary clutter and measure the depth you actually work with. Protect a workable monitor position, then try the lowest-intervention changes before moving to a clamp, grommet, or wall mount. If you do use an arm, make display compatibility, desk attachment, wall clearance, and renter intervention separate pass/fail checks. And if the geometry still pushes the screen too close or the inputs to the edge, use the stop rule: a slightly deeper or differently configured desk can be more space-efficient than a compact desk that does not function.
RELATED GUIDES
What to Read Next
NEXT GUIDE
How to Mount a Microphone on a Small Desk That Won’t Fit a Boom Arm Clamp
Useful when another desk-mounted device has to work around shallow depth and difficult edge geometry.
GUIDE
How to Manage Cables on a Small Desk Without Drilling
Continues the rear-edge workspace problem by keeping cable routes from consuming usable desk depth.
GUIDE
How to Use Two Laptops on a Small Desk Without Losing Work Surface
Useful when screen hardware is only one part of a larger multi-device surface-space problem.