
Small Desk Organization
How to Manage Cables on a Small Desk Without Drilling
Cable management works better when you stop treating every wire as one bundle. Separate the fixed power backbone, device runs, moving leads, and daily-access cables, then choose a no-drill route that fits the desk edge, underside, and movement path.
In This Guide
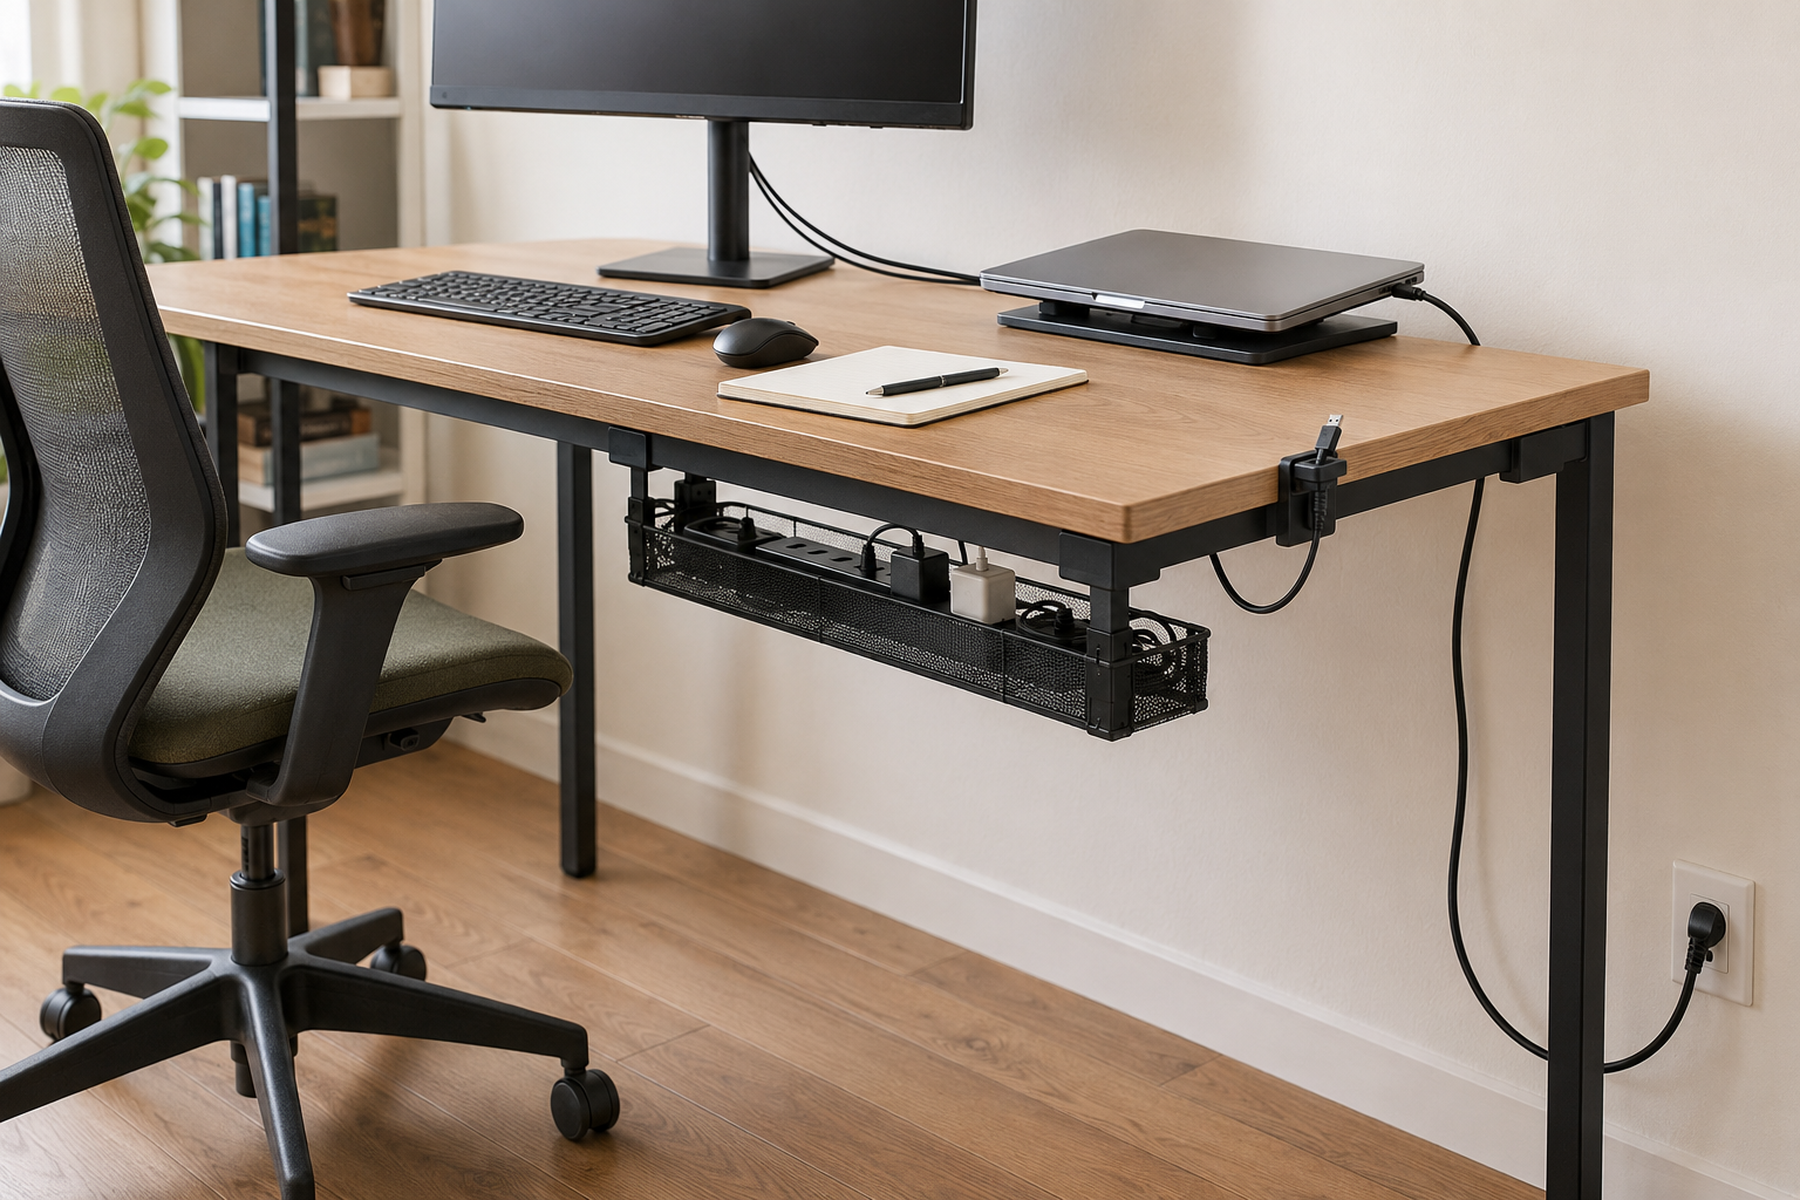
A small desk can look cable-free and still work badly. A dock buried behind a tray can be annoying to reach, a charging lead can fall behind the desk every day, and a standing desk can pull on a cable that looked perfectly tidy at sitting height.
The useful goal is not zero visible wires. It is a routing system: fixed power and adapters live in a stable backbone, fixed device cables follow predictable paths, moving connections keep the slack they need, and the few cables you handle regularly stay deliberately accessible.
Quick Answer
Build Two Layers: Hidden Infrastructure and Reachable Access
Put fixed power and adapters into a stable backbone, route fixed device cables toward it, preserve movement where the desk or monitor moves, and keep the small number of daily-use leads intentionally reachable.
01
Classify before you bundle
Separate fixed power, fixed device runs, moving leads, and daily-access cables. Each group needs a different level of concealment, movement, and access.
02
Choose the backbone from the desk geometry
A clamp-on tray can work only when the edge, desktop thickness, frame, monitor hardware, and knee zone leave a compatible mounting area.
03
Test the setup in full use
Move the chair, monitor arm, and sit-stand desk where applicable; reach the dock and power strip; and confirm that no cable is pulled, pinched, or crossing an active floor path.
01
Sort the Cables by Job Before You Hide Anything
Start with the devices already in the active setup. Follow each cable from device to destination and decide whether it belongs to fixed power, a fixed device connection, a moving connection, or a daily-access lead. Store true spare cables somewhere else instead of mixing them into the working system.
This small audit changes the organizer decision. Monitor power and video cables can usually follow a stable route. A laptop lead or phone charger may need a short reachable parking point. A sit-stand power run or monitor-arm cable needs movement. If all of those are cinched into one bundle, the neatness usually comes at the expense of access or motion.
Treat excess length as a separate problem too. Reusable ties can control a service loop or parallel fixed runs, but bundling alone does not decide where adapters, the power strip, or frequently handled connectors should live.
02
Move the Power Backbone Closer to the Devices—Without Changing the Electrical Rules
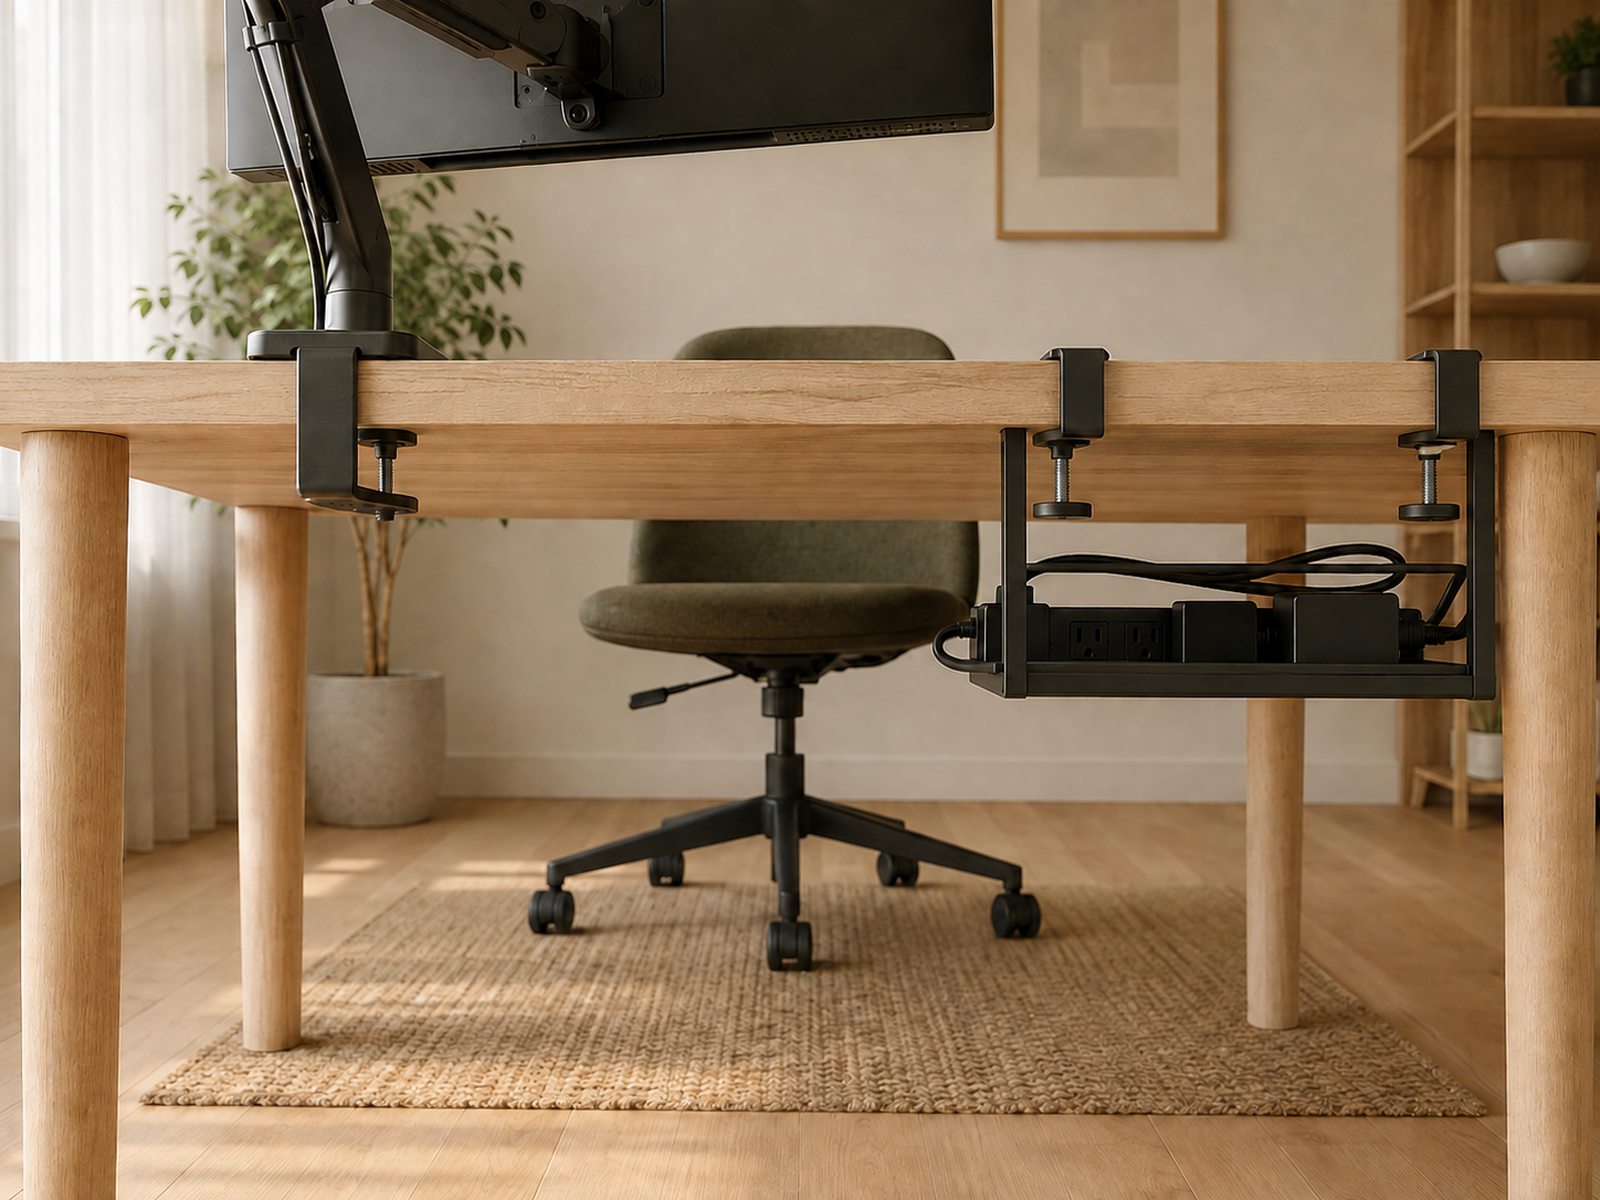
When the power strip sits on the floor, several device cords may have to travel the full distance from desktop equipment to floor level. If the power strip you already use can be supported in an appropriate desk organizer according to its own instructions, bringing that distribution point closer to the devices can shorten several runs at once.
Think of that point as the fixed backbone: power strip, power bricks, and the excess length that rarely needs to move. A no-drill tray or accessible cable box can support this infrastructure without consuming the primary desktop. The organizer does not change the electrical rating, approved use, or limitations of the products inside it.
Keep the electrical boundary simple. The Electrical Safety Foundation International advises against overloading outlets and long-term dependence on extension cords, and its extension-cord guidance warns against chaining multiple-plug devices together. Cable management should make the route cleaner, not disguise an unsafe power arrangement.
03
Check the Desk Edge and Underside Before You Buy a Clamp-On Tray
No-drill does not mean universal fit. Map the part of the desk that a clamp would actually use: desktop thickness, open edge length, bevels, aprons, crossbars, rear panels, motor frames, drawers, and any monitor-arm or lamp clamps already competing for the same edge.
Then look below the desktop. The tray or box has to clear knees and thighs, chair arms, moving desk hardware, drawers, and any other under-desk equipment. On a very shallow desk, the underside can be just as contested as the desktop.
Current products illustrate why exact compatibility matters. VIVO’s DESK-AC16F-C clamp-on tray is explicitly no-drill but publishes its own desktop-thickness, load, bracket, and under-desk-clearance limits. Those specifications prove the solution form exists; they are not universal rules for other trays.
Measure / Check First
A no-drill organizer is only useful when the desk can accept it and the finished route still works around the person, furniture, and moving equipment.
Test the Desk Before You Mount or Clip Anything
01
Map the rear edge and underside
Check the usable clamp area, desktop thickness, frame, apron, monitor-arm clamps, drawers, and knee space before choosing an under-desk organizer.
02
Trace every movement path
Move the chair, monitor arm, and height-adjustable desk where applicable. The route needs to work in the full operating state, not only in the neatest static position.
03
Mark what must stay reachable
Identify the power-strip access point, dock or hub ports, and daily charging or laptop leads that should remain easy to handle after the fixed infrastructure is hidden.
There is no universal clamp size, under-desk clearance, adhesive surface, or standing-desk slack length. Use the exact organizer instructions and the real desk geometry.
04
Route Fixed Device Cables as a Serviceable System
Once the backbone location is decided, route the fixed monitor, speaker, dock, or desktop-computer cables toward it along the least intrusive furniture path. Reusable hook-and-loop ties are useful for parallel runs because they can be reopened when hardware changes.
Do not tighten the system so aggressively that every adapter or connector disappears behind a permanent-looking bundle. You should still be able to identify the relevant lead, replace a device, reset the power strip, or remove an adapter without dismantling the entire workstation.
A clean fixed route should also keep the floor easier to vacuum and the chair path clear. If the route still creates a diagonal cord across the foot zone, the cable has been bundled but the real routing problem remains.
05
Keep Daily-Access Cables in an Intentional Parking Zone
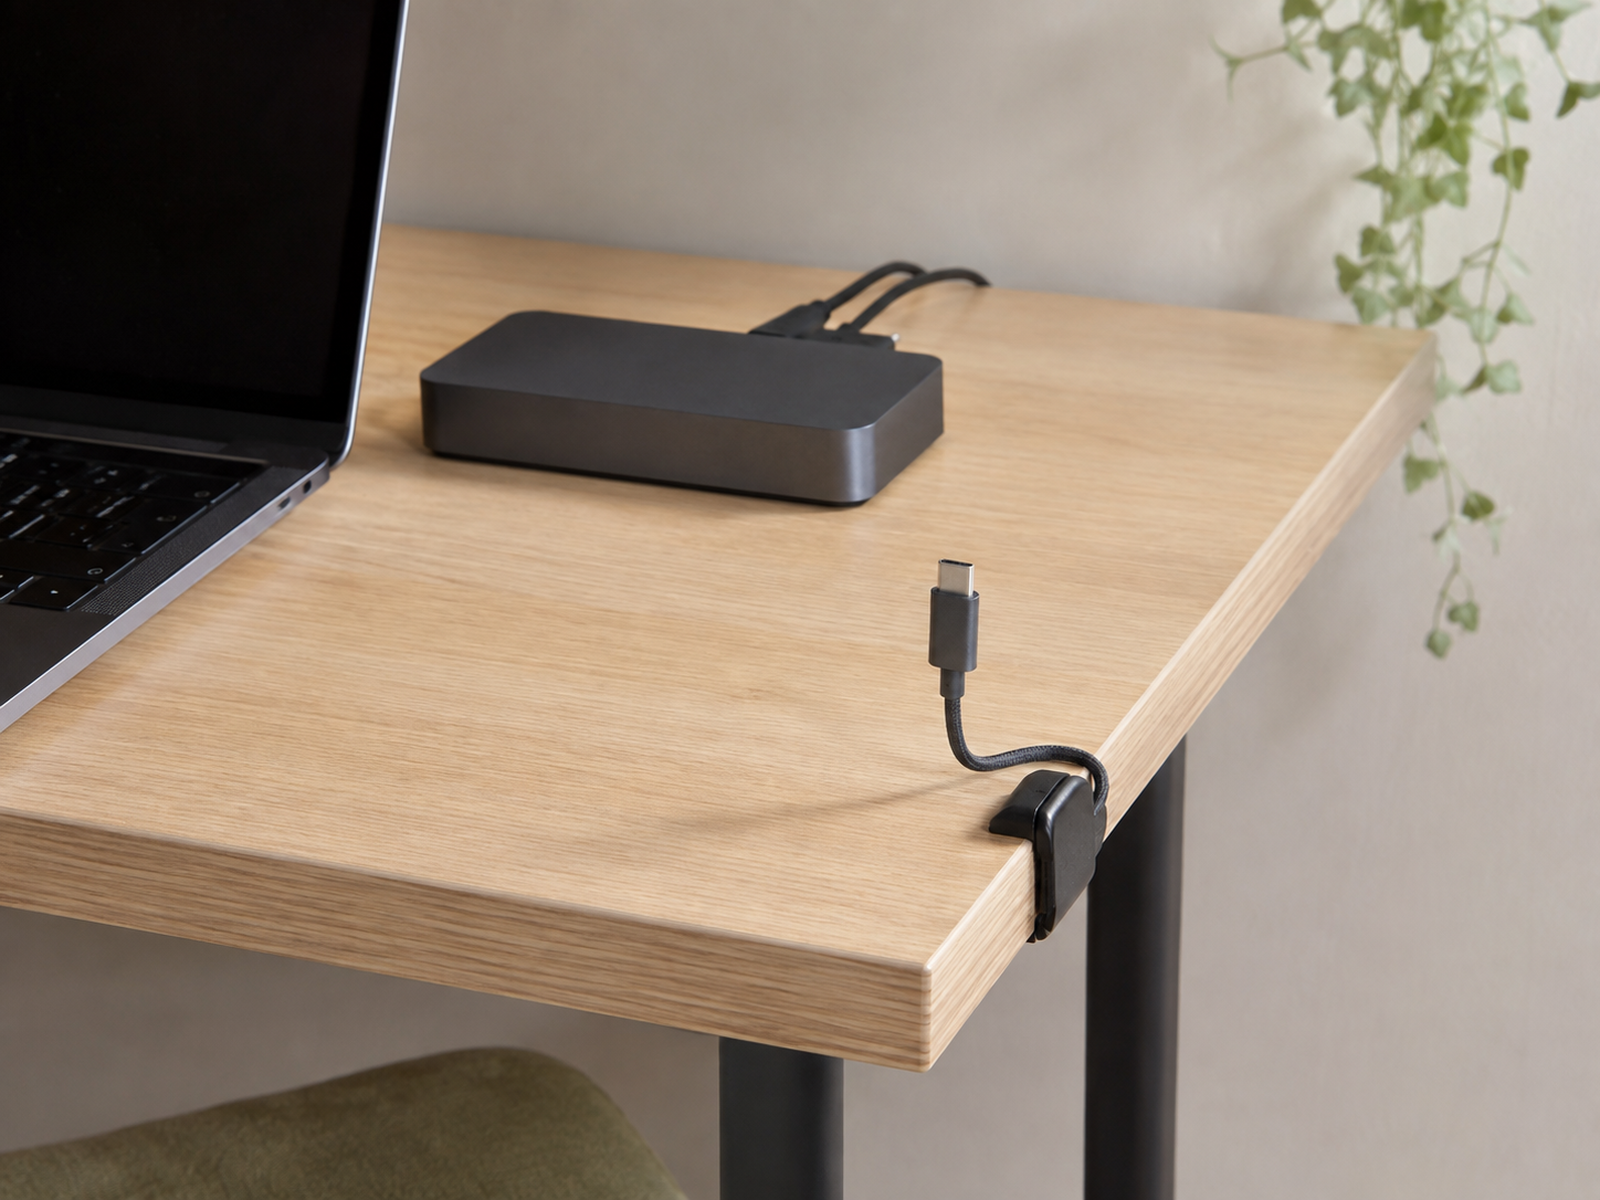
A cable you touch every day is not infrastructure. Laptop power, phone charging, a removable USB lead, or another frequently disconnected cable may work better with a short visible run and a deliberate parking point near the front or side of the desk.
Lightweight clips can keep those leads from dropping behind the desk. For example, 3M’s current Command 5-Cord Clip Organizer is a tool-free form with product-specific supported and excluded surfaces. That makes adhesive routing a real low-intervention option when the exact surface and instructions match; it does not make every adhesive safe for every rental finish.
The same access rule applies to docks and hubs. If you frequently swap a laptop, insert a security key, or use front-facing ports, keep the interface reachable. Hiding the dock completely can solve the photograph and make the workstation worse.
06
Build Movement Into Sit-Stand and Monitor-Arm Cable Runs
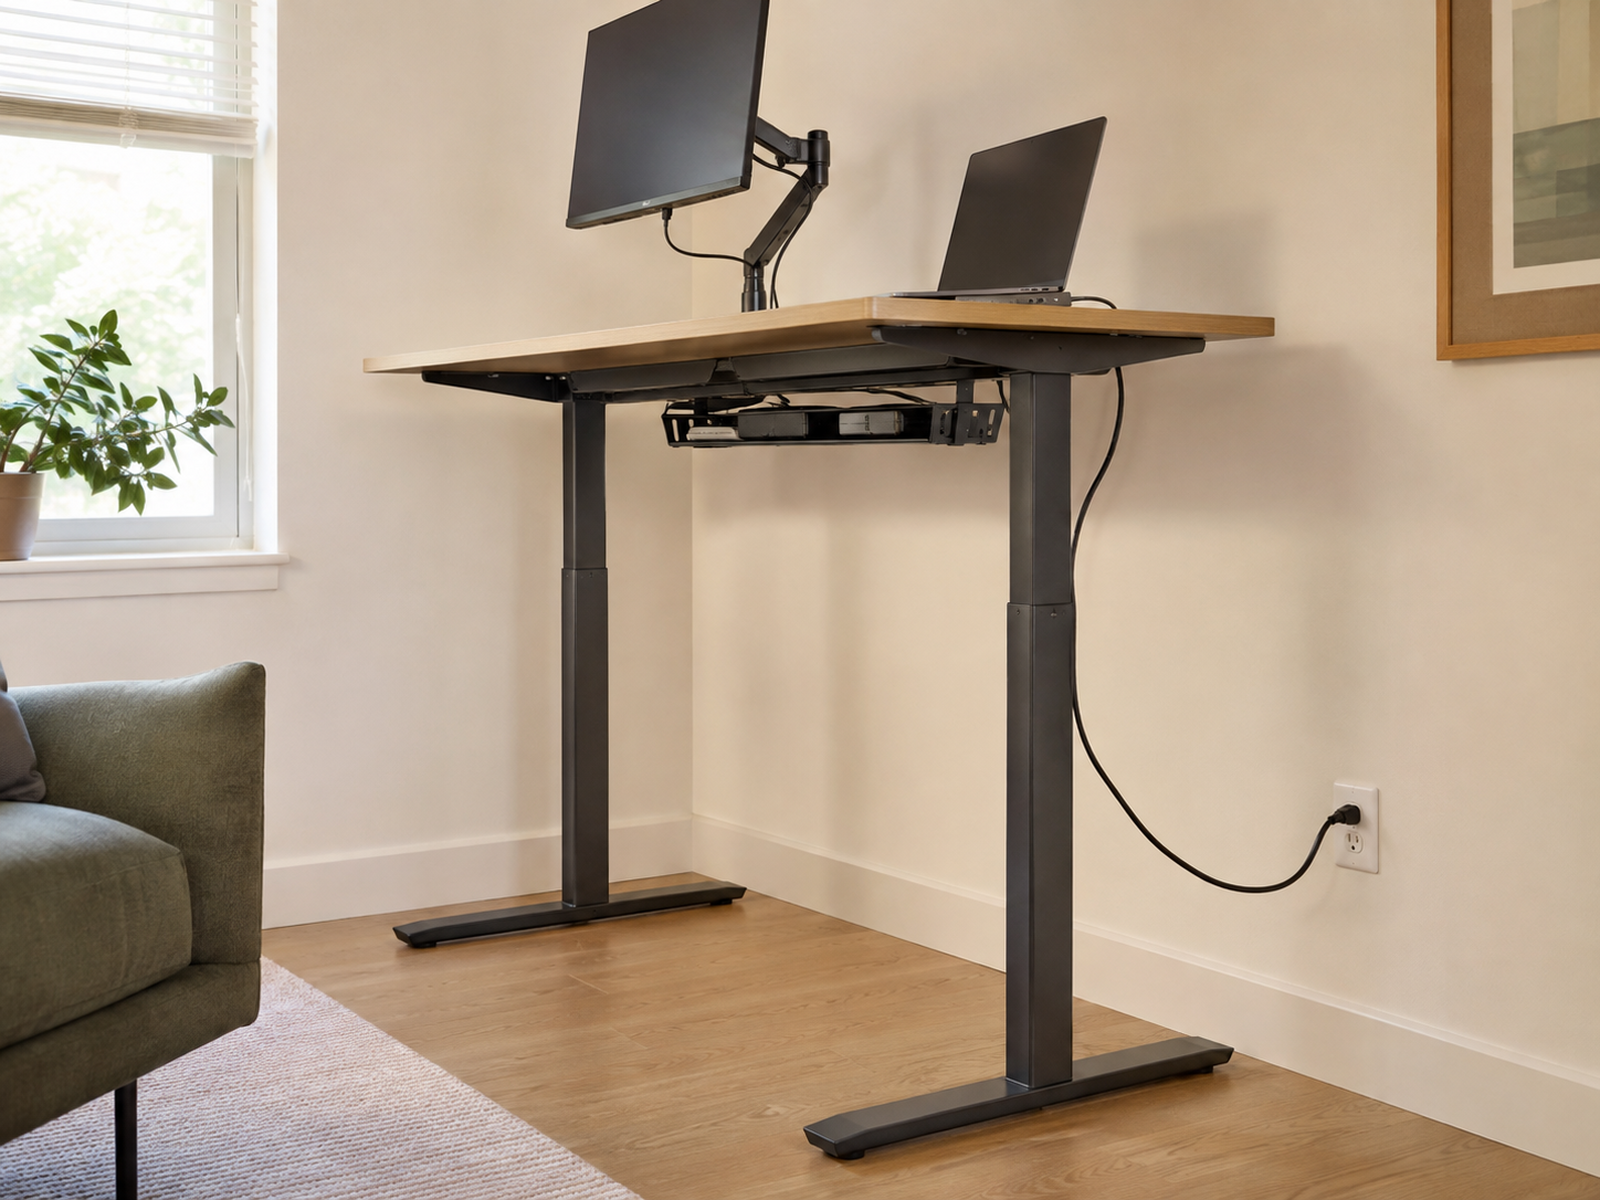
A moving desk needs a moving cable plan. Most device leads can still terminate at desk-carried infrastructure, but the final run between the moving desk and a fixed outlet has to tolerate the desk’s full travel without pulling, binding, or forming a loose loop that catches on something.
Test the desk at its lowest and highest positions before the final clips or ties are treated as finished. UPLIFT’s current standing-desk cable guidance likewise recommends checking full movement and managing enough slack for travel without creating snagging loops. There is no universal slack measurement that fits every desk and cable path.
Apply the same logic to an articulating monitor arm. Leave the cable path compatible with the arm’s intended motion instead of cinching it to the cleanest-looking static position.
07
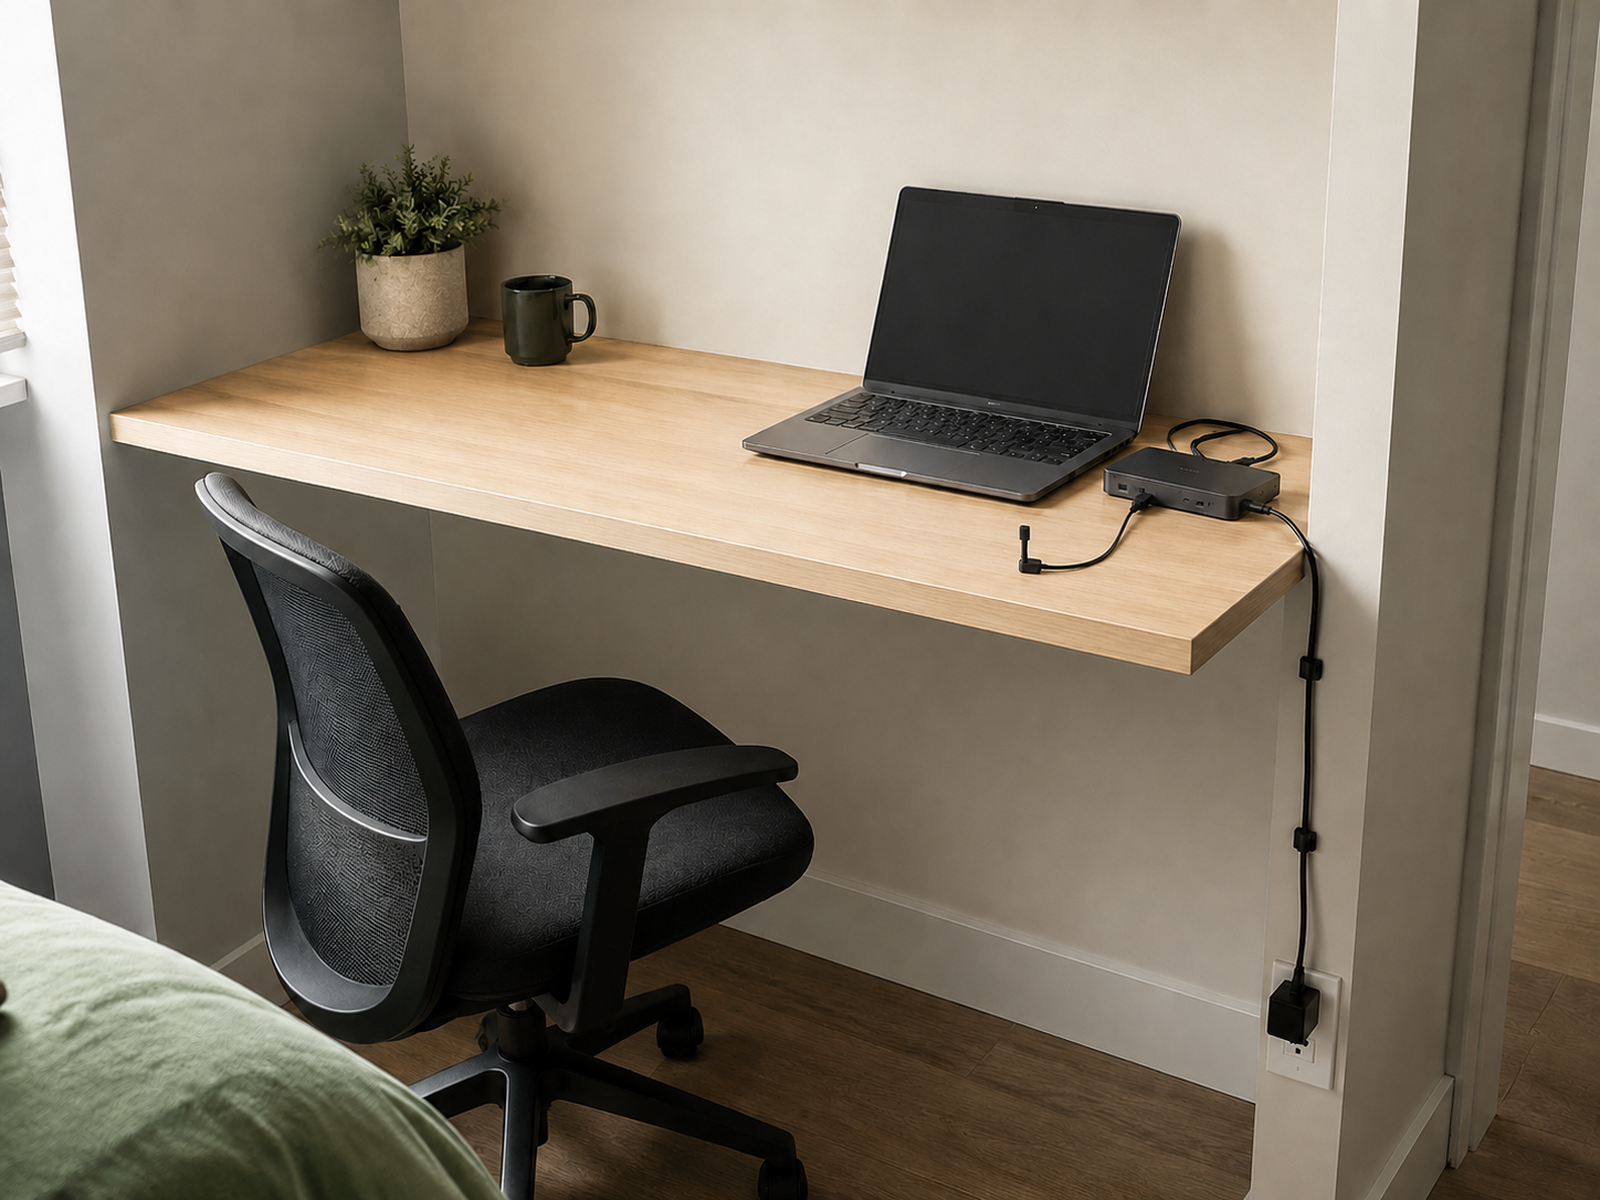
Use a Controlled Visible Route When the Desk Has No Usable Rear Edge
Built-in rental desks can remove the assumptions behind most cable advice. If the desktop is fixed between walls, has no rear opening, and cannot be drilled, a cable may simply have no invisible path from the work surface to a lower outlet or data point.
In that case, use the shortest practical inspectable route along an available furniture or supported surface and accept a controlled visible section when concealment would require unsupported modification. Small removable clips can guide lightweight runs only when the exact product supports the surface.
Do not force a cable under a rug, through a door or window, or into a pinching furniture joint just to make the route disappear. A visible line at the side of a built-in desk can be the better small-space decision when it preserves the rental, the cable, and normal access.
08
Run a Full-Use Safety and Service Check Before You Lock the Route
Finish by using the workstation rather than looking at it. Sit down and move the chair. Reach every daily connector. Move the monitor arm. Raise and lower the desk if it adjusts. Open any nearby drawer. Confirm that the backbone can still be reached for normal service and that no cable is trapped against a moving edge.
Inspect cords rather than hiding damage. ESFI recommends taking damaged cords out of service and keeping cords out of trip paths; the U.S. Consumer Product Safety Commission also maintains consumer extension-cord and electrical-safety guidance.
If the route works only because a cord is stretched tight, a power device is being chained to another, a clamp is forcing the wrong desk material, or the cable system blocks your knees or chair, the setup is not finished. Re-route the infrastructure rather than making the unsafe or unusable condition look tidier.
Decision Sequence
Centralize, Route, Move, Then Test
01
Classify the active cables
Separate fixed power, fixed device runs, moving leads, and daily-access cables before you decide what to hide.
02
Place the backbone
Choose a compatible, serviceable location for the approved power distribution, adapters, and fixed excess length.
03
Route by behavior
Bundle stable runs, preserve movement where needed, and park daily-use leads where they can be reached without falling behind the desk.
04
Test the complete workstation
Check edge fit, knee clearance, chair movement, desk travel, service access, cord condition, and the final path to the outlet before calling the setup finished.
Closing Decision
Build a Cable Route That Is Easy to Use Again Tomorrow
The cleanest small-desk setup is not the one with the fewest visible wires. It is the one where fixed infrastructure has a stable home, moving cables can move, daily connectors stay reachable, and the floor and work surface remain usable. Start with cable roles, let the desk construction choose the no-drill method, and test the route in real use before you tighten the final ties or clips.
RELATED GUIDES
What to read next
NEXT GUIDE
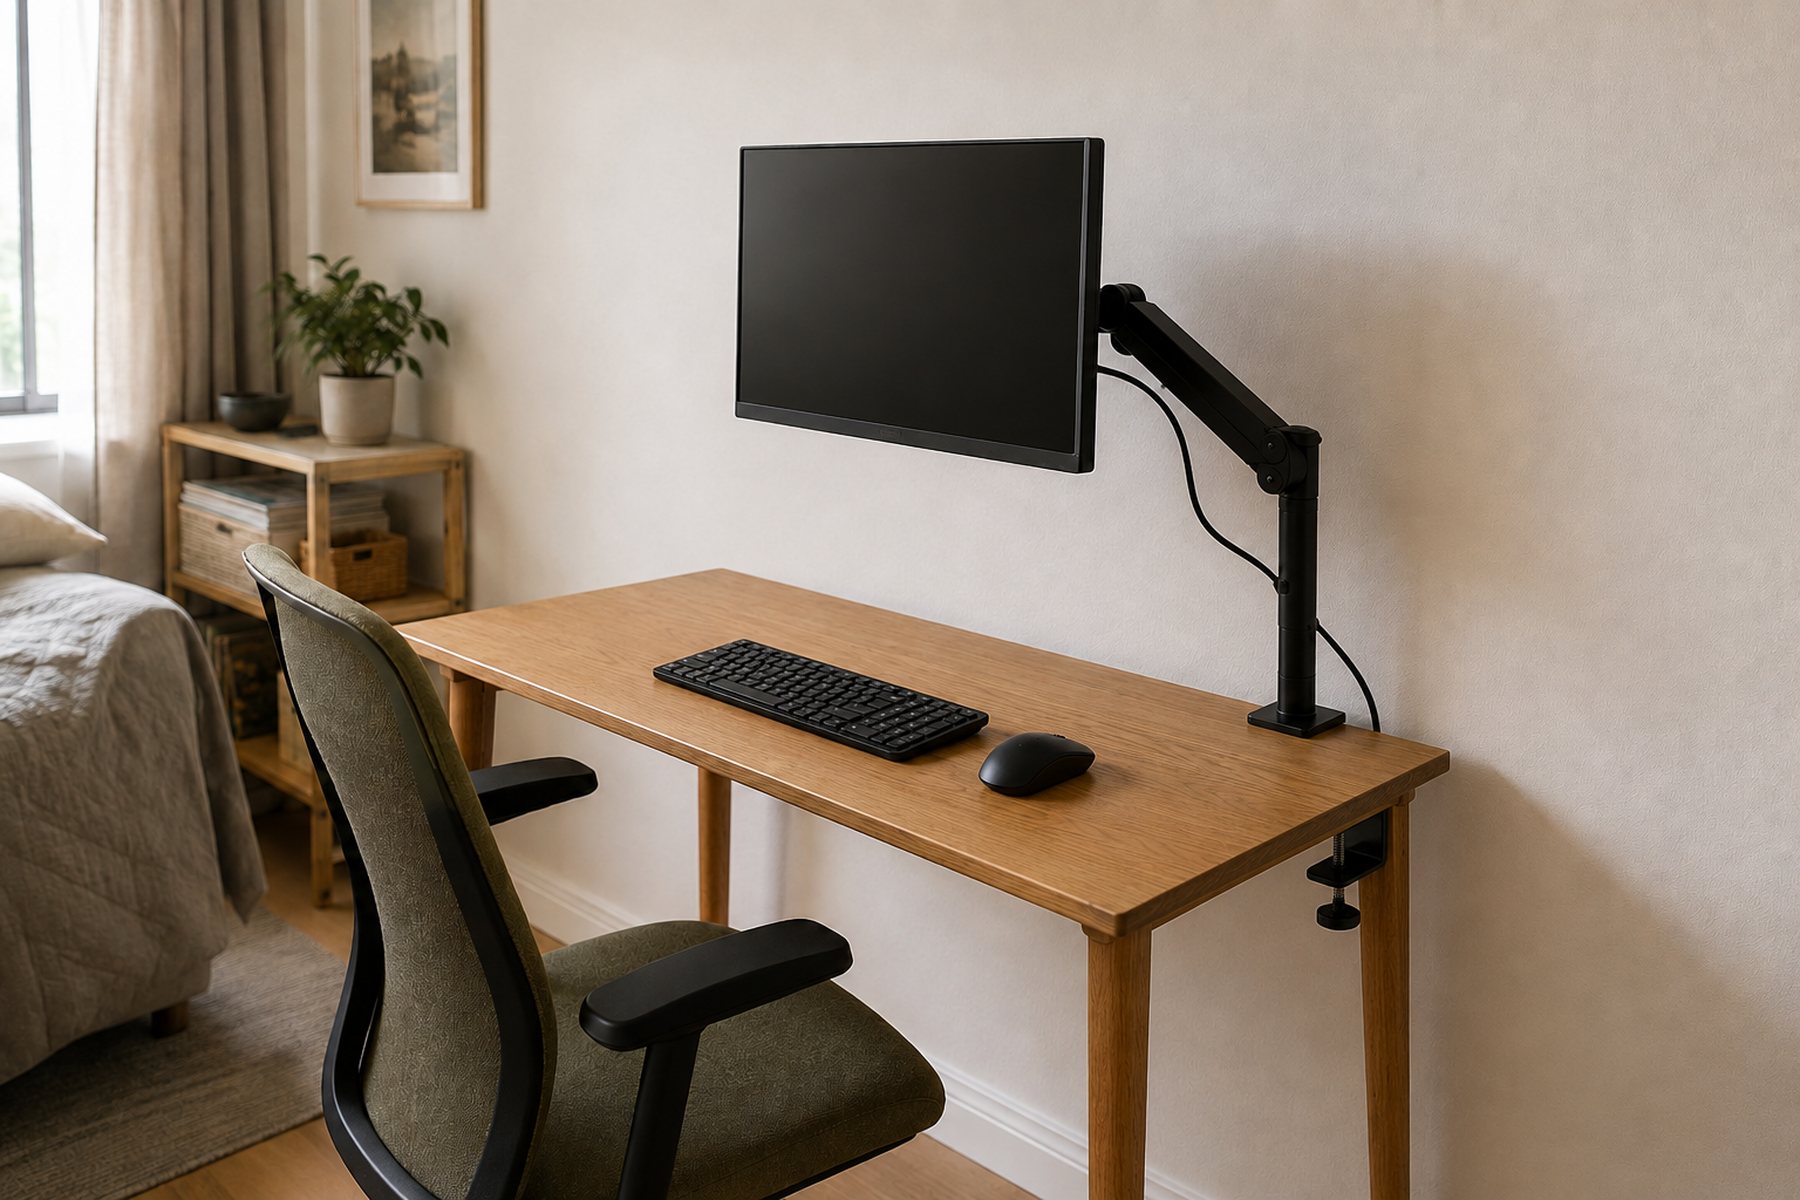
How to Use a Monitor on a Shallow Desk Without Losing Usable Depth
Useful when monitor hardware and rear-edge geometry are competing with the cable route.
GUIDE
How to Move a Printer Off a Small Desk Without Losing Access
Continues the workstation-footprint decision when a printer is still consuming prime desk space.
GUIDE
How to Work From a Dining Table Without Letting It Become a Permanent Office
Useful for readers whose cable system must also support a temporary or shared-surface workstation reset.