
Small Desk Organization
How to Move a Printer Off a Small Desk Without Losing Access
A printer can fit on a compact desk and still take over the space you use all day. Decide how often you physically interact with it, measure it with trays and access paths in use, then move it to the lowest-cost zone that still supports paper, scanning, service, power, and supplies.
In This Guide
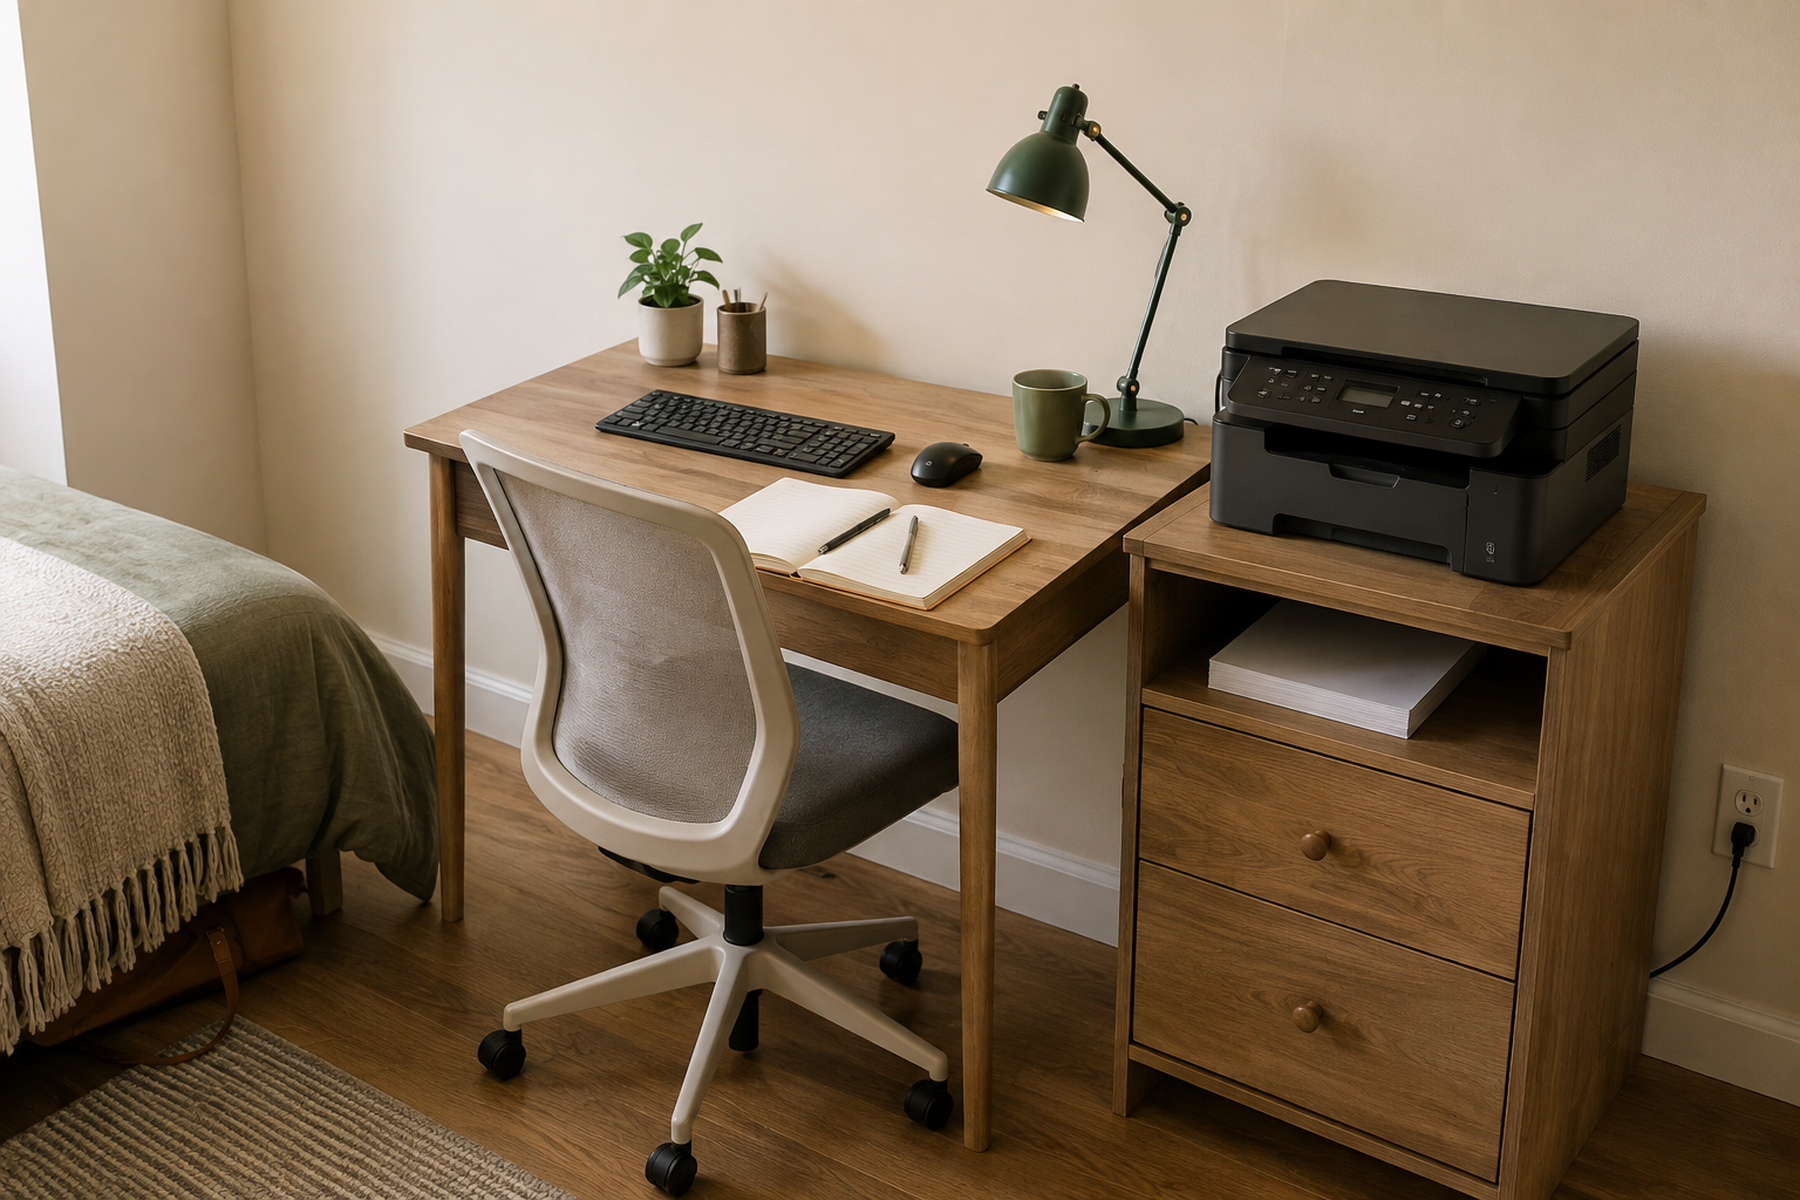
A printer is not automatically a core desk component just because it is office equipment. A monitor, keyboard, mouse, or laptop may be active for hours at a time; a printer may be touched several times a day, once a week, or only for occasional forms and returns.
That difference should change where the device lives. The strongest small-workspace setup gives prime desk-level space to the equipment used most often, then places the printer as close as its real print, scan, copy, and maintenance routine requires—without creating a new problem on the floor, shelf, or cabinet beside it.
Quick Answer
Give Desk Space to the Equipment You Touch Most
The printer belongs as close to the desk as its real physical-use frequency requires—and no closer.
01
Set the access level first
Count physical interactions, not just print jobs. Frequent scanning, copying, paper changes, or service needs can justify a closer location even when printing itself is infrequent.
02
Measure the printer in use
Check paper input, printed-paper output, scanner or original access, service covers, user approach, and power or data paths. Closed body dimensions are only the starting point.
03
Move the whole mini-system
When the printer leaves the desk, keep the highest-frequency paper and supplies with it when practical. A relocated printer should reduce workstation friction rather than scatter it across the room.
01
Decide How Much Desk-Level Access the Printer Deserves
Start with the routine. How often do you print, scan, copy, change paper, collect output, or open the printer for normal maintenance? Those interactions determine how close the device needs to be to your chair.
A printer used several times a day may still deserve a desk-adjacent surface. A printer used a few times a month can usually tolerate more walking if moving it protects the primary work zone. The point is not to push every printer as far away as possible; it is to stop paying prime desk-space rent for access you rarely use.
Also separate print frequency from scan and copy frequency. An all-in-one used as a flatbed scanner every day may need much easier physical access than a device that receives an occasional wireless print job.
02
Use Connectivity to Widen the Placement Zone—Not to Ignore the Rest of the Workflow
Some current printers support network printing as well as wired connections. For example, Brother lists Ethernet, dual-band Wi-Fi, Wi-Fi Direct, and USB for its current HL-L2480DW, while Epson documents both wireless and direct USB setup for the ET-2850. That means some households can separate the printer from the computer physically without changing the print workflow.
Treat that as model-specific placement freedom, not a universal promise. Verify the actual printer and home network before planning around wireless use.
Wireless also does not make the printer cable-free or access-free. The new location still needs appropriate power, paper loading, output retrieval, scanning where relevant, and maintenance access. Connectivity can remove the computer-to-printer adjacency requirement; it does not remove the printer’s other spatial requirements.
Measure / Check First
Closed dimensions can make a shelf or cabinet look viable when the printing state is not. Canon currently lists its PIXMA TR7820 at 14.8 × 13.8 × 8.2 inches closed and 15.9 × 23.8 × 11.2 inches with trays extended; Epson lists the ET-2850 at 13.7 inches deep stored and 22.3 inches deep while printing. Those are product-specific examples, but they demonstrate the general fit problem: the operating envelope can be materially larger than the body footprint.
Measure the Printer in Use, Not Just While Closed
01
Trace the paper path
Open or extend the real input and output trays. Include rear-feed or upper-feed geometry when the model uses it, and make sure printed pages have somewhere accessible to land.
02
Trace scanning and service access
Open the scanner lid or original feeder as required, then check ink or toner access, jam paths, service covers, and any cassette or maintenance area used in normal ownership.
03
Trace support, approach, and cables
Confirm that the printer is fully supported on a stable surface, that the user can approach it normally, and that power or data cables are not crushed, stretched across circulation, or strained by moving furniture.
Do not turn those example measurements into a universal clearance rule. Use the exact printer manual and the exact proposed location.
03
Try an Existing Side Surface Before Adding Printer Furniture
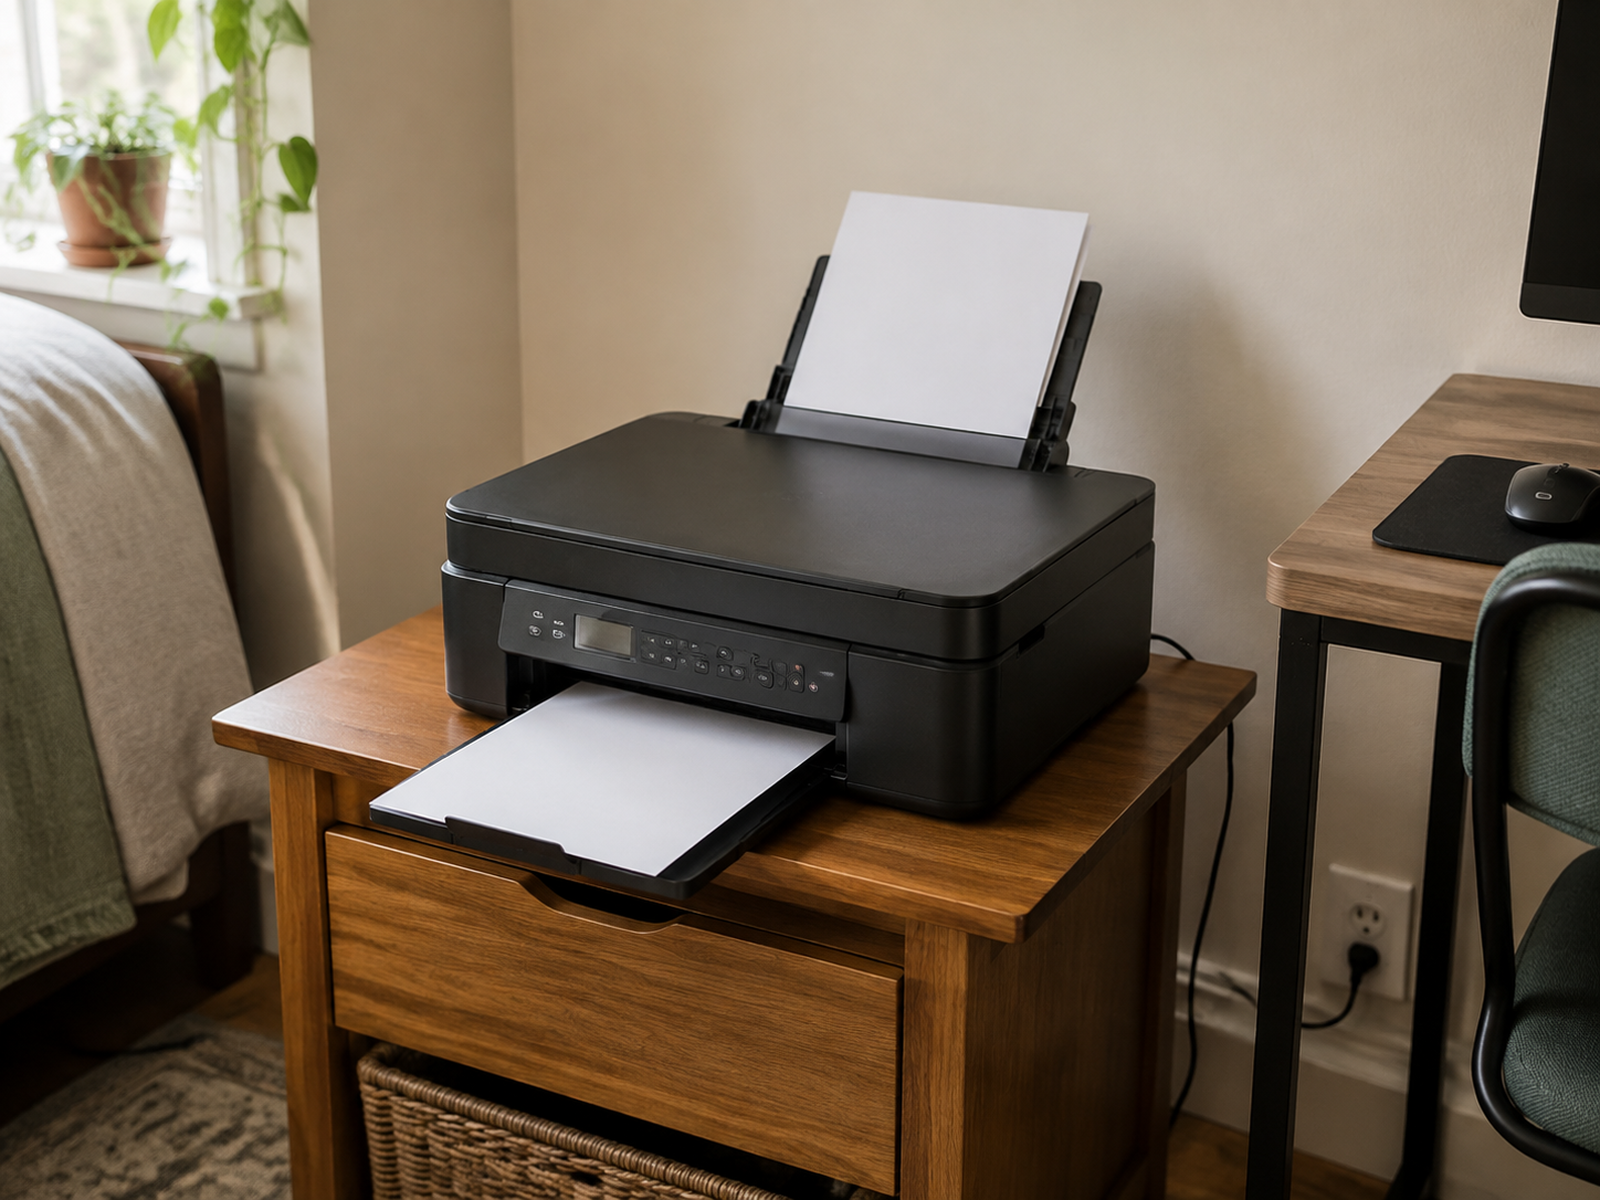
The lowest-intervention move is often an existing drawer unit, side table, credenza, or sturdy shelf that already sits near the workstation. If that surface passes the printer’s real fit, support, and access checks, it can recover desk space without adding another piece of furniture.
Use the surface as a small printer zone rather than a landing spot for the printer alone. Keep the paper or supplies used most often nearby when the furniture already has drawers or shelving. That prevents every print job from becoming a second trip back to the desk for paper, envelopes, or labels.
Do not assume that a surface is suitable because the printer body fits on top. All printer feet need full support, the furniture has to be stable, and the operating trays and access paths still have to work.
04
Add a Freestanding Printer Station Only When Floor Space Can Absorb It
A small drawer unit or mobile cart can be useful when the desk surface is the true bottleneck and the room has a low-conflict floor zone. It can also keep paper and consumables with the printer instead of leaving those supplies on the desk.
But a cart is not automatically a small-space win. It trades desk area for floor area, needs a real parking location, and must support the actual printer weight. A useful current cross-check illustrates the issue: Brother lists the HL-L2480DW at 22.2 lb, while IKEA lists a 15 lb maximum load per tier for the current RÅSKOG utility cart. That does not make either product good or bad; it shows why geometry alone is an incomplete fit test.
If casters are part of the plan, mobility should solve a real need—such as rolling the printer forward for scanning or service—rather than turning the cart into permanent moving clutter in a narrow walkway.
Use / Skip
When Another Room Is the Better Printer Zone
Use
Use — Move it farther away when physical interaction is low
An infrequently used network-capable printer can often live on another suitable surface or in another room when the exact connectivity works, power is practical, and walking to collect output is an acceptable trade for reclaiming the workstation.
Skip
Skip — Keep it closer when scanning or hands-on access is frequent
If the printer is opened, scanned on, reloaded, or serviced throughout the day, extra distance can become recurring friction. Choose a closer off-desk surface instead of maximizing distance for its own sake.
05
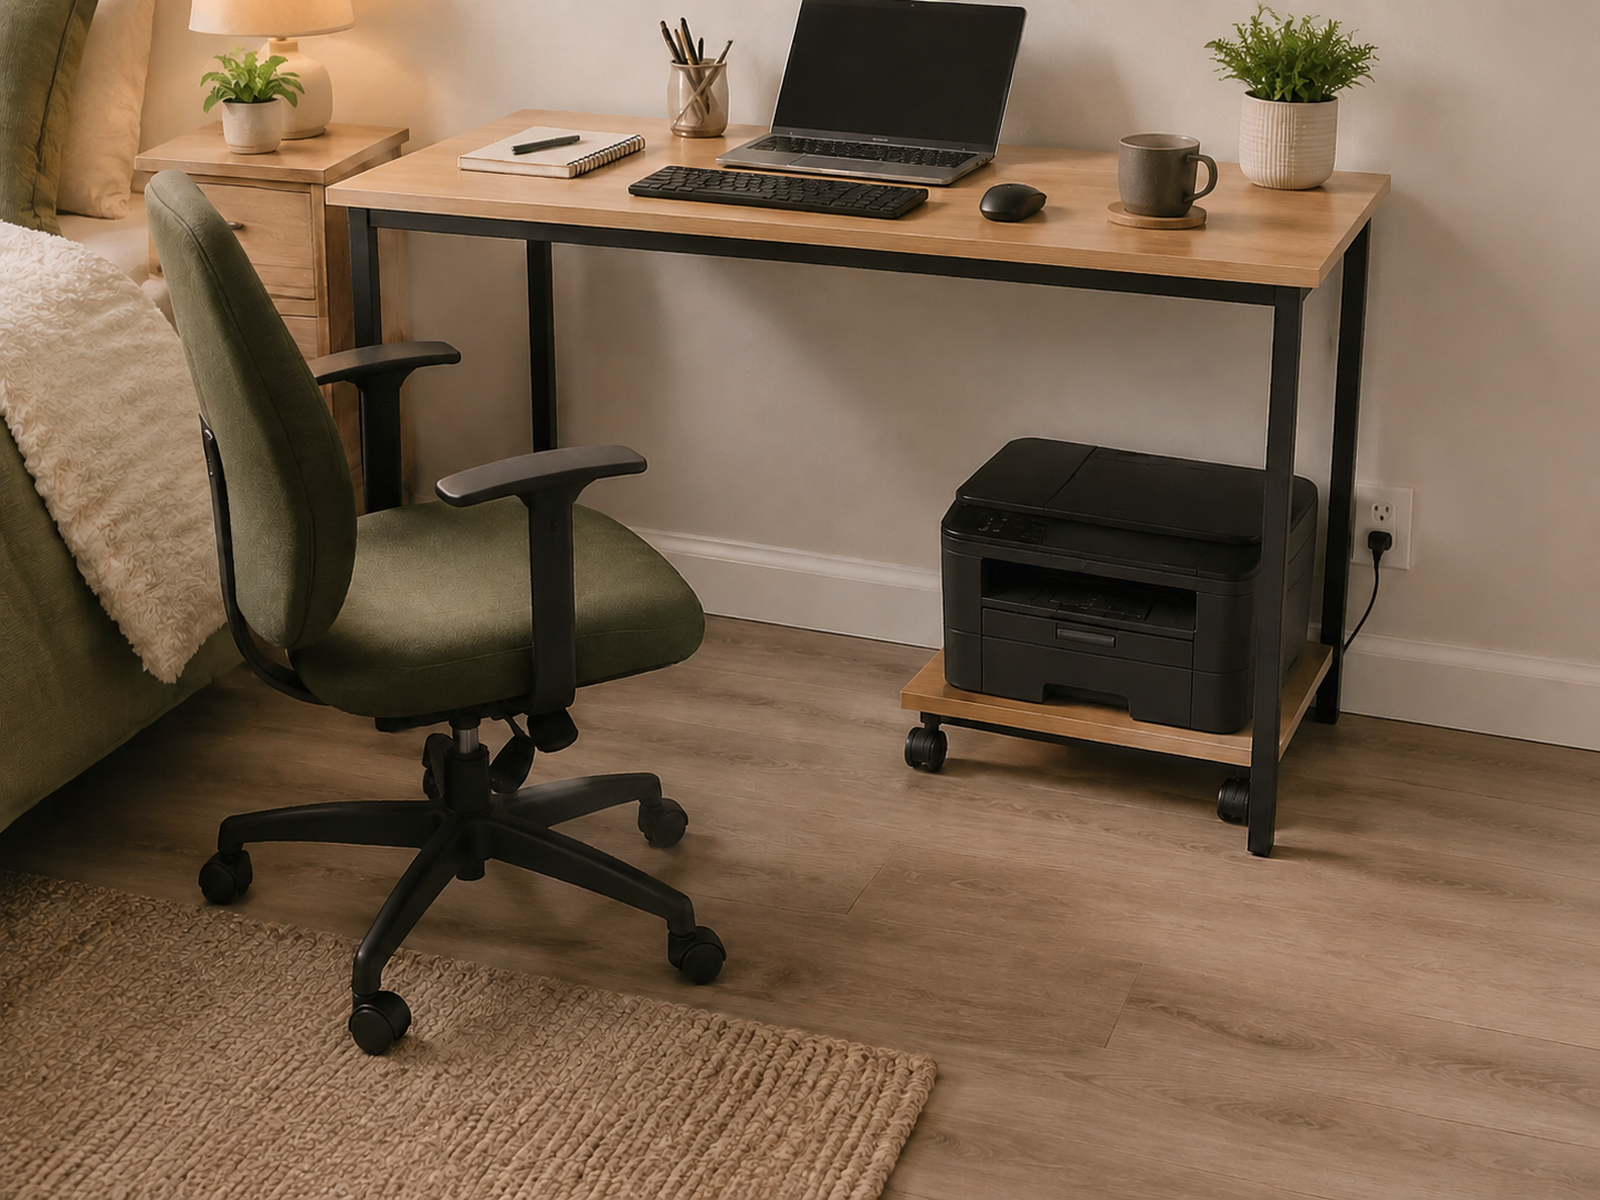
Treat Under-Desk Placement as a Floor-Space Trade
Putting a printer below the desktop can return a large part of the work surface, but the cost moves into the chair and leg zone. That trade can work when the printer sits to the side of the seated position rather than directly where knees, feet, or chair travel need to go.
Test the printer in the position from which it will actually be used. Can paper load and exit? Can a jam or supply change be handled without crawling under the desk or lifting the device? If the desk adjusts in height, will the printer, shelf, or cables interfere with that movement?
Reject an under-desk setup that makes the workstation feel smaller every time you sit down. Recovering the desktop is not a win if the chair path or usable leg space becomes the new bottleneck.
06
Hide the Printer Only Where It Can Still Operate
A cabinet, closet, or bookcase bay may solve the visual problem, but concealment comes after operation. Dell’s printer-placement guidance calls for a flat, stable surface, unobstructed ventilation, and enough space to open covers and trays. Those are the kinds of checks a hidden printer zone has to survive.
An open shelf or roomy cabinet bay may work when the exact printer’s paper path, output tray, scanner lid or document feeder, service covers, and ventilation remain usable. A tight cabinet that fits the closed body but forces the printer to be lifted out for every scan or jam is storage, not a functional printer station.
Keep the environment in mind as well. Manufacturer guidance can include cautions around dust, humidity, water, heat, and cable handling. Use the exact printer documentation rather than inventing a universal number of clearance inches.
What Not to Do
Don’t Buy a Printer Cart From the Top Dimensions Alone
A printer can fit on a cart and still be the wrong load, block the cart’s useful storage, or expand beyond the cart when trays open. Check the exact printer weight, furniture load rating, full operating footprint, stability, and the cart’s real parking zone before treating it as a solution.
07
Escalate to a Mounted Shelf Only After the Location Has Proved Itself
A wall-mounted shelf can remove both desk and floor footprint, but it is a higher-intervention branch. The shelf, wall, fasteners, and installation method all have to support the actual printer and its operating geometry.
Before drilling, prove that the proposed height and location work for paper loading, output retrieval, scanning, service, and power. A permanent installation should not be the experiment used to discover that the printer is too high, too deep, or too awkward to maintain.
In a rental, wall mounting is permission-dependent. Start with reversible surface reassignment, a freestanding station, or another existing room surface when those options solve the problem. Escalate installation only when the location itself is already the right one.
Closing Decision
Move the Printer Only as Far as the Routine Allows
The goal is not to hide the printer at any cost. Give it a location that matches how often you physically use it, verify the exact connection method, measure the full operating state, and protect a stable support surface with real access to paper, output, scanning, service, and power. Start with an existing side surface, then add a freestanding station or under-desk zone only when the room can afford the new footprint. Keep concealed and wall-mounted options later in the sequence, after the location has already proved that the printer can work there. If moving the printer creates more daily friction than the desk space it returns, the move went too far.
RELATED GUIDES
What to Read Next
NEXT GUIDE
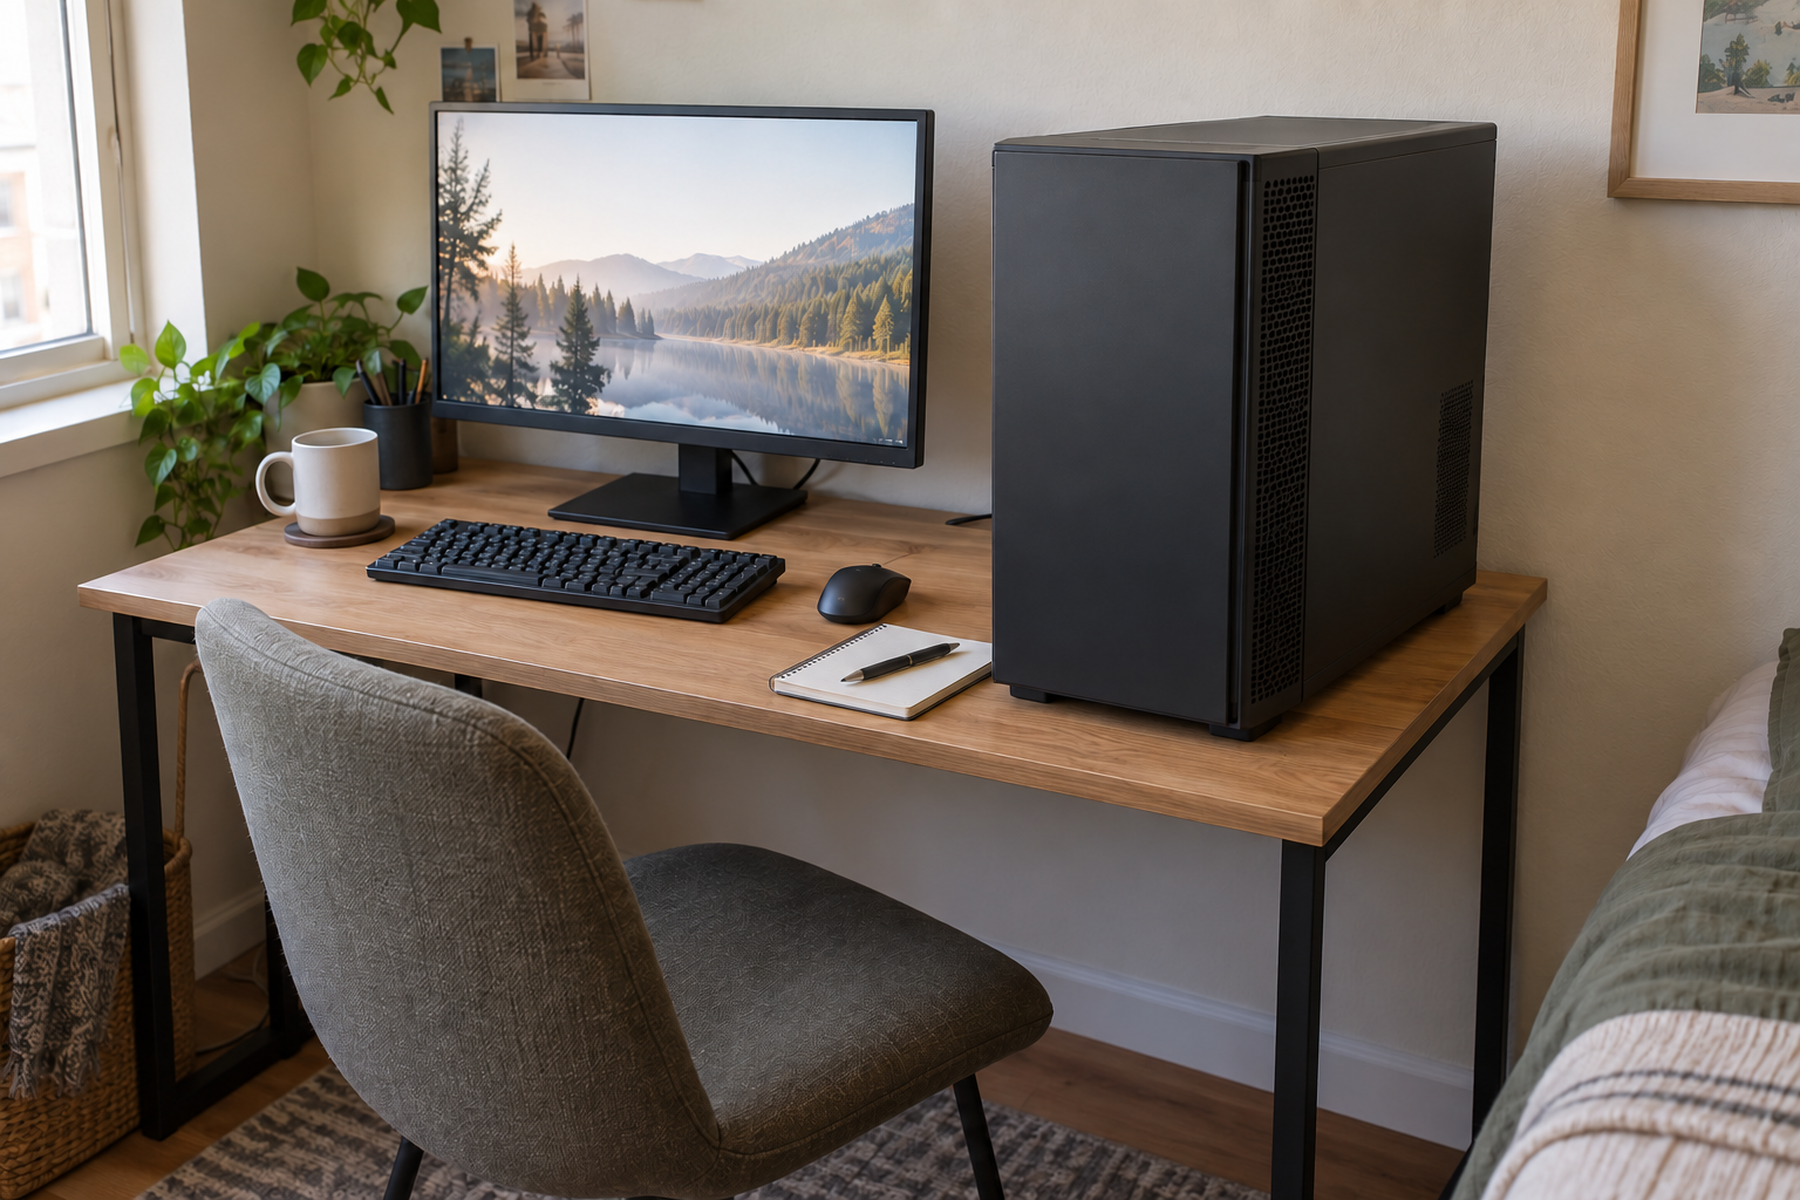
How to Place a PC Tower Around a Small Desk Without Losing Work Surface
A direct next step for moving another large workstation component away from prime desk surface.
GUIDE
How to Place Speakers on a Small Desk Without Losing Work Surface
Useful for reclaiming additional surface area while preserving practical equipment placement.
GUIDE
How to Use a Monitor on a Shallow Desk Without Losing Usable Depth
Continues the equipment-footprint decision when monitor hardware is consuming usable desk depth.