
Small Desk Organization
What to Do When a Monitor Arm Will Not Clamp to Your Desk
Treat the monitor, arm, attachment, and desk as one compatibility system. Check the screen’s VESA and weight, then verify the desk edge, thickness, construction, clamp or grommet geometry, wall clearance, and final monitor position before deciding whether an arm is actually the right way to recover work surface.
In This Guide
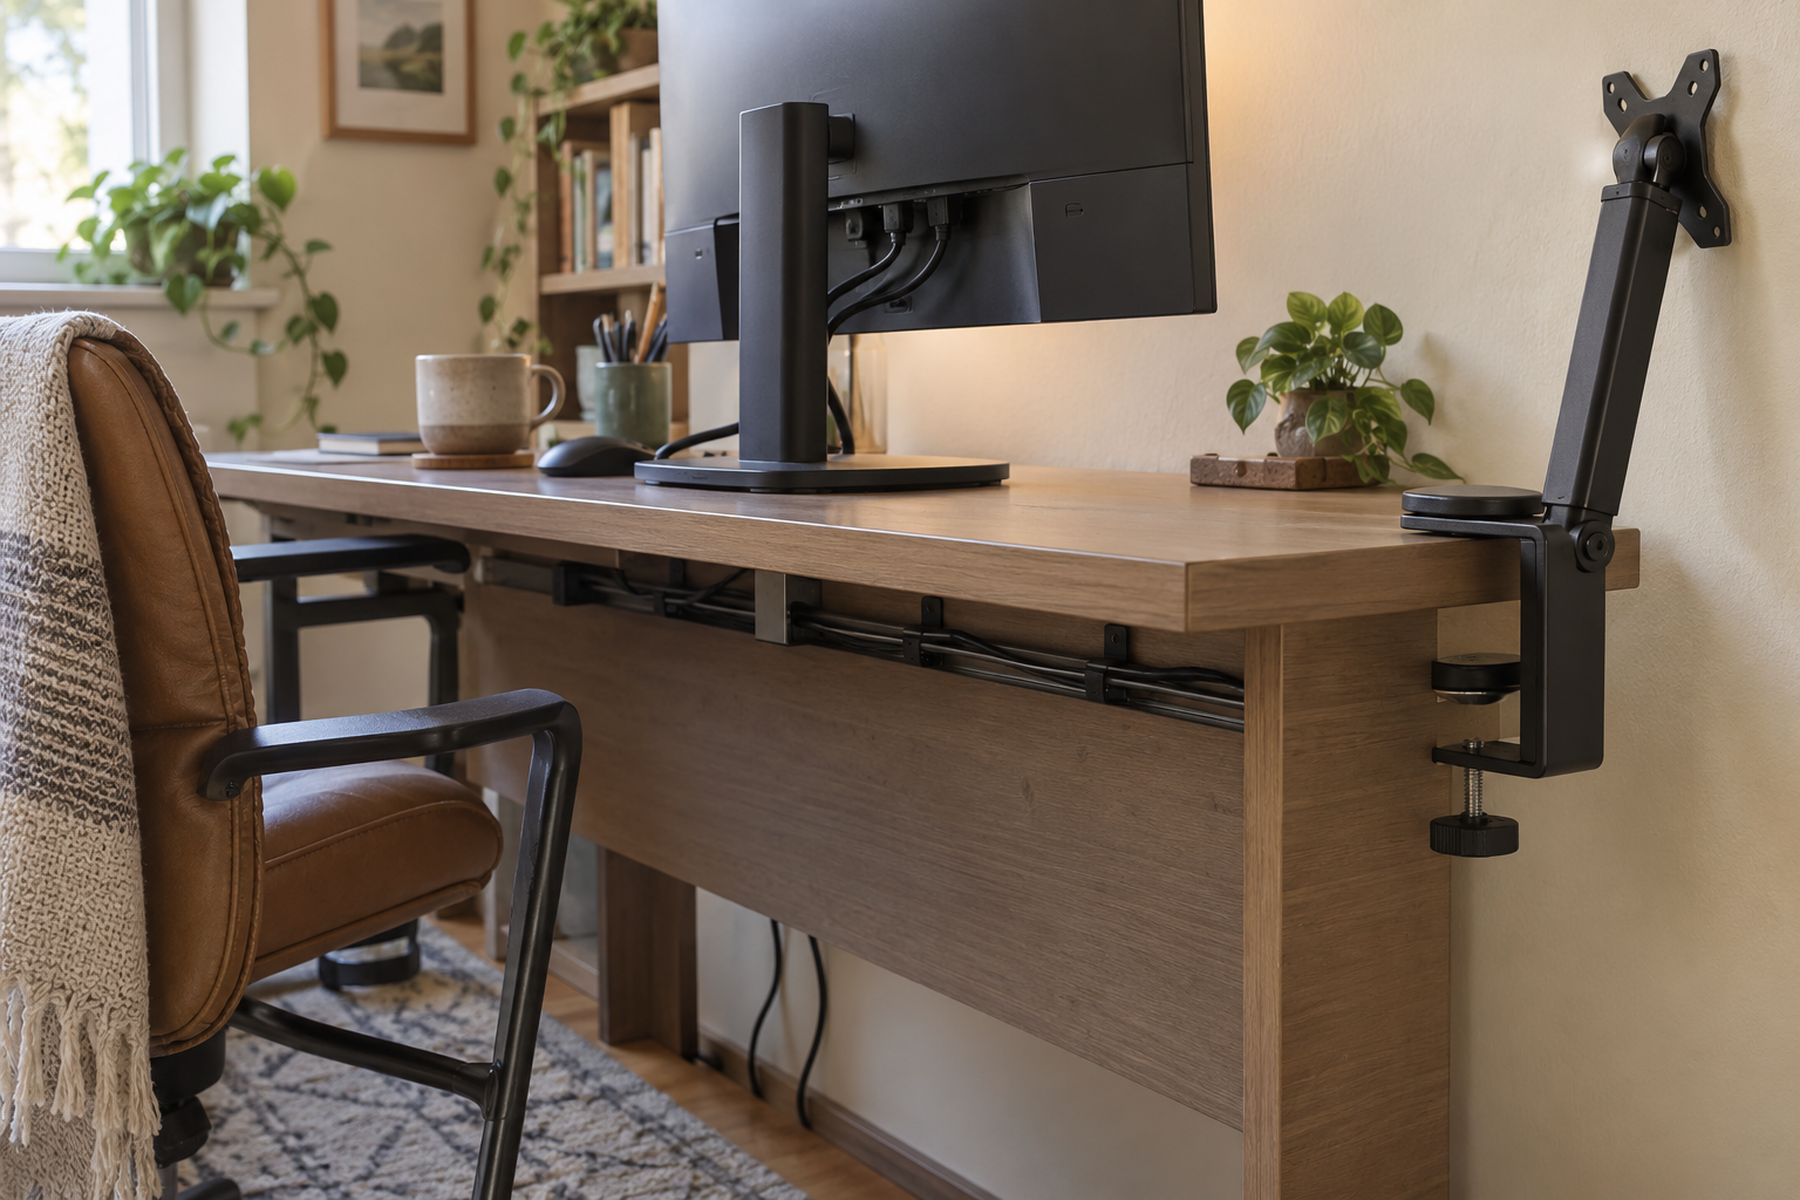
A monitor arm can reclaim valuable surface on a small desk, but only when the desk is a valid mounting structure. A rear edge with no lip, a drawer or apron under the top, a hutch, a desk tight to the wall, or an uncertain hollow-core top can make an otherwise compatible arm the wrong attachment.
The fit problem has two layers: attachment fit and workstation fit. The arm must attach to a suitable surface, and the mounted monitor still has to land at a useful viewing distance and height without colliding with the wall, pulling on cables, or creating a new obstacle on the desk.
Quick Answer
Prove the Desk Can Host the Arm Before You Shop for One
A monitor arm is only a small-desk upgrade when the monitor, mount, attachment method, desk construction, and final screen position all work together.
01
Verify the monitor separately from the desk
Check the exact monitor weight, VESA pattern, approved adapter if needed, and the arm’s supported range. An arm that supports the screen can still be incompatible with the desk.
02
Treat clamp geometry and desk construction as different tests
A clamp may fit the edge yet still be inappropriate for the desktop material or furniture design. Likewise, a strong desk may have no usable clamp lip, no underside clearance, or too much thickness for the chosen hardware.
03
Accept a different spatial cost when no desk mount is appropriate
A weighted stand spends desktop area, a floor stand spends floor area, and a wall mount spends installation freedom. If no safe attachment surface exists, keeping the original stand can be better than forcing an arm onto the furniture.
01
Verify the Monitor Before You Evaluate the Desk
Record the exact monitor model, its mounting weight as required by the arm manufacturer, and its VESA pattern. Screen size by itself is not enough to establish compatibility.
Check whether the display needs a manufacturer-approved VESA adapter. Also account for the number of monitors, because dual displays multiply the weight, arm movement, cable routing, and positioning constraints.
Then compare those facts with the exact arm documentation. Ergotron’s current arm documentation, for example, publishes model-specific monitor weight ranges and VESA 75×75 or 100×100 compatibility for relevant products.
This first check isolates the display side of the system. Passing it does not prove that the desk can accept the arm.
02
Map the Desk Edge, Thickness, and Underside Clearance
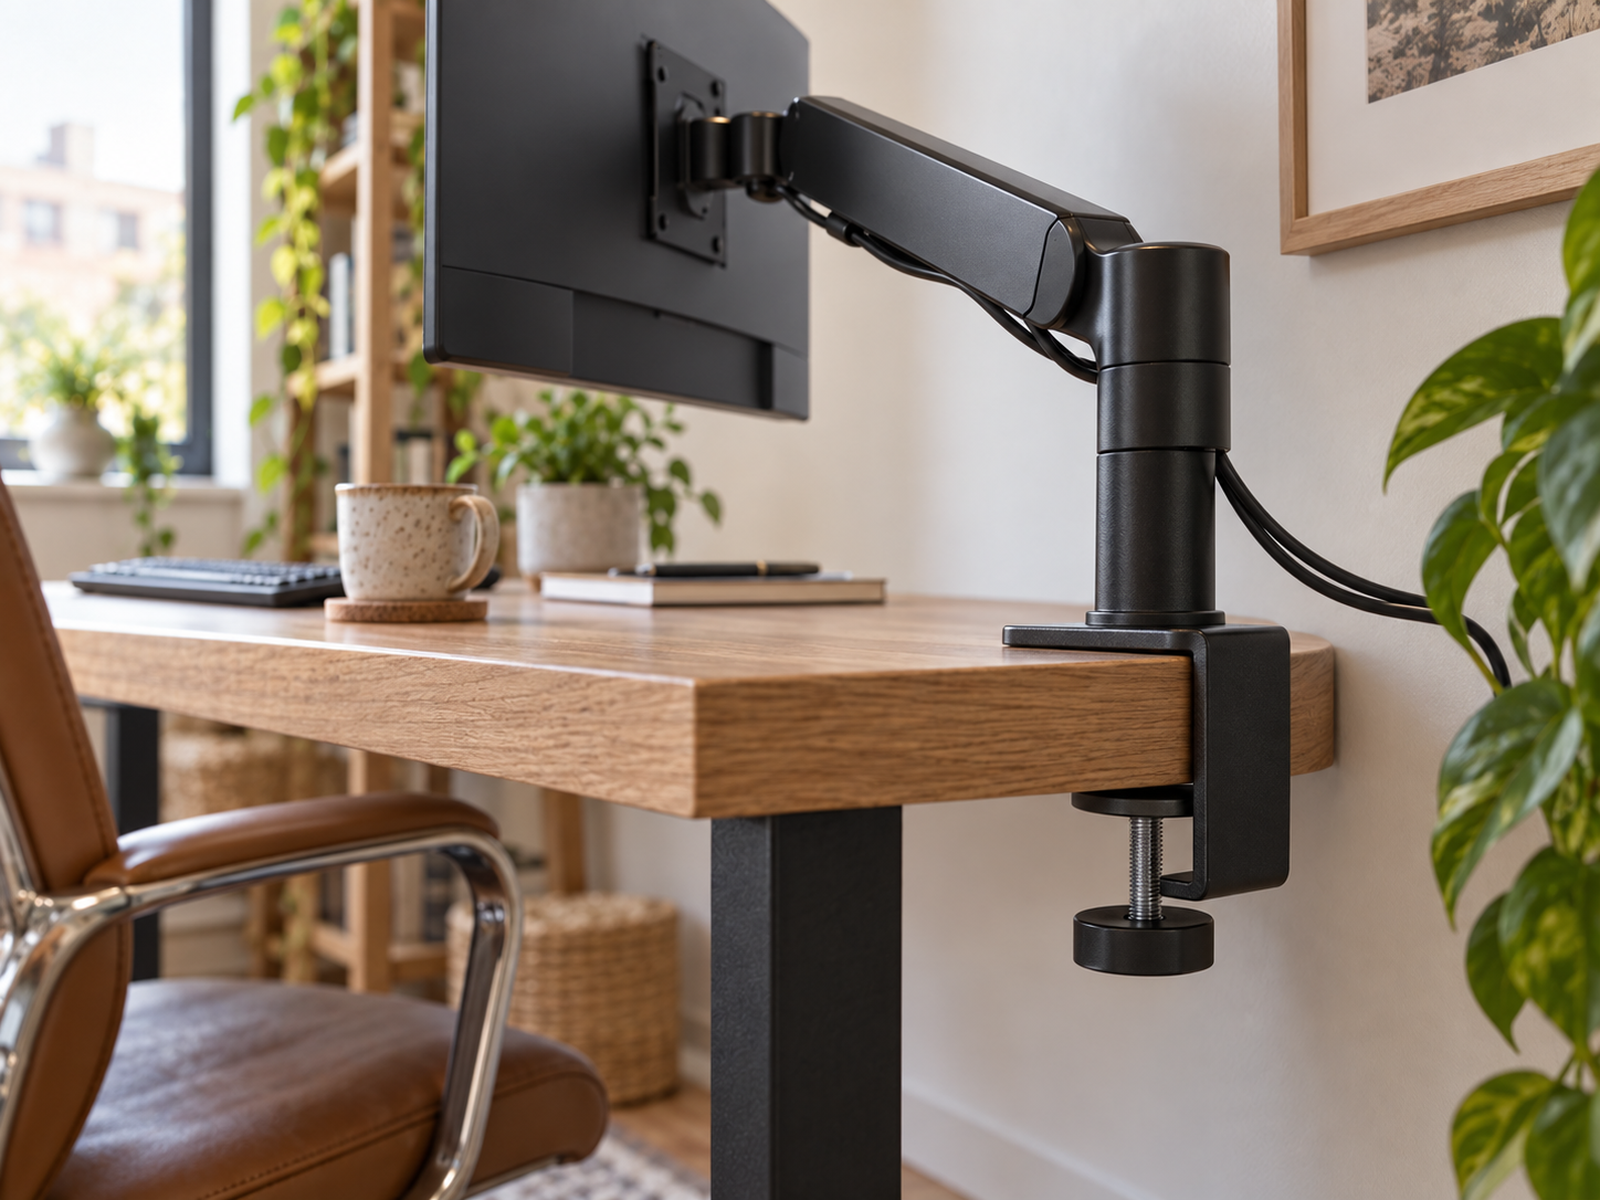
Look at the rear edge from above and below. A standard C-clamp needs an exposed structural edge with enough contact area for the top and lower clamp surfaces.
Measure the desktop thickness, then check what sits below it. Drawer boxes, aprons, cable-management rails, back panels, crossbars, and hutches can prevent the clamp body from reaching the correct position.
Wall clearance matters too. A desk pushed tightly against a wall may leave too little room to install or rotate the clamp even when the edge itself is compatible.
Do not infer one clamp range from another arm in the same brand family. Current Ergotron attachment guidance shows that standard clamps, under-mount clamps, low-profile clamps, and grommet mounts can have different thickness and clearance requirements.
Measure / Check First
Before ordering an arm or attachment accessory, test the complete monitor-to-desk interface rather than the desk edge alone.
Check the Monitor, Attachment Surface, and Final Screen Position First
01
The monitor and mount interface
Confirm monitor weight, VESA pattern, any required adapter, number of screens, and the exact arm model’s load range.
02
The desk attachment geometry and construction
Measure desktop thickness, rear-edge contact area, underside clearance, wall clearance, existing hole diameter where relevant, and identify the desktop construction and condition as far as the manufacturer documentation allows.
03
The final workstation envelope
Map where the monitor needs to land relative to the user, keyboard, wall, hutch, shelf, and cables. A mount that attaches successfully but forces the screen too close or off-center has still failed the small-desk job.
If any part of the attachment or workstation fit remains unresolved, do not treat a different clamp or reinforcement accessory as automatic approval.
03
Treat Desktop Construction as a Separate Compatibility Check
A desk’s total load rating is not automatically evidence that it is suitable for a concentrated articulated clamp load.
IKEA currently describes MICKE and LAGKAPTEN surfaces using particleboard, fiberboard, and honeycomb paper construction in relevant models. That construction does not prove a monitor arm will fail, but it does mean appearance and total desk capacity are not enough to certify clamp compatibility.
A monitor arm concentrates force at a relatively small attachment area, and the load changes as the arm extends and moves. Use desk-specific manufacturer guidance when it exists and preserve uncertainty when it does not.
Reinforcement plates can spread clamp contact over a larger area, but this Research does not support treating a plate as universal structural certification for hollow, damaged, particleboard, or otherwise uncertain desktops.
04
Try Alternate Clamp Geometry Only When Geometry Is the Problem
An under-mount or low-profile clamp can solve a real fit problem when the desktop itself is suitable but a standard clamp body conflicts with limited underside space or rear-wall clearance.
Current Ergotron accessories demonstrate this branch: under-mount and low-profile clamp designs publish their own compatible worksurface thicknesses and installation-clearance requirements.
That makes alternate clamps useful for geometry, not for bypassing desk-construction uncertainty. A different clamp does not strengthen a surface that the desk manufacturer has not shown to be suitable.
Also verify that the arm still clears the wall, hutch, shelf, or adjacent furniture through its expected movement range. Solving the attachment point alone does not solve the workstation.
05
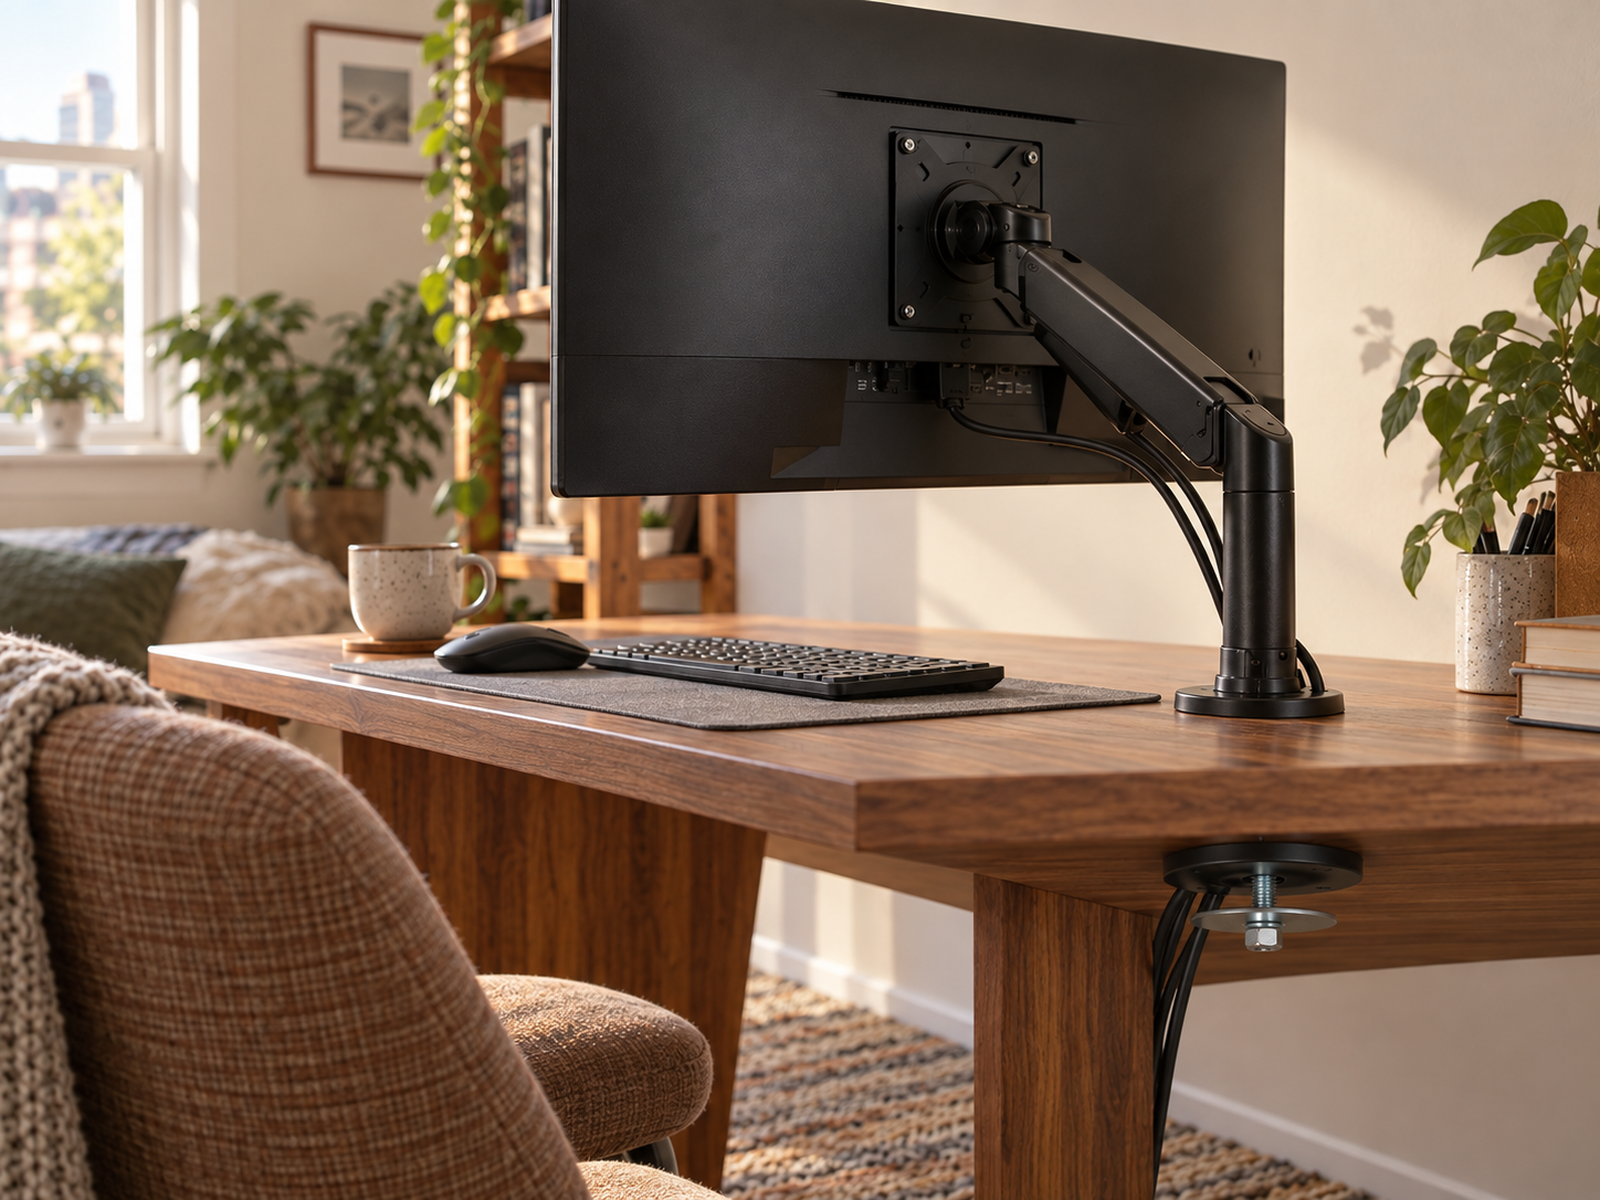
Use an Existing Grommet Hole Only When the Hole and Desktop Both Fit
A grommet mount can be a strong alternative when the desk has no usable rear lip but already includes a structural hole in a useful location.
The hole still needs to match the arm’s specified diameter range, the desktop thickness must fit the grommet hardware, and the surrounding material needs to be appropriate for the load.
Do not assume that every plastic cable pass-through is a monitor-mount point. Hole location also matters because a mount placed too far forward can push the monitor closer to the user and consume the depth the arm was supposed to recover.
If the existing hole passes those checks, grommet mounting can avoid a new furniture modification while moving the arm away from the blocked rear edge.
Use / Skip
An Existing Grommet or Cable Hole as the Mount Point
Use
Use it when the existing hole matches the arm and sits in suitable desk material
A grommet mount can work when the exact hole diameter, desktop thickness, surrounding construction, mount base, monitor load, and final screen position all fit the manufacturer requirements without drilling a new hole.
Skip
Skip it when the hole is only convenient-looking, not structurally verified
Choose another compatible attachment, keep the original monitor stand, or change the workstation when the hole size is wrong, the desktop is too thick, surrounding material is uncertain, the base conflicts with furniture, or the hole puts the monitor in a poor working position.
06
Treat Drilling and Wall Mounting as Higher-Commitment Branches
Drilling a new grommet hole can create an ideal mount position, but it permanently modifies the furniture and should only be considered when the desktop material, internal construction, ownership, and arm requirements are known.
A borrowed, employer-owned, landlord-provided, furnished-rental, vintage, or otherwise protected desk may make that branch invalid before the geometry is considered.
Wall mounting removes monitor-arm load from the desk and can recover maximum surface area, but it creates a different installation problem. Wall structure, fasteners, monitor and mount compatibility, lease permission, and the fixed relationship between wall and desk all matter.
Do not call wall mounting “safer” by default. It is simply another attachment system with its own verified structural and installation requirements.
07
Check the Final Monitor Position Before You Commit
A small desk can accept a mount mechanically and still end up with a worse screen position.
OSHA guidance recommends evaluating the monitor together with the desk, keyboard, chair, and viewing distance. It gives a generally preferred viewing-distance range of about 20–40 inches and recommends keeping the monitor directly in front where practical.
Move the proposed arm through its realistic positions on paper or with a mock-up. Check whether the monitor can sit far enough back, whether the arm hits the wall or hutch, and whether the screen stays centered over the main work zone.
Leave enough cable slack for the arm to move without pulling on ports or making power and video cables carry the movement load.
08
Keep the Original Stand When Every Mounting Surface Is a Compromise
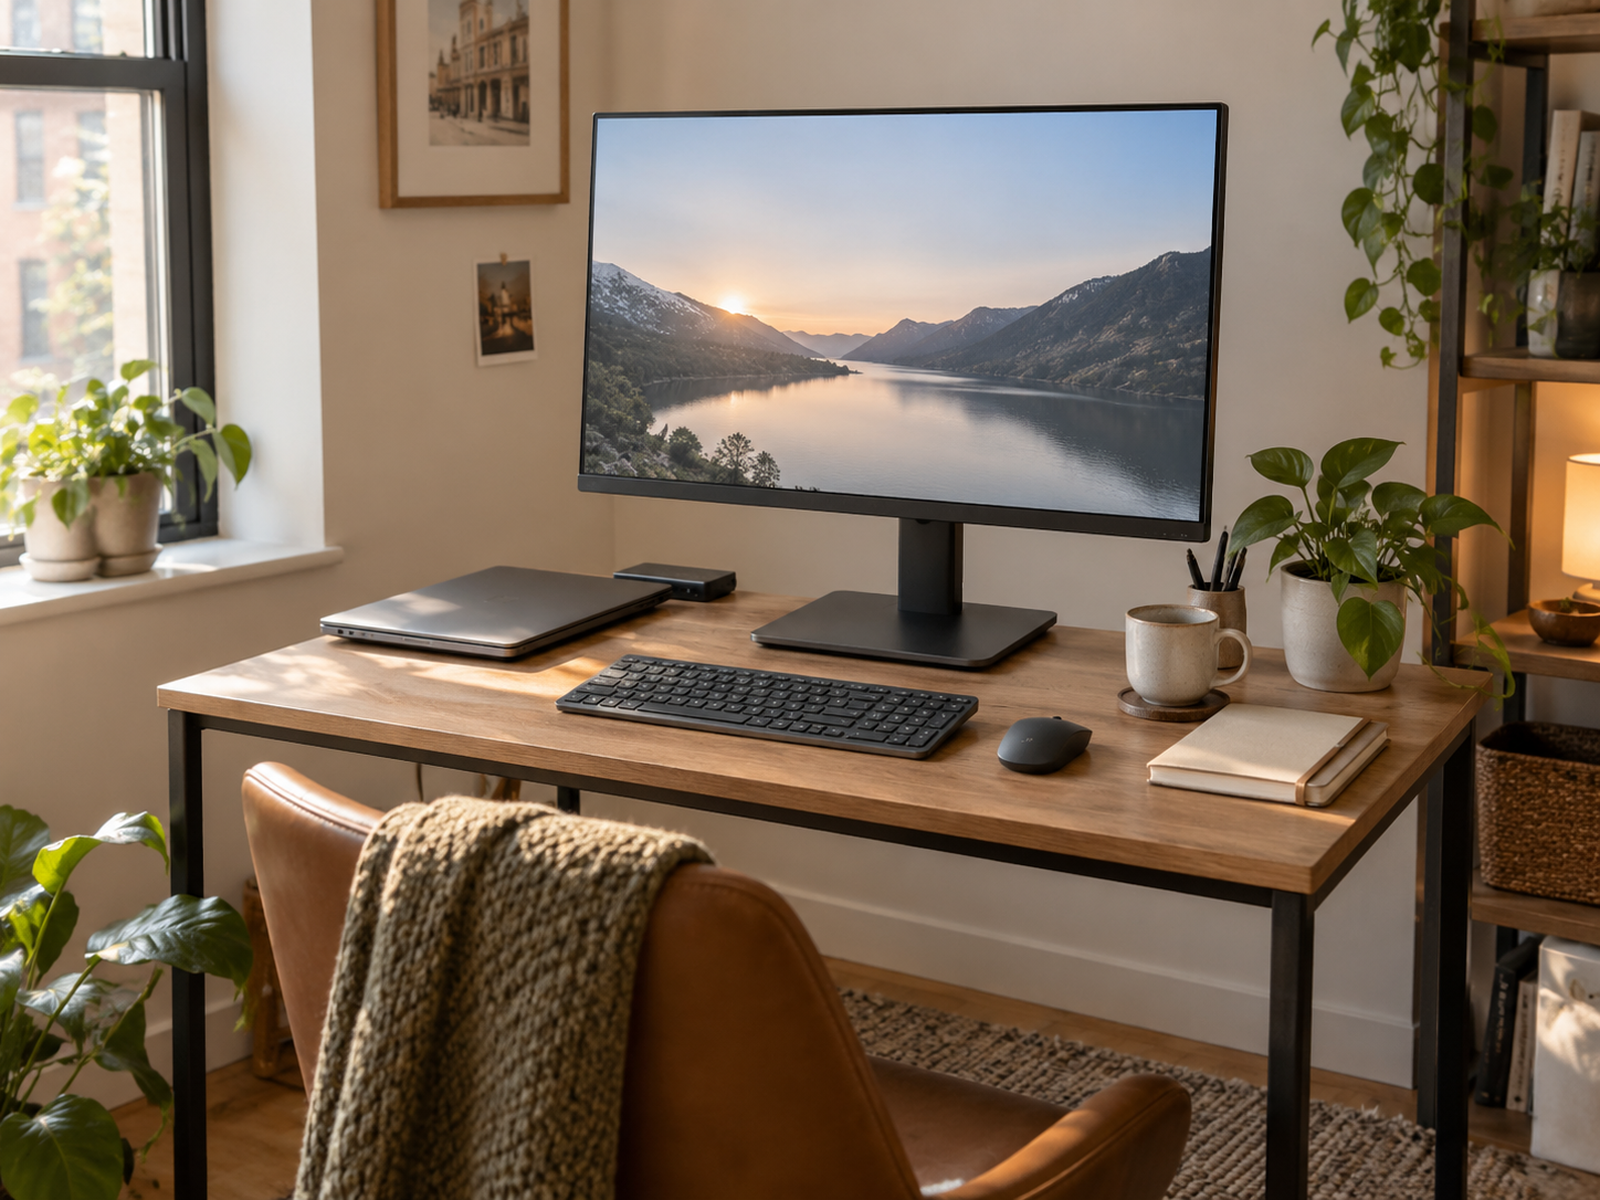
The correct small-space answer can be no monitor arm.
A freestanding weighted monitor stand may add height adjustment without drilling or clamping, but its base still consumes desktop area. A floor-standing monitor mount bypasses the desk but spends floor space, which may be even scarcer.
Sometimes the lowest-risk fix is to keep the original stand and recover space elsewhere: relocate a laptop or dock, reduce nonessential equipment, use a shallower placement that the monitor manufacturer permits, or plan for a smaller-footprint stand at the next monitor replacement.
The monitor arm should earn its complexity by creating a better workstation. If every attachment option requires unverified furniture stress, permanent modification, bad screen position, or another scarce-space sacrifice, forcing the arm is not the better solution.
Closing Decision
Choose the Attachment Surface Before the Arm
A monitor arm belongs on a small desk only when the monitor, attachment hardware, desk geometry, desk construction, and final screen position all pass independently. Arm capacity is not desk approval, and a convenient edge or cable hole is not automatically a valid mounting surface.
Use alternate clamps or an existing grommet only when their exact requirements are satisfied. If the desk cannot provide a verified attachment without unwanted modification, keep the original stand or spend a different spatial resource rather than forcing the arm onto the furniture.
RELATED GUIDES
What to Read Next
NEXT GUIDE
How to Use a Monitor on a Shallow Desk Without Losing Usable Depth
Use this next if the arm can mount safely but the screen still sits too close or consumes too much usable desk depth.
GUIDE
How to Set Up Dual Monitors on a Small Desk Without Losing Work Surface
Use this if two monitors are driving the arm load, mount geometry, or final screen-position problem.
GUIDE
How to Manage Cables on a Small Desk Without Drilling
Use this if the mounting method is resolved but arm movement leaves power and display cables difficult to route without permanent installation.