
Small Desk Organization
How to Create a Multi-Device Charging Zone on a Small Desk
Protect the main work rectangle first, then size one charging zone to the devices that realistically charge at the desk, consolidate suitable power hardware, and give phones, tablets, headphones, and daily-use cables a parking and return system that does not take over the surface.
In This Guide

Charging clutter is not the same problem as ordinary desk cable clutter. A monitor, dock, lamp, or printer usually has a persistent cable route; phones, tablets, earbuds, headphones, power banks, and other mobile devices repeatedly arrive, connect, occupy space, and leave.
That means a charging zone has two footprints: the power hardware and the devices parked while charging. The charger may be compact while the loaded device footprint is not. Design the loaded state around the desk’s main working area, then choose power and cable hardware that supports that footprint safely.
Quick Answer
Design the Loaded Charging Zone, Not Just the Charger
Keep only the devices that genuinely need desk charging, size the power setup to realistic simultaneous demand, and place the loaded charging zone outside the primary work rectangle whenever possible. Measure where the phones, tablets, headphones, power banks, and cables will actually sit before choosing the charger, because device parking—not the charging block alone—sets the real footprint.
01
Remove devices that do not need desk charging
Keep the desk responsible only for devices that genuinely benefit from charging there. Overnight-only devices, occasional accessories, or equipment already powered through the workstation can use another appropriate charging location.
02
Count realistic simultaneous charging demand
Size the permanent charger or station to the number of devices that commonly charge at the same time, not to every rechargeable device you own.
03
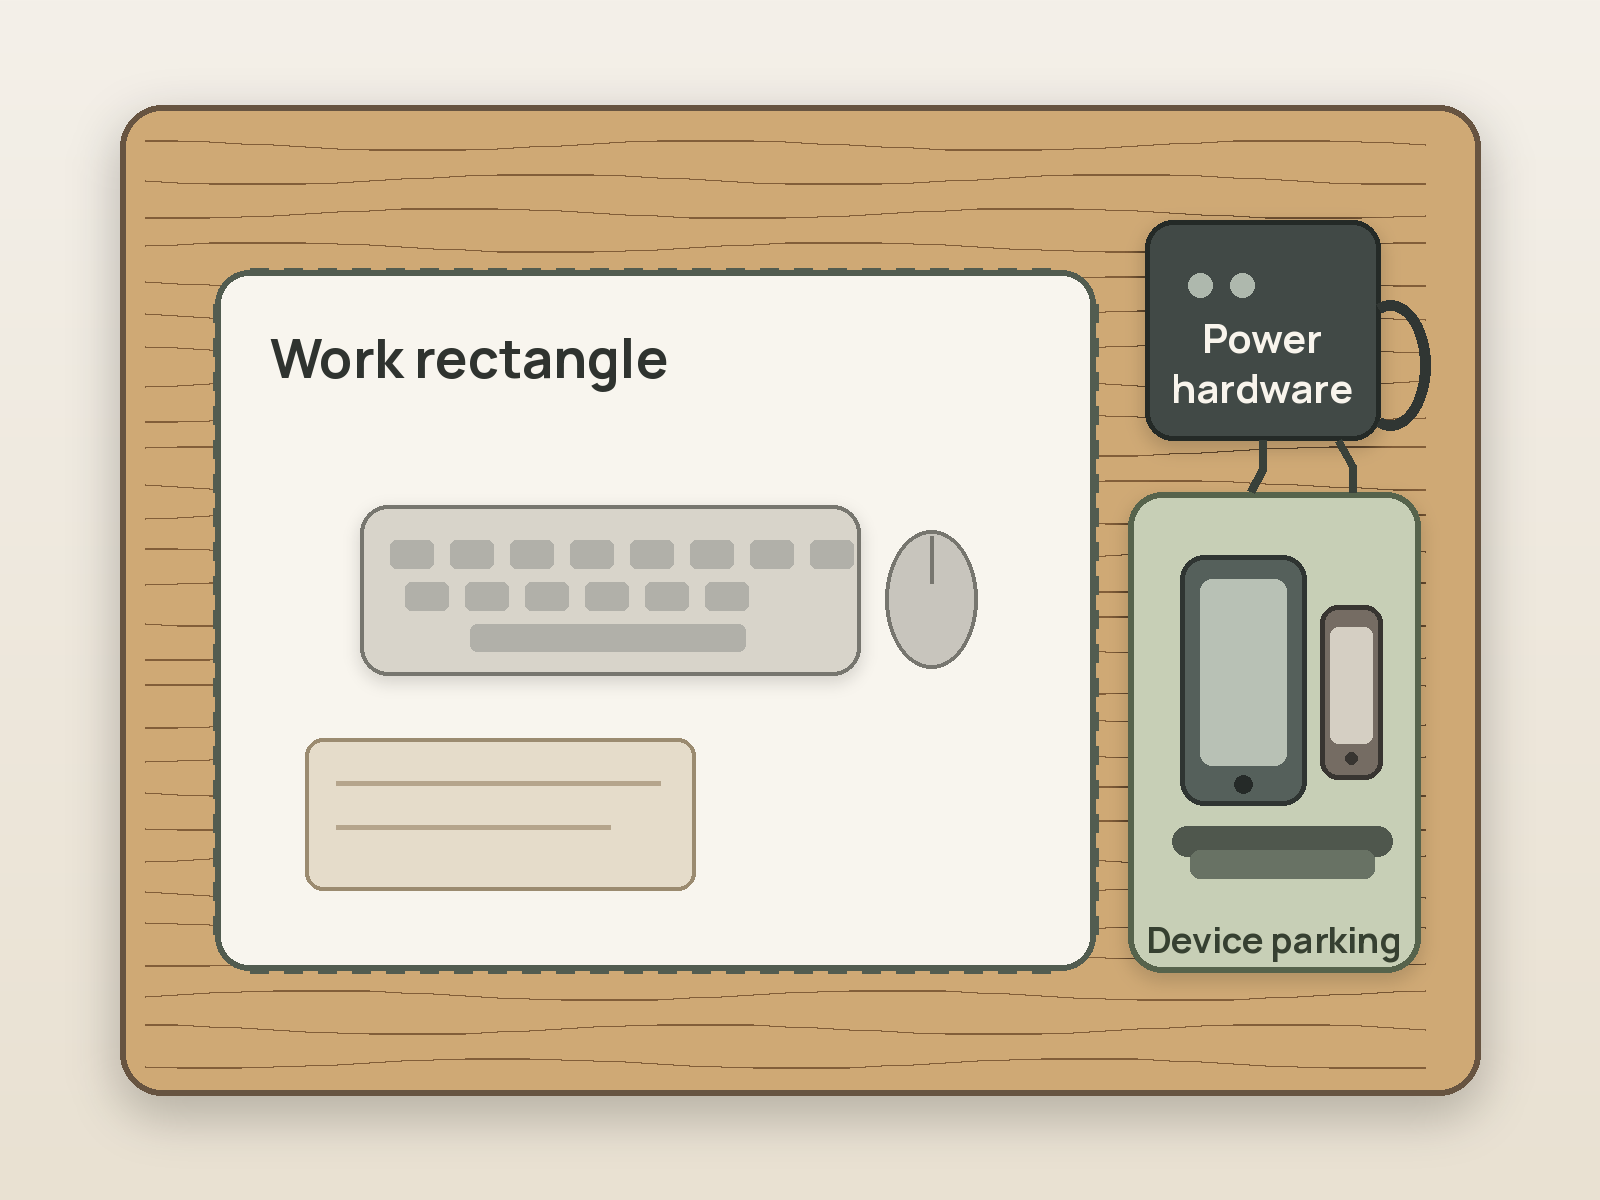
Keep charging outside the main work rectangle
When charging overlaps active work, move the charging zone to a rear edge, monitor shelf, side return, adjacent shelf, or another bounded secondary surface whenever the setup allows it.
01
Decide Which Devices Actually Charge at the Desk
Do not make a small desk the charging hub for the entire home by default.
List the devices that regularly benefit from charging during work: perhaps a phone, earbuds, a tablet, a power bank, or a laptop that already belongs in the workstation. Then separate devices that can charge overnight elsewhere, accessories that only need occasional charging, and equipment already powered through another desk connection.
This first edit can reduce both the permanent charger size and the temporary parking area. A seven-device household does not necessarily need a seven-device charging station on the desk.
The goal is not to minimize device ownership. It is to assign the desk only the charging jobs that genuinely support the desk’s main function.
02
Size the Zone to Real Simultaneous Demand
Total device count and simultaneous charging count are different numbers.
Look at a normal week and ask how many devices are commonly charging at the same time. A phone and earbuds may charge together every afternoon while the tablet charges only occasionally and the power bank charges overnight elsewhere.
Use that realistic concurrent load to define the smallest useful permanent charging setup. Oversizing the station for rare peak demand can create a larger block, more cables, and more permanent surface occupation than the desk needs most days.
Keep compatibility separate from port count. A six-port charger can reduce wall adapters, but the exact ports and power allocation still have to suit the devices that will use them.
03
Protect the Primary Work Rectangle
Treat the area needed for keyboard, mouse, notebook, drawing, writing, or other primary work as a protected rectangle.
When charging overlaps work time, do not let temporary device parking expand into that rectangle. Move the charging zone to the rear edge of a deeper desk, a monitor shelf, a side return, a nearby shelf, or another secondary surface that keeps the work area usable.
This is the main difference between a compact charging system and a compact charger. The charger can occupy only a few square inches while two phones, a tablet, a power bank, and headphones occupy far more.
Judge the setup in the loaded state. If connecting the normal group of devices makes it difficult to type, write, use the mouse, or place a notebook, the charging zone is still too large for the work surface.
Measure / Check First
Before choosing a charging block, station, shelf, clamp, or cable holder, test the charging system in its loaded state and against the desk’s real power and movement constraints.
Check the Charging Zone Before You Commit to Hardware
01
Loaded parking footprint
Stage the devices that realistically charge together, including stands, cases, cable plugs, watch pucks, power banks, and hand clearance. Confirm the group stays outside the primary work rectangle.
02
Power and compatibility
Confirm the charger or station is suitable for the actual devices and that its port-specific and total output behavior meets the intended simultaneous load under the manufacturer’s instructions.
03
Desk and renter fit
Check outlet reach, cable length, legroom, sit-stand movement, clamp geometry, adhesive compatibility, or screw requirements. A mounting method that damages the desk or violates lease constraints is not the same solution class as a freestanding zone.
If the zone works only when devices invade the work rectangle, power hardware is used outside its rating or instructions, cables block desk movement, or the mounting method is unsuitable, reduce the charging job or move it to another location.
04
Choose One Primary Power Source
Once the charging jobs and parking zone are clear, consolidate power only as far as the real device mix supports.
A compact multi-port USB charger can replace several separate wall adapters when the devices and charger are compatible. Anker’s current Prime Charger A2683, for example, combines four USB-C and two USB-A ports in a body approximately 4.4 × 3.0 × 1.4 inches. The manufacturer rates the unit at 200W total, but its port output changes with different multi-port combinations.
That is the important boundary: headline wattage and port count do not prove that a specific phone, tablet, laptop, watch charger, or accessory mix can all charge as expected at the same time. Use device and charger manufacturer guidance rather than assuming that a connector alone establishes suitability.
If the desk also needs a small number of AC-powered loads, an AC+USB station is a different form. Anker’s current Nano Charging Station A9129, for example, combines two AC outlets with USB-C and USB-A ports in a compact body. Choose this form only when the desk genuinely needs both charging and AC consolidation.
05
Design the Device Parking Zone
The parked devices usually determine the real size of the charging zone.
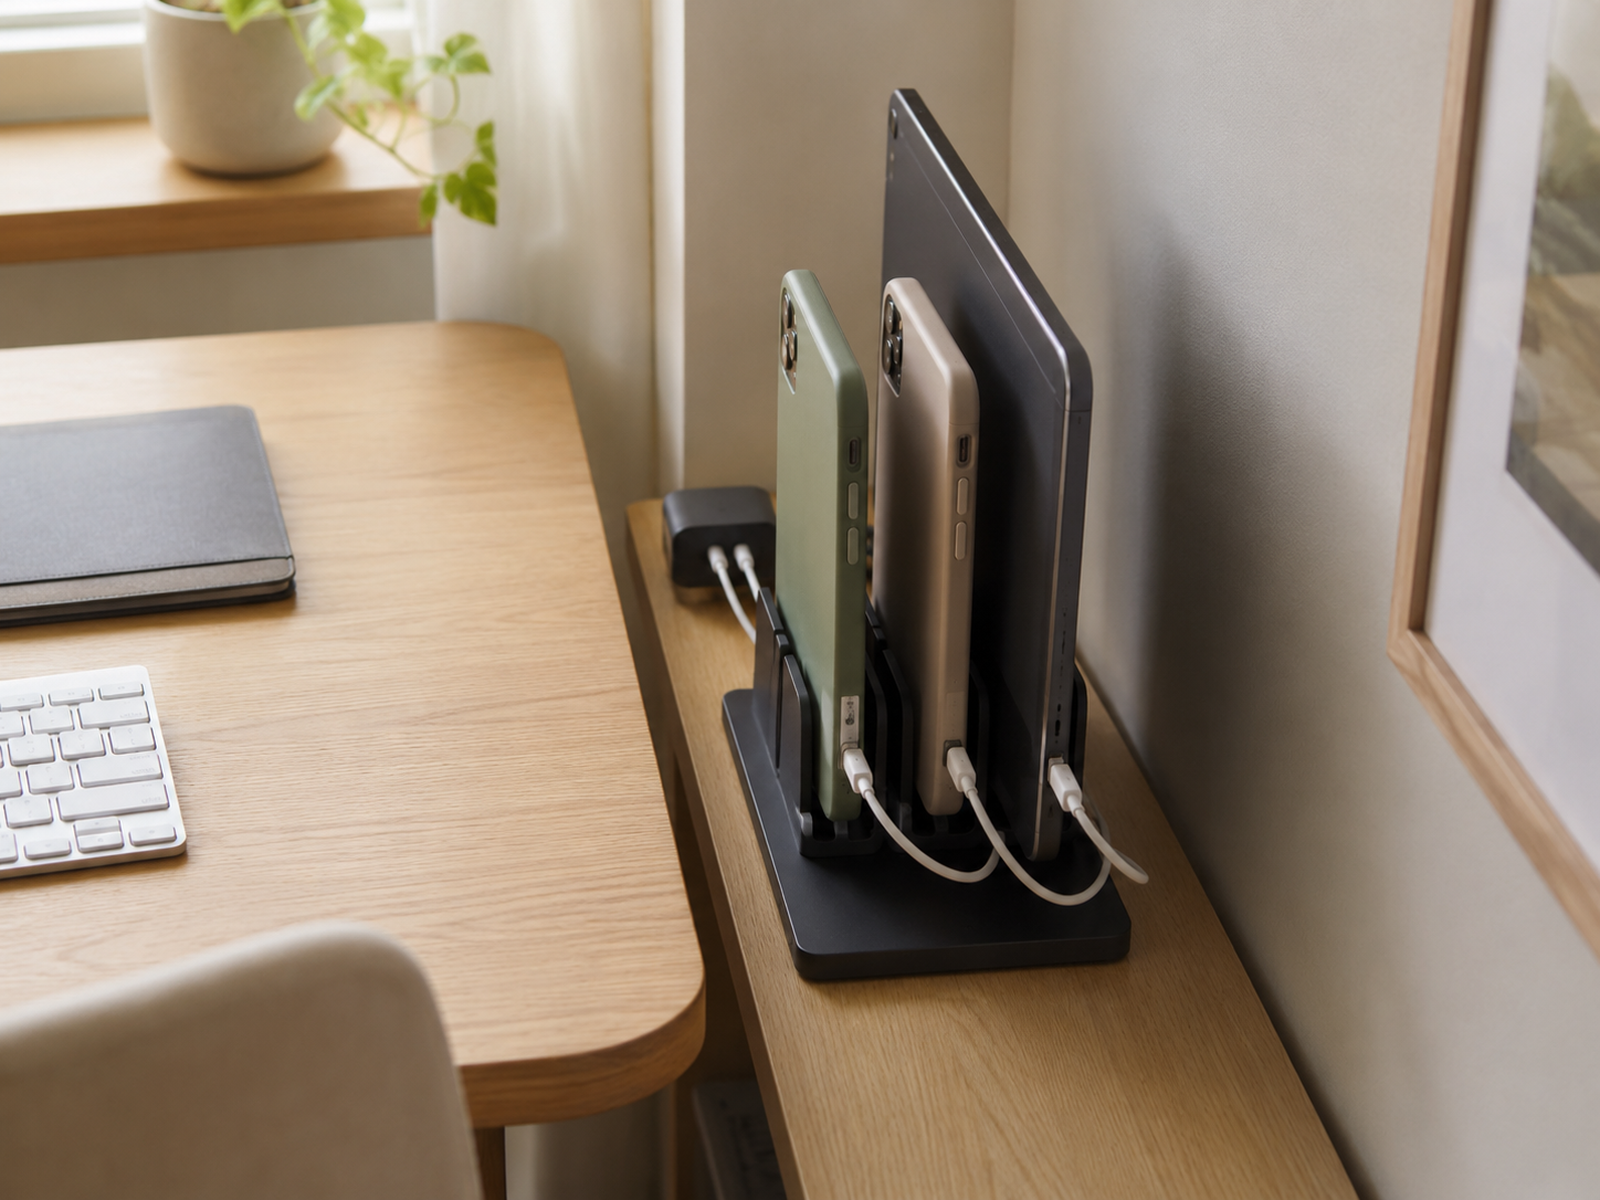
Place the charger first, then stage the normal simultaneous device set exactly as it will sit while charging. Include cases, stands, cable plugs, watch pucks, power banks, and the hand space needed to remove a device without disturbing the others.
Phones and tablets can often reduce their horizontal footprint by standing vertically in a compatible stable holder. Large irregular devices such as over-ear headphones do not need to make the charging station physically larger; keep them on their normal hook or stand and route the charging cable to that existing home.
Set a physical boundary for the charging zone. When that shelf, stand, tray, or desk strip is full, an additional device should charge at another time or another location rather than spreading into the protected work rectangle.
06
Move Power Hardware Off the Desktop When It Actually Returns Space
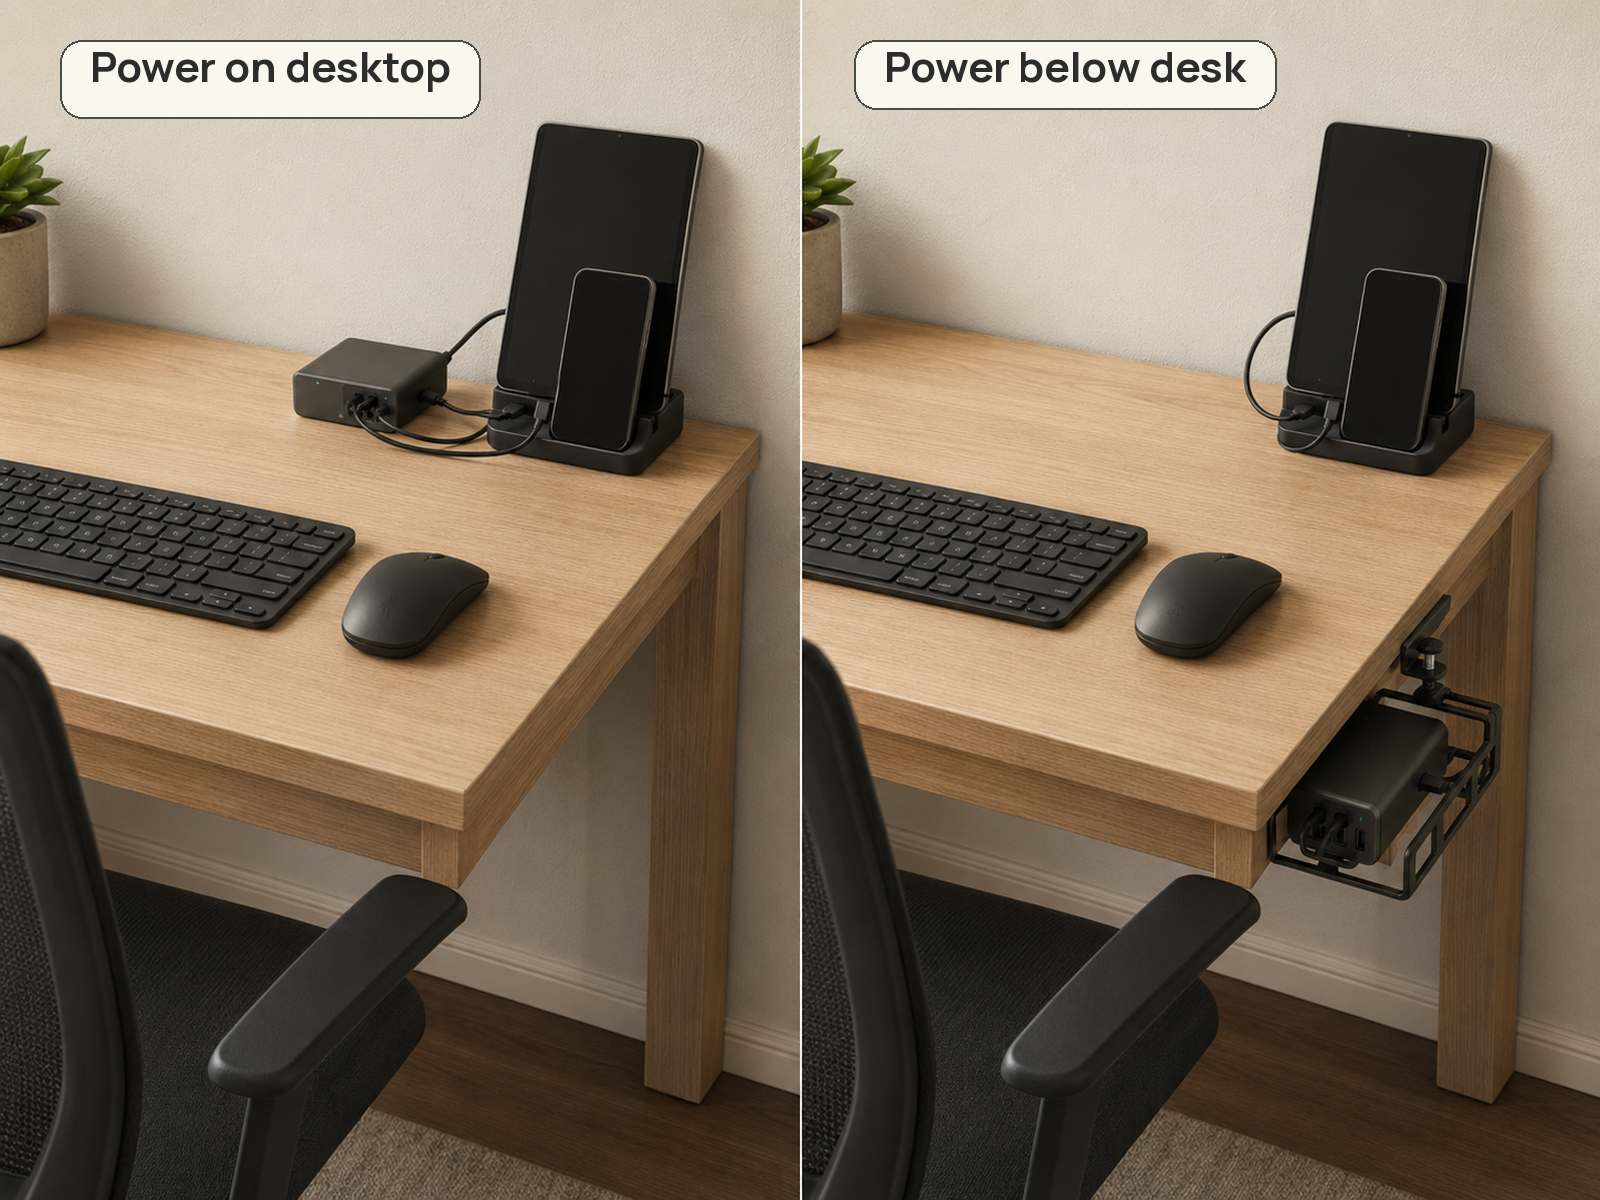
Moving the charger or power strip below the desk can recover some surface area, but it does not remove the device-parking footprint.
This works best when the power hardware is the bulky part of the system and the devices can remain in a compact above-desk parking zone. Keep the hardware accessible, follow the product’s installation and use instructions, and preserve legroom, chair clearance, and any sit-stand cable travel.
Do not treat hidden placement as automatically better. A charger packed into an improvised closed enclosure or mounted where it is difficult to inspect, unplug, or use according to its instructions can create a worse system than one compact visible block.
For renters, use a hierarchy: existing shelf or surface first, then removable clamp hardware when the exact desk edge and load are suitable, then adhesive only when the product and finish are compatible. Screwed under-desk trays or permanent desk power modules belong to the installation-dependent path.
07
Give Daily-Use Cables a Return Point
A clean fixed-cable setup can still fail when mobile charging cables have nowhere to go after the device leaves.
Give each frequently used charging cable one return point inside the charging zone: a loose clip, magnetic holder, designed cable parking feature, or another removable holder that keeps the connector reachable without letting the entire cable fall across the desk.
Use only as much exposed cable length as the real parking position needs. Too much length creates loops on the work surface; too little length pulls the device toward the charger and shrinks the usable parking area.
Retractable cables can reduce loose length, but exact power and data specifications vary. Do not assume a retractable USB-C cable supports a laptop or another high-power device simply because the connector fits.
08
Keep Large or Irregular Devices at Their Normal Home
The charging zone should not be enlarged around the largest awkward device unless that device truly needs to park there.
Over-ear headphones are the clearest example. They can occupy far more space than a phone or earbud case, yet they may already have a hook, stand, or side-of-desk home. Route the charging cable to that home instead of creating an oversized platform that holds the headphones only while charging.
The same principle can apply to a laptop already in a vertical stand, a controller stored on a hook, or an e-reader that normally lives on a shelf. Let the charging connection reach the established storage point when the setup and manufacturer guidance allow it.
This keeps the central charging zone sized to compact mobile devices rather than to the largest object in the entire rechargeable-device collection.
09
Keep Electrical Ratings Inside the Organization Plan
Electrical limits are not separate from organization. They define which consolidation ideas are legitimate.
The U.S. Consumer Product Safety Commission recommends chargers suitable for the battery-powered product and discusses charger-related hazards such as overheating, fire, electrical shock, and burns. Follow the device and charger manufacturer guidance rather than choosing a random adapter only because the plug fits.
UL Solutions advises users to check certification and electrical ratings such as watts and amps for power strips and surge protectors and to consider the equipment being connected. More outlets or USB ports are not permission to exceed the exact product’s rating.
Do not daisy-chain power strips to create more desk capacity. UL guidance for relocatable power taps and an OSHA interpretation describe these products as intended for direct connection to a branch receptacle rather than connection in series.
10
Move Charging Elsewhere When the Loaded Zone Still Hurts the Desk
A small desk does not have to charge every device that belongs to the household.
If the realistic simultaneous device set still blocks the keyboard, mouse, notebook, drawing area, or other primary work after power consolidation and compact parking, move part of the charging job elsewhere.
A nightstand, dresser, entry console, bookcase shelf, or another suitable nearby surface can take devices that do not need to charge during active work. This is often a stronger solution than adding a larger station, more tiers, or more mounted hardware to a desk that is already at capacity.
The stop rule is simple: once the safe, bounded charging zone begins to compromise the desk’s main function, the charging job has exceeded the surface budget.
Closing Decision
Give Charging Only the Surface Area It Earns
A compact charger is useful, but the real small-desk win comes from controlling where the devices sit while they charge. Keep only the charging jobs that genuinely belong at the desk, size hardware to normal simultaneous demand, and put the loaded device zone outside the primary work rectangle whenever possible.
Use one suitable power source, keep daily-use connectors parked at the charging zone, let large devices stay at their normal storage homes, and treat clamp, adhesive, and screw mounting as different renter paths. If the safe loaded system still compromises the desk’s main function, move part of the charging job elsewhere instead of adding more permanent hardware.
RELATED GUIDES
What to Read Next
NEXT GUIDE
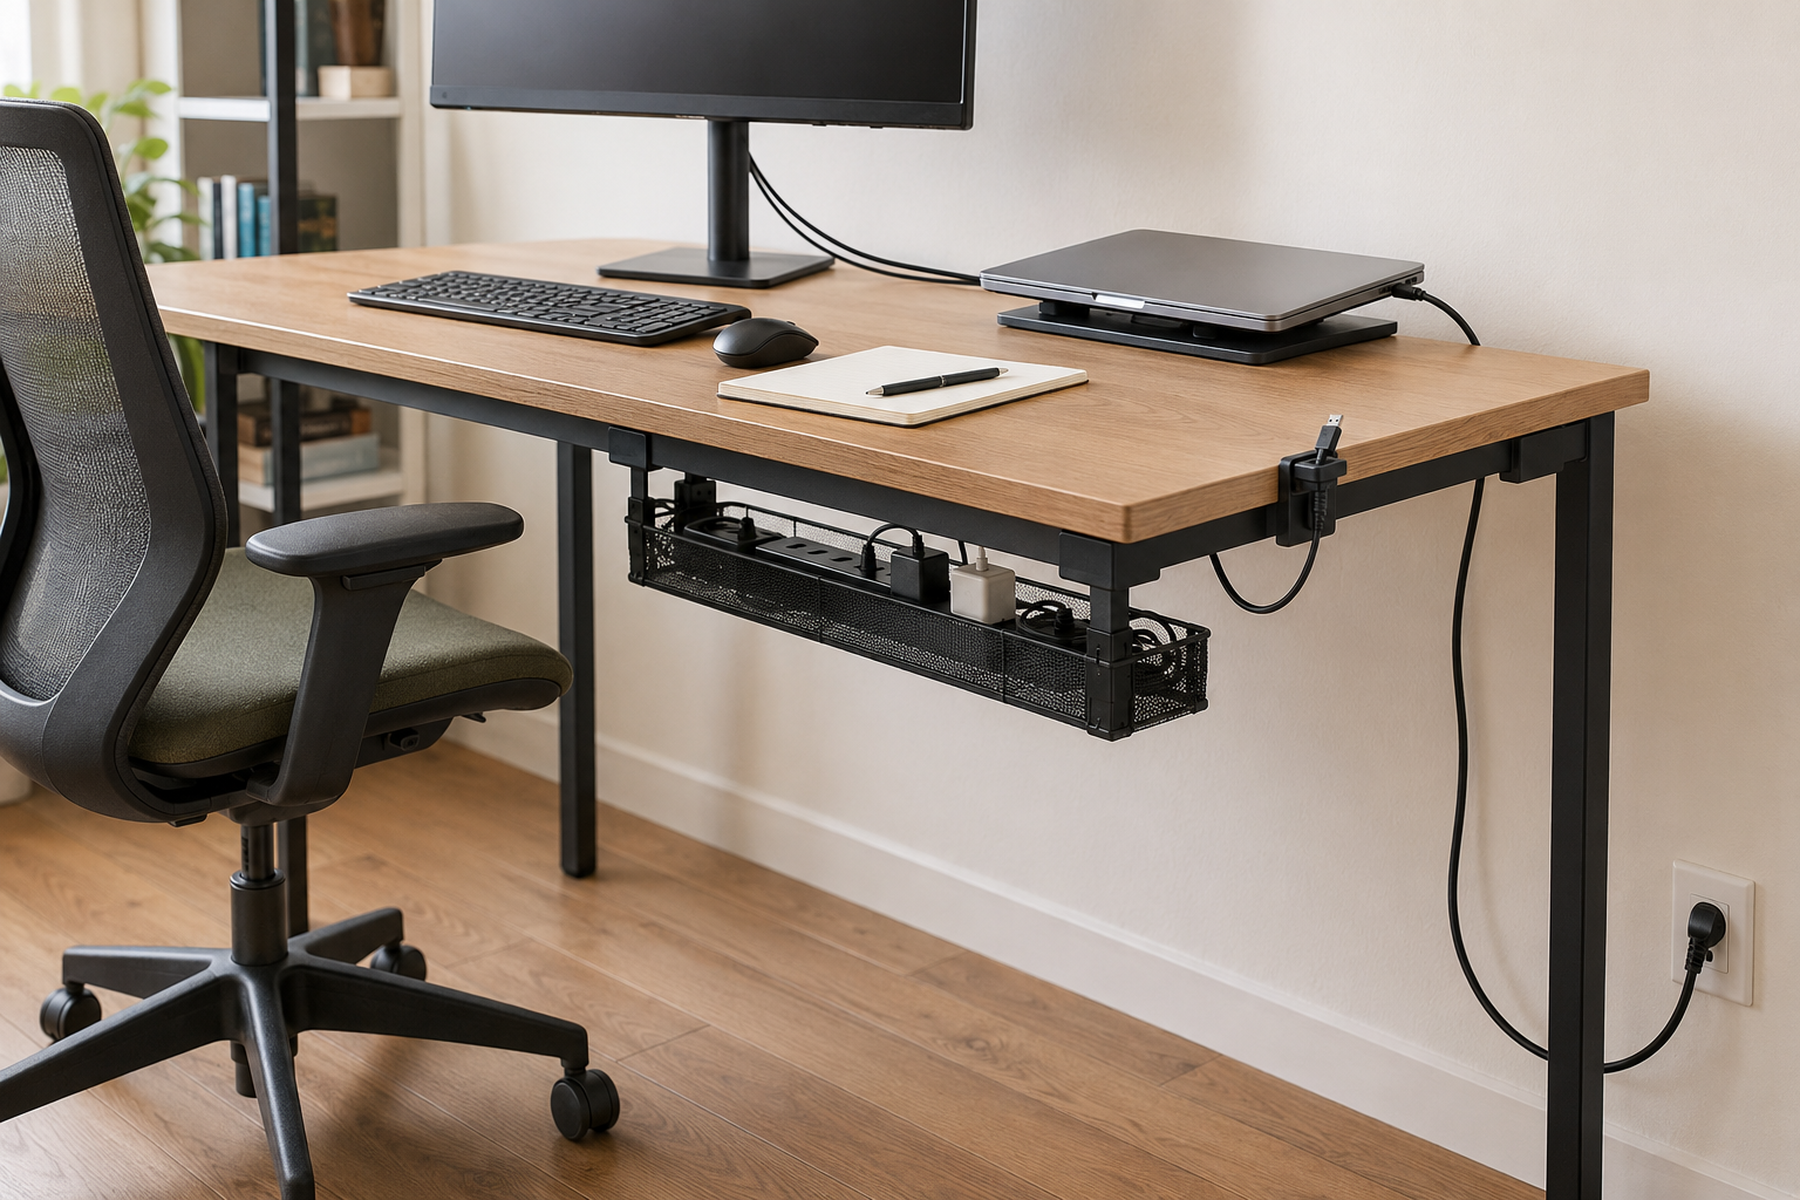
How to Manage Cables on a Small Desk Without Drilling
Use this next if the mobile charging zone is under control but the monitor, dock, lamp, or other persistent workstation cables still need a cleaner no-drill route.
GUIDE
How to Use Two Laptops on a Small Desk Without Losing Work Surface
Use this if the charging zone is only one part of a larger multi-device footprint and two active laptops still compete for the same work surface.
GUIDE
How to Organize a Small Desk With No Drawers Without Losing Work Surface
If charging is now bounded but everyday office supplies still live on the desktop because there are no drawers, this guide handles that separate surface-allocation problem.