
Small Kitchen Organization
How to Organize Baby Bottles and Pump Parts in a Small Kitchen With Limited Counter Space
Build the kitchen around the workflow, not the drying rack: keep dirty items separate, wash infant feeding items in a dedicated basin when hand washing, air-dry them thoroughly, then move fully dry bottles and pump parts into protected storage so the counter can reset.
In This Guide
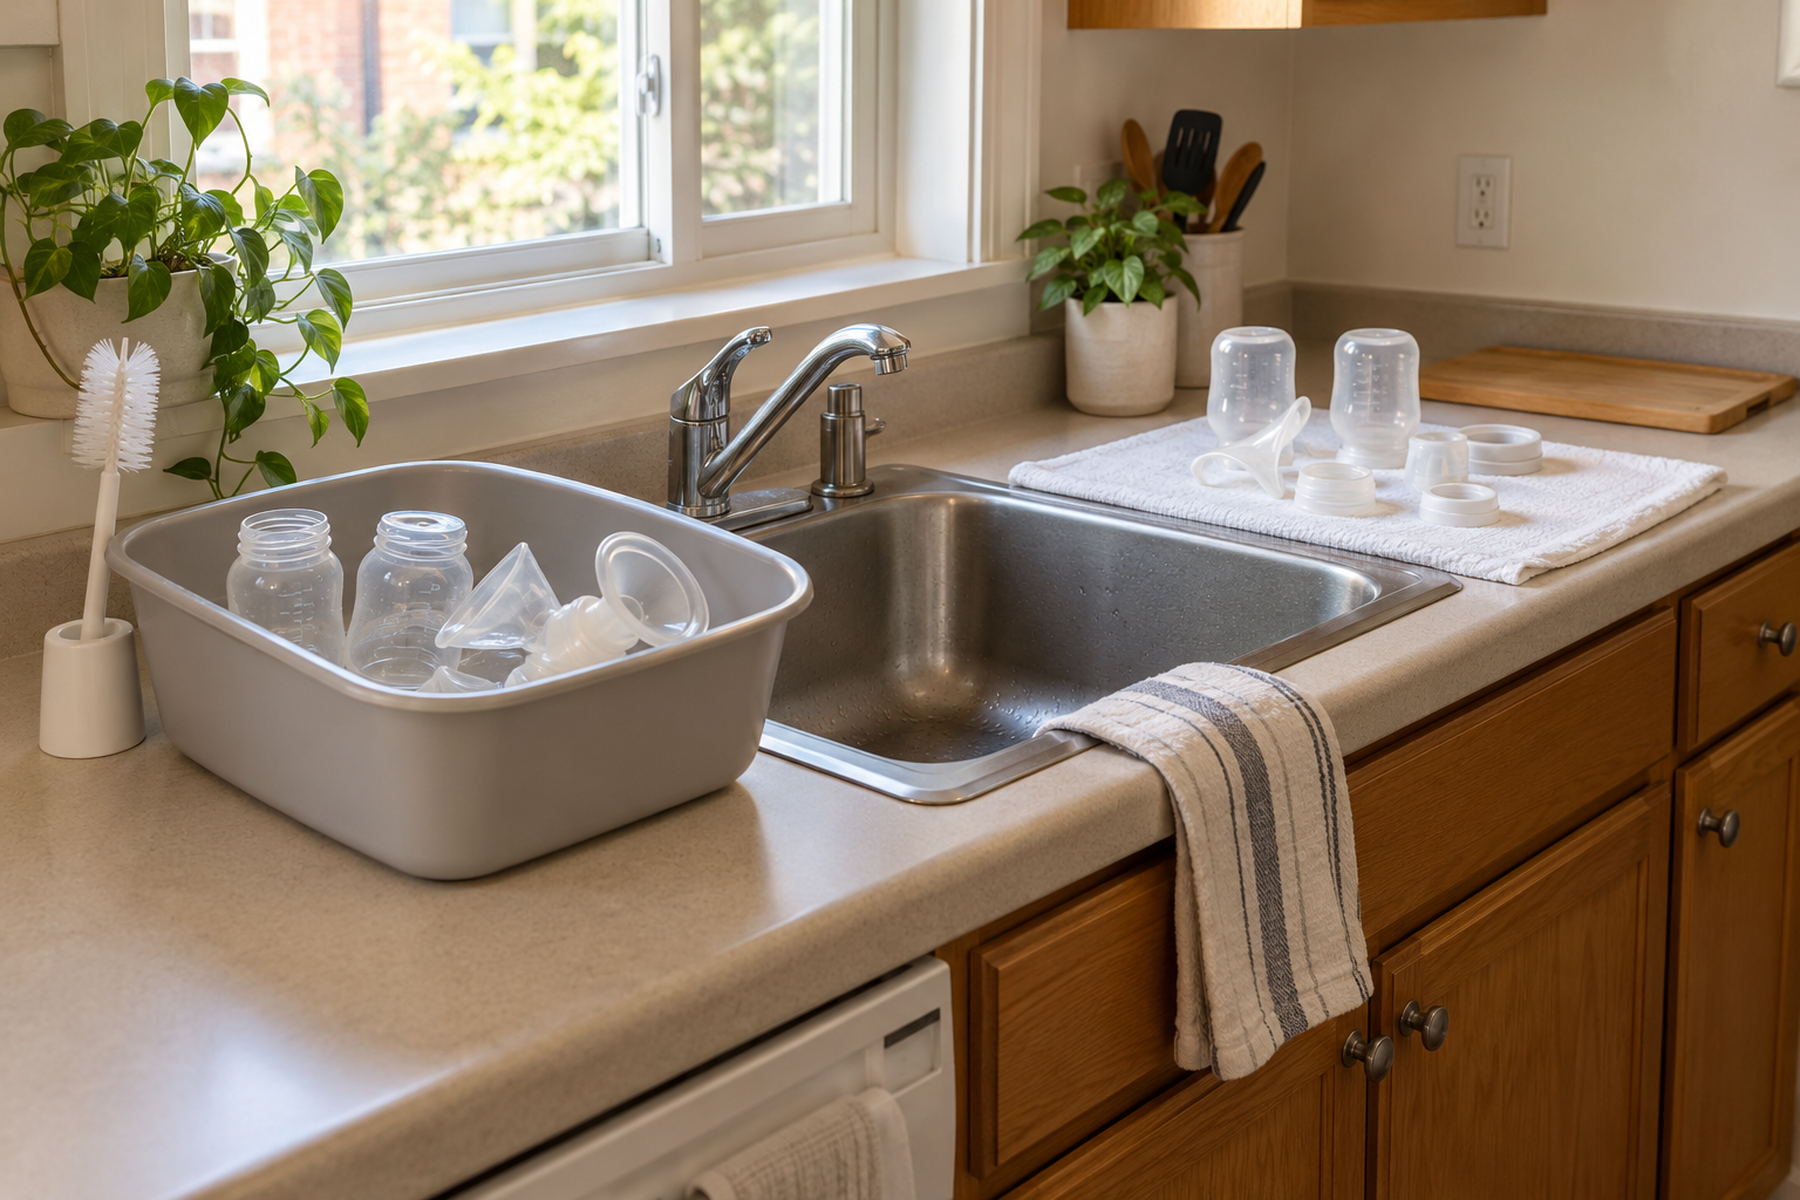
Baby-bottle and pumping gear can make a tiny kitchen feel permanently occupied because several states exist at once: dirty bottles waiting to be washed, clean parts still wet, pieces air-drying, fully dry parts waiting for reassembly, and clean bottles needed again within hours.
The strongest system is a flow rather than a display. Keep dirty, washing, drying, and fully clean items visually distinct, size the active inventory to the household’s real wash cadence, and move completely dry items off the counter into protected storage instead of letting the drying zone become permanent storage.
Quick Answer
Build a Clean-Dry-Store Flow, Not a Permanent Bottle Station
The counter only has to support the stage that is happening now. Keep the wash tools dedicated, give clean wet items enough room to air-dry thoroughly, and clear the surface by moving fully dry parts into protected storage.
01
Keep the dirty and clean sides unmistakable
Give used bottles and pump parts a clear waiting point that does not overlap the clean drying area. The goal is to prevent the counter from becoming one mixed pile of used, washed, wet, and ready-to-use pieces.
02
Use a dedicated basin for hand-washed feeding items
CDC says hand-washed infant feeding items should be placed in a clean basin or container used only for those items rather than washed directly in the sink.
03
Do not close up parts until they are completely dry
CDC says feeding items and pump parts should air-dry thoroughly before protected storage. Clearing the counter early by putting damp parts into a bin or cabinet breaks the workflow instead of finishing it.
01
Separate Dirty, Wet, and Fully Dry States
Start by assigning every item to one of four states: used and dirty, being washed, clean but still wet, or completely dry and ready to store. This simple separation prevents the bottle area from becoming a mixed pile where the household has to remember what is actually clean.
Keep dirty holding modest. A small basin, washable caddy, or another clearly defined waiting point can hold the next wash batch, but it should not become long-term storage for a full day of bottles when the household needs those parts back in circulation.
Treat pump parts as equal members of the system. Flanges, connectors, valves, membranes, duckbill valves, caps, and other small pieces can create more drying clutter than the bottles themselves even when each individual part is tiny.
The final transition matters just as much as washing. Once parts are fully dry, they should leave the drying zone so the counter is available for the next batch rather than functioning as permanent clean-bottle storage.
02
Build a Dedicated Hand-Wash Zone Without Giving Up the Sink
If bottles or pump parts are washed by hand, make the dedicated wash basin and brush temporary working tools rather than permanent counter fixtures. CDC says hand-washed infant feeding items should be washed in a clean basin or container used only for those items instead of directly in the sink.
Choose a basin that fits inside or beside the sink during washing but can itself be rinsed, dried, and stored when the batch is finished. The small-space objective is to preserve the dedicated hygiene boundary without giving the basin permanent ownership of the sink-side counter.
Keep the dedicated brush with the feeding workflow and let it dry as part of the reset. A brush that remains wet and buried in an ordinary sink caddy weakens the visual clean-versus-dirty boundary the rest of the system is trying to create.
When a dishwasher is used for dishwasher-safe items, contain small parts according to CDC and the product instructions so they do not fall into the filter. The dishwasher can change the wash architecture, but fully dry remains the gate before protected storage.
Measure / Check First
Before buying a drying rack, caddy, cart, washer-dryer, or extra storage bin, test one complete wash-and-dry cycle with the actual bottle and pump-part inventory.
Check Batch Size, Drying Space, and Protected Storage First
01
The largest realistic wash batch
Count the bottles, nipples, rings, caps, flanges, valves, connectors, and other parts that can be dirty at the same time. The drying system needs to handle a real peak batch without forcing pieces into unstable piles.
02
The clean drying footprint and vertical clearance
Measure the temporary towel/rack area, bottle height, peg or tower height, upper-cabinet clearance, and the space needed to load and remove small parts while keeping the area clean.
03
The fully dry storage transition
Identify the clean cabinet, drawer-like bin, or protected container that will receive completely dry parts. If no protected destination exists, the rack will become permanent storage no matter how compact it is.
If the system can wash a batch but cannot dry it without stacking, or can dry it but has nowhere clean for fully dry parts to go, the workflow is still incomplete.
03
Use a Clean Towel or Paper-Towel Drying Zone as the Baseline
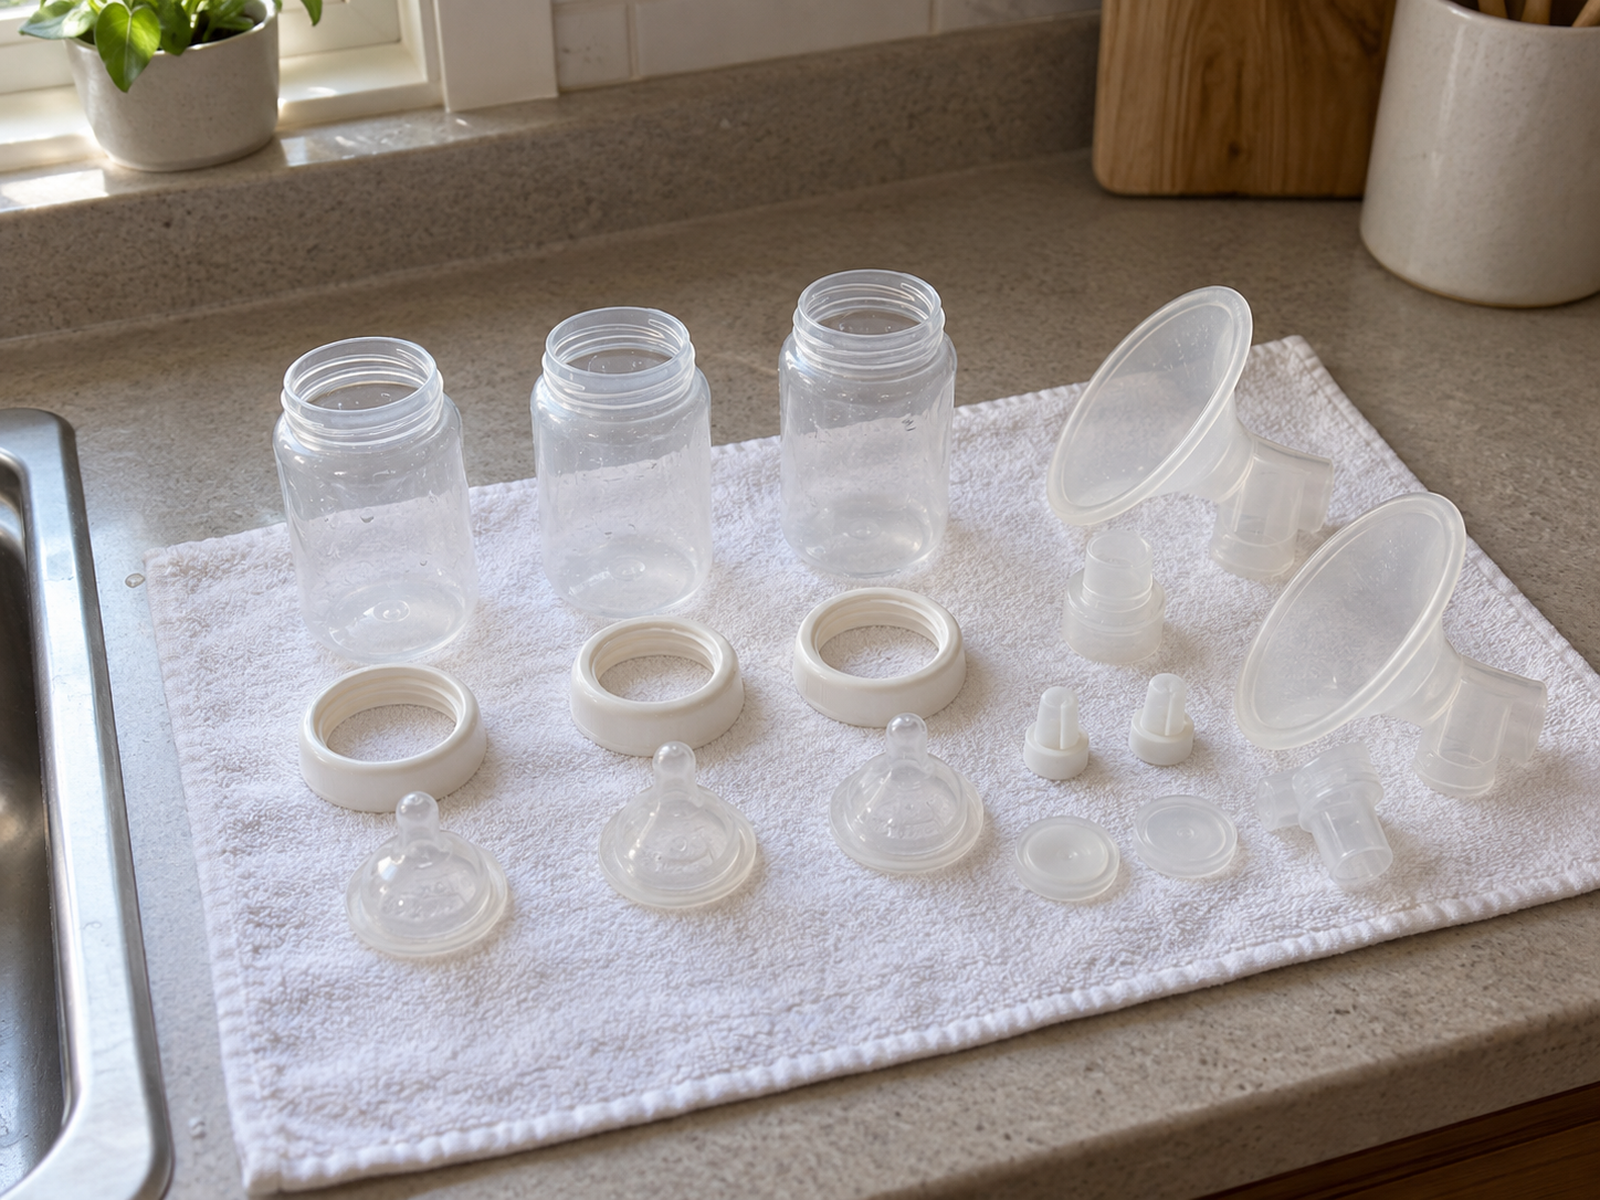
A dedicated drying rack is optional, not the starting requirement. CDC says air-drying infant feeding items on a clean, unused dish towel or paper towel is probably more hygienic than a drying rack because racks may trap moisture and can be difficult to clean.
That makes a simple horizontal drying zone a strong baseline when the household can spare a temporary clean patch of counter. Spread disassembled items so water can drain and air can reach the surfaces, then leave them undisturbed until they are thoroughly dry.
Do not rub or pat the pieces dry with an ordinary dish towel to clear the counter faster. CDC warns that doing so can transfer germs to the items.
The limitation is space efficiency. Bottles, flanges, rings, caps, valves, and connectors can sprawl quickly, so a horizontal zone works best when the active inventory and wash batch are intentionally bounded.
04
Choose the Smallest Drying Architecture That You Can Maintain
A dedicated rack can make sense when the horizontal towel zone is too expensive and the household needs more vertical organization for bottles and small parts.
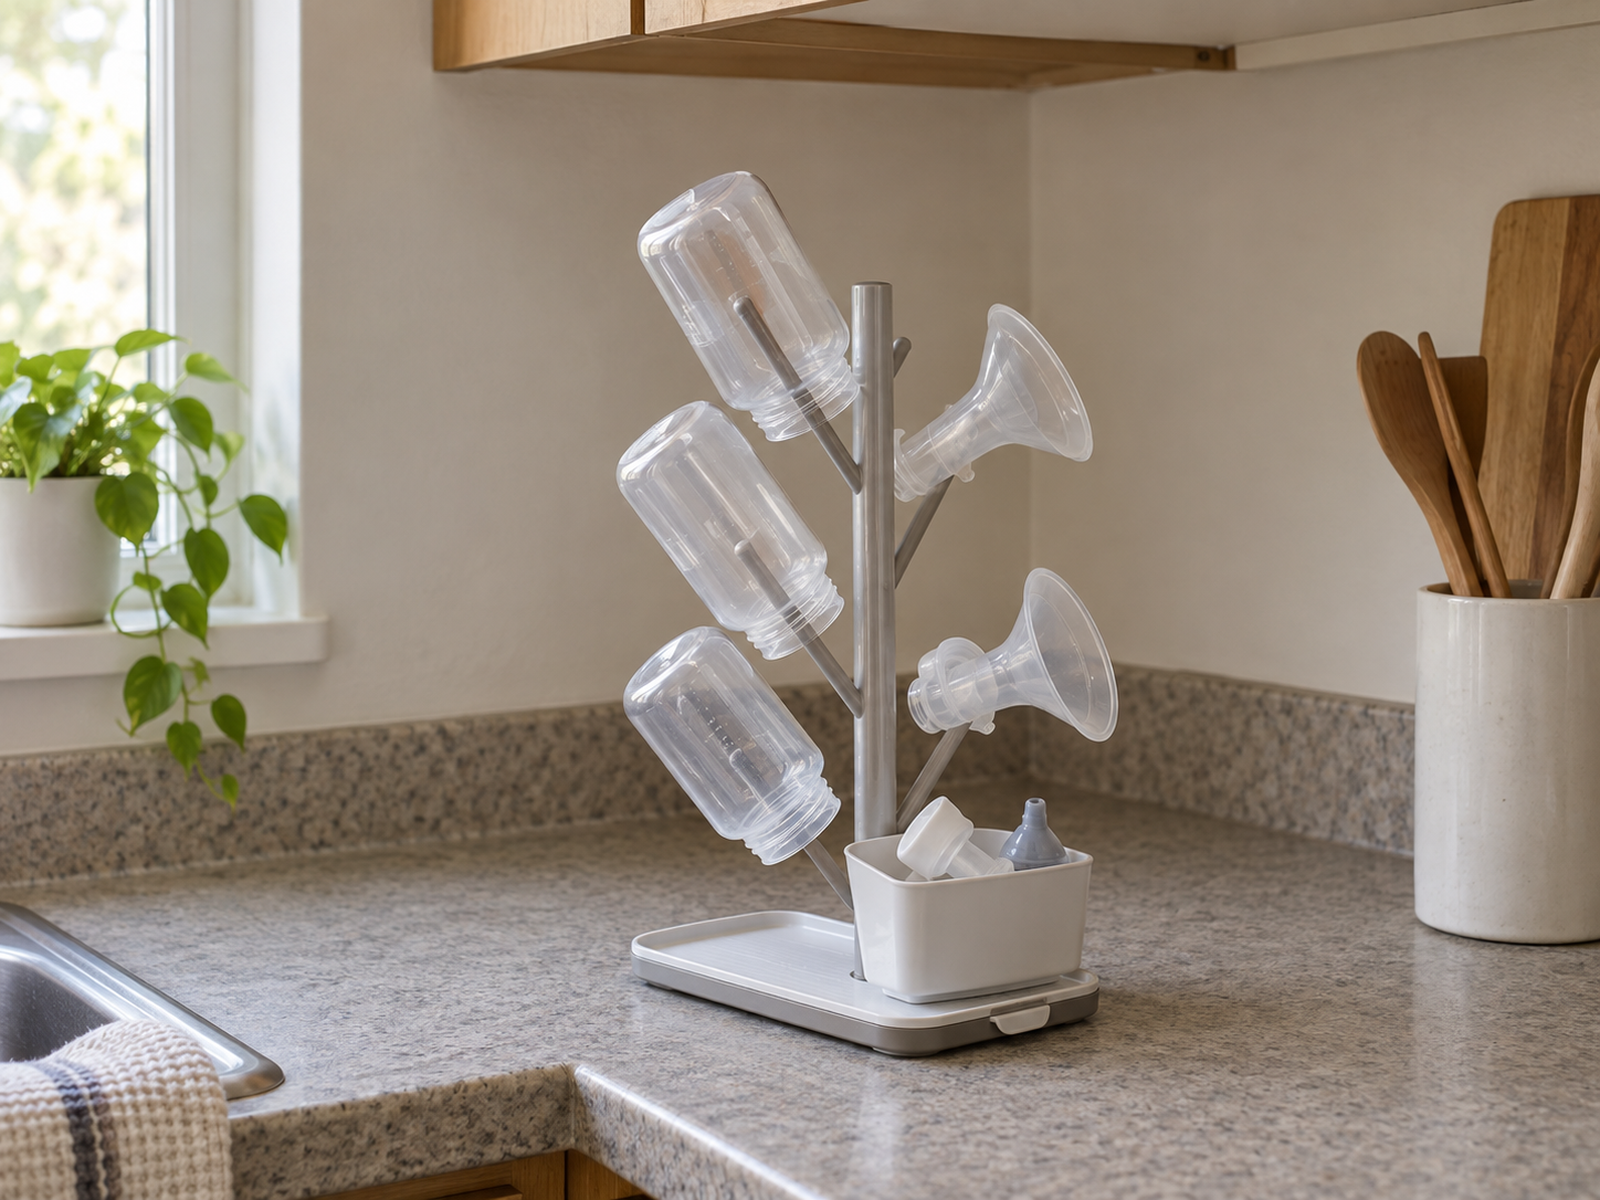
Current products verify several real architectures: upright racks with angled pegs, vertical drying towers with small-part trays, and foldable racks that collapse when the drying window ends. The useful distinction is not brand; it is whether the rack reduces the working footprint without becoming harder to clean than the items it holds.
If a rack is used, CDC says it should be used only for infant feeding items and maintained appropriately. That means the rack, trays, pegs, cups, drainage channels, or base become part of the cleaning-and-drying routine rather than neutral furniture.
Measure upper-cabinet clearance before choosing a tall rack. A vertical design can save counter width and still fail if bottles or pump parts cannot be loaded, removed, or left to dry without striking the cabinet above.
Use / Skip
A Dedicated Vertical Drying Rack
Use
Use it when vertical organization reduces the footprint and the rack itself is maintainable
A dedicated vertical rack can work when it is reserved for infant feeding items, fits below the cabinets, keeps bottles and pump parts separated, drains predictably, and can be washed, sanitized when appropriate, and dried as part of the routine.
Skip
Skip it when the rack becomes permanent damp storage or another hard-to-clean object
Use a clean towel or paper-towel drying zone, a foldable rack, dishwasher route, or another simpler architecture when the rack traps moisture, is difficult to clean, does not fit below the cabinets, or stays full of completely dry parts because no protected storage destination exists.
05
Treat Pump Parts as a Small-Parts System
Pump parts need more than spare pegs between bottles. Their small size and irregular geometry make them easy to lose in an ordinary dish rack and easy to mix with pieces that are still wet.
Use a dedicated small-parts tray, removable rack cup, mesh dishwasher container where appropriate, or another clearly bounded drying surface so valves, membranes, connectors, caps, and other parts stay visible through the clean-and-dry cycle.
Do not move small parts into a closed caddy merely because they no longer drip. CDC’s pump-hygiene guidance says clean parts should air-dry thoroughly and be stored only after they are completely dry.
Once dry, organize by reassembly rather than by shape when that makes the next pumping session faster. A small protected container for one complete set can be more useful than several micro-containers that make the user rebuild the pump from scattered categories.
06
Move Fully Dry Parts Into Protected Storage
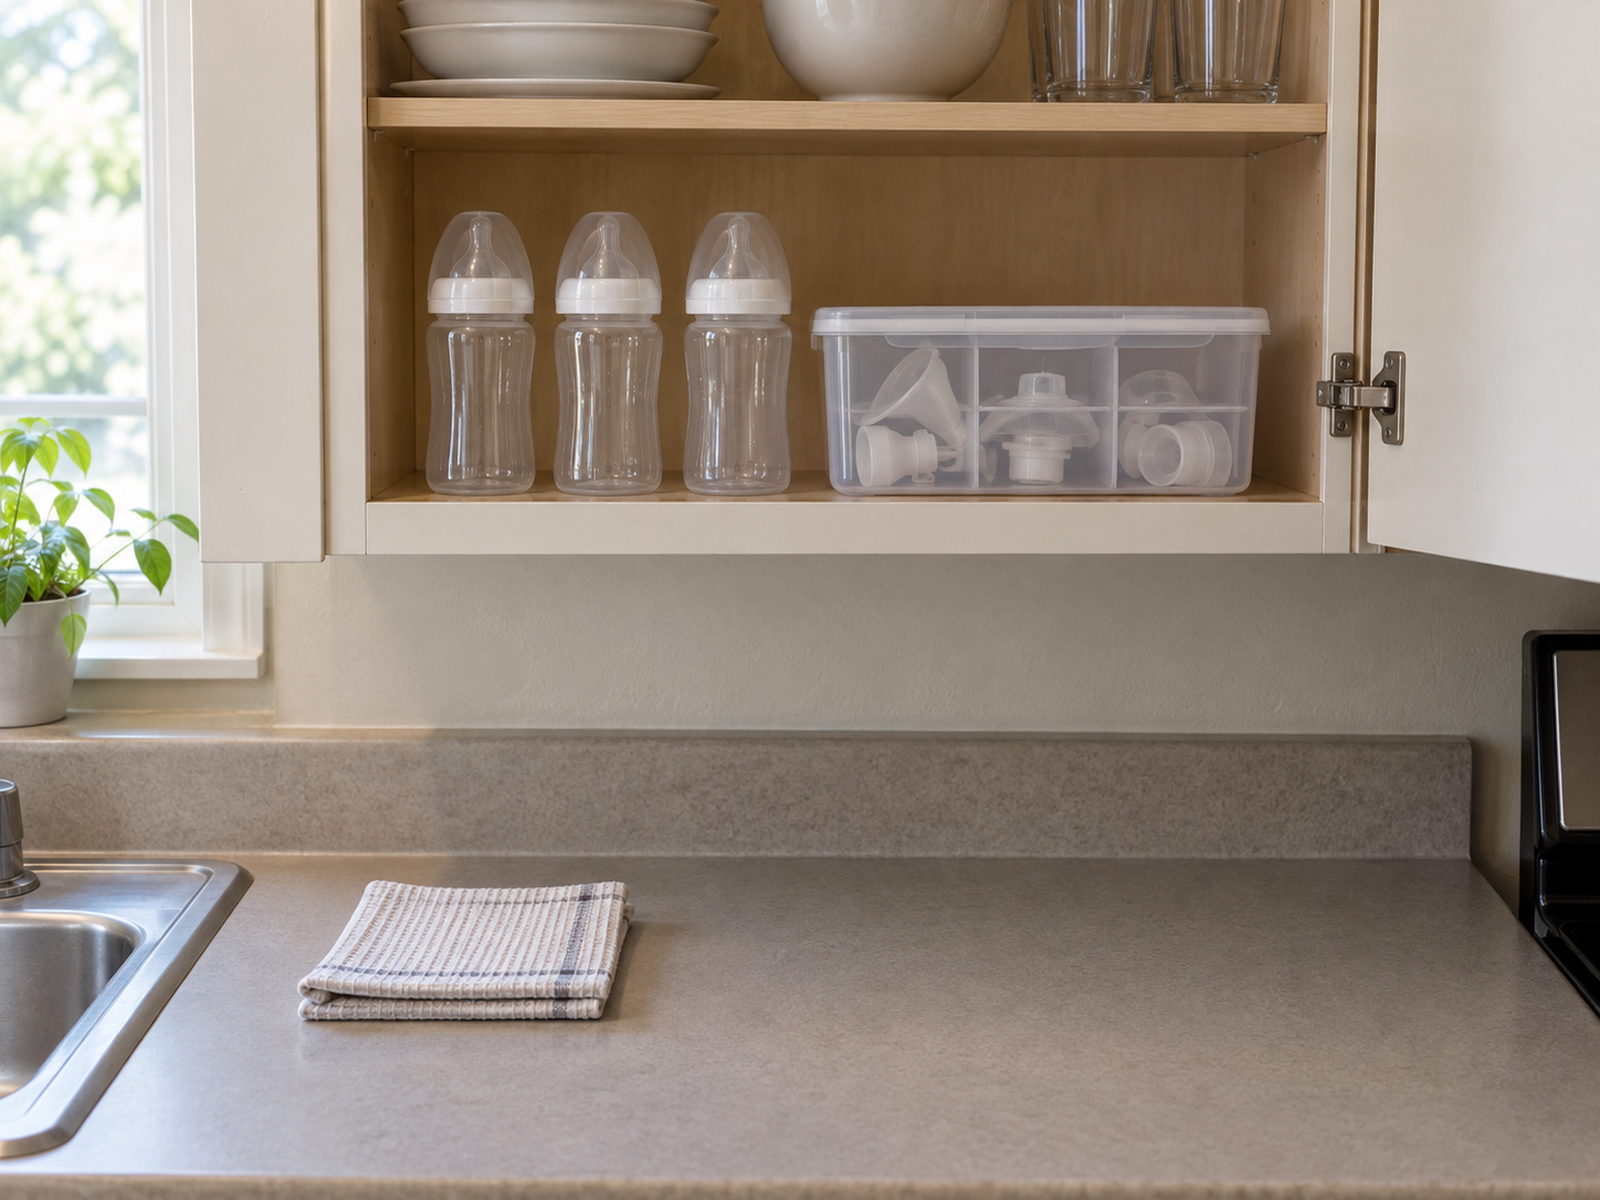
The drying zone should not become the final home for clean bottles and pump parts. CDC recommends reassembling completely dry feeding items and storing them in a clean, protected area.
Reassign one cabinet shelf, drawer-like bin, or clean protected container for the active clean set. That enclosed storage can be modest because it only needs to hold the working inventory, not every backup bottle, spare part, or future-size accessory the household owns.
Keep the storage zone close enough to the drying surface that the transition actually happens. A protected cabinet on the other side of the kitchen may be technically clean but can encourage dry parts to remain on the rack because moving them feels like extra work.
Never use the protected bin as a shortcut for damp pieces. The counter is only truly reset after the items are fully dry and the storage container stays a clean zone rather than becoming a moisture trap.
07
Use a Dishwasher or Powered Washer-Dryer Only When It Earns the Footprint
A dishwasher can collapse washing and some drying work when the feeding items are dishwasher-safe and the cycle fits the household’s feeding schedule. CDC permits dishwasher cleaning for dishwasher-safe items and notes that hot water plus heated drying or sanitizing settings can help kill more germs.
If items are not fully dry after the dishwasher cycle, they still need a clean air-drying stage before storage. The dishwasher reduces counter labor only when the cycle timing and remaining drying step match the household’s real turnaround needs.
A powered bottle washer, dryer, or sterilizer can combine multiple stages into one appliance footprint, which is why some small-kitchen parents value the drying function. But it also adds a permanent machine that competes directly with food prep and ordinary kitchen appliances.
Treat that appliance as a footprint trade rather than a universal hygiene upgrade. Compatibility, cleaning, water and electrical needs, sanitizing settings, purchase cost, and the household’s actual bottle/pump volume all determine whether it earns the counter.
08
Reduce the Active Working Set When Every Stage Is Overloaded
If dirty holding, drying, and clean storage are all overflowing at once, the root problem may be the number of bottles and pump sets in active rotation rather than the drying architecture.
A smaller working set can reduce the number of dirty items waiting, the amount of drying surface required, and the cabinet volume needed for fully dry parts. The cost is a shorter turnaround window and potentially more frequent washing.
Do not force one universal bottle count. Pumping schedules, daycare, overnight feeding, dishwasher access, infant needs, and caregiver workload all change how many sets the household realistically needs.
Keep backups separate from the daily loop. Prime sink-side and cabinet space should serve the bottles and pump parts that move through the workflow repeatedly, while unopened or rarely used extras can live in slower secondary storage.
Closing Decision
Let the Counter Support Drying, Not Permanent Storage
The strongest small-kitchen system keeps the hygiene sequence visible: dirty items wait on one side, hand-washed items use the dedicated basin when needed, clean parts air-dry thoroughly, and fully dry bottles and pump parts leave the counter for protected storage.
Choose the smallest drying architecture that can handle the real batch and that the household can maintain. If the counter is still permanently covered, reduce the active working set, improve the dry-to-storage transition, or use an appliance workflow only when it genuinely earns the fixed footprint.
RELATED GUIDES
What to Read Next
NEXT GUIDE
How to Create a Dish-Drying Zone in a Small Kitchen With No Dishwasher
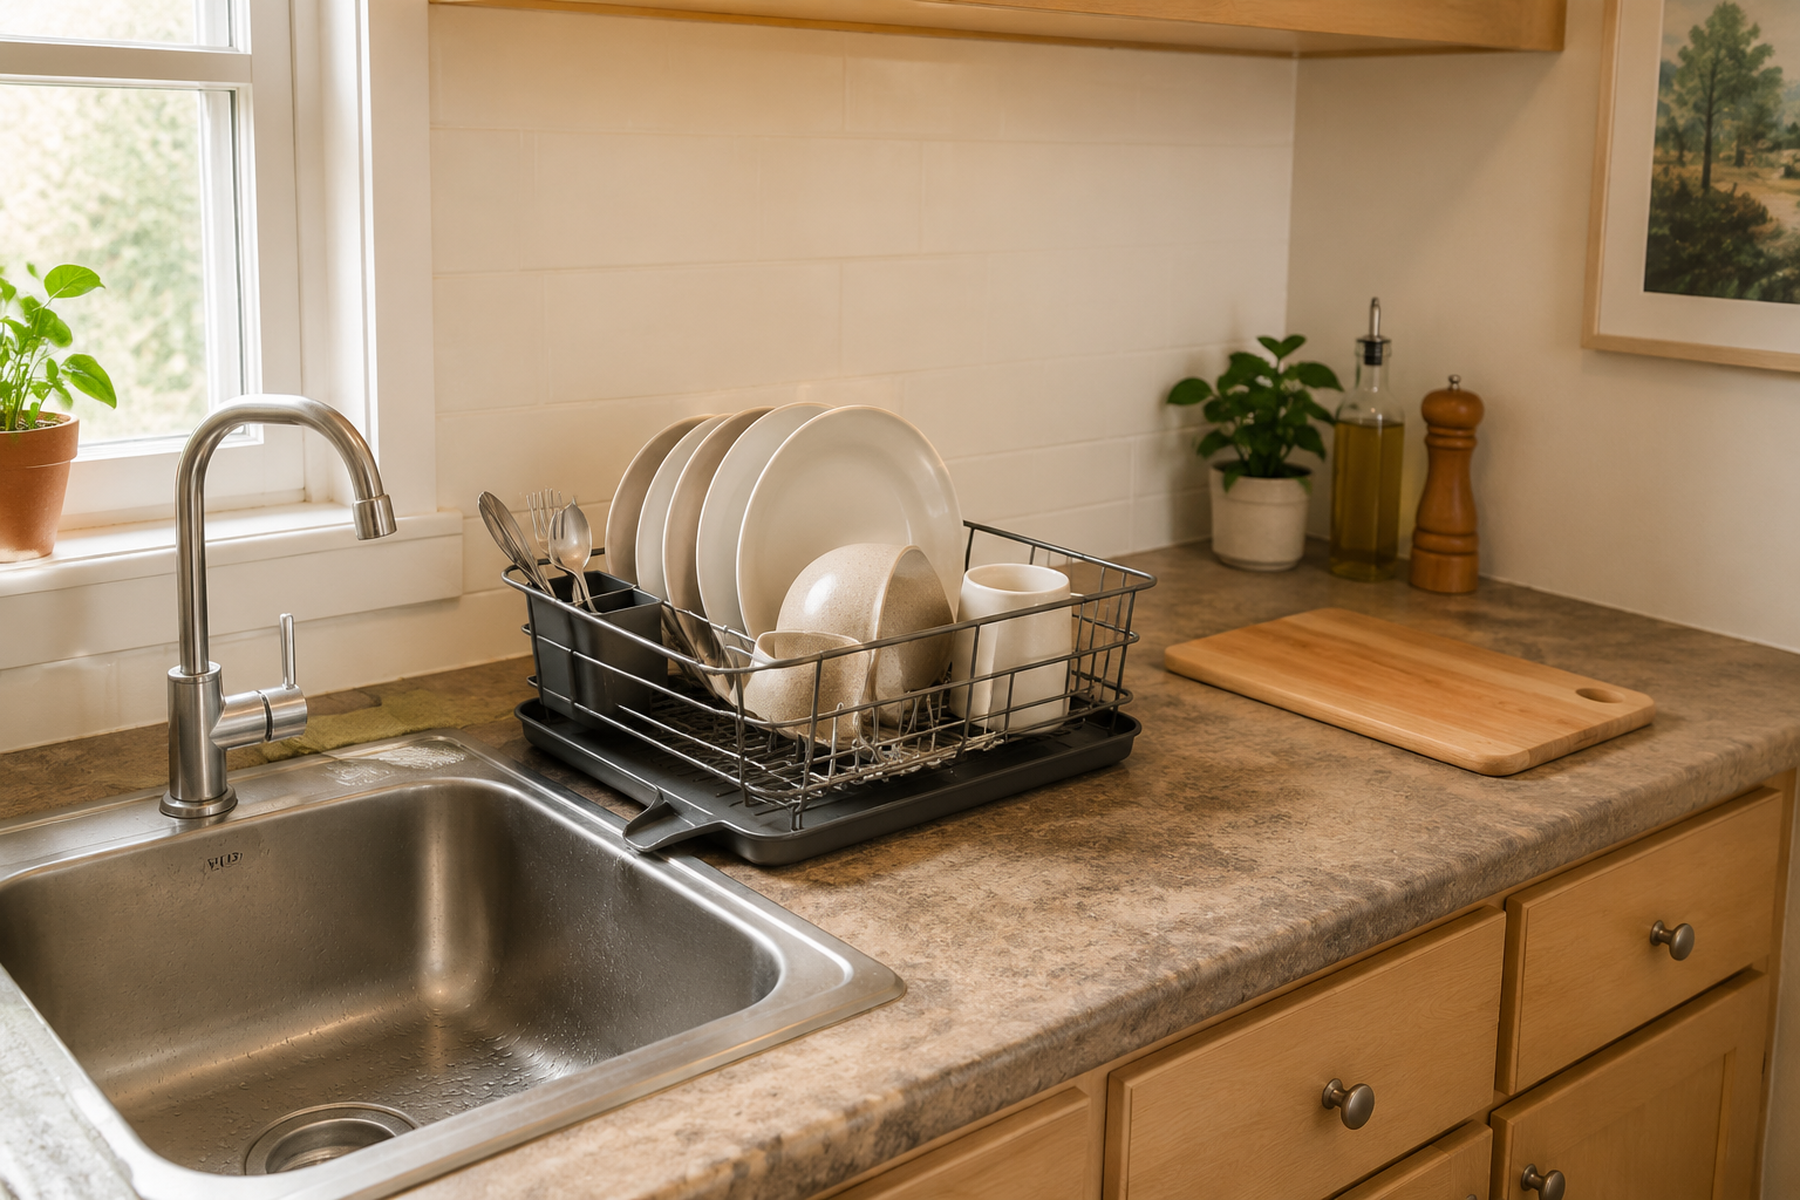
Use this next if ordinary dishes are competing with the infant-feeding workflow for the same sink-side surface; that guide handles the general dish-drying zone without the baby-specific hygiene boundary.
GUIDE
How to Create a Prep Surface in a Small Kitchen With Almost No Counter Space
Use this if bottle and pump-part processing has consumed the kitchen’s only food-prep surface; that guide helps identify another stable prep plane.
GUIDE
How to Organize Everyday Dishes in a Small Kitchen With Limited Cabinet Space
Use this if clean bottle storage is competing with mugs, glasses, plates, and bowls; that guide focuses on assigning prime cabinet space to the everyday dish working set.