
Small Kitchen Organization
How to Organize High Kitchen Cabinets When Upper Shelves Are Hard to Reach
High cabinets can add plenty of storage on paper while still pushing daily items out of practical reach. Start by giving the easiest vertical zones to the things you use most, keep the highest space lighter and less crowded, then add an access aid or cabinet accessory only when it actually improves retrieval instead of just adding more capacity.
In This Guide
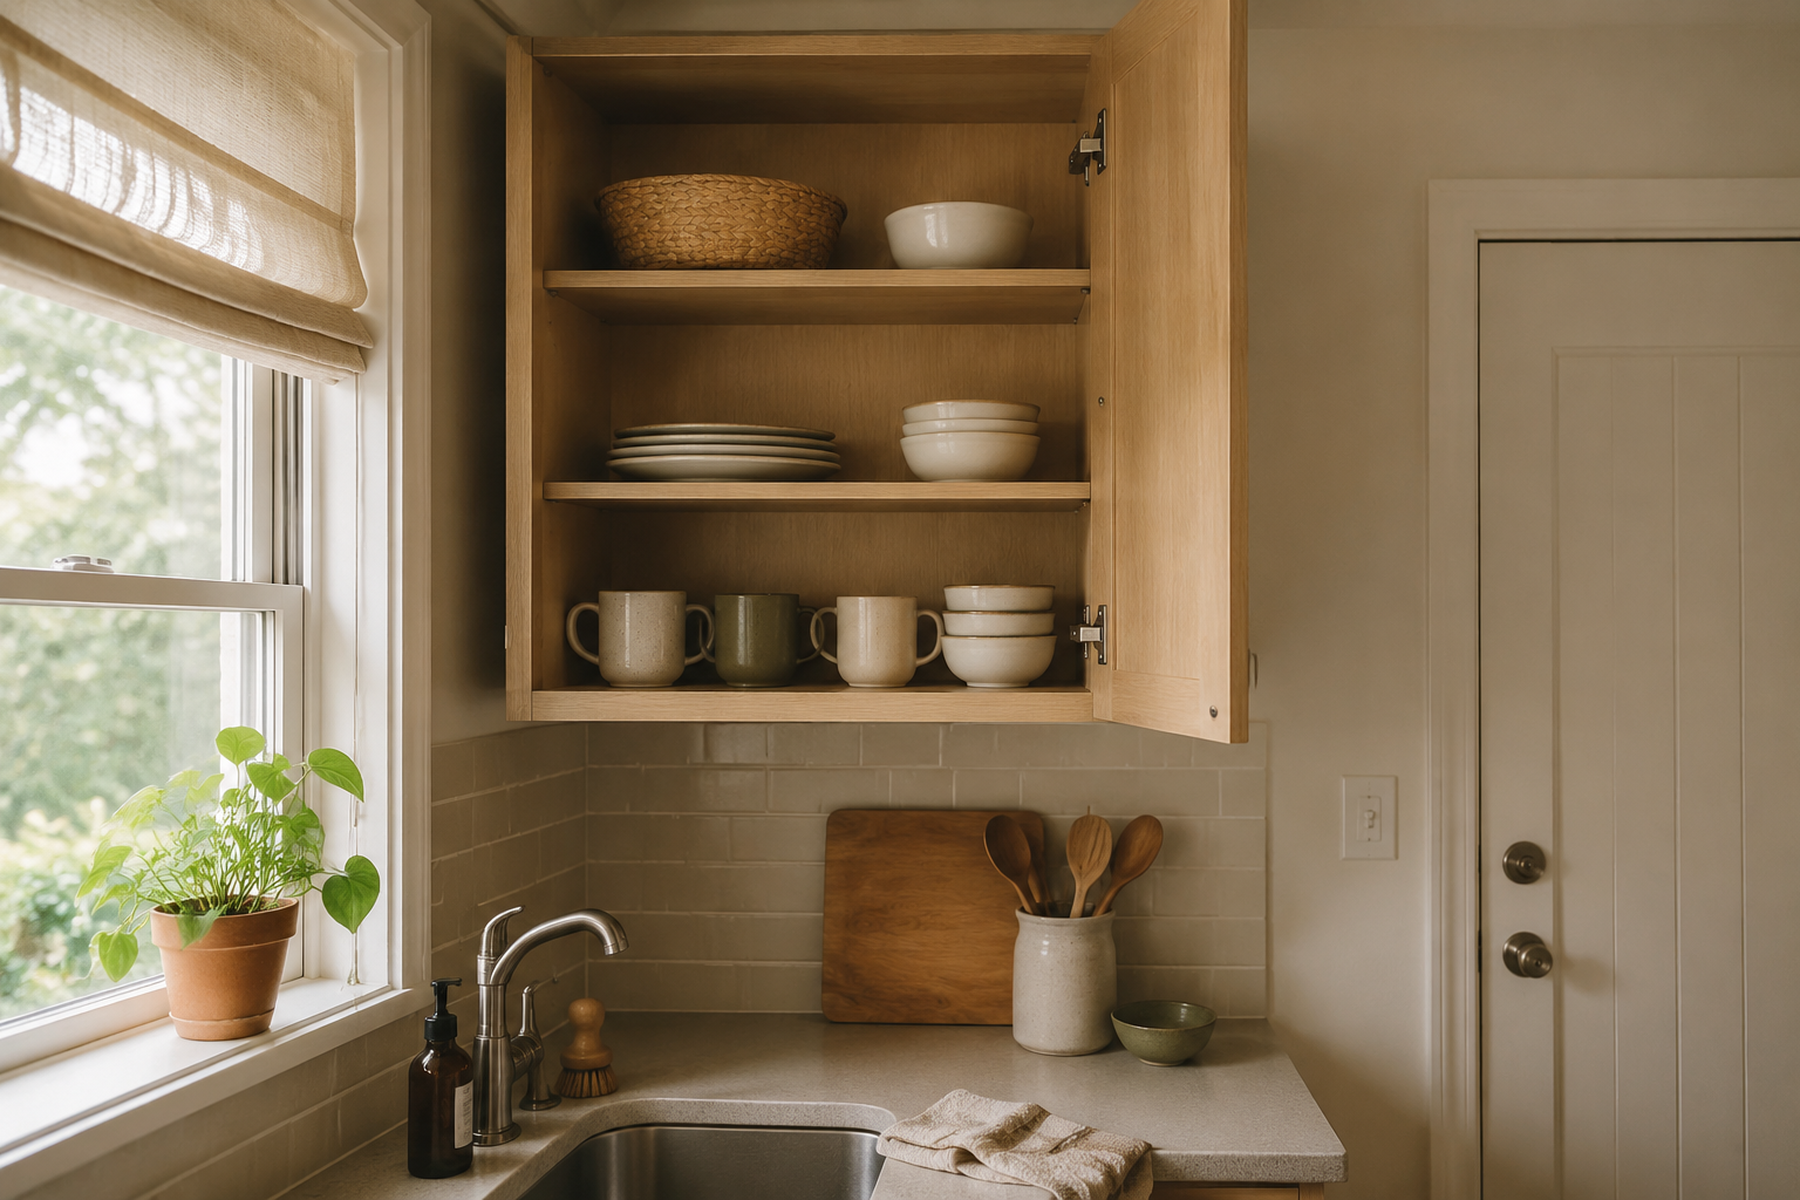
A tall wall cabinet can make a small kitchen look well supplied with storage while still leaving the most useful space out of normal reach. The result is familiar: everyday mugs migrate to the counter, lower cabinets become overcrowded, and the uppermost shelves fill with things that are difficult to see, retrieve, or return.
The fix is not automatically a taller organizer or a pull-down mechanism. First decide which categories deserve the easiest access, which can tolerate occasional high storage, and which should move somewhere else. Only then choose the lowest-intervention tool that genuinely lowers retrieval friction.
Quick Answer
Fix the Storage Assignment Before the Access Hardware
Treat cabinet height as an access cost. Spend the easiest vertical zones on high-frequency items, keep difficult zones simple and lightly loaded, and add hardware only when it changes the actual retrieval path.
01
Protect the easiest reach zone
Keep daily and very frequent items where you can see, grip, remove, and return them with controlled normal use. Do not use a universal shelf number or height; the workable zone depends on the user, cabinet, counter setback, and item.
02
Make the hardest zone low-frequency
The highest shelf can hold fewer, lighter, occasional categories instead of being packed to maximum capacity. Leaving some nominal volume unused can be the more functional choice.
03
Escalate intervention in steps
Re-zone first, then consider removable containers or an exact-fit no-drill accessory. Treat purpose-made access aids as occasional support, and reserve installed pull-down hardware for cabinets and rentals that can genuinely support it.
01
Map the Cabinet by Access Frequency Before You Add Hardware
Emptying a high cabinet is useful only if you put it back according to access value rather than available inches. Start by separating what you use daily, what you use regularly, what comes out occasionally, and what is truly rare or seasonal.
Give the easiest legitimate vertical zone to the categories with the most retrieval and return trips. That may mean moving a lower-value category out of a prime shelf so mugs, everyday dishes, coffee supplies, or another frequent category can move down. The exact categories will differ from kitchen to kitchen; the rule is about frequency, not a prescribed shelf chart.
This is what makes high-cabinet organization different from maximizing capacity. A cabinet can be completely full and still perform badly if the wrong items occupy the expensive vertical zones.
Measure / Check First
Do not judge a high shelf by whether you can touch the front edge. Test the complete retrieval and return motion with the real cabinet geometry and the real kind of item you plan to store there.
Test the Reach, Load, and Return Path
01
Check controlled access
Can the item be seen, gripped, lifted out, and returned without awkward reaching or guessing? Counter depth, cabinet-door position, shelf height, and item shape all affect the real path.
02
Check the loaded object
A bin or appliance that feels easy at waist height may be harder to control overhead. Do not invent a universal safe weight; judge whether the actual loaded object remains manageable for the intended access method.
03
Check the opening and clearance
Make sure a bin, clip-on basket, shelf insert, or moving mechanism can clear the cabinet frame and door while leaving the surrounding storage usable. Exact accessory fit is product- and cabinet-specific.
There is no universal reach height, safe overhead weight, or cabinet dimension that proves a setup will work. Use controlled retrieval and return—not nominal shelf capacity—as the practical pass/fail test.
02
Give the Highest Shelf a Smaller Job
The hardest shelf does not need to earn its keep by being packed. Use it for a small number of light, stable, low-frequency categories that can tolerate occasional access, and move awkward or important daily items elsewhere.
That may mean the top shelf stores serving pieces used a few times a year while a lower shelf holds ordinary dishes, or that secondary backstock moves high while the open package stays lower. The point is not the specific category; it is to match retrieval frequency to access cost.
A lightly used high shelf can also improve visibility. When every inch is filled, the user often has to move one item to see another, turning height into both a reach problem and a search problem.
03
Use Handled Containers Only When the Whole Load Stays Manageable
A shallow handled container can reduce the number of separate objects you have to retrieve, but the container becomes the thing you must control. That trade works only while the loaded bin remains easy to grasp, clears the opening, and does not hide unnecessary weight.
For small lightweight categories, whole-container retrieval can be cleaner than reaching behind several loose items. For heavy pantry goods, appliances, or an overfilled miscellaneous bin, the same strategy can concentrate the problem into one awkward overhead load.
Do not assume transparency solves this. Seeing what is inside does not make a deep, heavy, or poorly handled container easier to remove. Handle position, depth, load, and cabinet clearance matter more than a generic “clear bin” rule.
04
Choose Add-Ons That Improve Reach, Not Just Capacity
Some cabinet organizers create another storage tier. Others actually move storage into a lower vertical plane. Those are different jobs, and a high cabinet often needs the second one more.
A shelf insert can be useful when the cabinet is already within practical reach and the extra level improves separation or visibility. But adding another tier inside a cabinet that is already too high can increase density without improving retrieval.
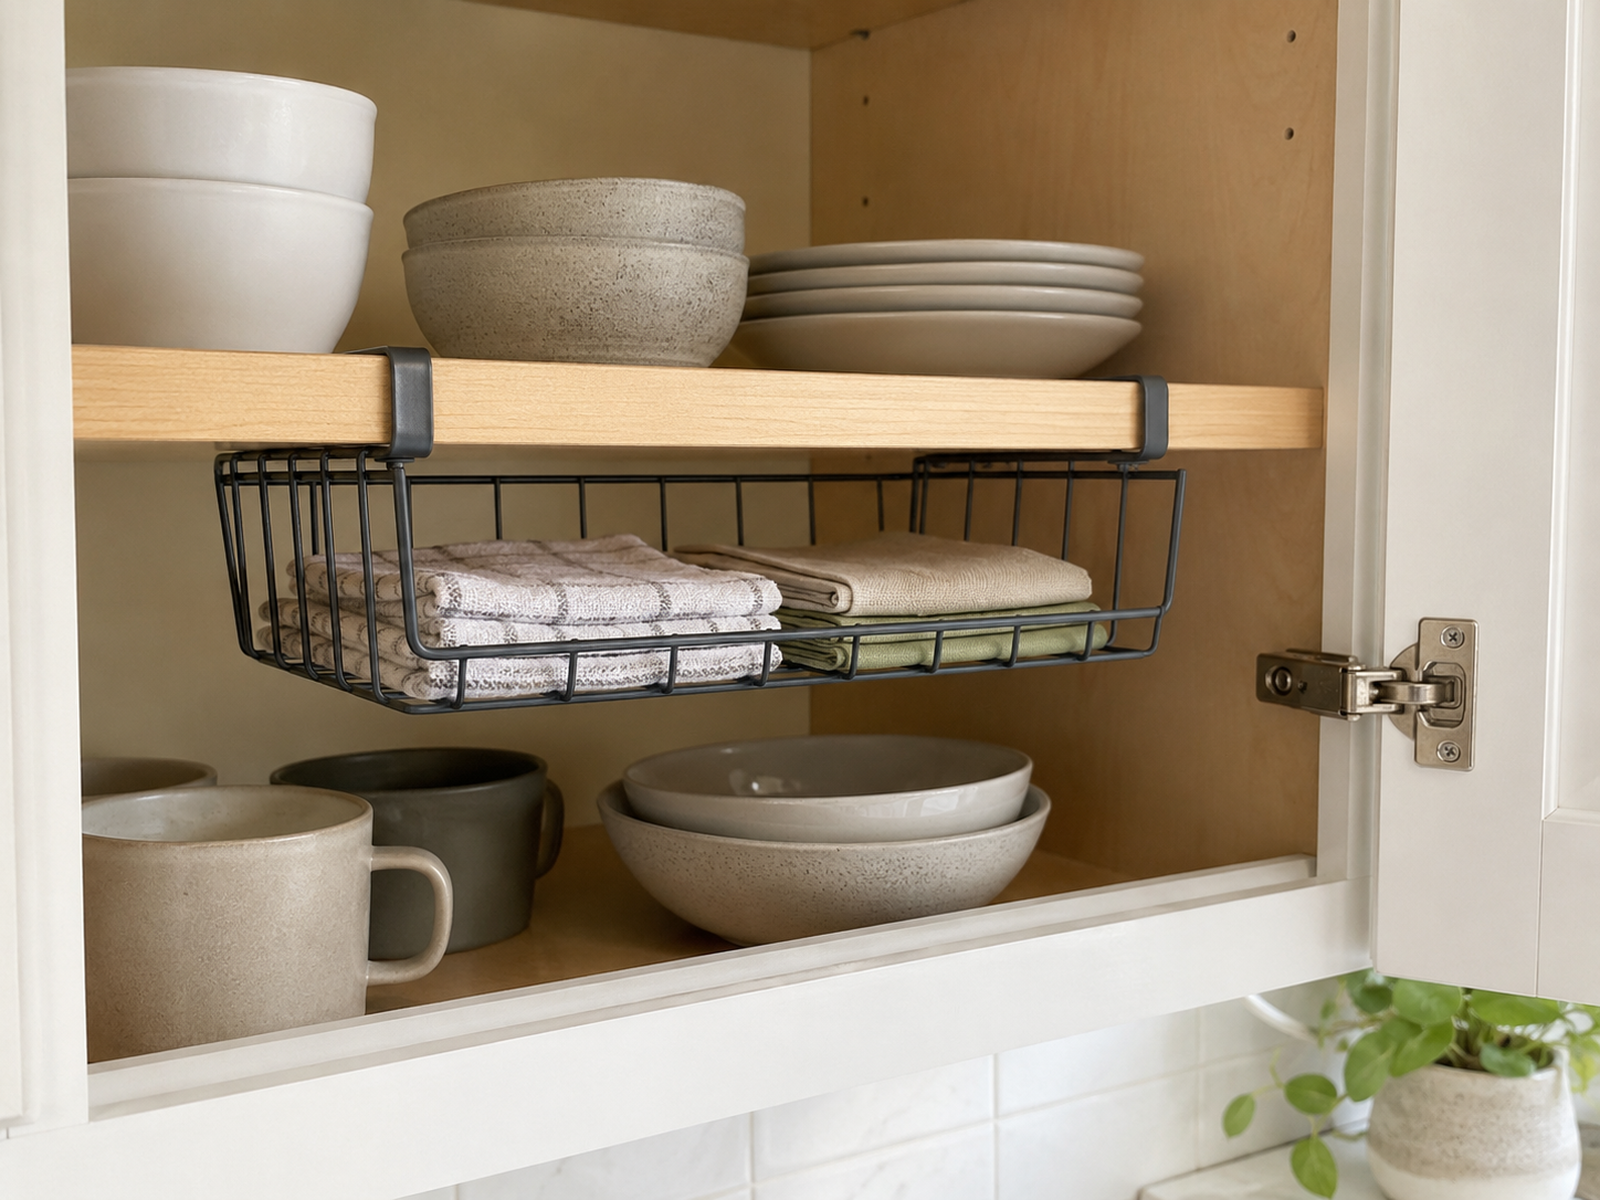
A removable under-shelf basket can change the geometry more directly by using the space below an existing shelf. One current example, the IKEA PÅLYCKE clip-on basket, is designed to clip on without drilling; IKEA currently specifies compatible shelf thickness of 5/8–3/4 inch and a 4 lb maximum load. Those numbers belong to that exact product, not to clip-on baskets generally.
The useful question is whether the exact accessory lands in a genuinely better reach zone while still allowing the cabinet door to close and the storage below to function. “No drill” is not enough if the fit, load, or clearance is wrong.
Use / Skip
When a Shelf Insert Helps—and When It Just Adds Height
Use
Use — Use an insert when the cabinet is already reachable
A shelf insert can earn its place when the existing shelf is usable and the new level makes small items easier to separate, see, and return without creating a harder top layer.
Skip
Skip — Skip extra tiers when the real problem is vertical access
If the cabinet is already beyond comfortable reach, adding more storage above the same plane can make the cabinet denser without making it more usable. Solve assignment or reach first.
05
Treat an Access Aid as Occasional Support
A purpose-made access aid may support rare-use storage, but it should not become the reason daily essentials stay in a poor location. If an ordinary cooking routine repeatedly depends on an access aid, that is useful evidence that the cabinet assignment should be reconsidered.
Keep the safety boundary product-specific. The U.S. Consumer Product Safety Commission has issued collapse and tipping warnings for specific step-stool products, which is a reminder that an access aid is a real product-safety decision rather than generic furniture. Check the current product instructions and safety status for the exact aid you use.
This guide does not prescribe a stool height, model, or climbing technique. The organization goal is to reduce unnecessary difficult access, not normalize it.
What Not to Do
Don’t Use “More Storage” as Proof of Better Access
A shelf riser, deep handled bin, or installed mechanism can increase capacity and still make daily retrieval worse. Judge every add-on by what happens to the item’s actual reach, control, door clearance, and return path—not by how many more objects fit inside the cabinet.
06
Escalate to Pull-Down Hardware Only After the Fit Test
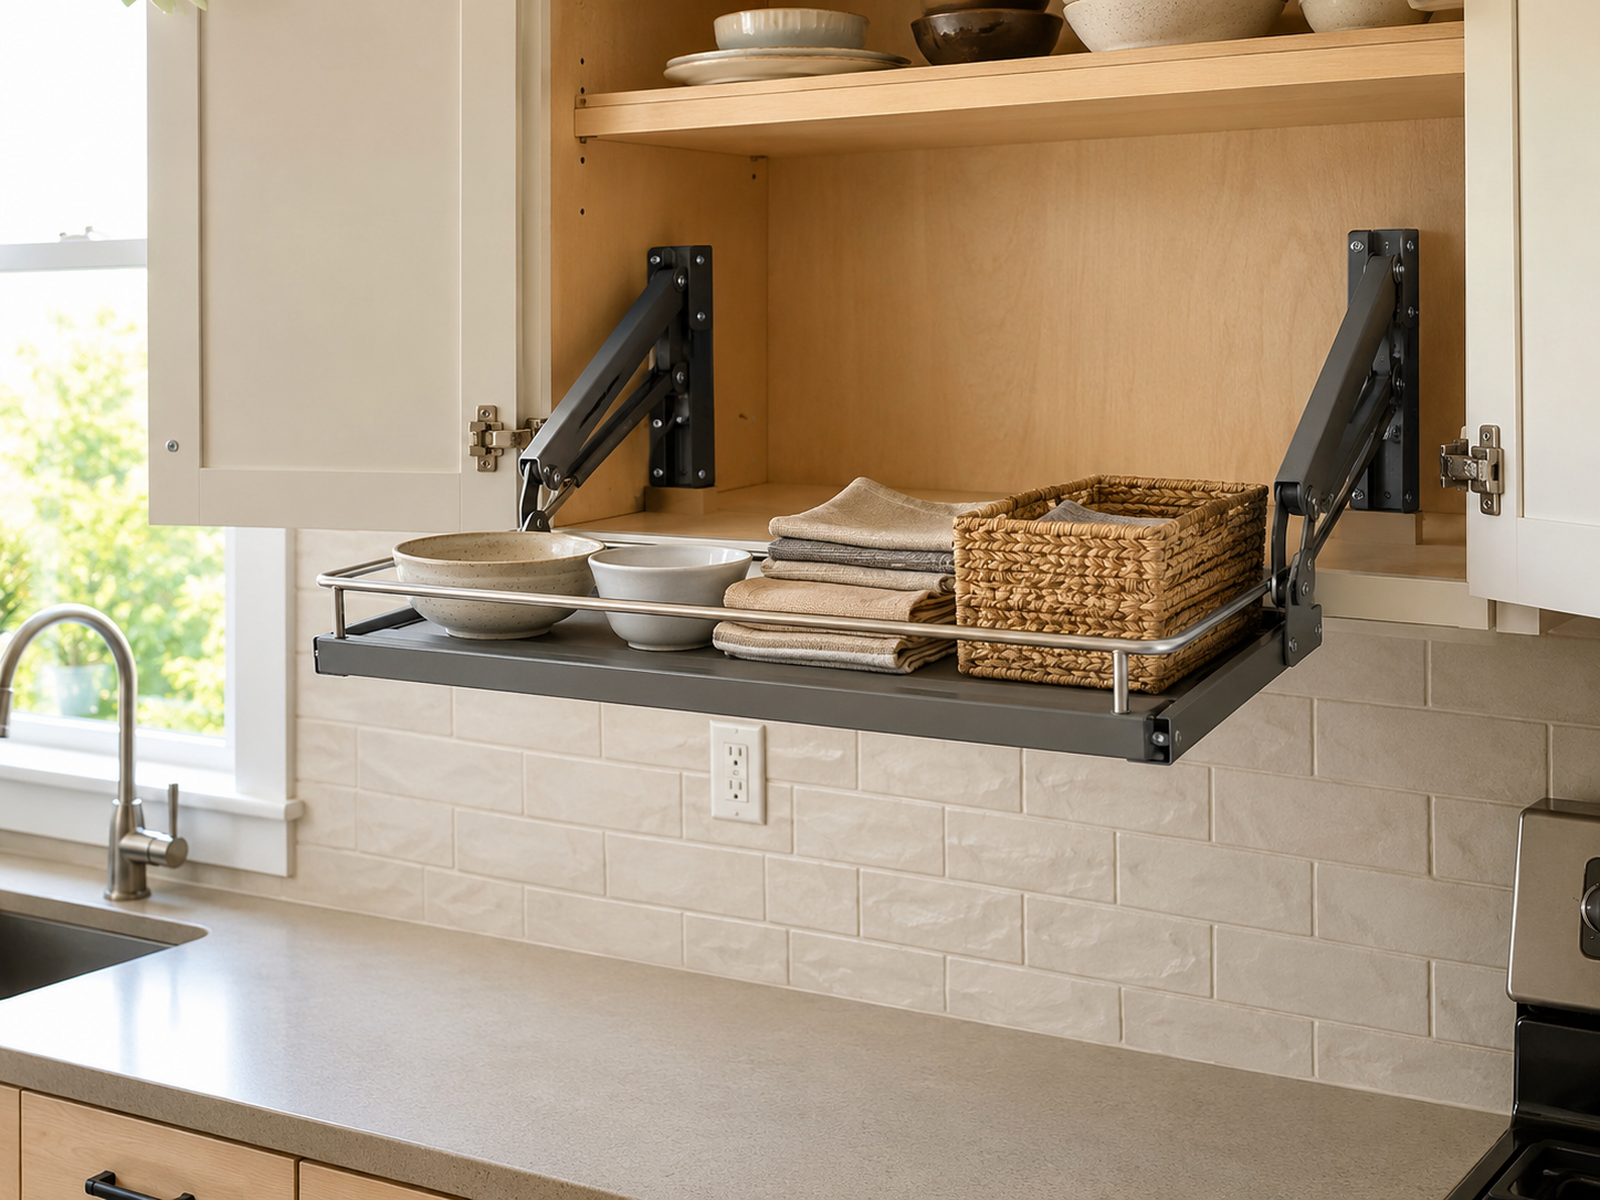
Pull-down shelving solves height by turning fixed upper storage into a moving mechanism. That can be useful, but it is a different intervention class from re-zoning or clipping on a removable basket.
Rev-A-Shelf’s current 5PD Series Pull-Down Shelf is one manufacturer-specific example. The company describes a manually operated, gas-assisted system that moves contents down and out, uses mounting brackets, and requires cabinet width, depth, height, and obstruction measurements. Those requirements should stay tied to the exact product family rather than becoming universal pull-down rules.
Also test the movement envelope outside the cabinet. A pull-down system needs clear space in front of and below the opening as it travels, so faucets, counter appliances, open doors, and the normal standing/work zone can matter even when the cabinet interior technically fits the mechanism.
For a rental, installed hardware is permission-dependent. Confirm the exact mounting method, cabinet construction, lease or landlord approval, and restoration expectations before treating an installed pull-down as a viable branch.
Decision Sequence
Use the Lowest-Intervention Fix That Solves the Real Access Problem
01
Re-zone by frequency
Move frequent items into the easiest legitimate access zones before buying organizers.
02
Simplify the highest zone
Reduce quantity and keep high storage light, stable, and occasional.
03
Add a removable helper only when it changes reach
Use handled containers or an exact-fit clip-on accessory when the loaded object, shelf fit, door clearance, and return path all work.
04
Escalate only when the cabinet and rental support it
Consider installed pull-down hardware only after fit, travel clearance, mounting, and permission are resolved.
Closing Decision
Make the Cabinet Easier to Use, Not Just Fuller
High upper cabinets become more useful when storage assignment follows real access instead of empty volume. Protect the easiest vertical zones for frequent items, give the hardest shelf a smaller low-frequency job, and keep whole-container loads manageable. If an accessory is needed, prefer the lowest-intervention option that actually lowers retrieval friction; treat access aids as occasional support and installed pull-down hardware as a fit- and permission-dependent escalation. The goal is not to use every inch. It is to make the storage you do use easy enough to return to every day.
RELATED GUIDES
What to Read Next
NEXT GUIDE
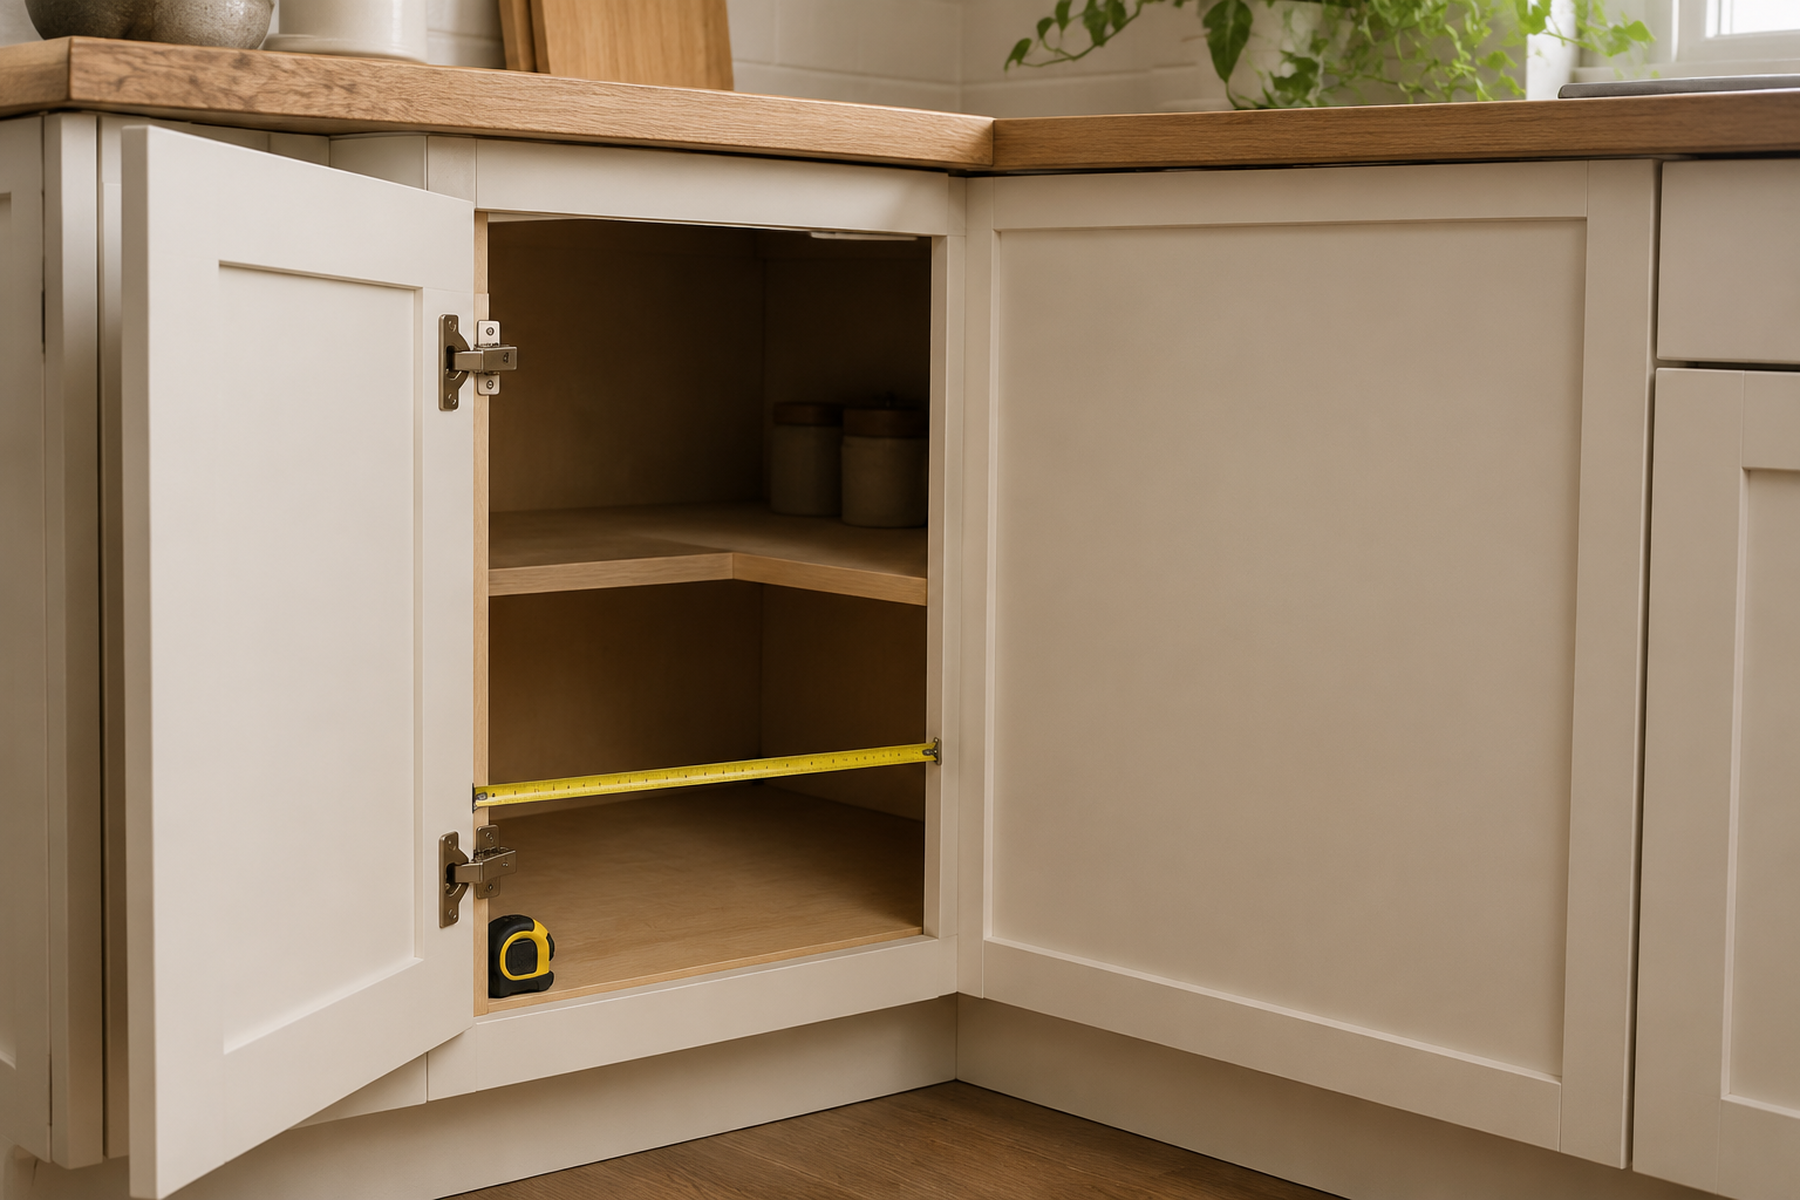
How to Organize a Deep Corner Kitchen Cabinet With a Narrow Opening
Useful when difficult reach is caused by cabinet depth and a narrow opening rather than shelf height alone.
GUIDE
How to Organize Pots and Pans in a Small Kitchen With Limited Cabinet Space
Continues the cabinet-access problem with heavier cookware that benefits from easier retrieval zones.
GUIDE
How to Store Baking Sheets and Cutting Boards in a Small Kitchen
Useful for assigning flat items to a cabinet zone that stays reachable without deep stacking.