
Small Desk Organization
How to Organize Paper on a Small Desk Without a Filing Cabinet
Paper should move through a small workspace, not live permanently on the desk. Separate incoming, active, reference, retained, and exit states, then give each one the smallest storage zone that preserves the work surface.
In This Guide
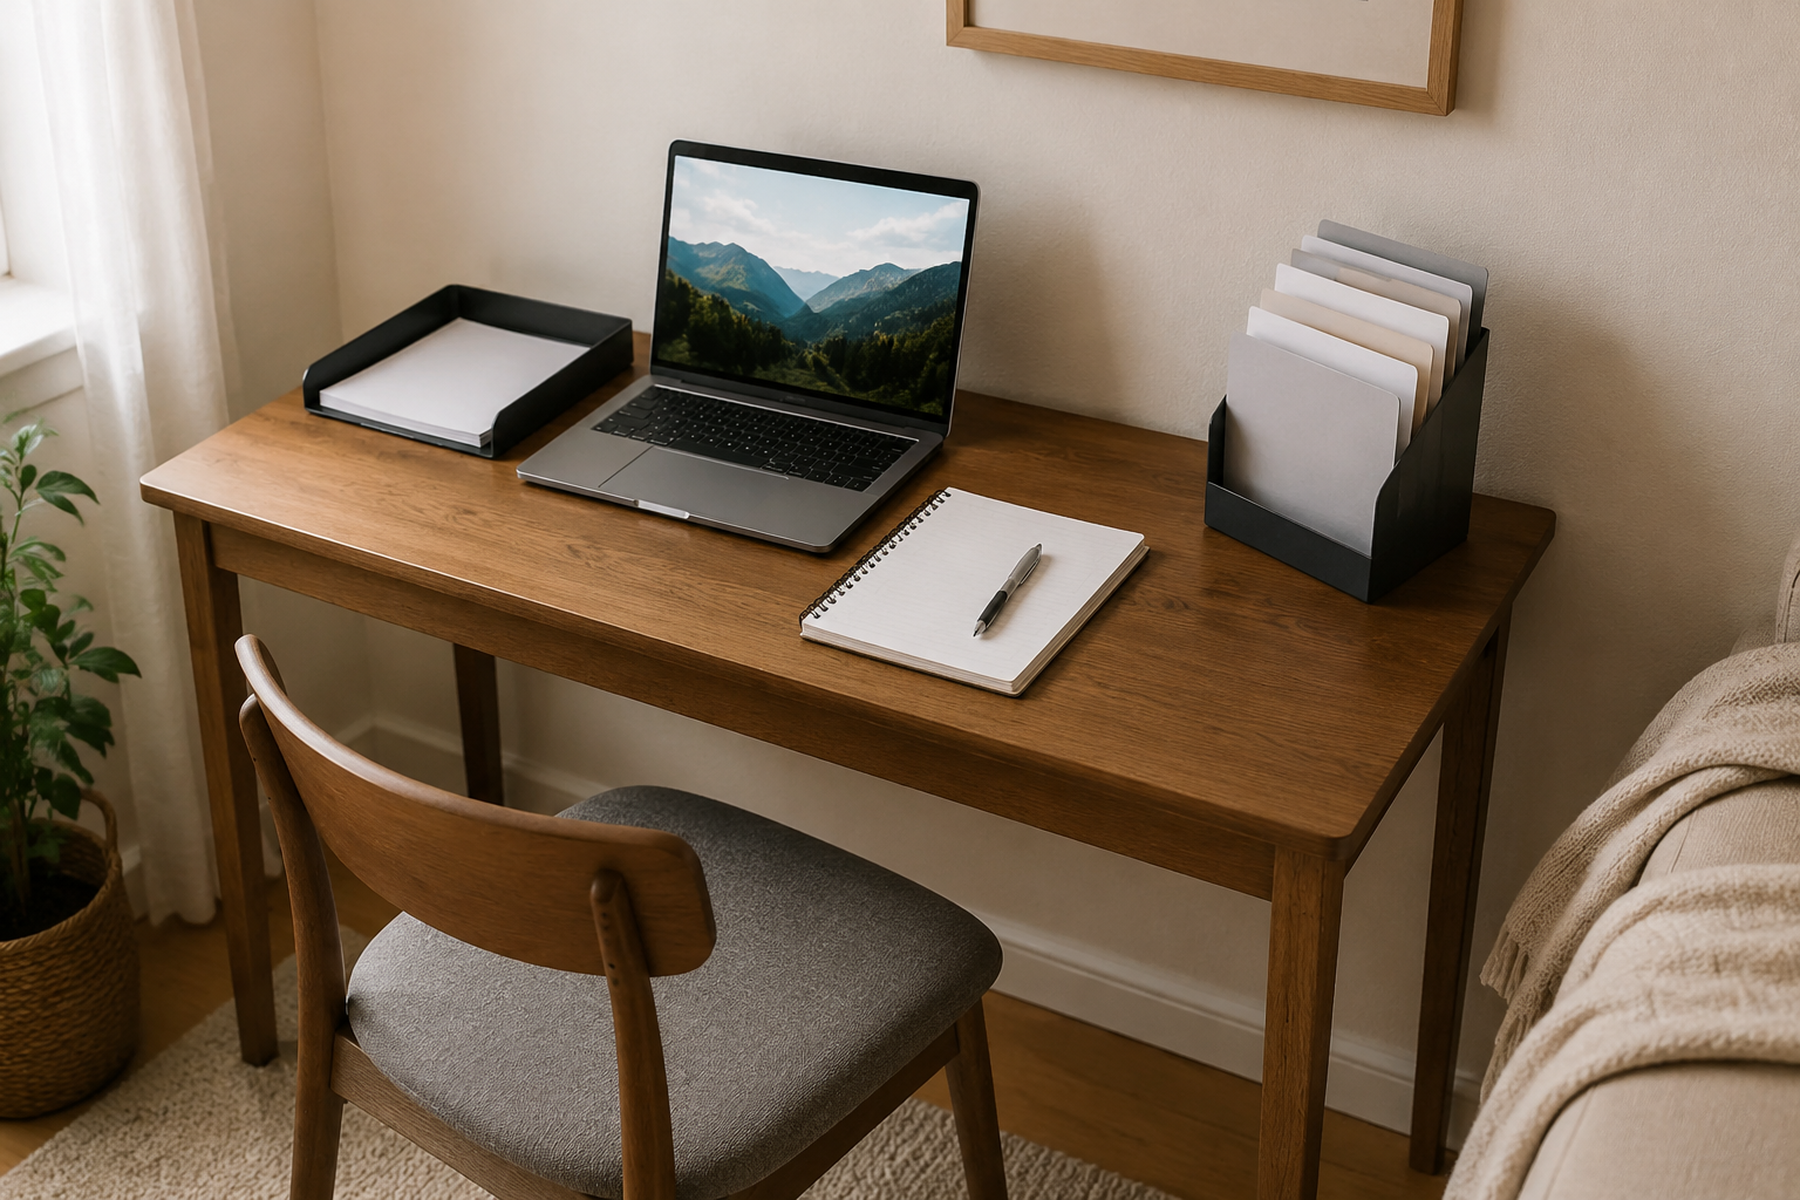
Paper clutter behaves differently from pens, chargers, or other desk supplies because every sheet can be in a different state. A form may need action today, a project note may need to stay visible all week, a receipt may still need a decision, and a retained record may not belong near the desk at all.
A small workspace becomes easier to reset when those states stop sharing one horizontal pile. Keep short-lived paper close enough to act on, move low-frequency records away from prime work space, and make sure every incoming sheet has a next destination instead of treating the desk as the default queue.
Quick Answer
Build a Paper Path Before You Buy More Storage
Treat desk paper as a flow rather than a pile: identify each sheet’s current state, keep only incoming and active paper within fast reach, and give reference or retained records a slower off-desk home. Protect the actual work surface throughout, and make sure every paper state has a clear next step so the system can shrink again.
01
Name the paper state first
Decide whether a sheet is incoming, active, reference, retained, or ready to leave. A storage location should support that next action rather than hide an unresolved pile.
02
Keep only fast-access paper near the desk
Incoming and active paper may deserve a tray or narrow vertical file. Reference and retained records can usually tolerate a shelf, portable box, or other lower-frequency location.
03
Build the exit into the system
Processed paper needs somewhere to go: send or return it, file it elsewhere, recycle ordinary paper, securely dispose of sensitive paper when appropriate, or digitize only when that genuinely improves retrieval.
01
Sort Paper by State Before You Sort It by Subject
A small desk can look organized and still fail if every sheet is treated as “paper to file.” The more useful first question is what has to happen next.
Use a small set of working states: incoming, active / action, current reference, retained, and exit. A utility bill that still needs payment belongs with active paper. A printed reference sheet for this week’s project can stay near the desk. A record you have already decided to retain belongs in lower-frequency storage. Junk mail does not need to pass through a filing system at all.
These states can contain many subjects without creating dozens of categories. That matters on a small desk because every permanent label, tray, and holder consumes space. A short list of states keeps the physical system smaller while preserving the information that changes what you should do next.
When a paper does not fit one of the states, the problem is usually a decision that has not been made yet—not a missing organizer.
02
Give Incoming Paper One Bounded Landing Zone
New mail, forms, receipts, school papers, and household admin need one place to land before they spread across the whole work surface. The landing zone can be a single shallow tray, one vertical slot, or another compact container sized for ordinary letter paper.
Keep the zone deliberately finite. A large basket can absorb weeks of paper while making the desk look temporarily cleaner; it has not improved the workflow. The container should answer one question: Has this paper been processed yet?
Process the incoming zone on a rhythm that fits the volume you actually receive. During that pass, move every sheet forward: into active work, current reference, retained storage, or an exit path. If the tray remains the final home for processed paper, it has stopped being an inbox and become another pile.
For shared or temporary workspaces, a portable inbox can be especially useful because the entire intake state can move off the table when work ends.
03
Keep Active Paper Visible Without Letting It Occupy the Work Zone
Some paper needs visibility. Hiding a form that is due tomorrow or the notes for a current project can create more friction than leaving it within sight.
The useful boundary is not “no paper visible.” It is no uncontrolled paper spreading into the active work area. Reserve one narrow vertical file, a small number of current-project slots, or one shallow action tray for papers that genuinely need near-term attention.
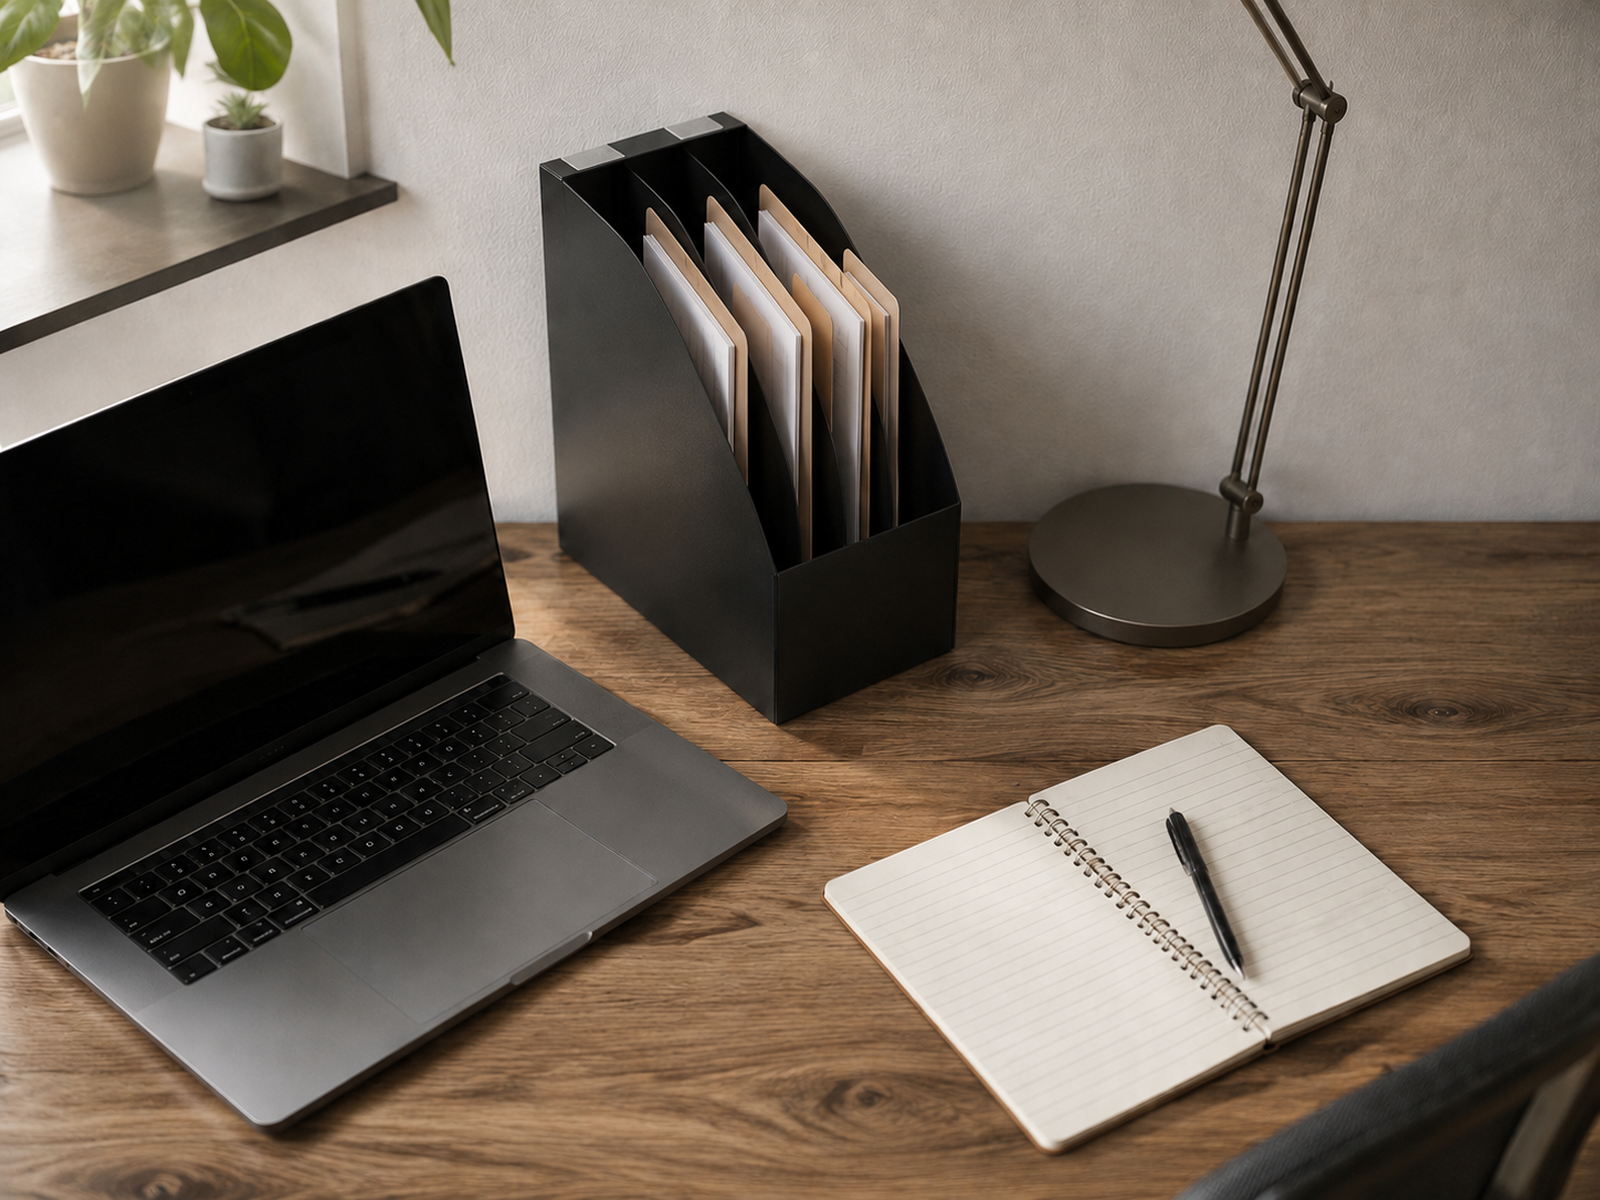
Vertical storage is especially useful when you need several active categories visible at once because the paper edges and separators remain exposed instead of disappearing under the top sheet. Keep the category count small enough that the holder remains a working file rather than a miniature archive.
If an active file keeps filling faster than paper leaves it, adding another file usually postpones the real decision. Reduce the number of simultaneous active categories or process the oldest papers before expanding the footprint.
04
Separate Retention Decisions From Desk Organization
Paper often stays on a desk because the user is unsure whether it can be discarded. That uncertainty is real, but a storage article should not solve it by inventing one universal retention rule.
The IRS states that how long tax-related records should be kept depends on the action, expense, or event the document records, and its guidance lists different limitation periods for different circumstances. That is why a blanket rule such as “keep all financial papers for seven years” is not reliable. Use the relevant official, professional, or document-specific guidance for the record you are deciding about: IRS — How long should I keep records?.
Sensitive information also changes the disposal branch. The Federal Trade Commission distinguishes documents that should be kept from personal or financial papers that should be shredded when disposal is appropriate: FTC — Which documents to keep and which to shred.
Make the retention decision separately, then store the paper according to how often it needs to be accessed. The desk is not the place to hold every document simply because the final retention answer took time to resolve.
05
Move Retained Records Away From Prime Desk Space
Once a paper has been independently determined to belong in retained storage, its job changes. It no longer needs the same visibility or retrieval speed as an active form or current project sheet.
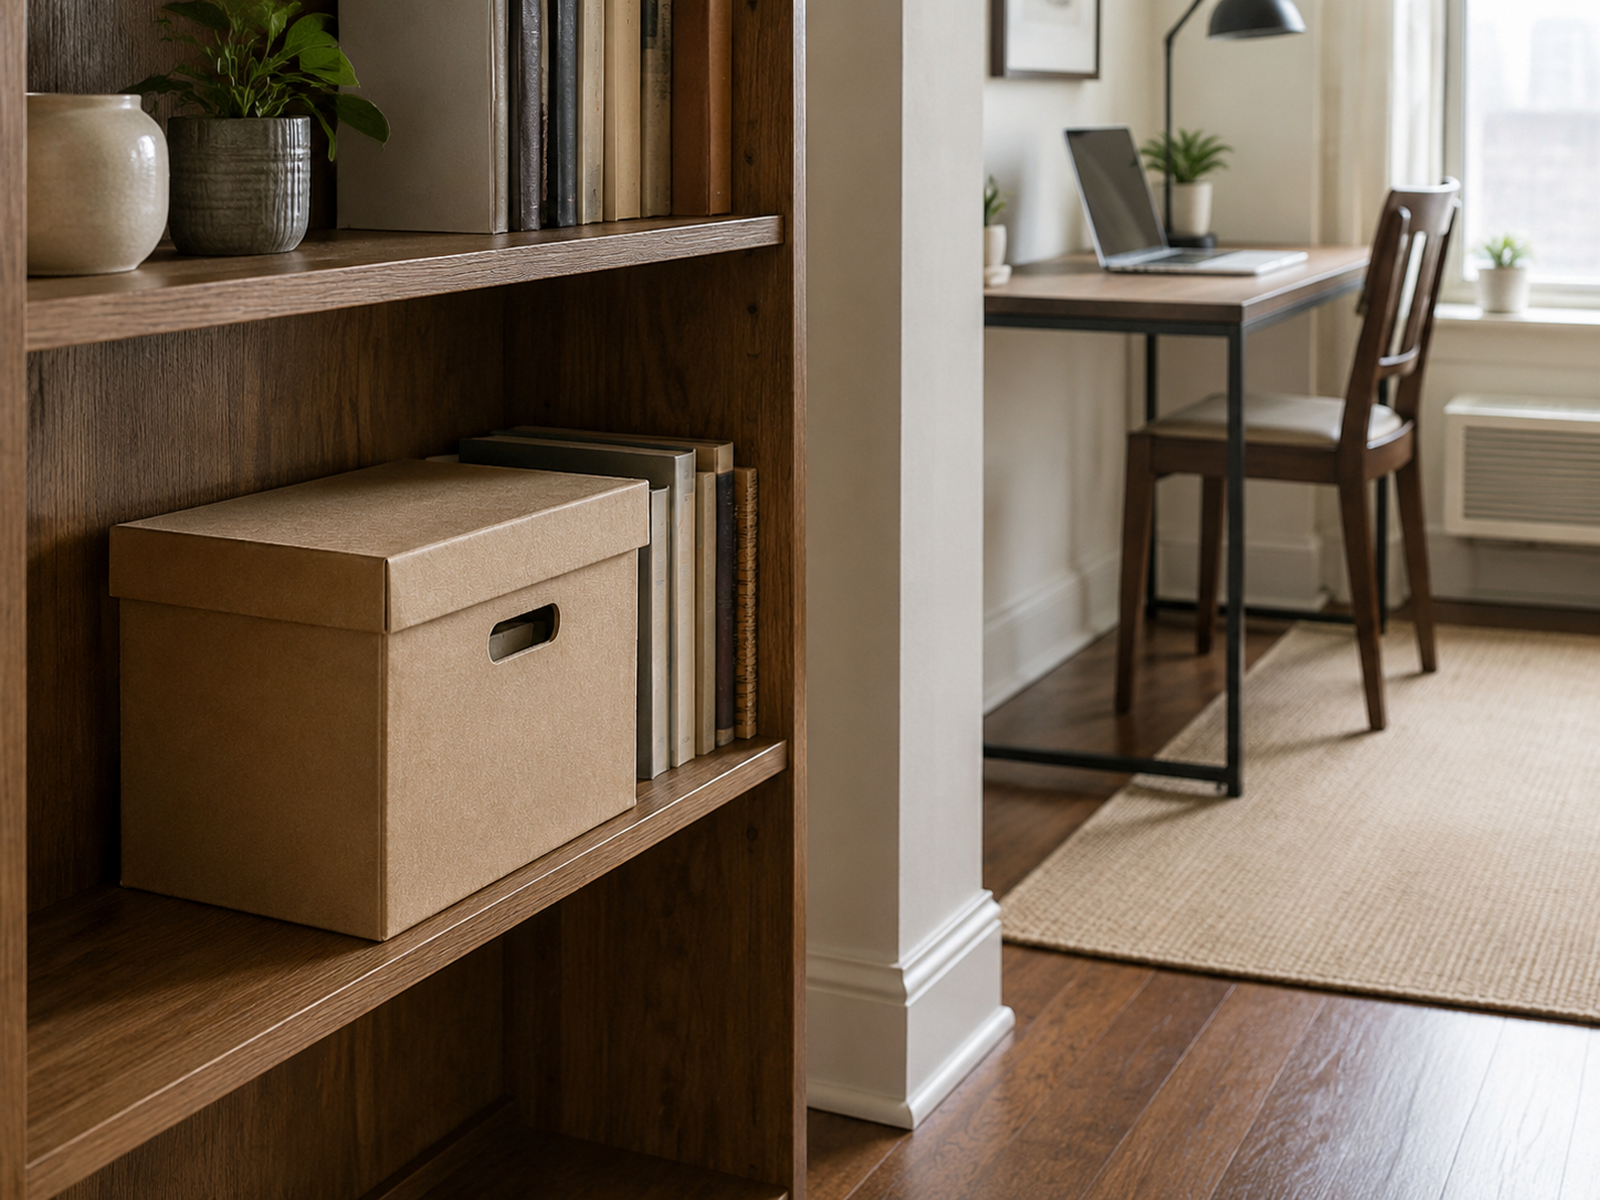
A portable file box, expanding file, secure document box, or labeled shelf file can hold modest retained volume without adding a conventional filing cabinet beside the desk. Put the container on a nearby bookcase, inside an existing cabinet, on a suitable closet shelf, or in another dry interior location that matches the sensitivity and access needs of the records.
Do not let the archive grow backward into the active system. A box on the floor beside the desk is not an improvement if it must be opened every day, blocks the chair, or becomes the next place undecided papers are dropped.
For irreplaceable or preservation-sensitive papers, storage quality and security matter more than hidden-space efficiency. The Library of Congress recommends a cool, relatively dry, clean, stable environment for works on paper and warns against high-risk extreme locations such as attics and basements: Library of Congress — Care, Handling and Storage of Works on Paper.
06
Choose Vertical or Horizontal Storage by the Paper’s Job
Vertical files and horizontal trays solve different paper states. Neither is automatically better for a small desk.
A shallow tray works well for a short-lived queue: new paper, items waiting for one processing session, or a very small action stack. It keeps retrieval fast but hides the sheets below the top one as the stack grows.
A vertical magazine file or sorter makes more sense for current projects or reference categories that need to remain visible and individually reachable. IKEA’s U.S. KUGGIS magazine file, for example, is designed for letter-size paper and can be moved easily; that is useful form-factor evidence, not a recommendation that one specific product fits every desk: IKEA KUGGIS magazine file.
Use the format that matches the state. A tray should not become the archive, and a vertical file should not collect every paper simply because its footprint is narrow.
Measure / Check First
Before adding a paper organizer, measure the zone it will consume while the workspace is in normal use—not only the organizer footprint in an empty room.
Measure the Storage Zone Before You Buy an Organizer
01
Protect the working rectangle
Mark the desk area needed for the keyboard, notebook, writing, or other daily task. A tray or file should fit outside that working rectangle rather than reducing it to a narrow leftover strip.
02
Check shelf depth and paper access
For magazine files, boxes, or nearby shelf storage, confirm the organizer depth and the clearance needed to pull paper out without moving other objects. Product-specific shelf-depth requirements should stay product-specific.
03
Check seated and mounting clearance
For under-desk storage, test knees, chair movement, cables, and crossbars with the user seated. For desk-mounted systems, check the real desk-edge thickness, frame or apron, clamp path, monitor position, and cable conflicts.
Measure the resource being spent as carefully as the storage capacity being gained. A paper organizer that blocks normal work, chair movement, or mounting clearance has not solved the small-desk problem.
07
Use Under-Desk or Beside-Desk Storage Only When Clearance Survives
Moving paper below or beside the desk can protect the work surface, but it spends a different scarce resource: leg room, chair travel, or circulation.
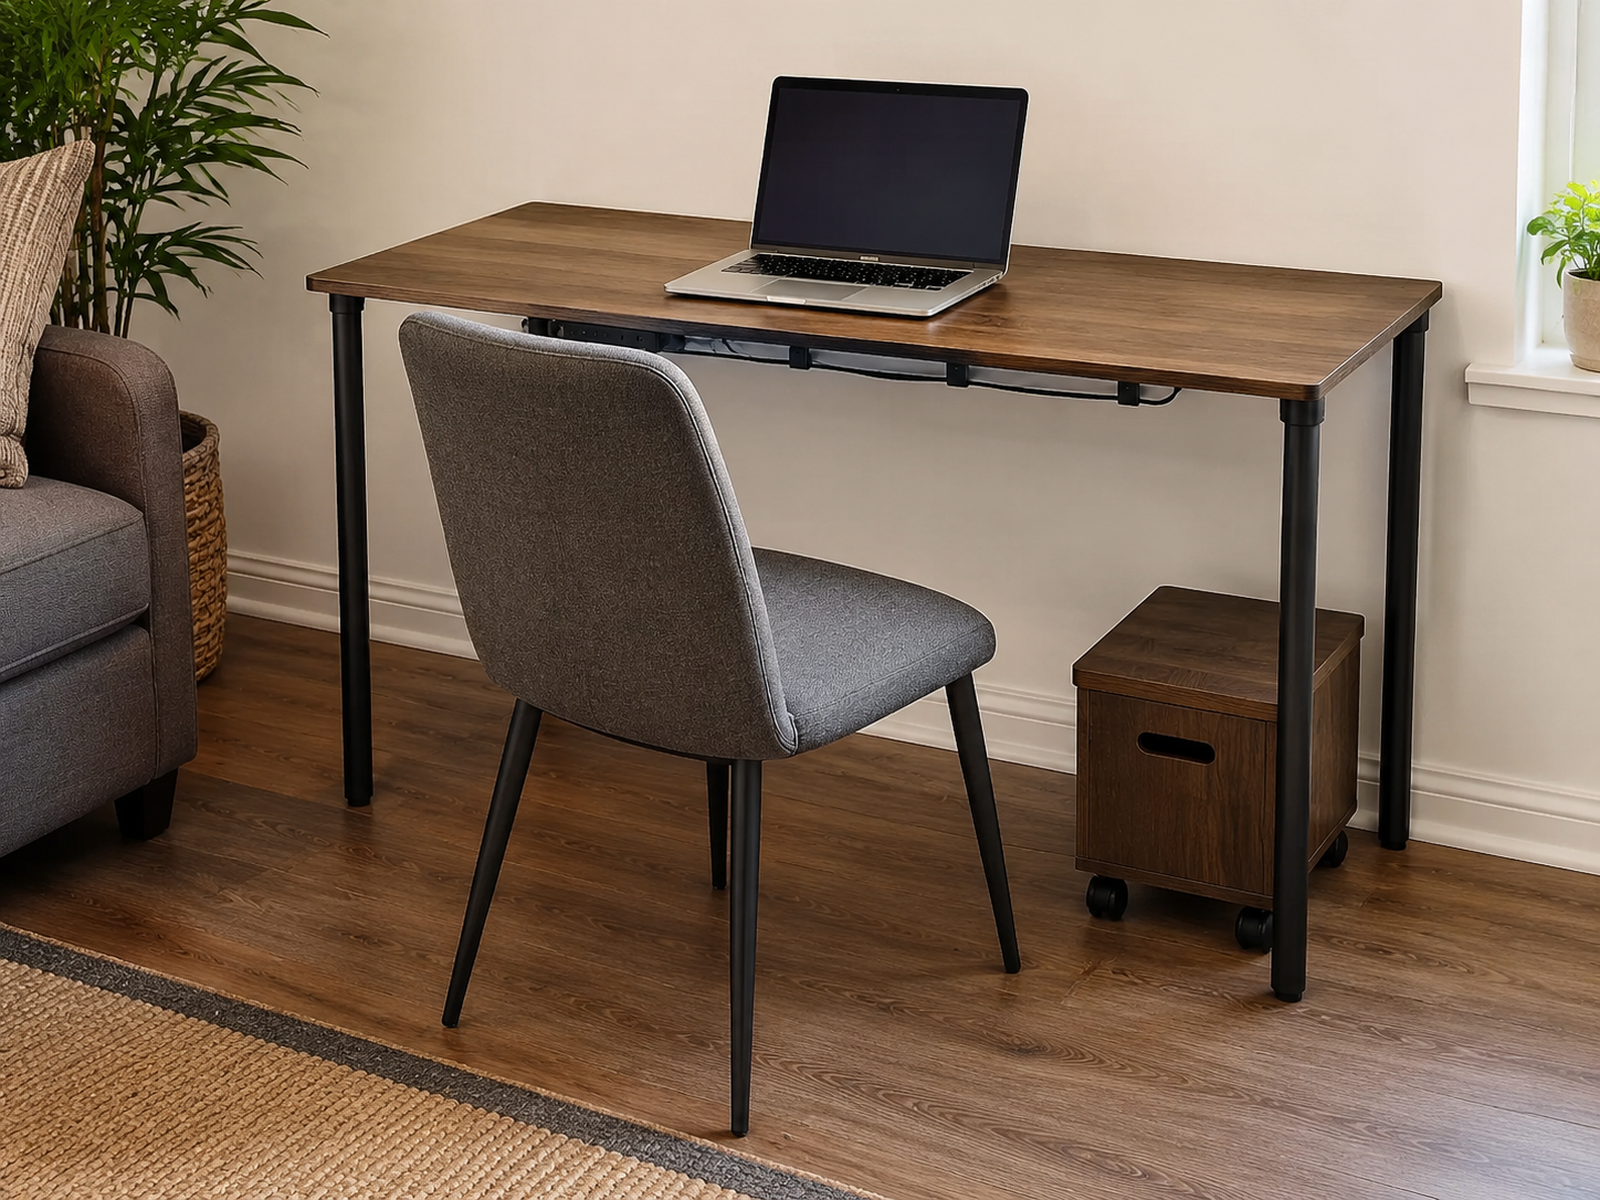
Evaluate an under-desk file box or rolling cart with the chair and user in the normal working position. Check knees, feet, desk crossbars, cable trays, power strips, and any sit-stand hardware. The container should not force the chair farther from the desk or require awkward twisting every time a file is retrieved.
Beside-desk carts are easier to access but can block a walkway or become another horizontal drop zone. A unit that technically fits in an empty room can still be a poor small-space choice once the chair moves and the room is being used.
Choose under-desk or beside-desk storage only when the floor or knee zone is genuinely less valuable than the desk surface it saves.
08
Use Vertical Mounting Only When the Desk or Wall Actually Supports It
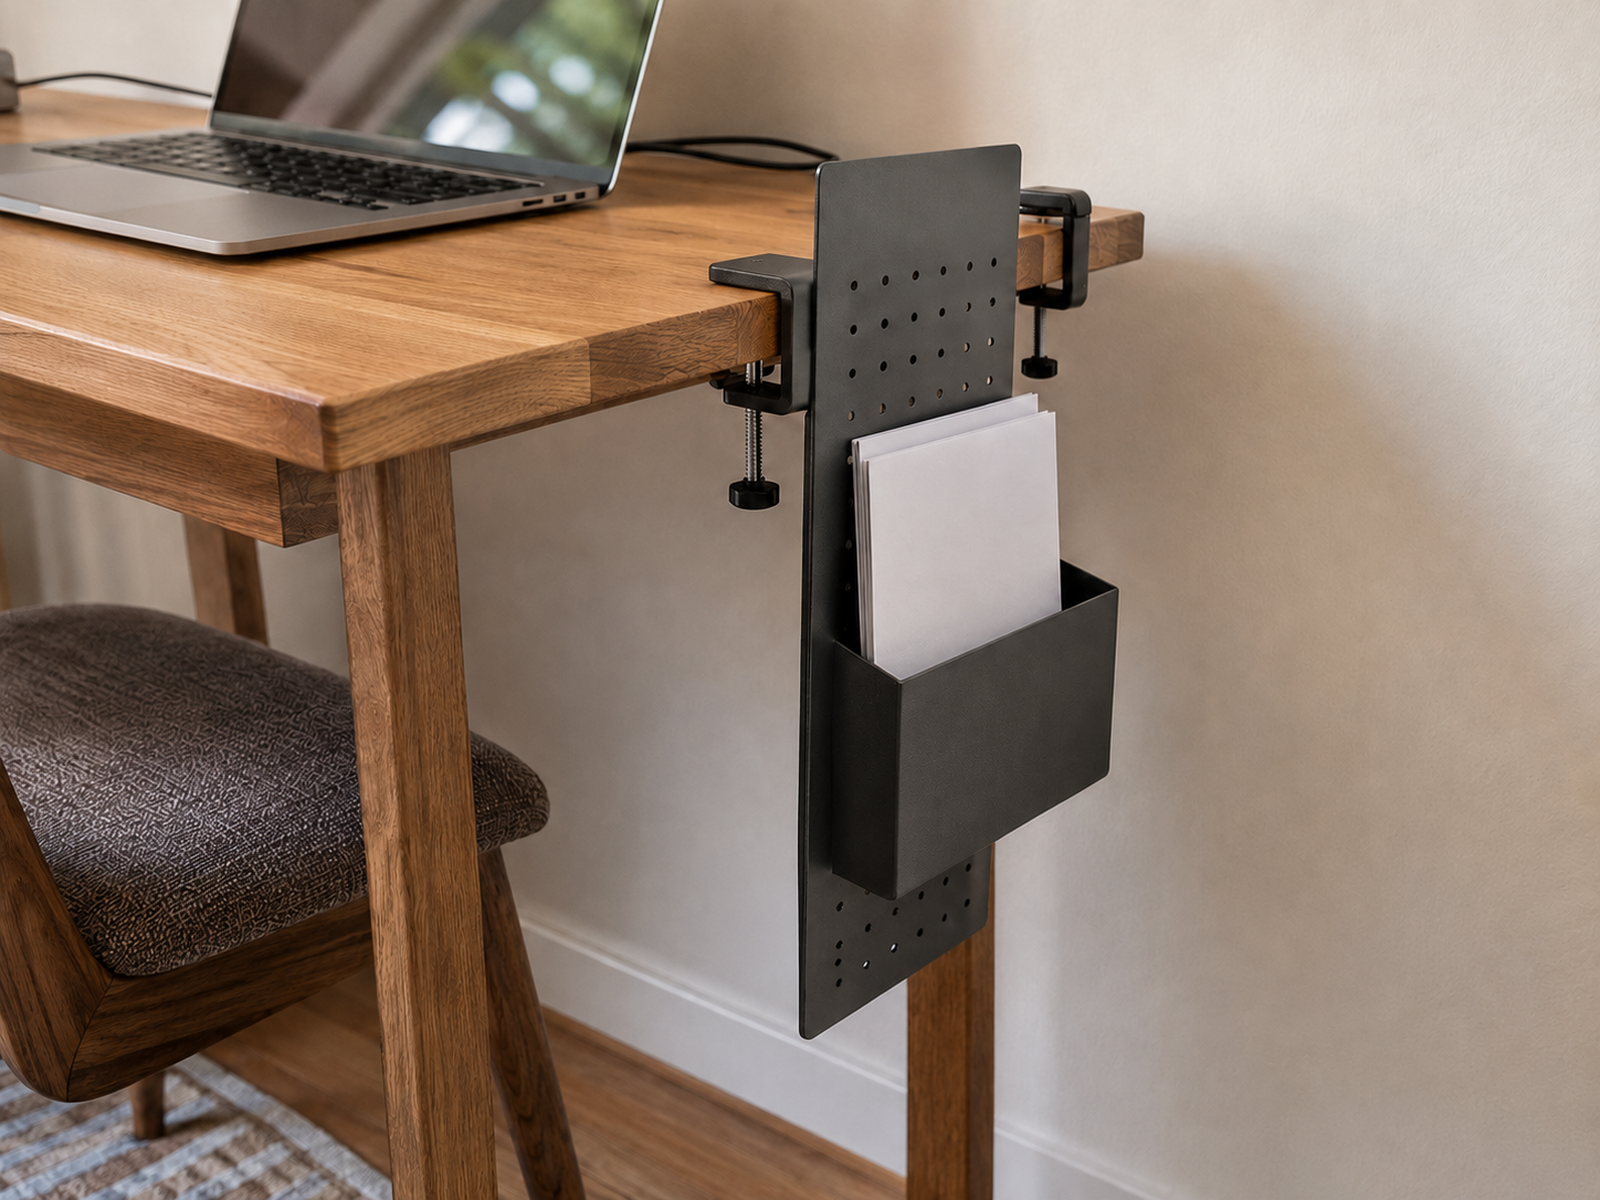
Vertical paper storage can free the desk, but the attachment method is part of the solution—not an implementation detail to ignore.
A desk-mounted system can avoid putting holes in the wall when the desk edge is compatible. IKEA’s U.S. SKÅDIS Connector, for example, is designed to attach a pegboard to a desk or shelf without drilling the wall and specifies a product-specific maximum desk or shelf thickness of 1 15/16 inches: IKEA SKÅDIS Connector. That measurement should not be generalized to other clamp or connector systems.
Wall pockets and rails can preserve more desk area, but renter suitability depends on the real mounting method. Adhesive systems have product-specific surface, weight, installation, and removal limits; 3M’s current Command guidance, for example, varies by product and excludes wallpaper under its cited general hook instructions: 3M Command usage guidance and 3M Command weight limits.
Prefer the lowest-intervention mounting method that genuinely fits the paper load, the desk or wall, and the rental situation. Do not call a generic wall organizer damage-free merely because it appears removable.
09
Give Every Paper an Exit So the System Can Reset
A paper system fails when everything has an intake but nothing leaves. The exit is what keeps the small storage zones small.
After processing, a sheet should move to a real endpoint: send or return it, place it in current reference, move it to retained storage after the retention decision is made, recycle ordinary non-sensitive paper, or securely dispose of sensitive material when appropriate. The incoming and active zones should become lighter after each processing pass.
Digitization can be one exit branch when a digital copy is appropriate and the user has a retrieval and backup system that actually works. It should remain optional. A digital file that cannot be found later has simply moved the organization problem to another medium, and some documents may still require a physical original.
The practical success test is whether the desk can return to its normal working state after paper is processed. If the work surface clears but every tray, slot, and box remains permanently full, the workflow is still storing unresolved decisions.
What Not to Do
Avoid Paper Systems That Only Move the Pile
- Do not create a separate permanent category for every paper subject before deciding whether the paper is incoming, active, reference, retained, or ready to leave.
- Do not let a large inbox become long-term storage simply because it keeps the rest of the desk visually clear.
- Do not hide every active paper if visibility is what prompts the next action.
- Do not use a universal tax or records-retention period in place of document-specific guidance.
- Do not put retained records in prime desk space merely because there is no filing cabinet.
- Do not move paper under the desk if the box or cart steals knee room, chair travel, or circulation.
- Do not describe adhesive or wall-mounted storage as renter-safe without verifying the exact mounting method and surface.
- Do not make scanning the moral endpoint of the system; digitize only when the digital version will actually be usable and appropriate.
Decision Sequence
Build the Paper System in This Order
01
Create a small set of paper states
Use incoming, active, current reference, retained, and exit as the working logic unless a genuinely necessary additional state exists.
02
Give active paper bounded visibility
Choose one small intake zone and one compact active-paper format that keep necessary reminders accessible without rebuilding a horizontal pile.
03
Move low-frequency records to lower-frequency space
After the retention decision is independently resolved, place retained records on a shelf, in a portable file, secure box, cabinet, or another appropriate location away from prime desk surface.
04
Process until the zones get smaller again
A healthy paper path releases space. If the inbox, active file, and retained container only grow, resolve the oldest papers before adding more storage.
Closing Decision
Make the Desk a Work Surface, Not the Archive
A small desk can support real paper without becoming a permanent stack. The key is to keep short-lived paper close enough to act on while giving reference and retained records a lower-frequency home that does not compete with daily work.
When every sheet has a visible state and a real exit, the storage products become secondary. One bounded inbox, one active-paper format, and one off-desk retained zone can outperform a much larger filing setup because the system is designed around movement rather than accumulation.
RELATED GUIDES
What to Read Next
NEXT GUIDE
How to Organize a Small Desk With No Drawers Without Losing Work Surface
Use this next when paper is under control but pens, chargers, notebooks, and other small supplies still need shallow accessible storage without taking over the work surface.
GUIDE
How to Move a Printer Off a Small Desk Without Losing Access
This guide applies the same prime-surface logic to a bulky device: keep the printer close enough to use without giving it permanent ownership of the desk.
GUIDE
How to Work From a Dining Table Without Letting It Become a Permanent Office
Read this when the paper system also has to pack away because the work surface is shared with meals, homework, or other household uses.