
Small Kitchen Organization
How to Organize Under a Small Kitchen Sink Around Plumbing
Treat the cabinet as a plumbing service zone with storage around it: keep connections and leak-prone areas inspectable, map the true usable lanes around pipes and hinges, and choose the least permanent organizer that improves access without blocking maintenance.
In This Guide
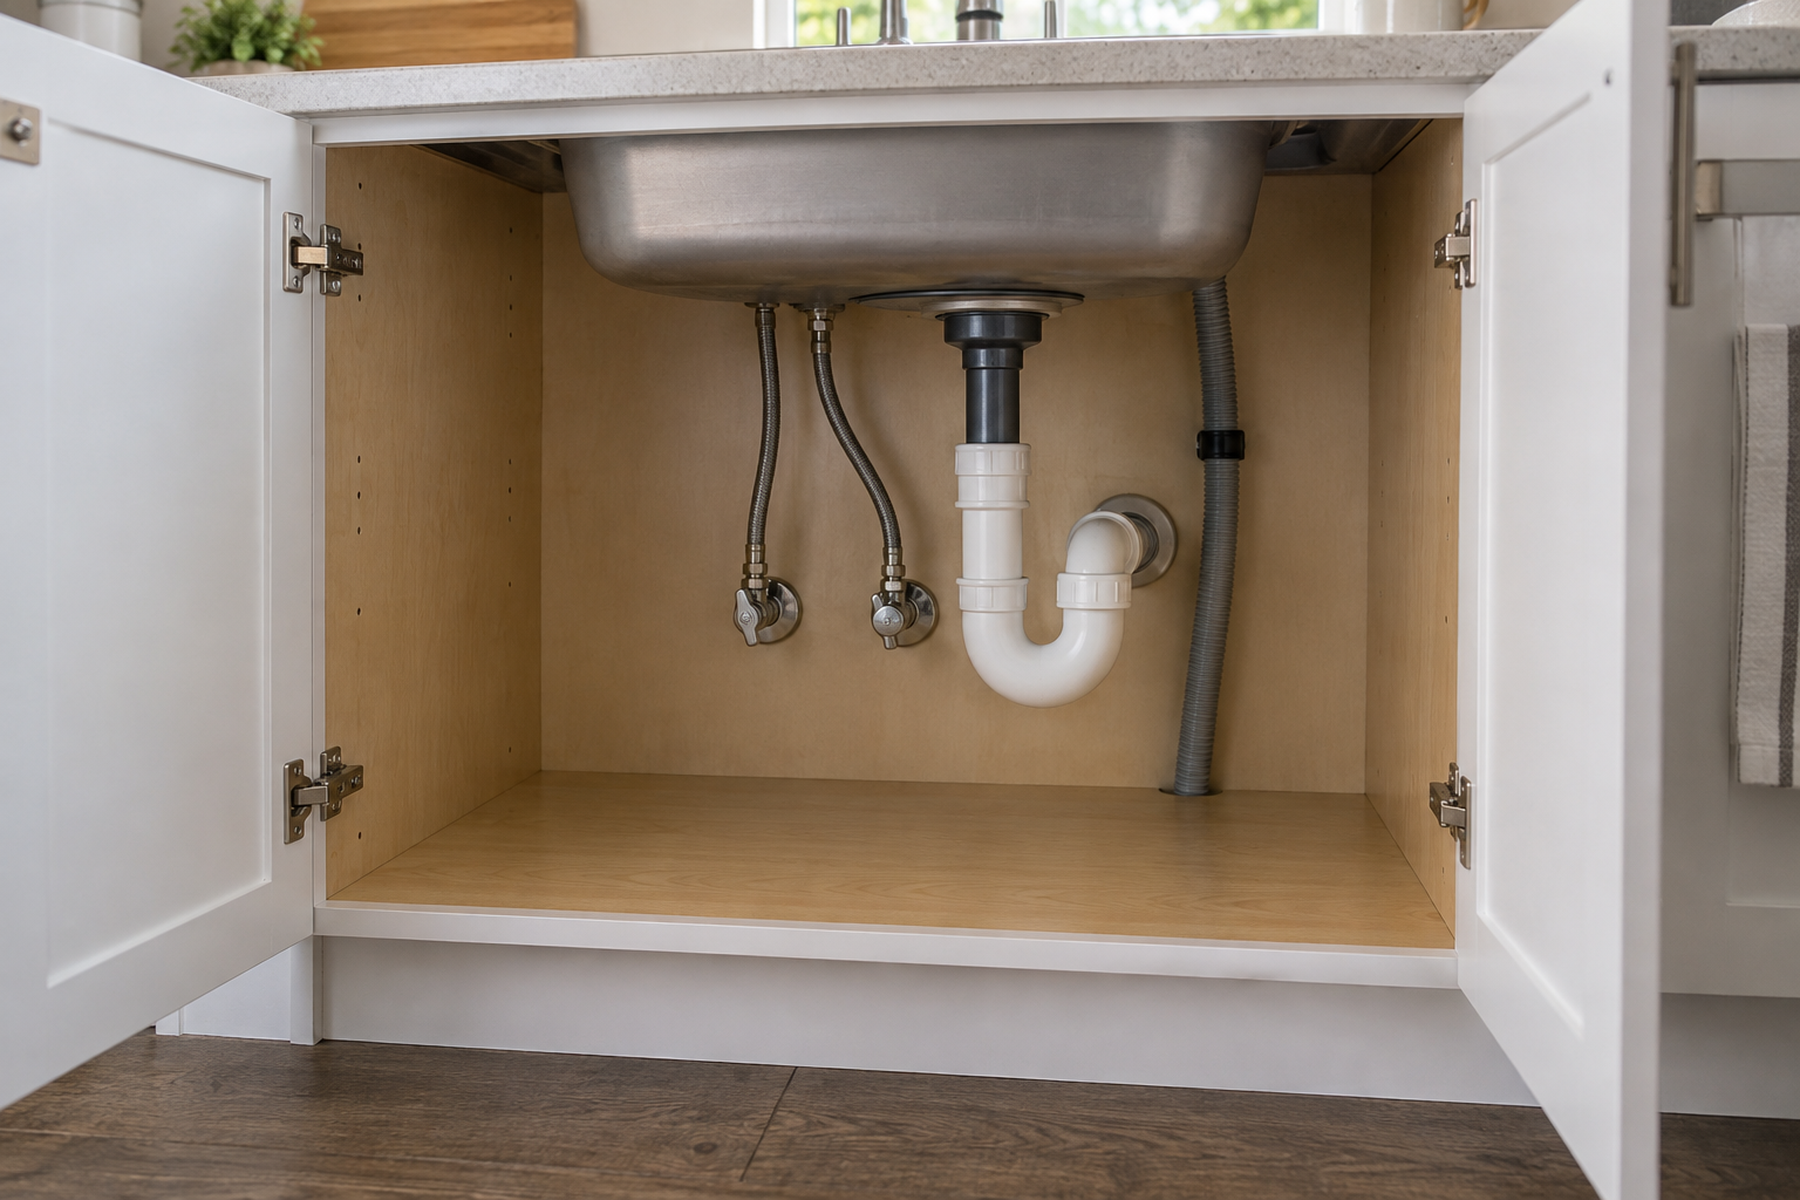
An under-sink cabinet is not an ordinary rectangular cabinet. Supply lines, drain fittings, the P-trap, a disposal, dishwasher hoses, hinges, and the sink bowl can divide the interior into several irregular pockets that do not behave like normal shelves.
The empty-looking space around those parts is not automatically wasted. Some of it may need to stay visible and reachable for leak checks, shutoff access, tools, and maintenance, so the useful storage system begins only after the service geometry is protected.
Quick Answer
Treat the Cabinet as a Service Zone First
Map the fixed plumbing, keep leak-prone connections and the cabinet floor inspectable, then organize only the remaining lanes. The strongest small-space system may intentionally use less cubic volume so it can be cleared and serviced quickly.
01
Map the obstructions before buying an organizer
Measure the true door opening, interior depth and height, P-trap, supply lines, disposal, hoses, hinges, sink-bowl drop, and the path an organizer would need to slide or lift through.
02
Keep the plumbing lane visible and removable
Do not bury pipe connections or the cabinet floor under permanent layers of storage. Portable bins and caddies can be valuable because they lift out quickly for inspection or service.
03
Store only the categories that earn this constrained space
Keep frequently used sink-area supplies that fit the geometry, move duplicates and water-sensitive overflow elsewhere, and use a child-safety branch for hazardous cleaners instead of assuming every cleaning product belongs in the low cabinet.
01
Map the Plumbing and Service Zone Before You Shop
Open both cabinet doors and treat every fixed obstruction as part of the floor plan. Record the clear opening width as well as the interior width, because face frames and hinges can make the usable entrance narrower than the space behind it.
Map the P-trap, supply lines, shutoffs, disposal if present, dishwasher hose, filtration equipment, electrical components, and the lowest point of the sink bowl. Pipes may sit near the front or off-center, so a nominally correct organizer can still collide with the real geometry.
Add the service path, not just the storage footprint. A plumber or resident may need hand and tool access to a fitting or shutoff, and a pull-out needs a clean extraction path that does not hit a hinge or another organizer.
Do not modify plumbing to create organizer space. Moving drains, valves, supply lines, disposal connections, or dishwasher hoses is outside an organization solution and should not be treated as a storage hack.
02
Decide What Actually Belongs Under the Sink
A constrained sink-base cabinet works better when it holds a short list of categories rather than every cleaning product in the home. Dish soap refills, dishwasher detergent, trash bags, gloves, small brushes, and a compact cleaning kit are common candidates only when they fit the cabinet safely and are used often enough to justify the location.
Move duplicates, bulk backstock, cardboard packaging, paper products, and absorbent textiles out of the lowest leak-prone area when a drier storage location exists. The goal is not to protect every item from every possible leak; it is to avoid placing easily damaged overflow directly beneath water connections by default.
Frequency matters because deep capacity is weak when retrieval is poor. A bottle used every day should not live behind a disposal and three low-frequency refills simply because the back corner is technically empty.
If young children can reach the cabinet, household chemical storage becomes a separate safety decision. CPSC advises keeping household chemicals and cleaning supplies locked or otherwise out of children’s reach and in their original child-resistant containers; organization density does not override that requirement.
Measure / Check First
Before choosing bins, shelves, or pull-outs, measure the real access envelope and confirm that the cabinet can still be inspected and cleared after the organizer is loaded.
Check the Opening, Obstructions, and Service Path Together
01
True opening and usable lanes
Measure the clear door opening, interior width, depth, and height below the sink bowl, then mark where the P-trap, supply lines, disposal, hoses, hinges, and other fixed parts divide the remaining space.
02
Extraction and door movement
Test whether a bin, drawer, or pull-out can actually enter, open, and leave the cabinet without hitting the face frame, hinges, plumbing, adjacent organizer, or the cabinet door itself.
03
Leak visibility and service clearing
Keep pipe connections and the cabinet floor inspectable enough to spot puddling or water marks, and make sure the storage can be removed fast enough for maintenance without dismantling a permanent stack.
If an organizer fits the cabinet dimensions but hides connections, blocks the extraction path, or turns a leak check into a full unload, it does not fit the real under-sink cabinet.
03
Start With Portable Storage That Clears Quickly
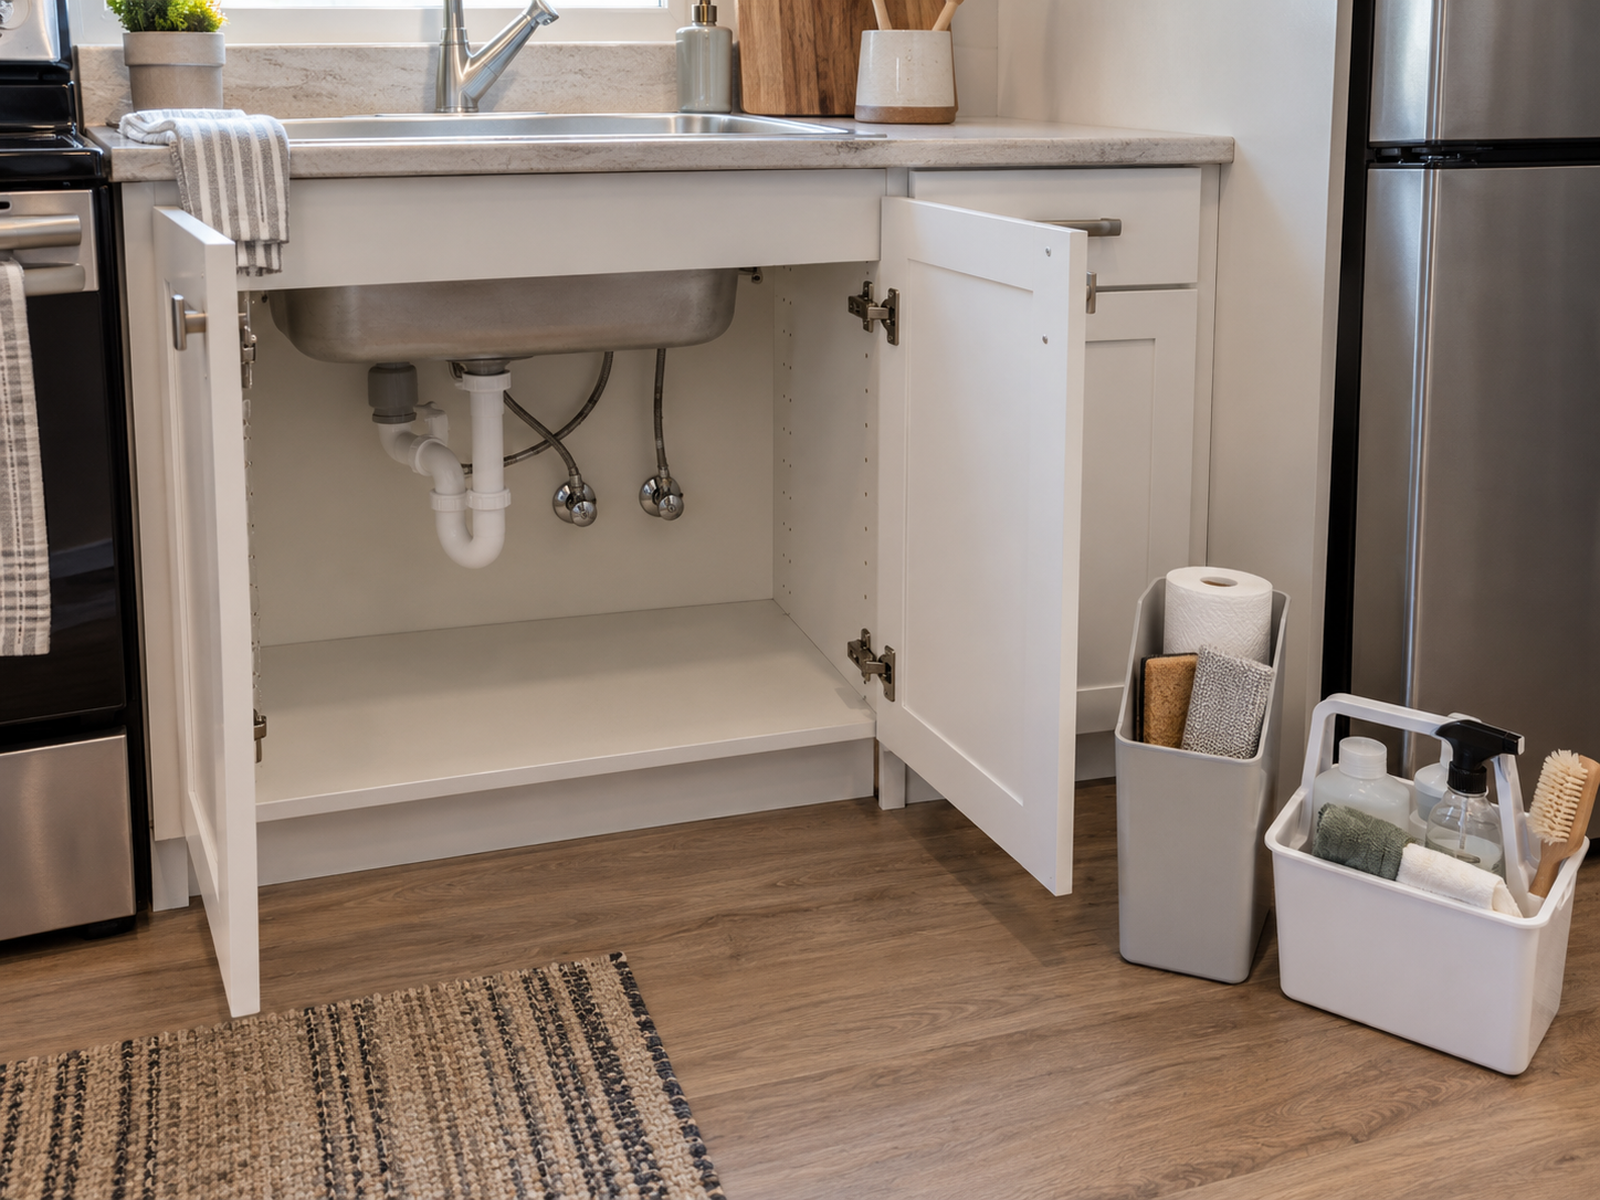
Portable bins and caddies are often the strongest renter-first baseline because they adapt to irregular plumbing without asking the cabinet to become a permanent installation project.
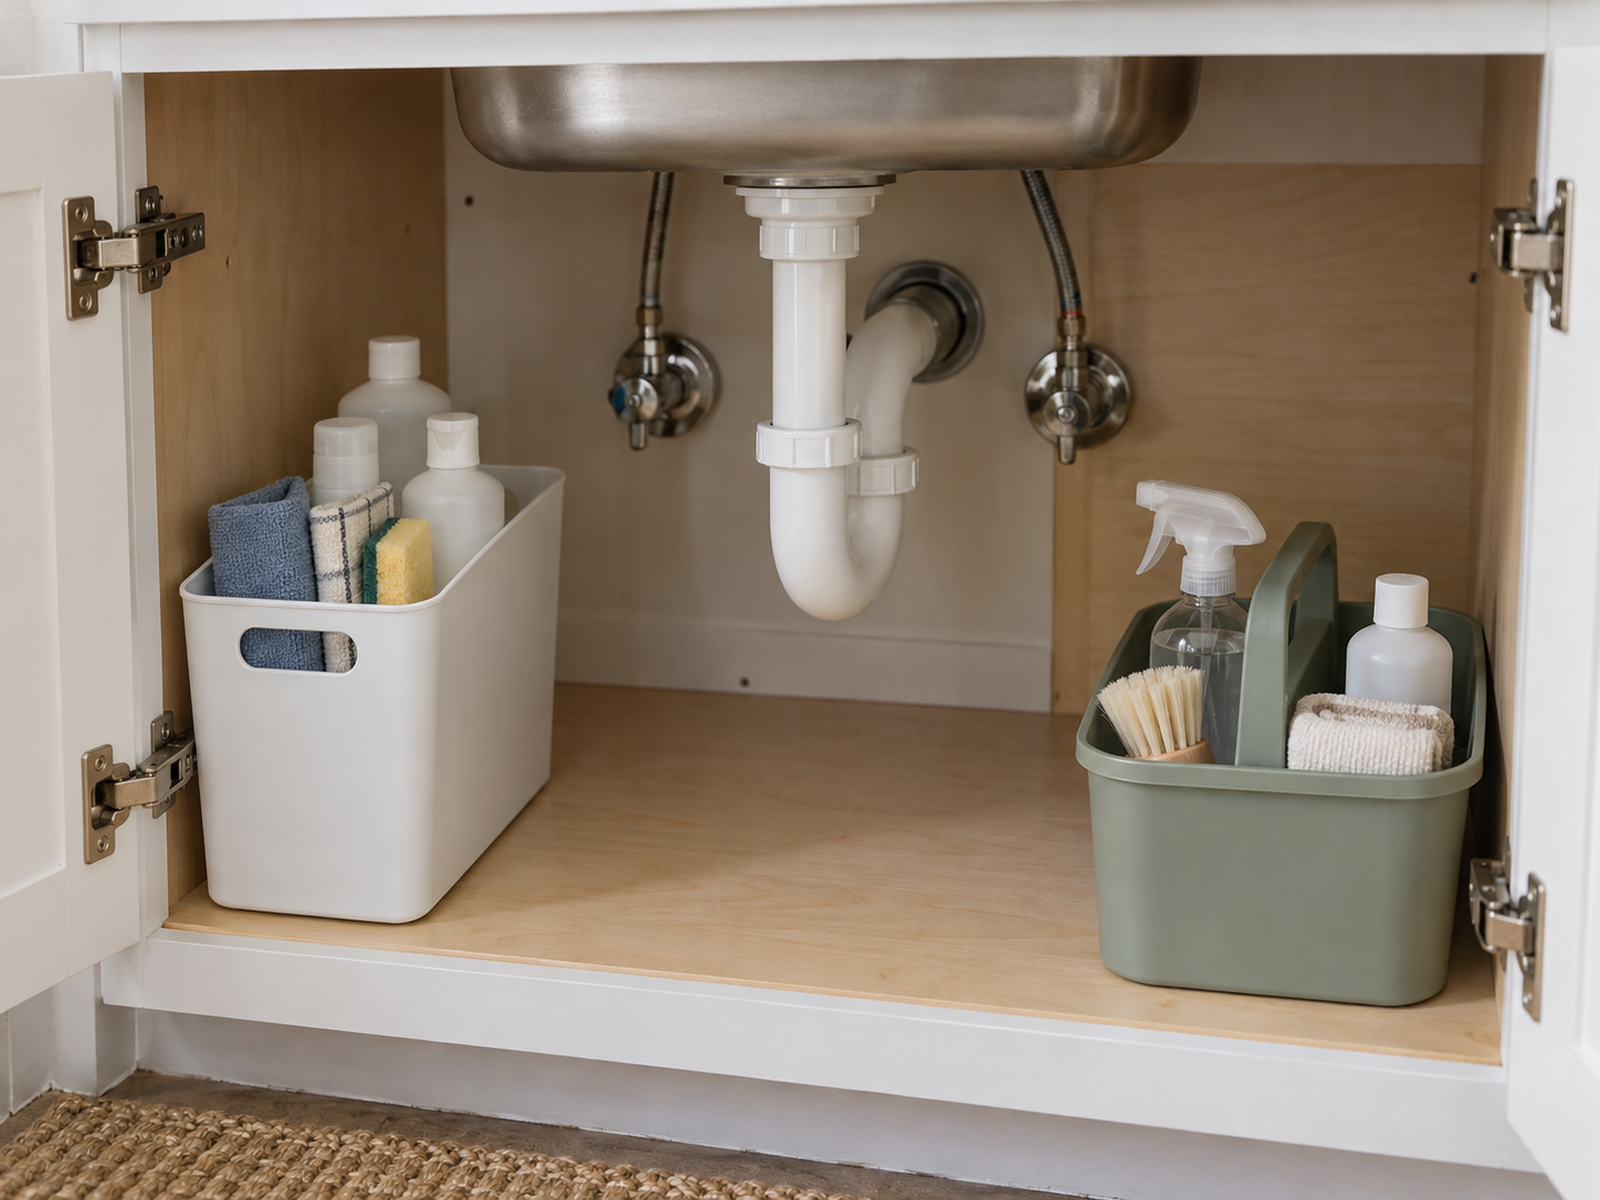
Use narrow bins when the cabinet has separate rectangular lanes beside the trap or disposal, and use a removable caddy when several cleaning items are used together. The system can hold less than a full pull-out and still perform better because the entire zone can leave the cabinet in one or two moves.
Keep daily items in the easiest lane and lower-frequency supplies farther back only when they remain visible enough to retrieve without unloading the front row. Deep opaque bins can recreate the same access problem in a cleaner-looking container.
A portable system also improves maintenance resilience. Current user reports show that a mostly clear under-sink area can materially reduce the clearing work when plumbing service becomes urgent.
04
Keep an Intentional Plumbing and Inspection Lane
Some empty cabinet volume is functional space. EPA WaterSense specifically recommends looking under sinks for leaks at pipe connections, puddling, and other water spots, which is difficult when every connection is hidden behind dense storage.
Leave enough of the plumbing zone open that the eye can scan the fittings and the cabinet floor without first removing several tiers of products. No universal clearance number was established; the needed space depends on the actual connection and service task.
Keep shutoffs and other service points reasonably accessible rather than burying them behind heavy or installed storage. Quick access is a practical resilience rule even though this research does not claim one nationwide storage-code clearance around every valve.
The service lane can be narrow when the plumbing geometry allows it, but it should remain deliberate. Do not fill it later simply because a small bottle happens to fit.
05
Add Vertical Storage Only When It Stays Inspectable
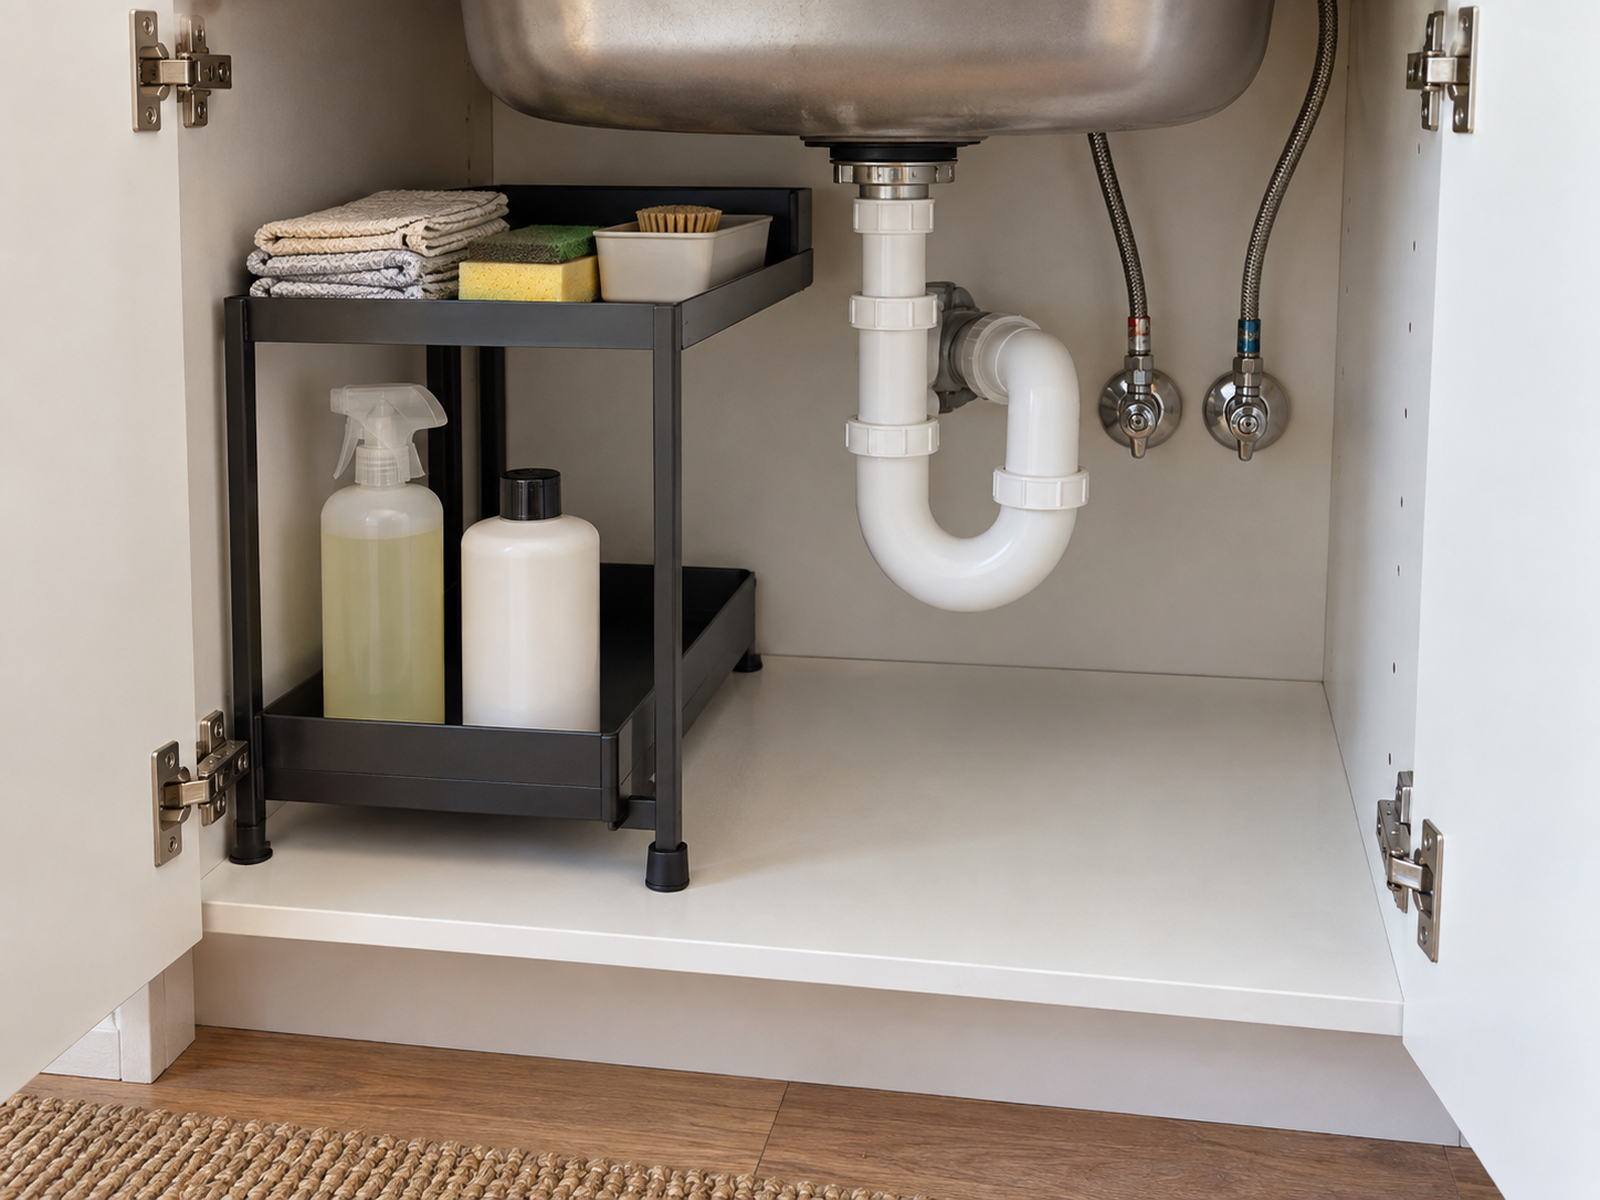
A second tier can be useful because the sink bowl and pipes often leave pockets of vertical space beside or around the plumbing. The benefit is real only when the upper tier does not hide the connections or make the lower tier impossible to remove.
Plumbing-aware products exist because the cabinet is irregular. Rev-A-Shelf’s current under-sink systems include L-shaped designs intended to fit around plumbing, while expandable shelf systems sold for under-sink use can reposition components around pipes.
Treat those forms as architectures, not guarantees. An L-shape only works when its open side matches the disposal or trap, and an adjustable shelf only works when the rails and shelves can avoid the actual obstructions while remaining stable.
Tall bottles, sink-bowl depth, and the door opening can all defeat a two-tier layout that looks efficient in a product photo. Measure the loaded organizer, not an empty frame.
06
Use Installed Pull-Outs Only When the Geometry and Lease Fit
A mounted pull-out can solve one of the hardest under-sink problems: reaching the back of a deep cabinet without kneeling and unloading the front. It can also fail completely when the slide path intersects a trap, disposal, hinge, or face frame.
Manufacturer documentation reinforces that fit is product-specific. Rev-A-Shelf publishes minimum opening dimensions and tells buyers to account for plumbing and hinges, while IKEA’s UTRUSTA under-sink organizer is a side-mounted installed system with published dimensions, load limits, cabinet compatibility, and assembly requirements.
That makes an installed pull-out a later branch rather than the renter baseline. Screws, side mounting, floor-mounted slides, or cabinet hardware changes may require compatible cabinet construction and landlord approval.
Do not choose installation simply to maximize cubic inches. If a portable caddy or freestanding pull-out gives adequate daily access and clears for service in seconds, the lower-density option may be the stronger small-space system.
Use / Skip
An Installed Under-Sink Pull-Out
Use
Use it when the cabinet has a clean slide lane and installation is permitted
A mounted pull-out can be worthwhile when the true opening, side or floor structure, plumbing lane, hinges, sink bowl, and extension path all match the exact system, daily retrieval improves materially, and the lease or landlord permits the required fasteners and cabinet changes.
Skip
Skip it when the plumbing is irregular or service access would get worse
Choose portable bins, a removable caddy, or a freestanding plumbing-aware organizer instead when the slide would collide with pipes, disposal equipment, hinges, or the face frame, when installation permission is uncertain, or when the installed frame would hide leak-prone connections and slow maintenance clearing.
07
Keep Water-Sensitive and Hazardous Items Out of the Wrong Zone
The cabinet floor is the first place a small leak may show up, so it should remain easy to inspect and clean. Paper products, cardboard refills, and absorbent textiles are weak default choices directly beneath supply or drain connections when another location exists.
A liner or tray may help with cleanup depending on its design, but this research does not support a universal claim that an under-sink liner prevents water damage. Do not use a liner as permission to hide leaks or stop inspecting the cabinet floor.
Hazardous cleaners require a household-specific safety branch. When young children can reach the cabinet, CPSC guidance supports locked or otherwise inaccessible chemical storage in original child-resistant containers rather than treating the low cabinet as the automatic cleaner zone.
That may reduce convenience, but safety can legitimately override spatial efficiency. The cabinet can then hold safer supplies such as trash bags, gloves, brushes, or nonhazardous sink-area items that still fit the service geometry.
08
Make Fast Inspection and Maintenance Clearing the Final Test
A finished under-sink system should survive two ordinary disruptions: a leak check and a maintenance visit. If the cabinet only looks organized when every bottle is packed tightly around the pipes, it is not ready for either one.
Test the reset by removing the storage, scanning the pipe connections and floor, then putting the system back. The process should be simple enough that inspection is realistic rather than an annual project everyone avoids.
Keep frequently used supplies in the first-access lane and low-frequency supplies only where they remain visible. When new items no longer have a clear home, move duplicates or backstock elsewhere instead of filling the service lane.
If no organizer fits without hiding connections or blocking service, accept the lower-capacity cabinet. In a plumbing zone, maintainability is part of usable storage rather than a penalty against it.
Closing Decision
Use the Space Around the Plumbing, Not the Space the Plumbing Needs
The strongest under-sink cabinet is not the one that looks fullest. It maps the fixed plumbing first, keeps leak-prone areas visible, gives daily supplies a simple retrieval lane, and leaves enough of the service zone open that the cabinet can be inspected and cleared without a major reset.
Start portable, add vertical storage only where the real obstruction map allows it, and treat mounted pull-outs as installation work rather than automatic upgrades. When child safety or maintenance access reduces the amount that belongs under the sink, that lower density is part of a better system—not lost capacity.
RELATED GUIDES
What to Read Next
NEXT GUIDE
How to Organize a Sponge and Dish Soap Around a Tiny Kitchen Sink
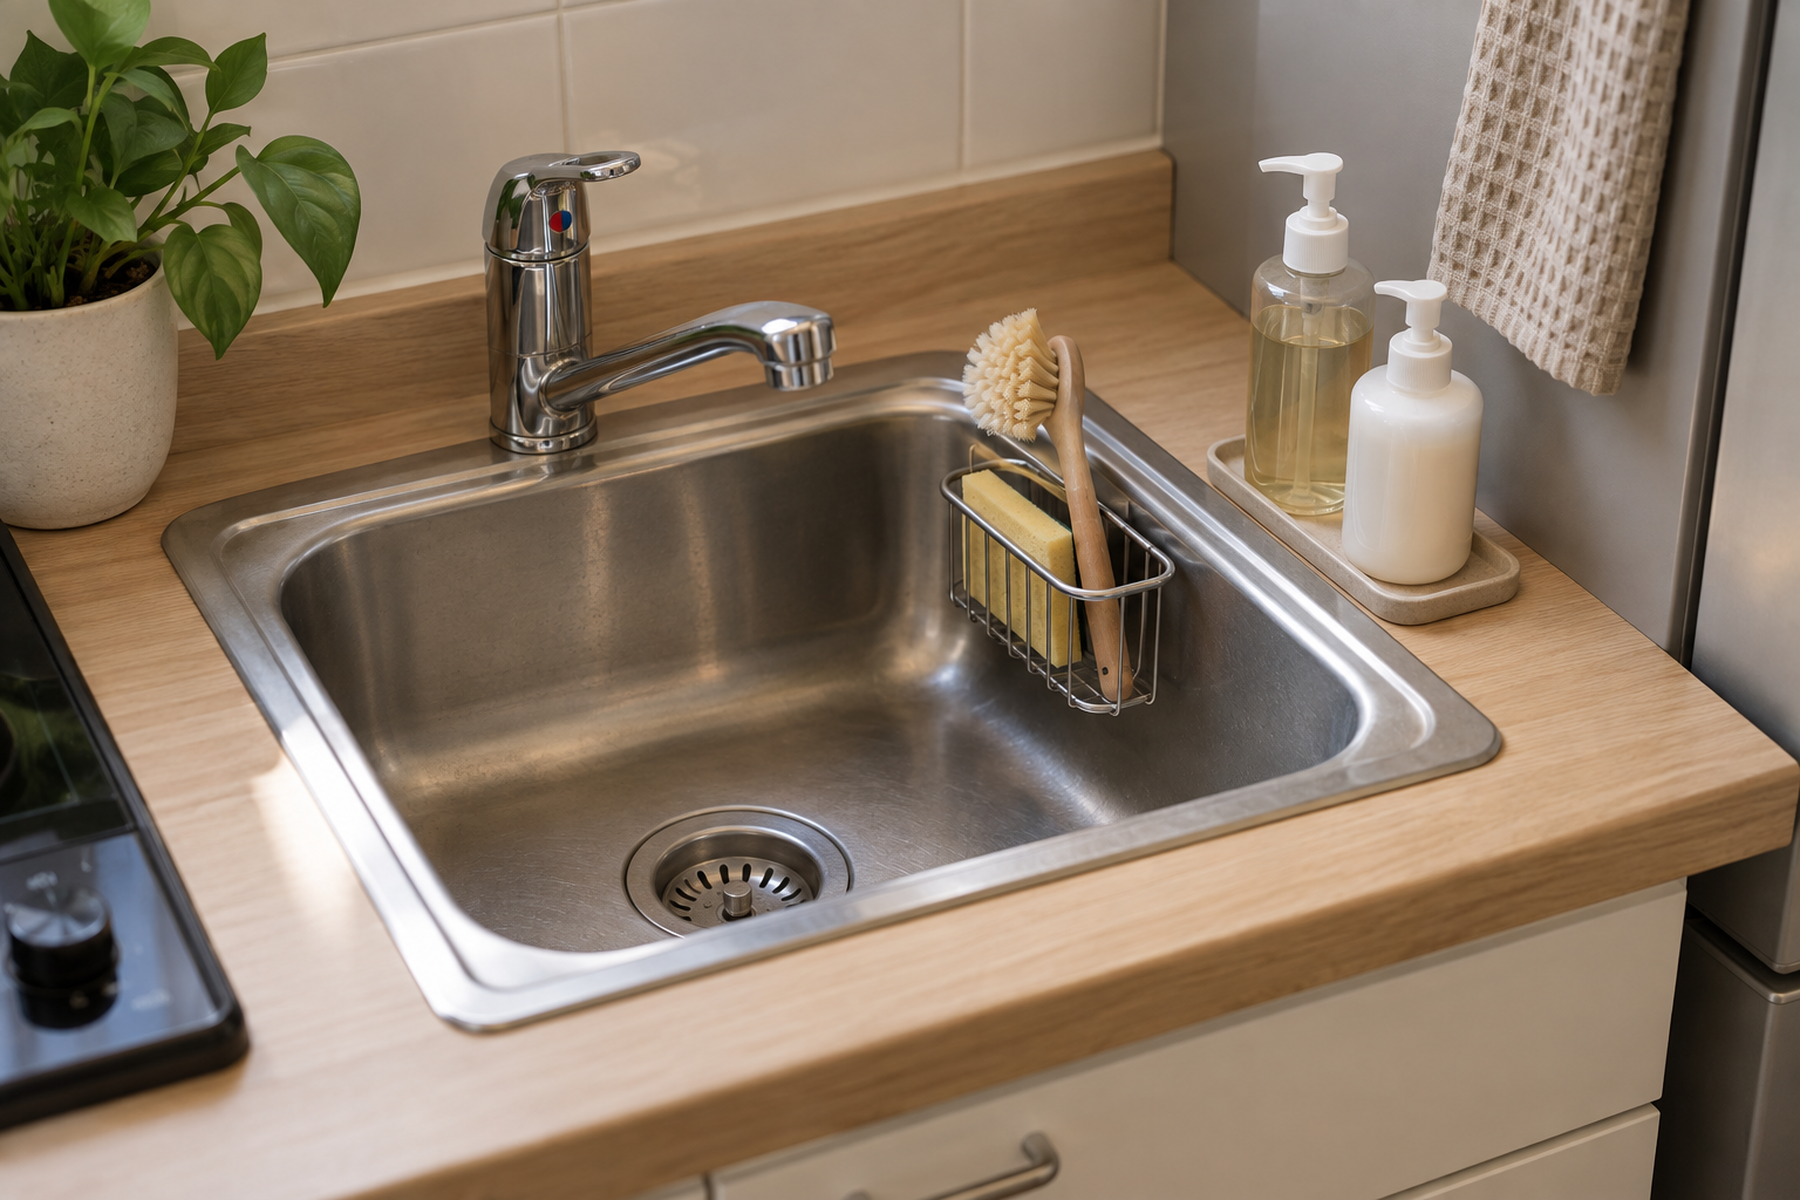
Use this next if the cabinet below the sink is working but the active counter, basin, and faucet-side zone is still crowded; that guide handles the daily sink-side supplies that should not spill back into the service cabinet.
GUIDE
How to Organize a Deep Corner Kitchen Cabinet With a Narrow Opening
Use this if another kitchen cabinet has plenty of theoretical capacity but poor visibility and retrieval; that guide focuses on access geometry rather than plumbing obstructions.
GUIDE
How to Create a Trash and Recycling Zone in a Small Kitchen
Use this if trash bags, waste, or recycling are competing for the under-sink cabinet; that guide helps decide whether those categories belong in a separate kitchen zone instead of consuming service-constrained storage.