
Small Closet Organization
How to Store Shoes in a Small Closet Without Losing Floor Space
Shoes can take over the easiest part of a small closet long before the closet is actually full. Sort by use frequency and shoe height, protect garment and door clearance, then choose the floor, rod, door, shelf, or overflow zone that costs you the least useful space.
In This Guide
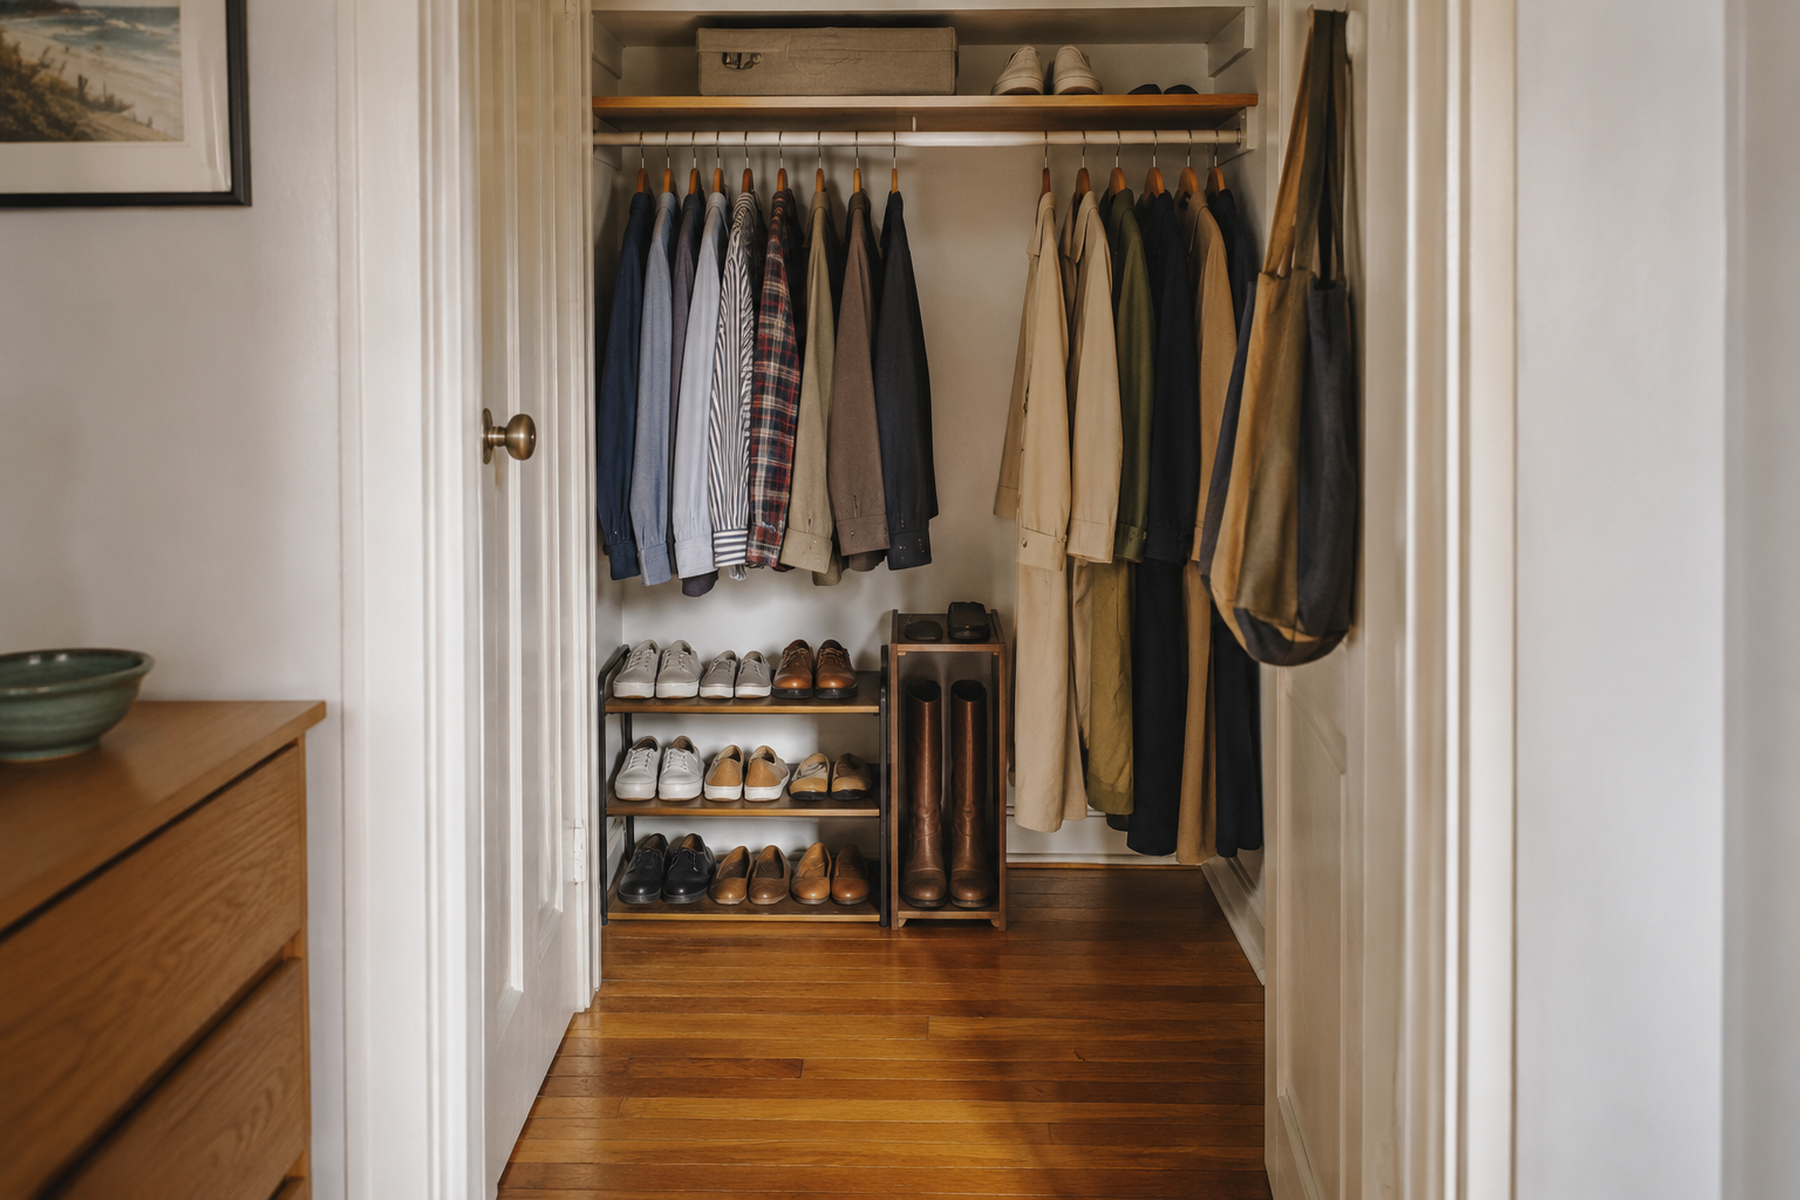
A small reach-in closet has several jobs competing at the same height: hanging clothes need clearance, a hamper or bags may need floor depth, the doors need room to operate, and you still need a place to stand and reach. A shoe organizer can fit inside that footprint and still make the closet harder to use.
A stronger system gives the easiest storage to the shoes you wear most, reserves tall clearance only for footwear that needs it, and moves lower-frequency pairs away from prime floor space. The right organizer is the one that fits the remaining working zone without stealing a more valuable closet function.
Quick Answer
Store Shoes by Frequency and Shape, Not Pair Count
Start by protecting the closet floor and access path, then sort shoes by how often they are worn and by footwear shape. Give daily pairs the easiest compatible zone, use rod, door, or floor space only when that storage resource is genuinely cheaper, and verify exact installation or load requirements before treating any organizer as renter-friendly.
01
Protect the working floor first
Check garment drop, the door path, your standing position, and any hamper or bag zone before deciding how much floor area shoes can use.
02
Sort by frequency and footwear form
Keep daily pairs easy to see and reach, separate tall boots from low shoes, and let seasonal or special-occasion pairs tolerate a slower storage zone.
03
Spend the least valuable storage resource
A low rack uses floor depth, a hanging organizer uses rod width, and an over-door organizer depends on door geometry. Choose the resource your closet can actually spare.
01
Protect the Closet Floor Before You Choose a Shoe Organizer
The open strip at the bottom of a closet is not automatically spare storage. Long garments may hang into it, a hamper may need to slide out, doors can sweep or overlap across it, and the same floor area often gives you the standing position needed to reach the rod and upper shelf.
Temporarily clear the shoes and look at the closet in use. Let clothes hang naturally, open and close the door fully, pull out anything that normally lives on the floor, and notice which section remains genuinely residual. That is the footprint a rack or shelf can spend without making the rest of the closet worse.
Do not size an organizer from the closet wall to wall unless all of that width is truly available. In a small closet, a shorter rack that preserves garment clearance and access can be more useful than a taller or wider unit that technically holds more pairs.
02
Sort Shoes by Frequency and Height Before You Assign Zones
Make two passes through the footwear instead of beginning with a pair-count target. First separate daily and weekly shoes from lower-frequency current-season pairs, special-occasion shoes, and off-season footwear. Then separate low shoes from tall or bulky pairs such as boots.
That second pass matters because uniform shelf spacing is rarely efficient for a mixed collection. Sneakers, flats, dress shoes, and tall boots do not need the same vertical clearance, so forcing every pair into identical cubbies can waste space or make the taller category unusable.
There is no universal number of pairs that every small closet should contain. Climate, work, sport, mobility needs, formal use, and personal preferences all change the inventory. Edit worn-out or clearly unused pairs if that helps, but organize the remaining collection around how it is actually used.
Measure / Check First
Before buying a rack, hanging organizer, door system, or cabinet, measure the storage relationship that makes the option work. Empty dimensions alone do not show whether the closet will remain usable.
Measure the Closet as a Working Space
01
Measure the real floor footprint
Measure the width and depth that remain after long garments, a hamper, bags, and your normal standing position are accounted for. Use that residual footprint, not the whole closet floor.
02
Check garment drop and shoe height
Measure how far short and long garments hang, then measure the actual height of the tallest footwear you plan to keep in each zone. This prevents shelves from colliding with clothing or wasting vertical space.
03
Test doors, rod width, and retrieval
Open the closet door through its normal movement, check over-door clearances if relevant, and measure how much rod width clothing can spare before choosing a hanging organizer. Make sure every proposed zone can be reached without moving another category first.
A solution can fit the closet dimensions and still fail the closet workflow. Keep only the options that preserve normal clothing access, door operation, retrieval, and safe standing space.
03
Build the Everyday Shoe Zone in the Easiest Low Space
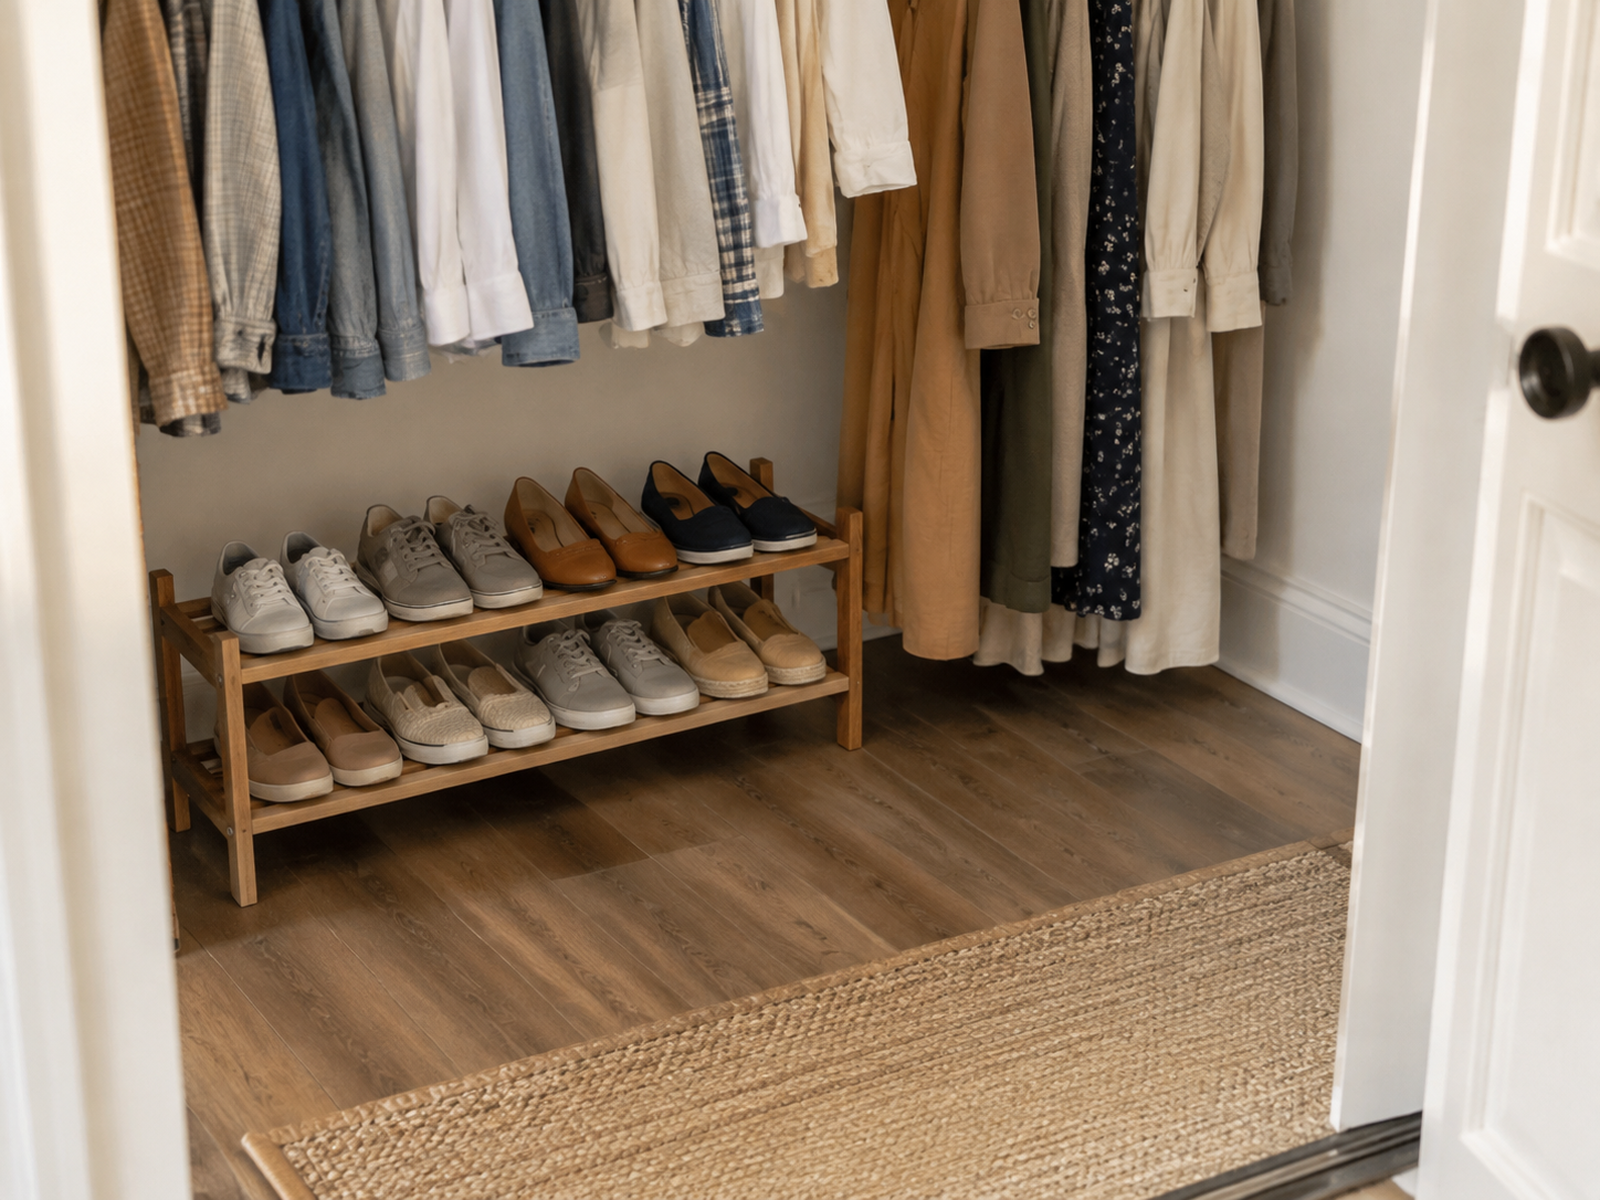
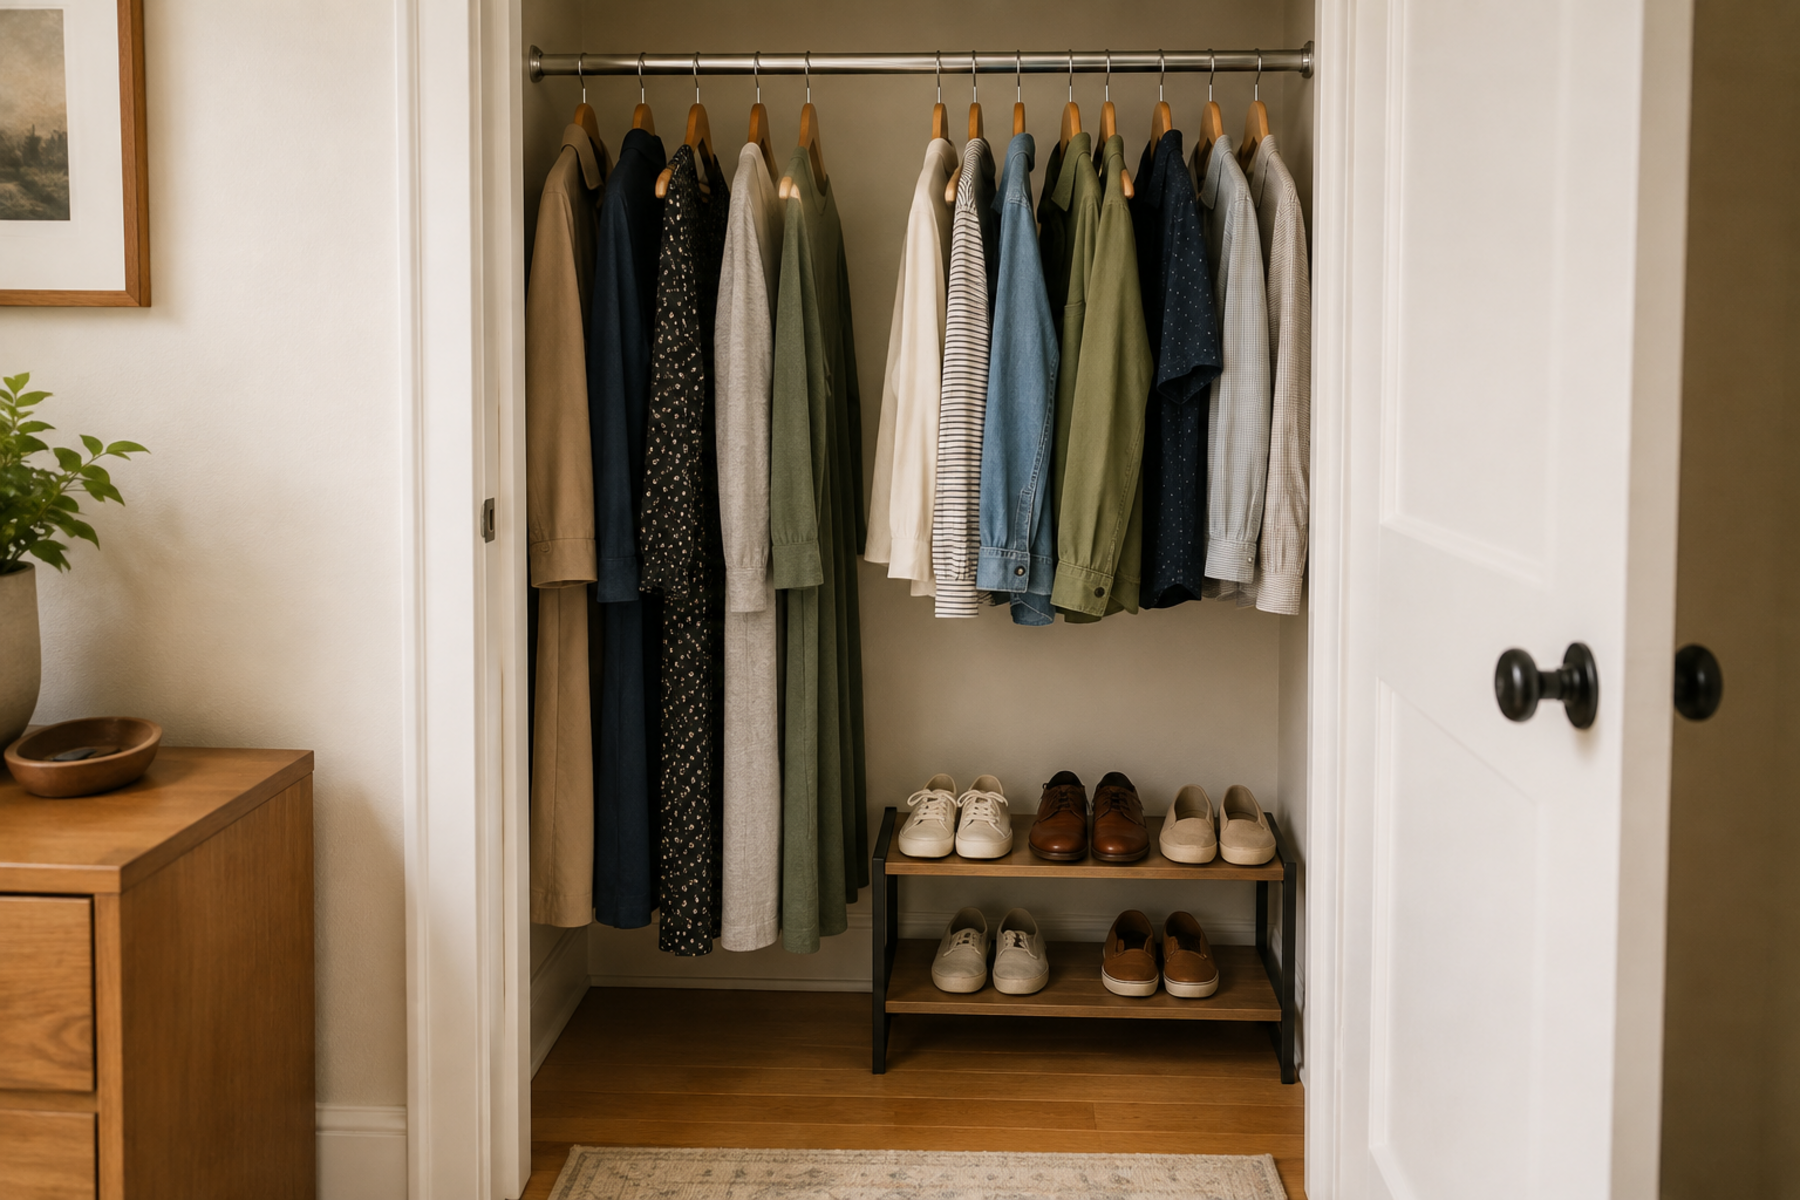
Daily shoes usually deserve the lowest-friction storage in the closet. When there is real residual space under short-hanging garments, a low open rack or short adjustable shelf can keep pairs off the loose floor while leaving them visible enough to return quickly.
Keep the system low enough that shirts, jackets, or other short garments do not drape onto the shoes. The rack should also stop before the central standing zone or hamper path if those functions need the depth. If reaching one pair requires moving three others or pulling the whole organizer into the room, the storage is too dense for an everyday zone.
Adjustable or mixed-height shelving can be more adaptable than a single fixed grid when the footwear mix changes. The useful test is not maximum advertised capacity; it is whether the pairs you wear most can come out and go back without disturbing clothing or another storage category.
04
Give Boots Their Own Taller Zone Instead of Raising Every Shelf
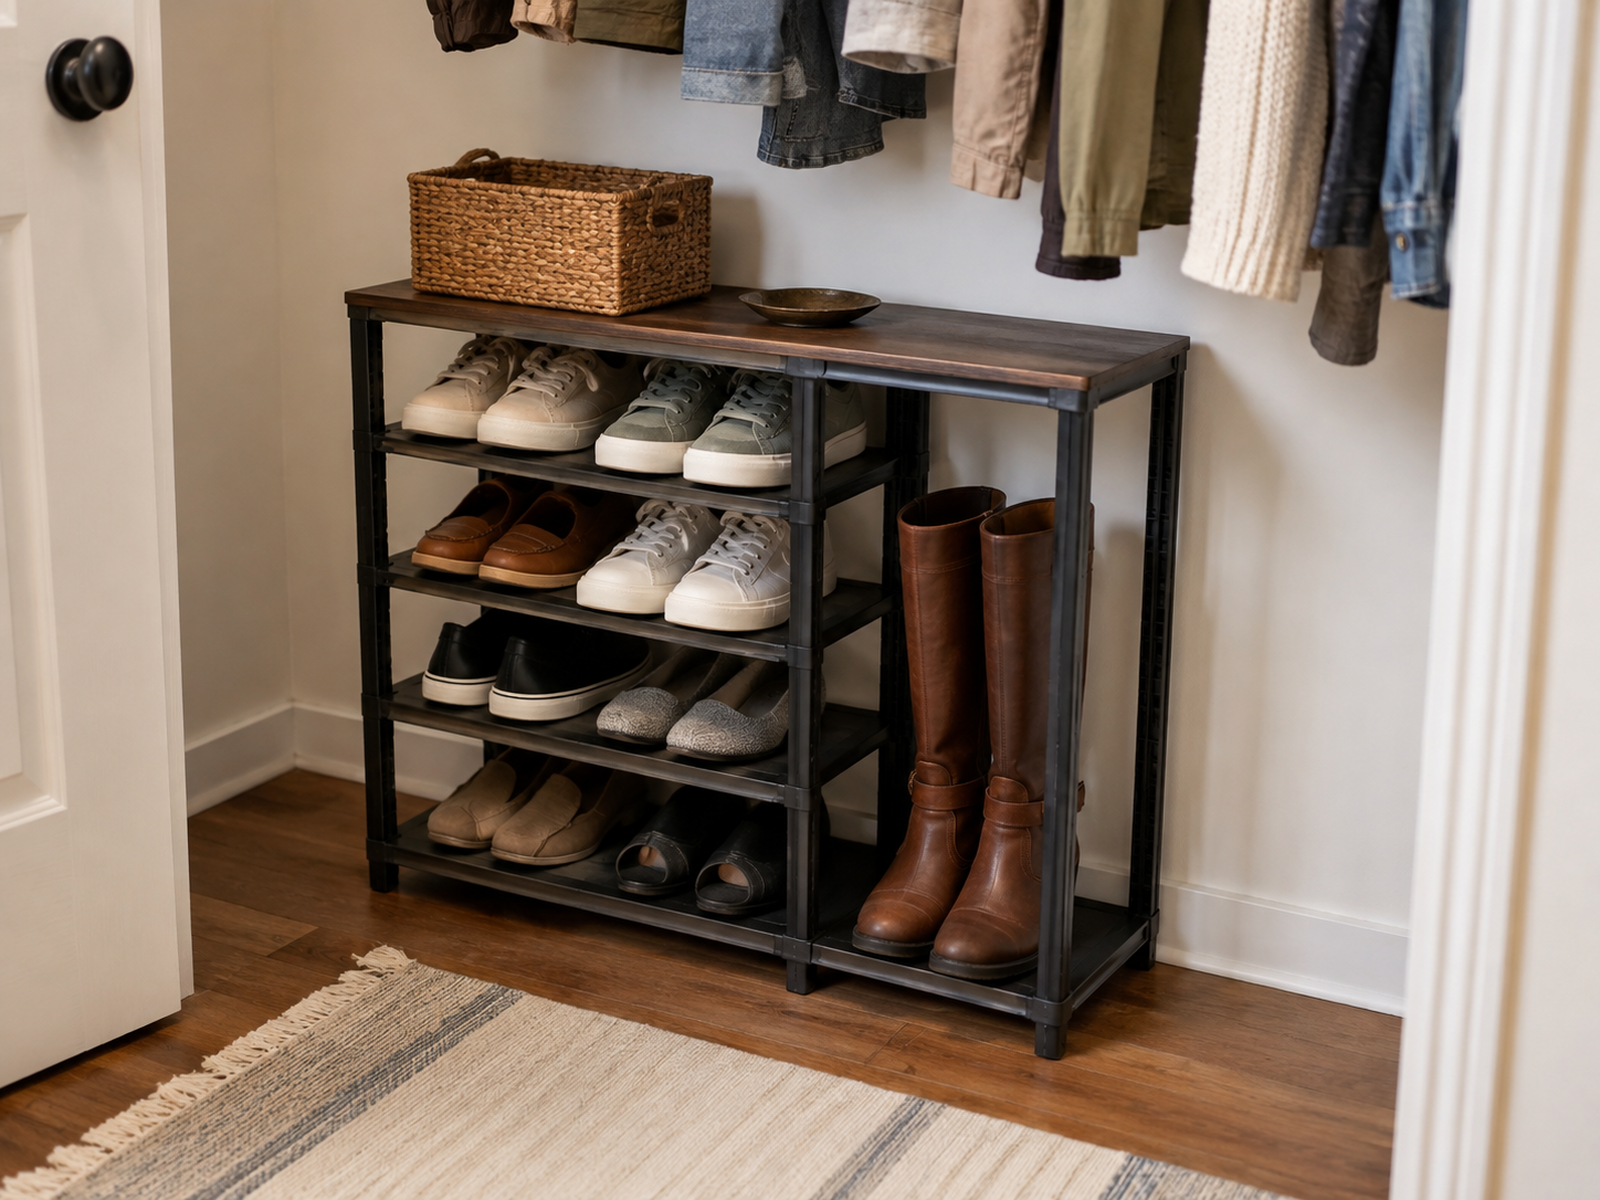
Tall boots create a geometry problem that the rest of the shoe collection may not share. If one pair needs substantially more vertical room, raising every shelf to that height can leave unused air above flats, sneakers, and lower shoes.
Reserve one taller bay, one open end of an adjustable shelf, or another low zone where the boots can stand without pushing hanging clothes aside. The exact clearance depends on the footwear, so measure the boots you own rather than planning around a generic boot height.
If tall boots are rarely worn, they can move to a lower-frequency storage zone when that zone is dry, safe to retrieve from, and appropriate for the material. Keeping the entire everyday rack oversized for a low-frequency category usually spends more prime closet volume than necessary.
05
Use a Hanging Shoe Organizer Only If You Can Spare the Rod Width
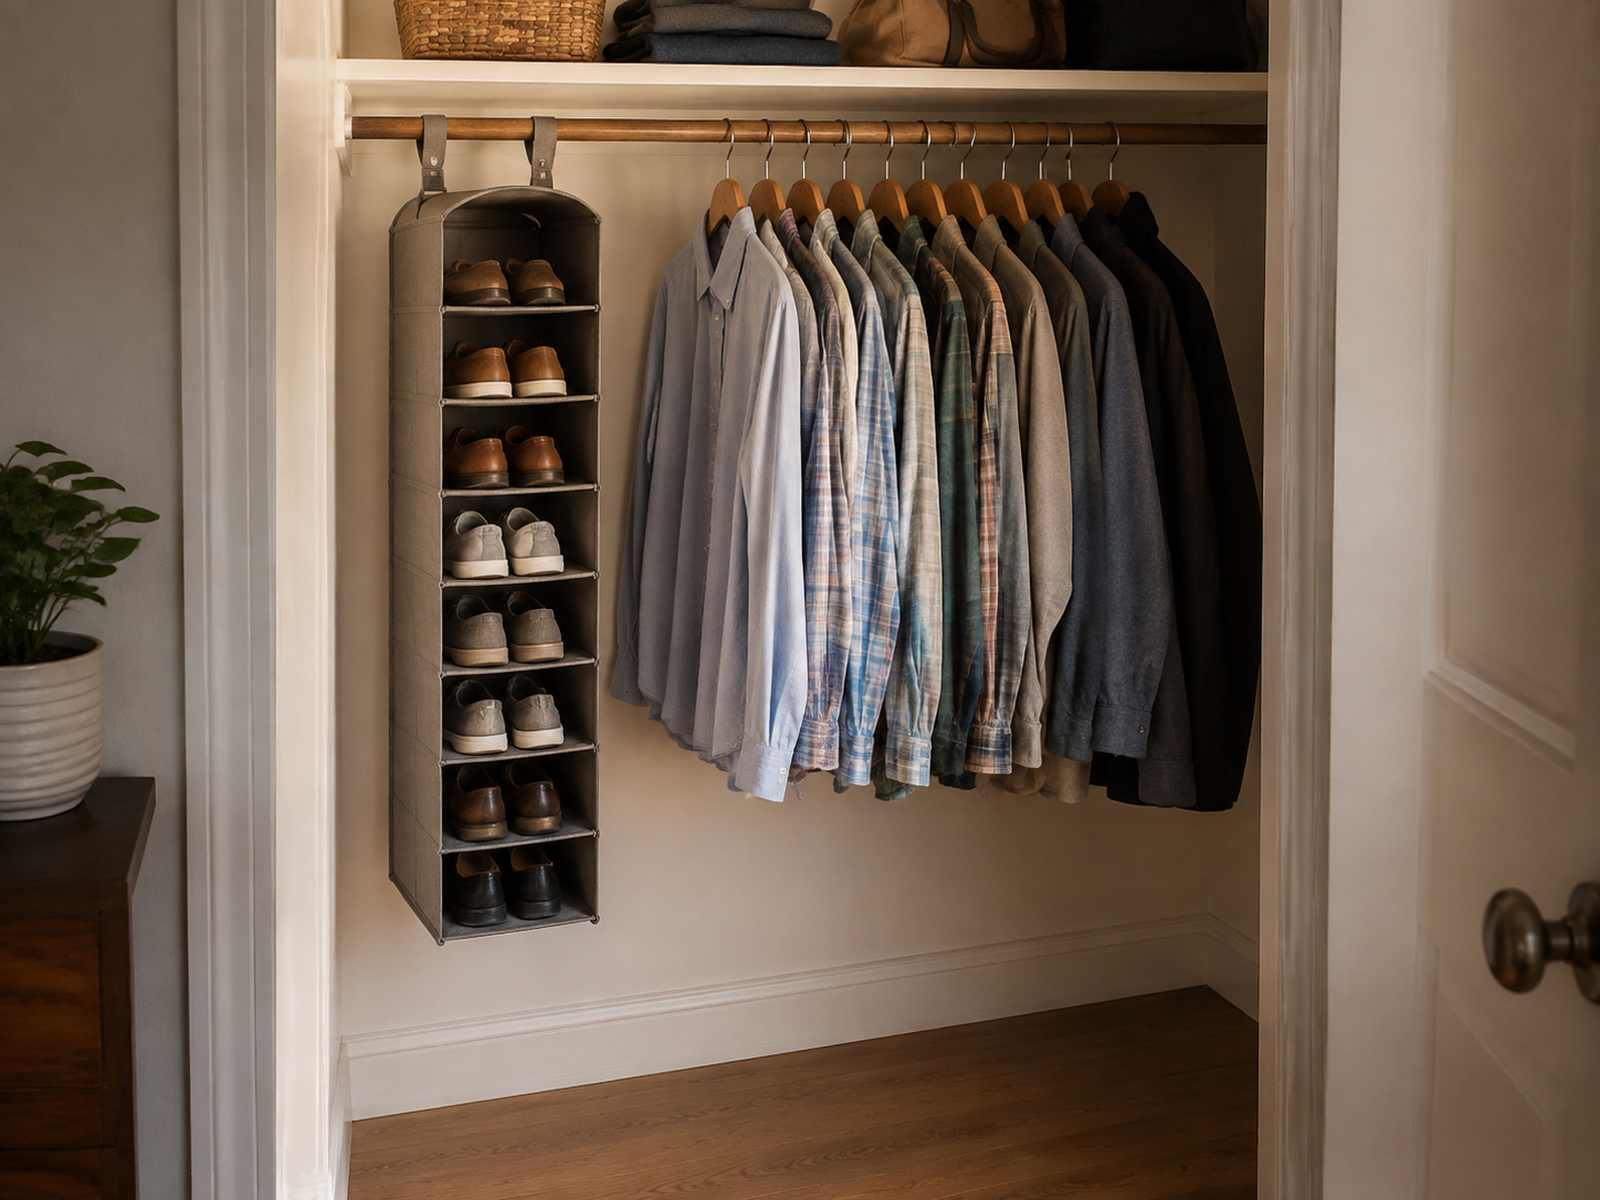
A hanging shoe organizer looks like a floor-space solution because it moves footwear up onto the rod. The trade is easy to miss: it converts shoe storage into lost hanging width, and the organizer itself may hang down into bins, a hamper, or the same lower zone you were trying to protect.
Use one when the closet genuinely has more spare rod width than spare floor depth. Keep the clothing that remains easy to browse, check the organizer and rod instructions, and make sure the hanging unit does not create a new obstruction below.
If the rod is already crowded, moving shoes onto it may be a worse exchange than a compact floor rack. Small-space organization works better when the organizer spends the storage resource with the lowest opportunity cost, not simply the resource that looks vertical.
06
Use the Door Only When the Door Geometry Actually Works
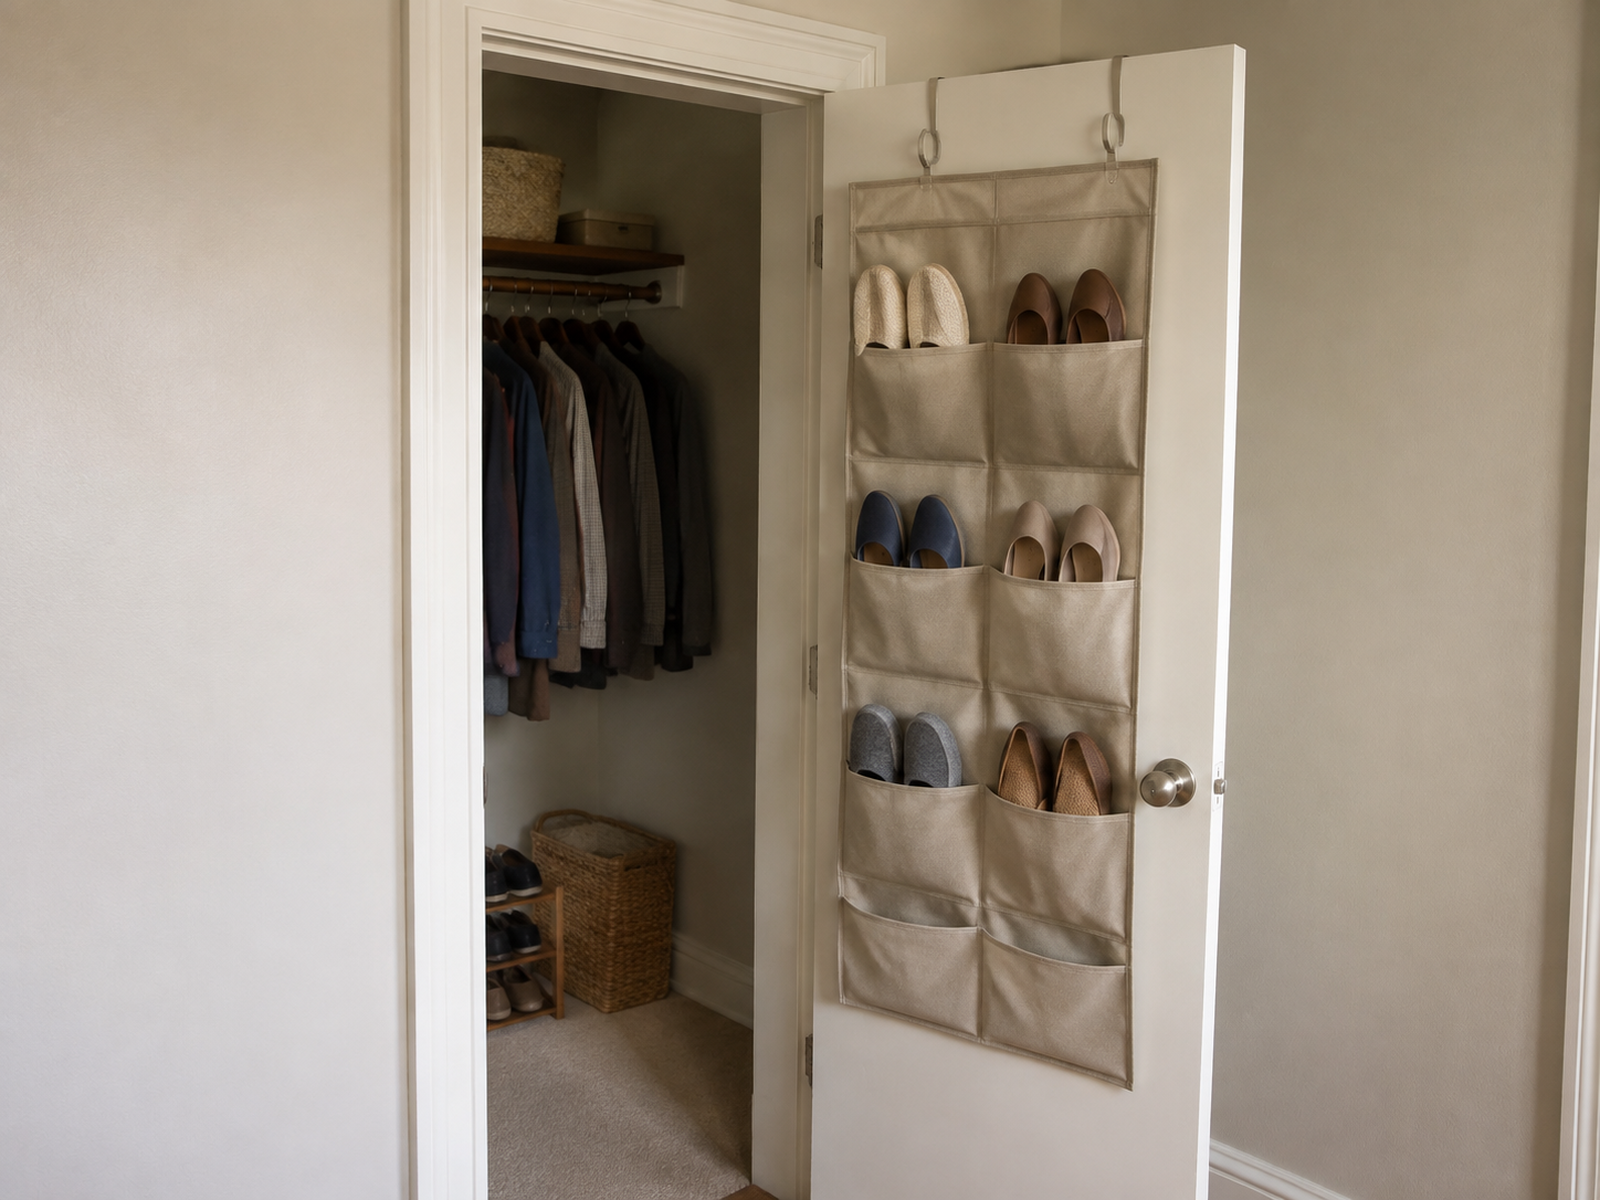
Over-door shoe storage can preserve both floor and rod space, but it depends heavily on the door itself. A hinged door may have usable back-of-door area; sliding and bifold doors create different constraints, and not every hook or organizer will clear the trim or let the door close normally.
Before buying, check the door type, thickness, top clearance, hinge movement, trim, and the organizer hardware. Also consider what happens when the door opens: bulky shoes or a deep organizer should not strike a wall, press into hanging clothes, or narrow the entry into the closet.
Pocket size is another limit. An over-door organizer that works for flats or smaller shoes may not suit bulky sneakers or boots. Door storage is efficient only when the footwear and the door are compatible; it is not a universal no-floor-space answer.
What Not to Do
Avoid Storage That Creates a More Expensive Constraint
- Buy the tallest tower first
More shelves are not useful if the tower blocks garments, narrows access, or needs anchoring you cannot provide. - Assume “slim” means renter-friendly
A narrow cabinet may still require wall fastening. The installation instructions, not the footprint, decide that question. - Force every shoe into the same cubby height
Uniform spacing can waste vertical room on low shoes while still failing boots or bulky footwear. - Seal wet shoes into closed storage
Let footwear dry according to its care instructions before enclosed storage instead of using a cabinet or box to hide moisture.
07
Move Low-Frequency Shoes Higher or Out of the Closet
Once daily and current-season pairs have a workable home, protect that prime zone from footwear that is rarely used. Special-occasion and off-season shoes can move to an upper shelf, under-bed storage, or another dry existing storage area when retrieval can be slower.
Make deeper storage easy to identify. Clear fronts, simple labels, or consistent grouping can reduce the chance that stored pairs disappear from memory and get duplicated. Original shoe boxes may protect some footwear, but they are not automatically the most space-efficient container for every closet.
Distributed storage is a legitimate small-space solution. If keeping every pair in the bedroom closet forces clothes, laundry, or bags out of their better zones, fewer shoes in the closet may improve the system more than another shoe rack would.
08
Check Stability, Anchoring, and Wet-Shoe Storage Before You Finish
A narrow shoe cabinet outside the closet can relieve floor pressure, but a slim footprint does not prove renter-friendly installation. Several current IKEA U.S. shoe cabinets, including BISSA, GULLABERG, STÄLL, TRONES, and MACKAPÄR, include wall-fastening or secure-anchoring requirements in their product guidance. Verify the exact model before assuming it can stand unsecured.
The U.S. Consumer Product Safety Commission also advises consumers to secure top-heavy furniture and follow manufacturer instructions through its Anchor It! guidance. If a shoe tower or cabinet requires wall anchoring, treat that as an installation requirement and check lease or landlord rules rather than relabeling it as no-drill.
Do not use closed storage to hide wet or recently cleaned shoes. Footwear care is material- and manufacturer-specific; adidas, for example, tells users to air-dry shoes and says soccer cleats should be completely dry before breathable storage. Follow the care instructions for the footwear you own before putting it into an enclosed box or cabinet.
Decision Sequence
Choose the Shoe Storage Family in This Order
01
Edit the active set
Remove worn-out or genuinely unused pairs and separate current-season footwear from special-occasion and off-season shoes.
02
Map the residual closet zones
Protect garment clearance, door operation, standing space, hampers, bags, and clothing storage before assigning any shoe footprint.
03
Match form and frequency to the zone
Give daily low shoes easy access, reserve tall clearance only for footwear that needs it, and move lower-frequency pairs deeper or higher.
04
Verify the organizer before you commit
Check the exact rack, hanging, door, cabinet, anchoring, load, and care instructions that apply to the solution you choose.
Closing Decision
Use the Closet Zone That Costs You the Least
A small closet does not need one shoe organizer that holds every pair. It needs an everyday zone that stays easy to use, a separate answer for tall footwear, and a slower storage path for the pairs that do not deserve prime floor space.
Protect the floor before buying a rack, spend rod or door space only when those zones are truly cheaper, and move seasonal pairs out when the closet has a better job for that volume. The result is not maximum shoe capacity; it is a closet where shoes, clothing, doors, and normal access can all keep working together.
RELATED GUIDES
Related Guides
NEXT GUIDE
How to Organize a Small Closet With No Built-In Shelves
Use this when the closet itself lacks shelves and shoes are only one category competing for add-on storage.
GUIDE
How to Organize a Small Closet With Sliding Doors—Without Losing Access
Use this when bypass or sliding doors make part of the closet difficult to reach and affect where shoe storage can sit.
GUIDE
How to Store Folded Clothes in a Small Closet With No Dresser
Use this when folded clothing and shoes are competing for the same lower shelves, bins, or floor zone.