
Small Apartment Storage Ideas
How to Create Entryway Storage When Your Apartment Has No Entryway
When the front door opens straight into the living room or kitchen, the goal isn’t to squeeze in a full foyer. Give daily shoes, outerwear, and small carry items a compact stopping point without blocking the door or stealing useful living space.
In This Guide
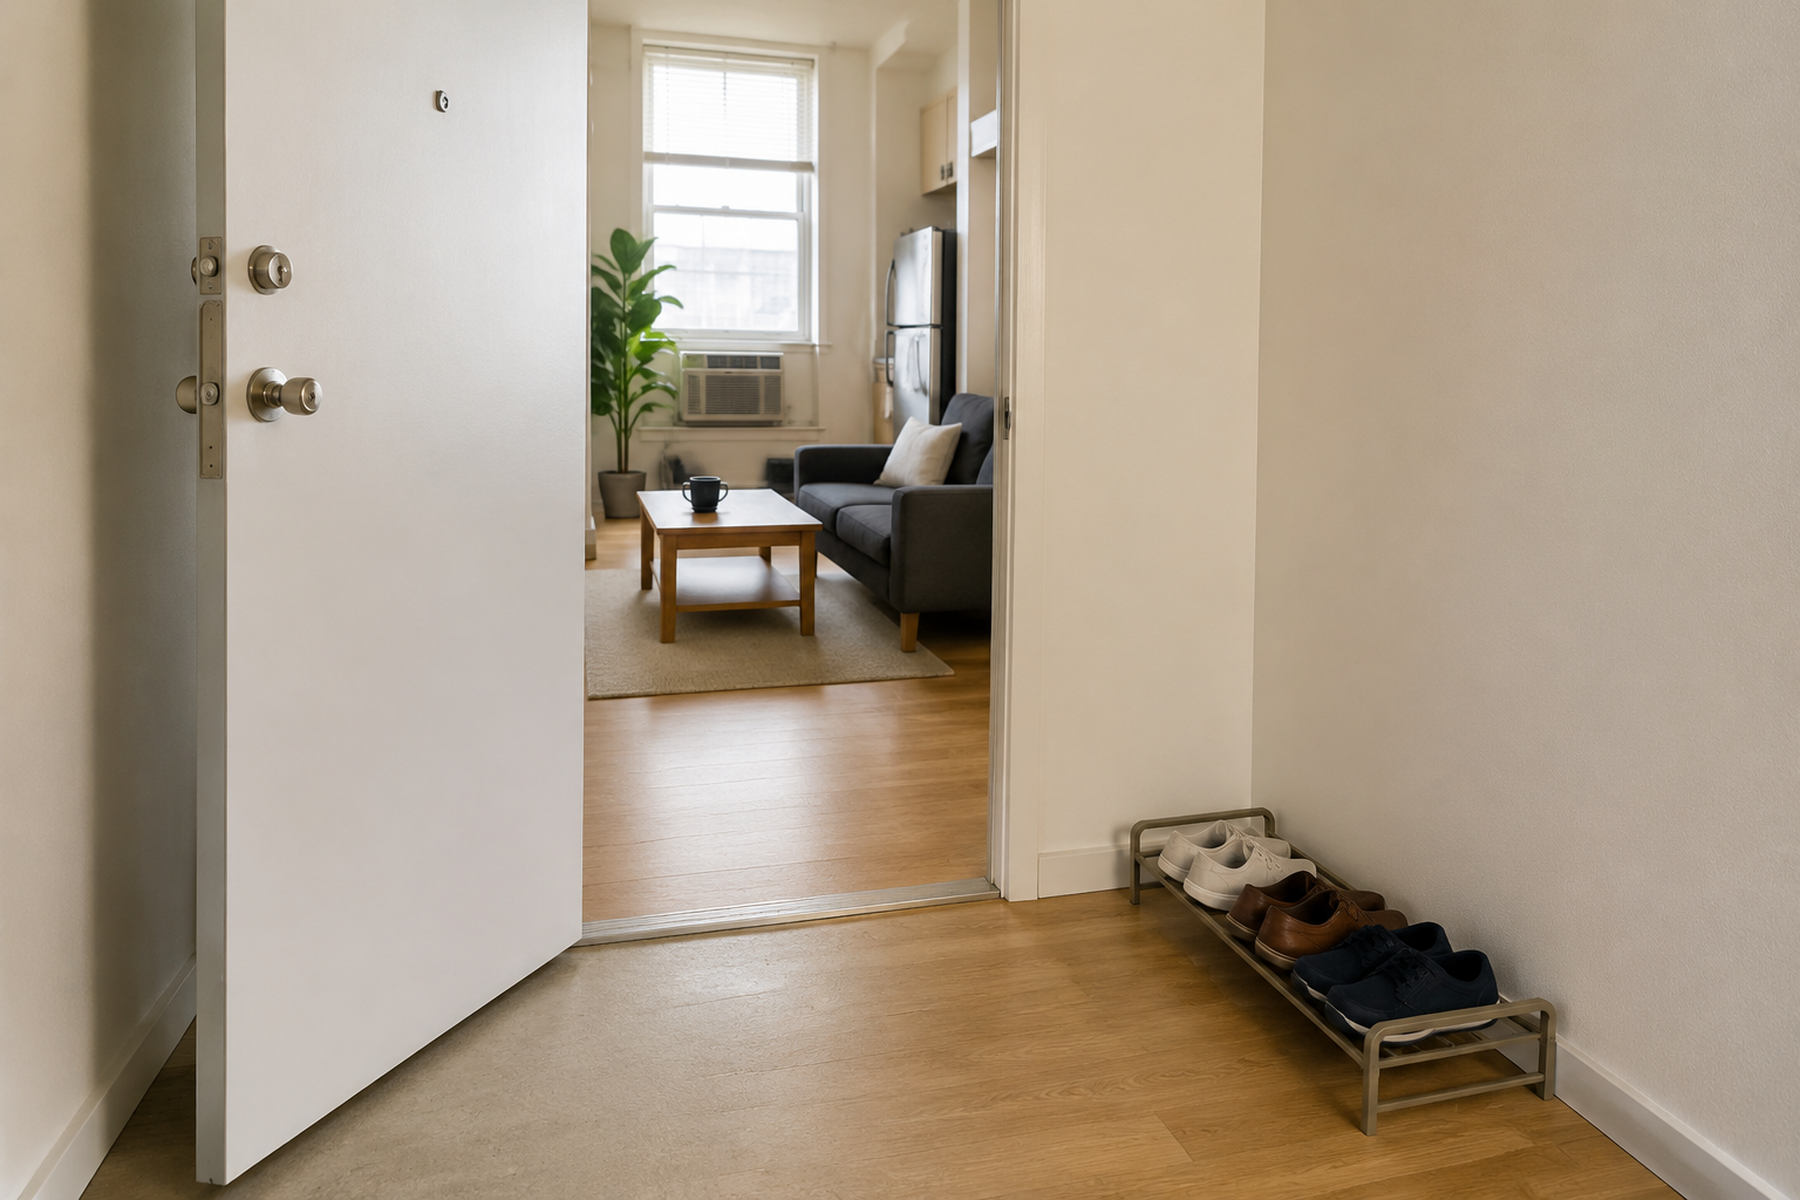
When an apartment has no foyer, arrival clutter does not disappear—it spills onto whatever surface is closest. The tempting fix is to buy an entryway set: a bench, console, hooks, shoe cabinet, or coat rack. In a tight layout, that can replace loose clutter with a deeper, harder-to-navigate obstacle.
Treat the first few feet inside the door as a threshold, not a miniature room. Keep only the items that truly need point-of-entry access, map the space that remains usable while doors and people are moving, and add the smallest storage layer that solves the remaining load.
Quick Answer
Start With the Threshold, Not the Furniture
A functional no-entryway setup usually comes from reducing the door-side load first, protecting operational space second, and adding storage only for the deficit that remains.
1
Limit the door-side load
Keep the active rotation near the entrance—such as daily shoes, current outerwear, a regular bag, and the small items you repeatedly need when leaving. Move seasonal and backup items elsewhere when another workable storage zone exists.
2
Map the space while it is in use
Open the front door and any nearby interior doors, trace the normal walking line, and notice where someone stands while arriving or removing shoes. A blank wall is not usable storage space if door movement or circulation already needs it.
3
Match the storage layer to the remaining job
Use floor containment for footwear, hanging storage for active outerwear or bags, and a micro drop point for small carry items only when those jobs are genuinely present. Then verify the exact installation, stability, surface, or door-fit conditions before treating a solution as renter-friendly.
1
Keep Only What Needs Point-of-Entry Access
Start by naming the items that genuinely need to stop near the door. For many households, that means active shoes, current outerwear, the bag used most days, and small departure items such as keys, a wallet, sunglasses, or a leash. It does not automatically mean every coat, every pair of shoes, guest overflow, or seasonal gear.
Move lower-frequency items to another viable storage zone before you shop for entry furniture. A no-entryway layout has very little prime threshold space; using that space for backup items can push you toward larger furniture than the daily routine actually requires.
A useful test is simple: if an item can live farther inside the apartment without making arrivals or departures noticeably harder, it probably does not need permanent space at the door.
Measure / Check First
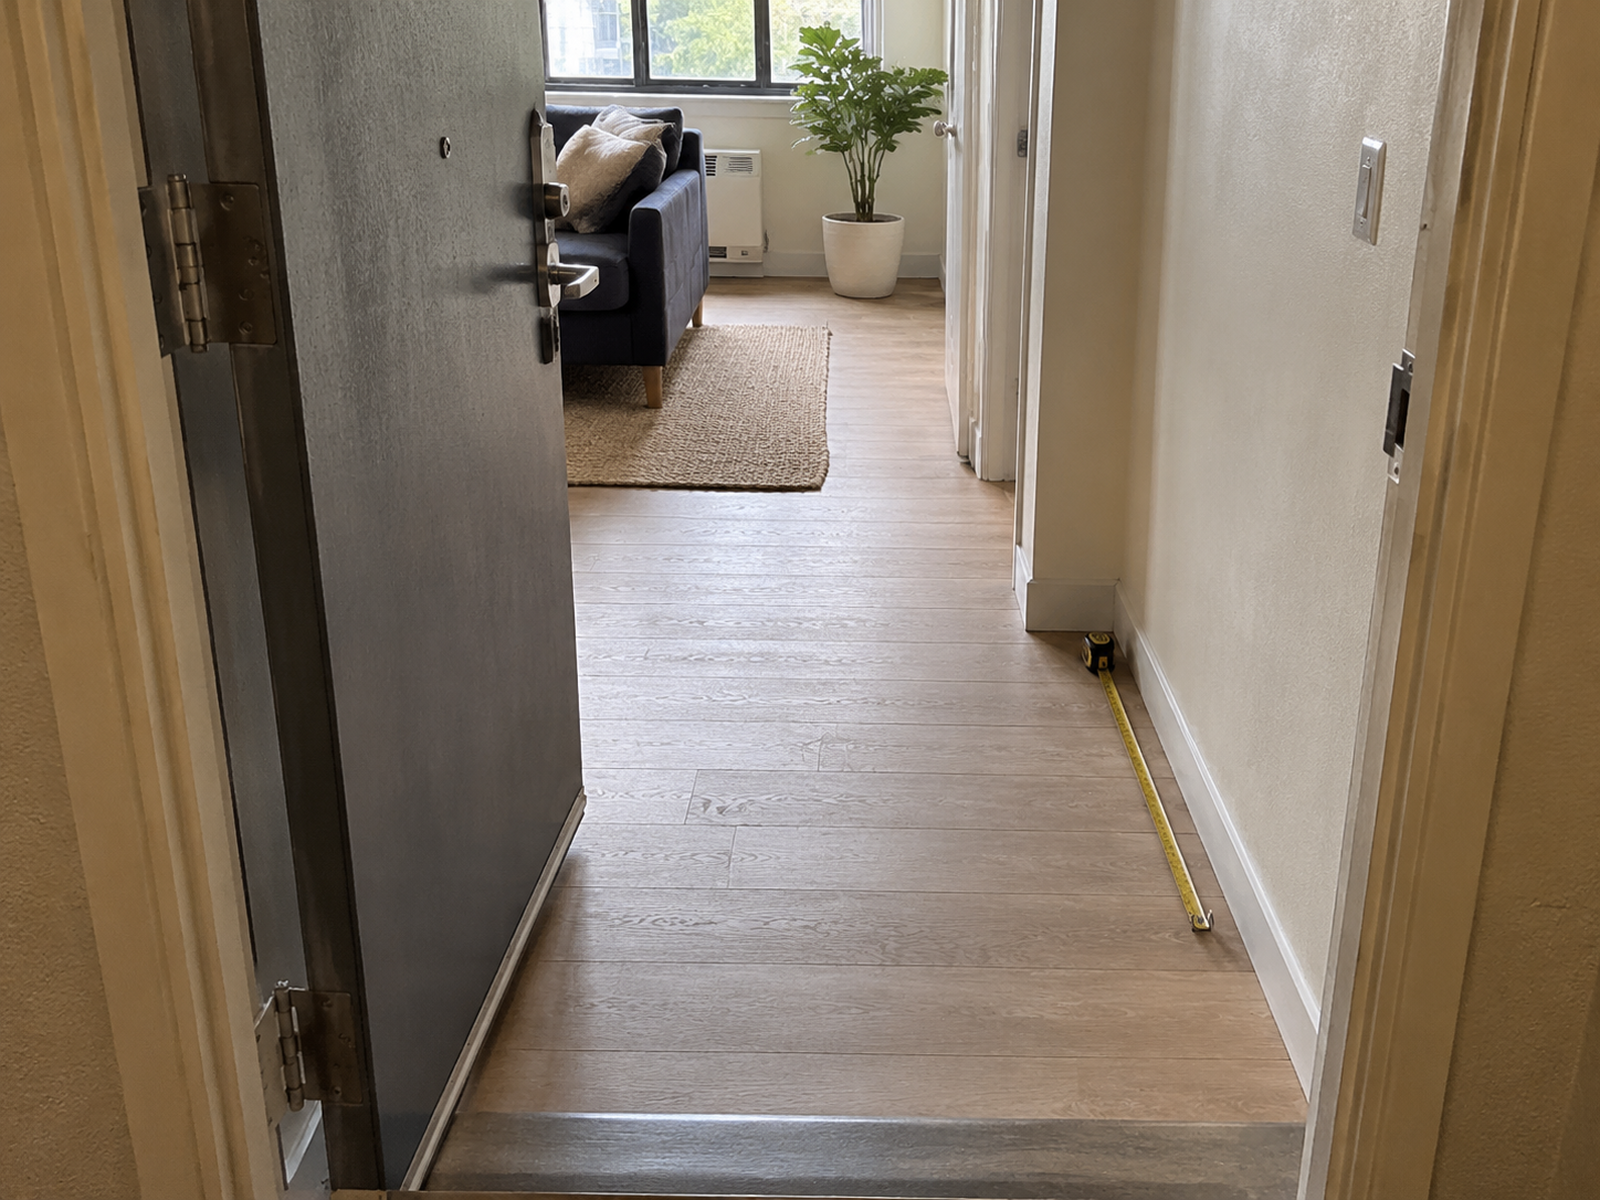
Before buying anything, test the entrance while it is operating—not while the door is closed and the floor is empty. The goal is to find the space left over after the entrance has done its real jobs.
Map the Usable Arrival Envelope
1
Open every nearby door
Check the full front-door swing, handle projection, and any bathroom, closet, bedroom, or cabinet door that competes for the same area. A wall segment that looks empty with the door closed may disappear from consideration once the door is open.
2
Trace where people stand and walk
Notice the normal route into the apartment and the spot where someone pauses with bags, removes shoes, or turns to close the door. Do not replace loose floor clutter with a fixed piece that occupies the same movement space.
3
Check fixed elements and installation conditions
Account for switches, intercoms, outlets, trim, baseboards, and any door-specific fit conditions. If a solution depends on a wall, door, adhesive, or anti-tip restraint, verify those exact conditions before purchase.
The U.S. Fire Administration advises keeping doors and windows from being blocked and maintaining clear ways out. That does not create one universal Aptly Small walkway number, but it does create a hard decision rule: if storage compromises practical door operation or the route out, reject it.
2
Contain Shoes Without Creating a New Obstacle
Footwear is often the first category worth containing because loose shoes can spread directly into the arrival path and wet or dirty pairs can carry the outside farther into the apartment. Start with the smallest floor-level solution that handles the active rotation.
A mat or tray can be enough when the main job is dirt or wet-weather containment. A low open rack adds visibility and modest capacity. A shallow closed cabinet can reduce visual clutter, but only when its projection, stability, and any manufacturer anchoring requirement work in the actual space. A storage bench earns its depth only if seating is genuinely useful and the bench still stays outside the door and walking path.
Do not choose by pair count alone. In a threshold that doubles as circulation space, furniture depth can matter more than nominal storage volume. If a small tray or rack solves the daily shoe problem, stopping there can preserve more useful living space than maximizing capacity.
3
Choose Hanging Storage by Installation Condition
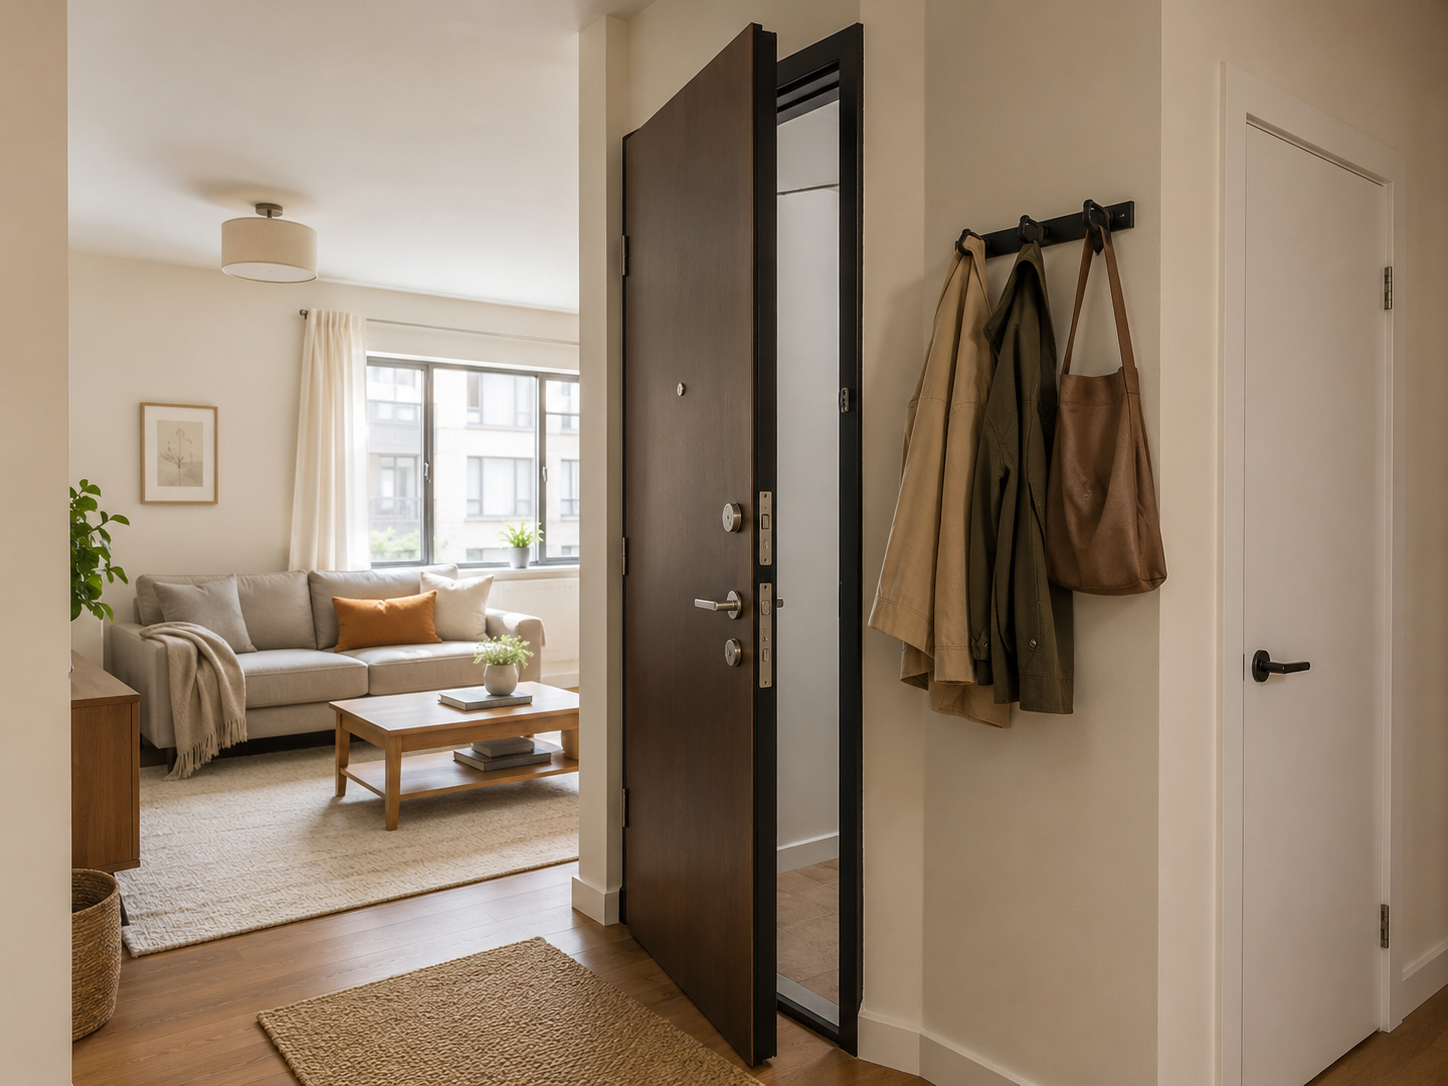
Coats, bags, hats, and leashes can move off the floor, but the mounting method changes both capacity and renter suitability. Choose the lightest installation layer that can handle the active load.
- Over-door storage: Potentially tool-free, but only if the organizer fits the actual door and the door can still open, close, latch, and clear trim or weather stripping normally.
- Removable adhesive storage: Potentially renter-friendly only when the exact product, item weight, wall surface, preparation, any required wait time, and removal method are compatible. 3M Command publishes product-specific weight limits rather than one universal adhesive capacity, and its products also carry surface-specific instructions.
- Screw-mounted hooks, rails, or shelves: Efficient when the wall is usable, but they belong in the installation-required category and should be checked against the wall construction and lease or landlord rules.
- Freestanding coat trees or garment racks: Avoid wall installation, but they spend floor area instead. Keep the load controlled and reject a rack that becomes unstable, overloaded, or part of the walking line.
If two small hooks or one door-mounted solution handles the active rotation, a larger rack is not automatically an upgrade. In a no-entryway apartment, the spatial cost of the storage matters as much as the capacity it adds.
Use / Skip
When Tall Enclosed Storage Is Worth the Footprint
Use
Use it when the coat-volume deficit is real
A tall wardrobe or enclosed cabinet can make sense when active outerwear genuinely exceeds lighter storage options, there is a residual wall zone outside the door and walking path, and you can follow the manufacturer’s complete installation and anti-tip instructions. The U.S. Consumer Product Safety Commission advises following manufacturer instructions and securing top-heavy furniture to reduce tip-over risk.
Skip
Skip it when the furniture creates a second problem
Pass on tall storage when it turns the living room edge into a choke point, when the required anchoring cannot be completed appropriately, or when the real door-side need is only a few active coats and bags. “Freestanding” describes where a piece sits; it does not prove that wall attachment is unnecessary.
What Not to Do
Don’t Treat “No-Drill” as a Universal Green Light
Tool-free and renter-friendly are not synonyms. An adhesive hook can be wrong for a particular surface or load; an over-door organizer can interfere with door operation; and tall floor furniture may still have anti-tip requirements. Treat renter-friendly as a condition to verify—exact product, surface or door, load, installation method, removal method, and lease terms—not as a blanket promise.
4
Create a Micro Drop Zone, Not a Clutter Surface
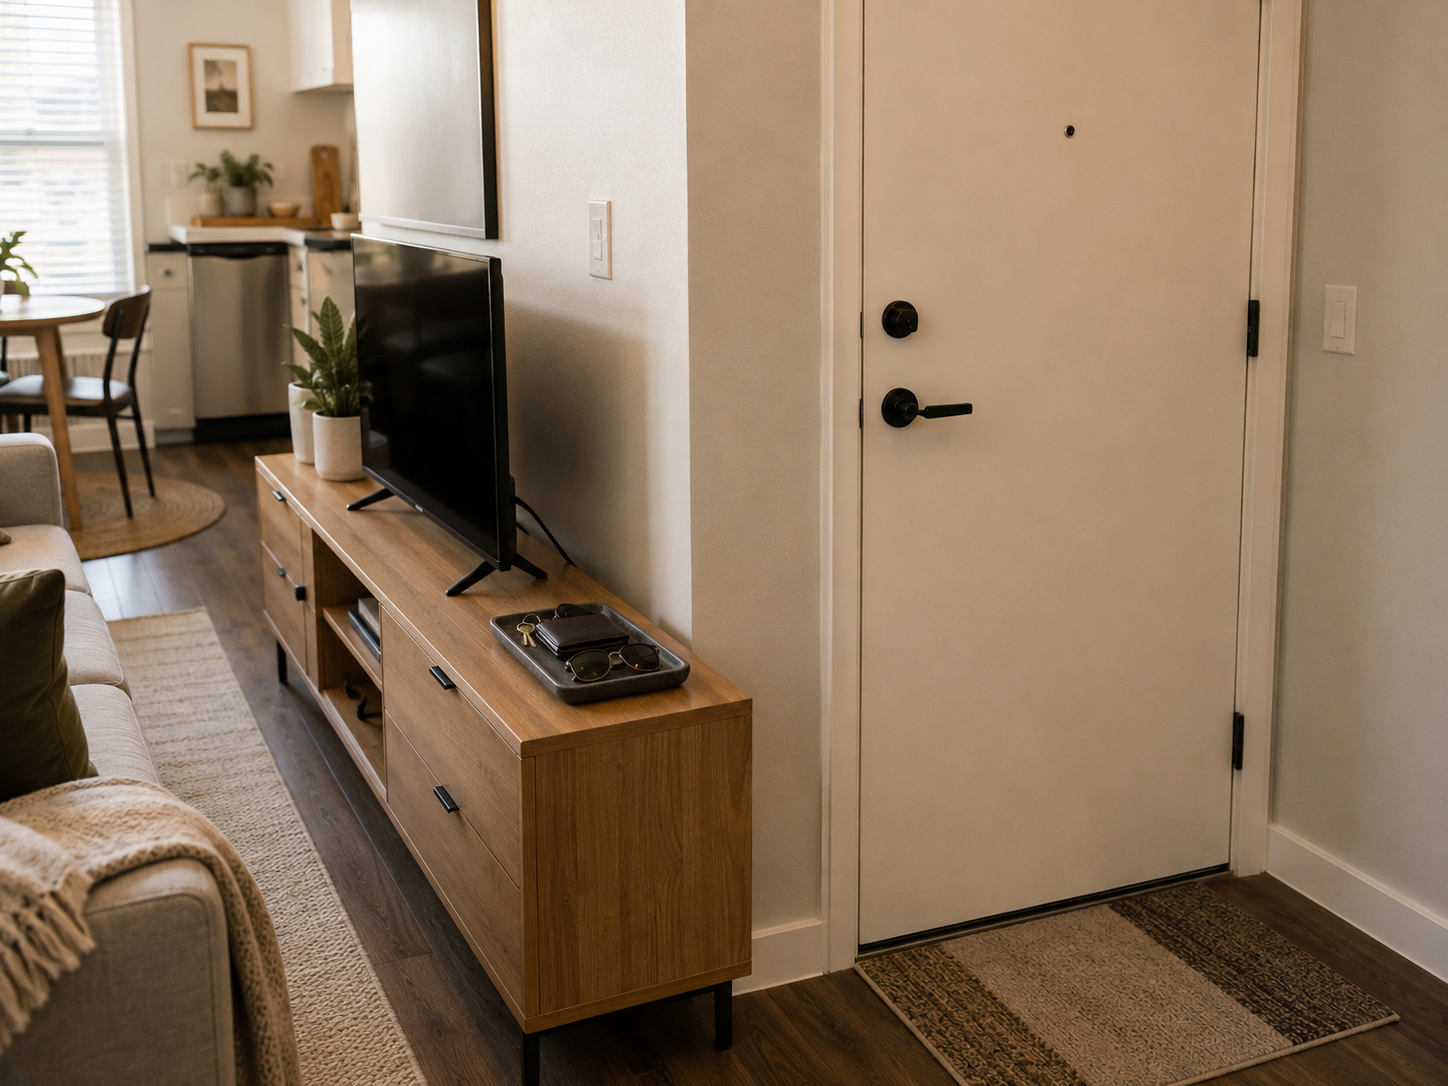
Keys, a wallet, sunglasses, mail, or pet-walking gear may justify a small drop point, but they do not automatically justify a console table. Use the smallest surface or container that has a defined job: a tray on existing furniture, a small drawer, a tiny ledge when installation is appropriate, or another nearby surface you already own.
Existing furniture can be especially useful when it sits close enough to the entrance that the routine still feels natural. The end of a media cabinet or one shelf in a nearby cabinet may solve the small-item problem with zero new floor footprint.
Give the drop point a category limit. If it is for keys and a wallet, keep it that way. If mail lands there, decide where it moves next so the surface does not quietly become a second storage problem.
5
Move Overflow Away From the Threshold
Seasonal coats, backup footwear, extra bags, and guest items do not all need permanent point-of-entry access. When another workable storage location exists, let the threshold serve the active rotation and let secondary storage handle capacity.
That distributed approach can be more space-efficient than forcing one large wardrobe, bench, or rack to perform every entryway job. The entrance only needs to contain what arrives, hold what leaves with you, and stay clear enough to move through easily.
Once those storage jobs are solved, a rug, mirror, lighting, or another visual boundary can make the zone feel intentional. Use those elements for definition, not as a substitute for actual capacity. And do not treat an exterior hallway as default overflow storage; common-area permissions and building rules vary.
Closing Decision
Build the Smallest Arrival System That Keeps the Path Clear
A small apartment without an entryway does not need a fake foyer. It needs a threshold that handles active items and gets out of the way. Reduce the door-side inventory, claim only the space that remains usable while doors and people move, then choose the lightest storage method that solves the remaining deficit. If a piece adds capacity but costs you door function, circulation, or safe installation, it is too expensive for that spot.
RELATED GUIDES
What to Read Next
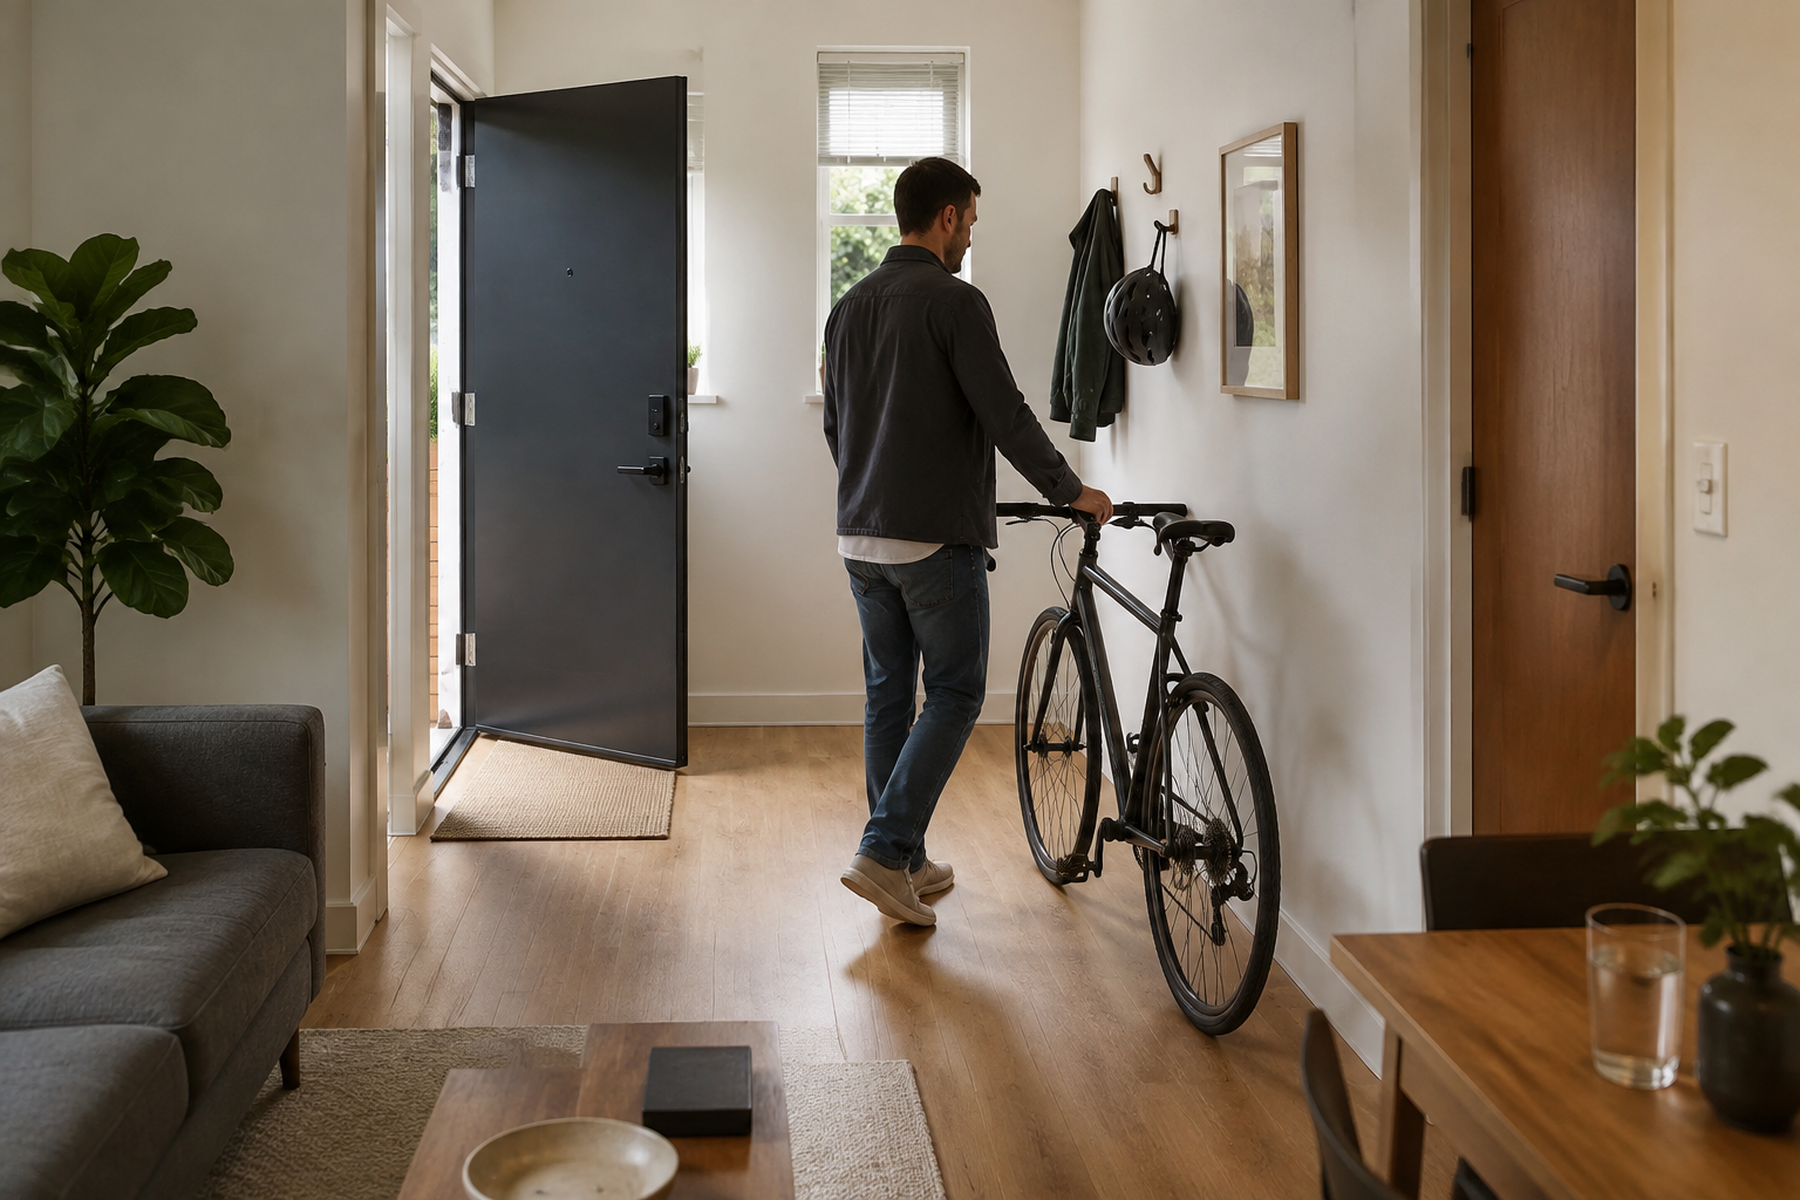
NEXT GUIDE
How to Store a Bike in a Small Apartment With No Bike Room
Useful when another bulky item also has to live near the apartment’s arrival and circulation zone.
GUIDE
How to Store Suitcases in a Small Apartment With No Storage Closet
Continues the bulky-object storage decision when luggage has no dedicated closet.
GUIDE
How to Store a Broom, Mop, and Vacuum in a Small Apartment With No Utility Closet
Useful for another awkward everyday item that needs a stable home without a utility closet.