
Small Apartment Storage Ideas
How to Store a Bike in a Small Apartment With No Bike Room
A bike can fit against a wall and still make a small apartment harder to use. Measure the full door-to-storage route, the parked bike, and the space needed to put it away before you choose a rack.
In This Guide
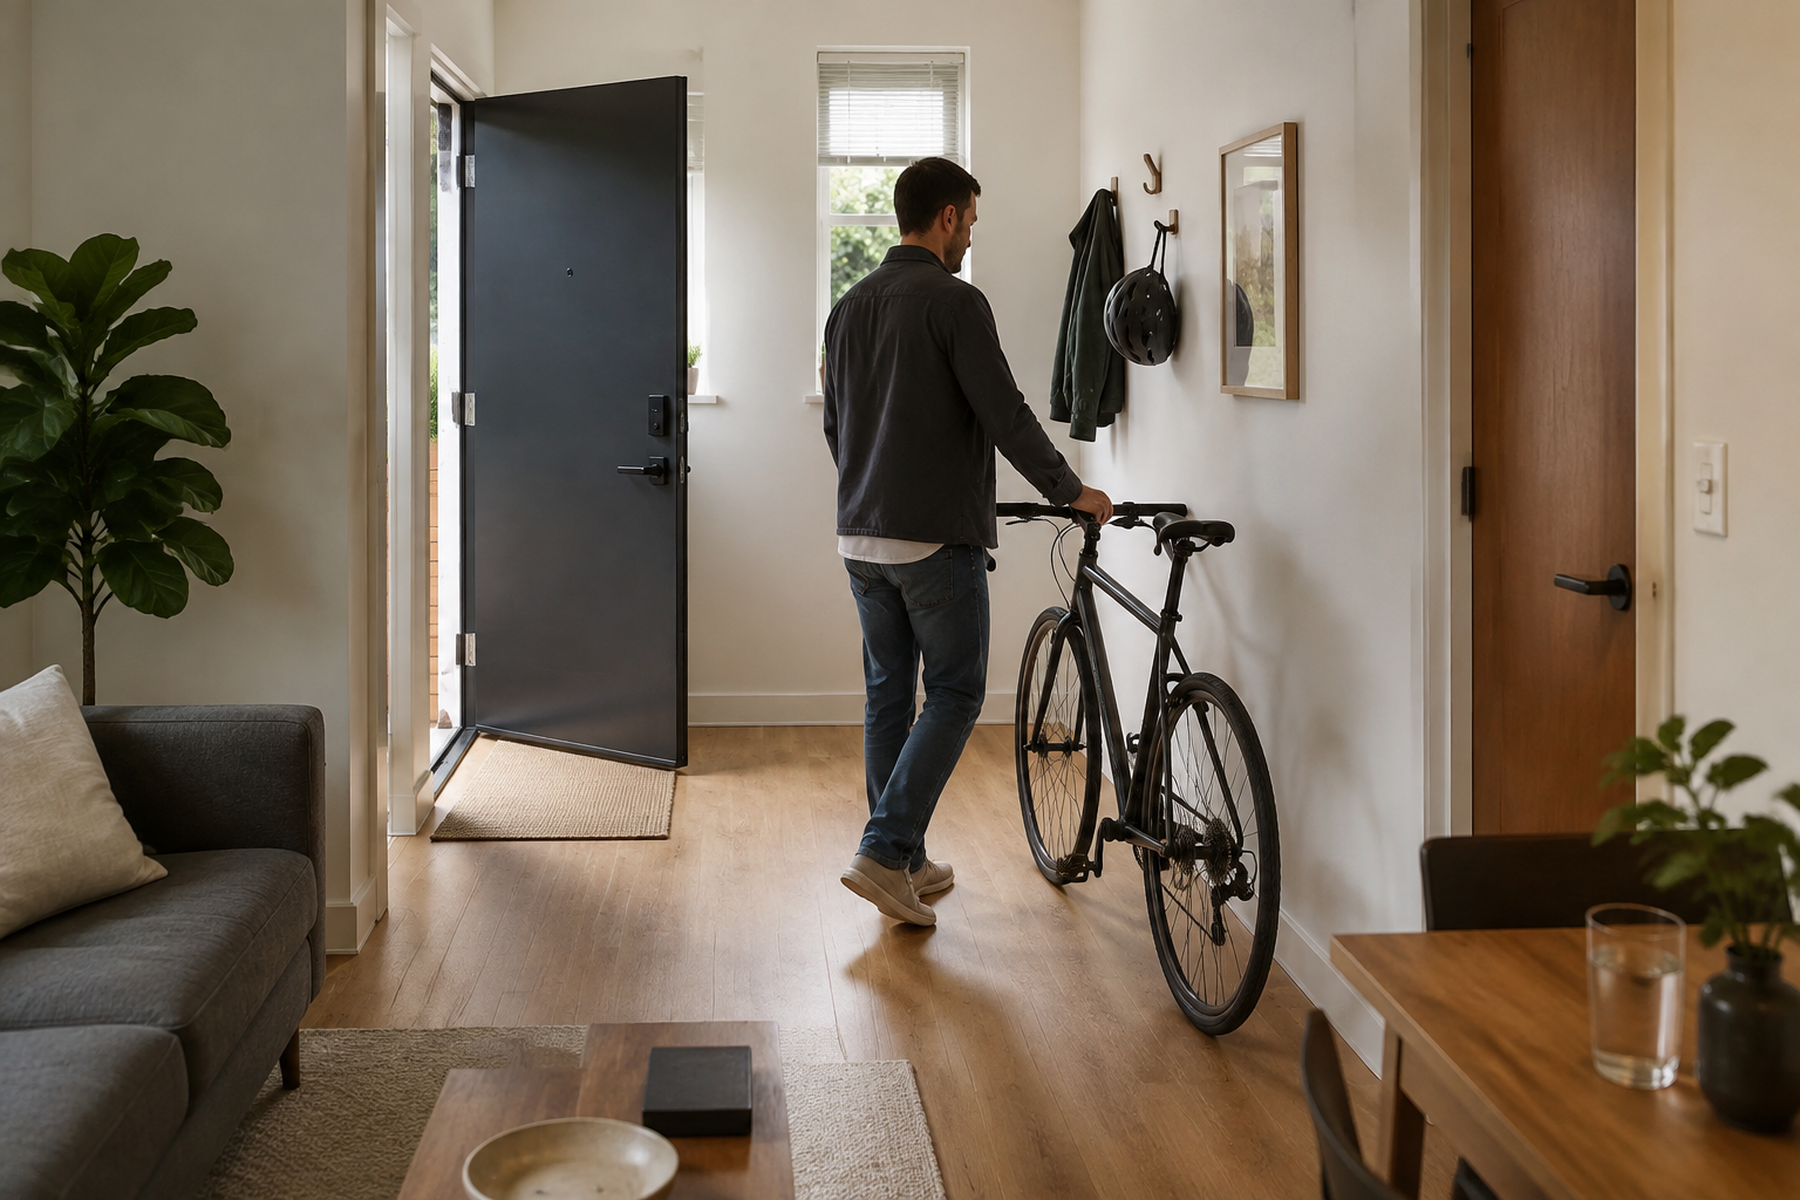
Indoor bike storage is different from storing a suitcase or a backup bin. The bicycle has to travel through the apartment every time you ride, and its handlebars, pedals, wheels, and your own body all take up space during that trip.
That means the smallest-looking rack is not automatically the best small-space choice. The useful goal is a storage position that keeps the bike out of the apartment’s main operating space while making the full park-and-retrieve cycle realistic enough to repeat.
Quick Answer
Choose the Storage Method From the Full Bike Cycle
Measure the route first, give frequently used bikes the easiest access, and choose the lowest-intervention support method that works with the bike, room, and exact installation instructions.
01
Measure the route before the rack
Check the path from the apartment door to the storage position, including turns, doors, furniture, and the space needed to load or roll the bike into place.
02
Give the daily bike the lowest-friction position
A bike used every day should not require the most lifting, furniture moving, or access sequencing simply because that position looks compact when parked.
03
Verify support and installation from the instructions
Check the exact rack load, bike compatibility, wall or ceiling conditions, and stabilization requirements before calling a solution no-drill or renter-friendly.
01
Map the Door-to-Storage Route Before You Measure the Final Spot
Start at the apartment entrance and follow the bike to the place you want it to live. A storage zone can look perfect from across the room and still fail because the bike cannot make the last turn without hitting a wall, sofa, table, door, or another stored object.
Treat the route as part of the storage system. Notice the narrowest doorway, the sharpest turn, where the handlebars project, and whether you need to stand beside the bike to roll, lift, or rotate it. If the bike must cross the main walking path, the goal is to make that crossing temporary rather than turning the parked bike into a permanent obstacle.
This is especially important for a bike used several times a week. A position that requires moving a chair or shifting another storage unit every morning may technically fit, but it has high retrieval friction. The better location is the one that the apartment can absorb during both storage and normal use.
02
Measure the Parked Footprint and the Operating Footprint
The parked bike is only one measurement. Its real storage envelope includes the handlebar width, pedal projection, basket or rack if present, and the space the support system itself occupies. A tire close to the wall does not help if the handlebar still projects into the passage.
Then measure the operating footprint: the space needed to roll forward, lift a wheel, raise the bike, rotate the frame, pivot a wall rack, or stand beside the bicycle while loading it. Vertical storage often reduces floor length, but it can increase lifting, room projection, and the amount of clear space needed during the storage cycle.
Do not invent a universal clearance number. Bike geometry, room layout, rack mechanism, and user movement all change the answer. The useful test is whether the apartment still works when the bike is parked and whether the bike can be removed without dismantling the room.
Measure / Check First
Before you choose a stand, column, or wall rack, check the full storage cycle rather than only the final parked position.
Test the Route, the Bike, and the Support Conditions
01
Trace the door-to-rack path
Walk the actual route with the bike in mind: door swing, narrow turns, furniture, handlebar width, and the position where you need to stand while putting it away.
02
Measure both storage envelopes
Check the parked bike plus the space needed to roll, lift, rotate, or pivot it into and out of the support system.
03
Check the support conditions
Verify the actual bike weight, rack compatibility, floor or ceiling conditions, wall requirements, and any stabilization or lease constraints in the exact product instructions.
There is no universal bike-storage clearance, comfortable lift height, wall anchor, or renter-safe rack category. Use the real bike, room, support system, and current instructions.
03
Rank the Storage Position by Ride Frequency
Ride frequency should change which position gets the easiest access. A daily commuter benefits from a simple roll-in or low-lift position near the normal exit route. A bike used occasionally can tolerate more involved storage if that trade protects valuable floor space the rest of the week.
In a multi-bike household, use frequency is more useful than visual symmetry. The bike that leaves most often should not automatically sit behind another bike or in the highest, hardest-to-retrieve position. A dense rack can save space and still create a poor daily system if every ride begins by moving something else.
This same logic can justify keeping a little floor area intentionally empty. If that open area is what lets the rider turn the bike, open a door, or reach another storage zone, it is functional space rather than wasted space.
04
Start With a Freestanding Floor Stand When Daily Access Matters
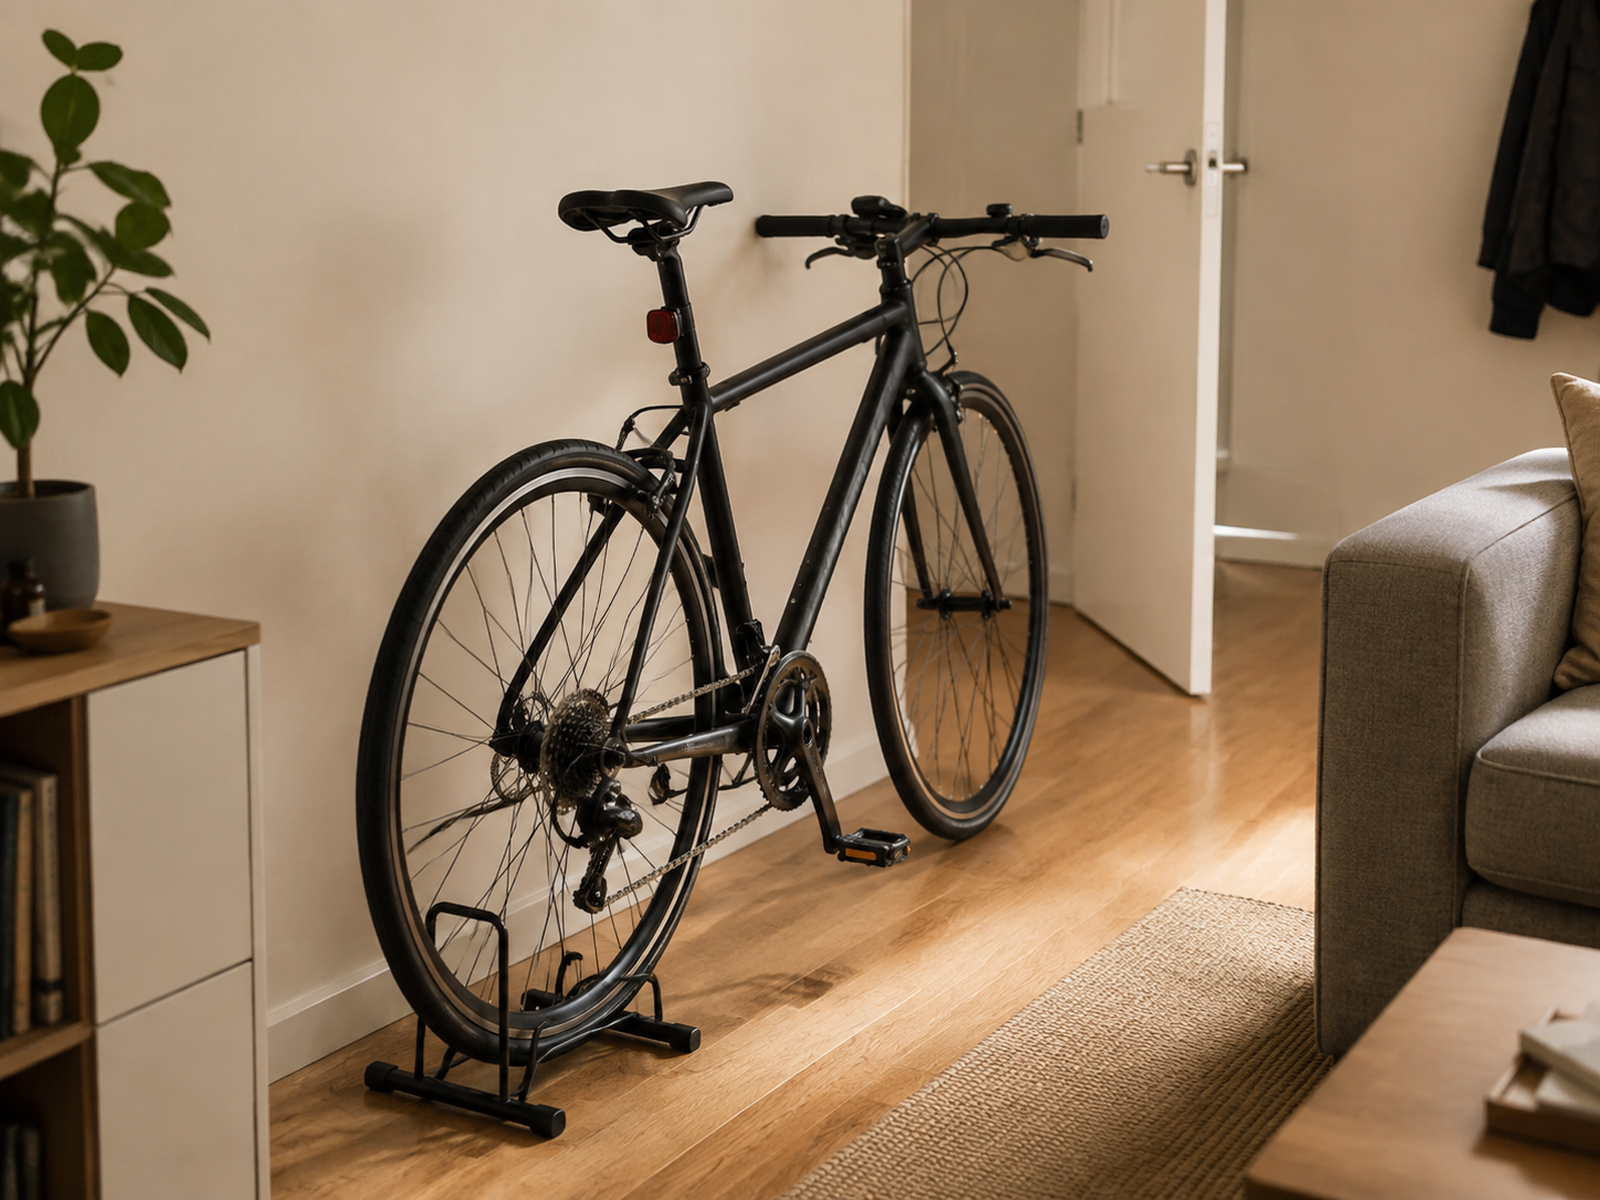
A simple wheel-in floor stand does not shrink the bicycle’s full horizontal length, but it can give a daily-use bike a stable, repeatable parking position without wall or ceiling work. In a narrow apartment, that predictability can be more valuable than forcing the bike into a higher-effort vertical system.
The current Feedback Sports RAKK 2.0 is one verified example of the form: the manufacturer describes it as freestanding and publishes bike-weight, wheel-diameter, and tire-width limits. Those numbers apply to that exact stand, not to every floor rack.
Place a floor stand only where the full bike envelope stays out of normal door swings and the primary walking route. Check the handlebar and pedal positions, not only the tires. If the bike brings in water or street dirt, use a washable protection strategy where needed without creating a raised edge that becomes another obstacle.
05
Use Vertical or Tension Storage Only When the Trade Actually Works
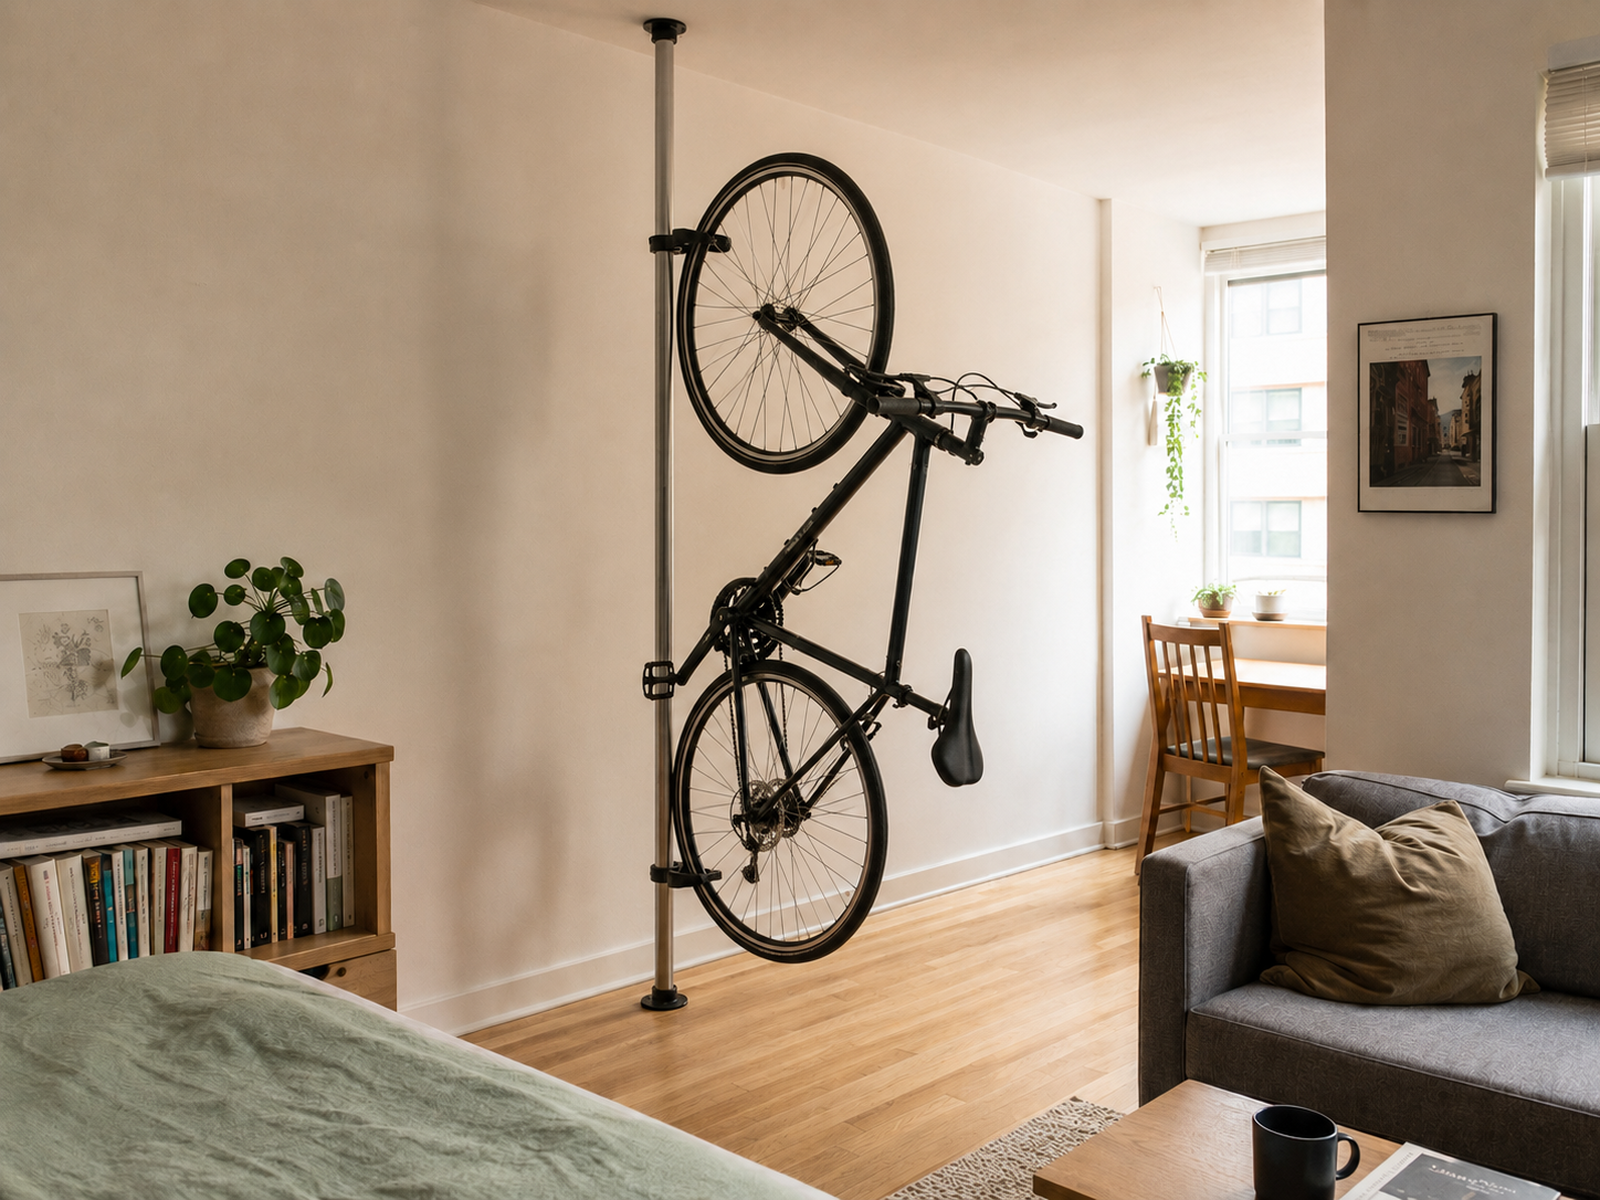
Vertical storage can reduce the amount of floor length the bike occupies, but the gain comes with new requirements. The bike may project farther into the room, the user may need to lift or rotate it, and the support system may depend on exact wall, floor, or ceiling conditions.
A floor-to-ceiling tension column is one lower-intervention vertical form, but it is not universal. Feedback Sports says its current Velo Column adjusts for a 7–10 ft ceiling range, requires a solid ceiling rather than ceiling tiles, and carries a product-specific 40 lb maximum per bike in its stock configuration. The point is not to copy those numbers to another rack; it is to verify the real support conditions before treating tension storage as a generic no-drill answer.
If repeated lifting or the bike’s projection makes the system annoying for a frequent rider, the smaller parked footprint may not be the better small-space result. A floor stand that uses more length can still win if it preserves the apartment and makes the bike easy to use.
Use / Skip
When Vertical Storage Actually Helps
Use
Use — when reducing floor length solves a real room problem and the bike, lifting demand, projection, ceiling or wall conditions, and exact support instructions all work in the apartment.
Skip
Skip — when the vertical system makes a daily bike harder to retrieve, blocks the room while loading, exceeds the rack or support conditions, or turns a low-friction floor position into a repeated lifting task.
06
Verify No-Drill and Gravity Claims From the Safety Instructions
Do not classify a bike rack as renter-friendly from its silhouette or marketing headline alone. A stand can lean on the wall, stand on the floor, or be described as gravity-based and still require stabilization that changes the renter decision.
The current Delta RS6002 illustrates the problem. Delta’s U.S. product page markets the stand as requiring no permanent attachment or drilling, while the assembly instructions call for a wall stabilizing strap secured with a suitable screw to reduce toppling risk.
When product-page language and safety instructions point in different directions, follow the more cautious installation boundary and do not use the product as a verified no-drill exemplar. Check the exact current manual, wall or ceiling conditions, bike compatibility, and lease permission before committing to a support method.
What Not to Do
Don’t Call a Rack Renter-Friendly From the Product Page Alone
“Freestanding,” “gravity,” “tension,” and “no-drill” describe different ideas, and none of them automatically proves that a rack requires no wall or ceiling intervention. Read the current safety and assembly instructions before you rely on a renter-friendly claim.
Also avoid choosing a rack only because the final parked silhouette looks compact. A bike that blocks the entry, requires furniture to move, exceeds its support limit, or cannot be retrieved without a difficult lift has not solved the small-apartment problem.
07
Escalate to Wall-Mounted or Pivot Storage Only When the Wall and Swing Path Work
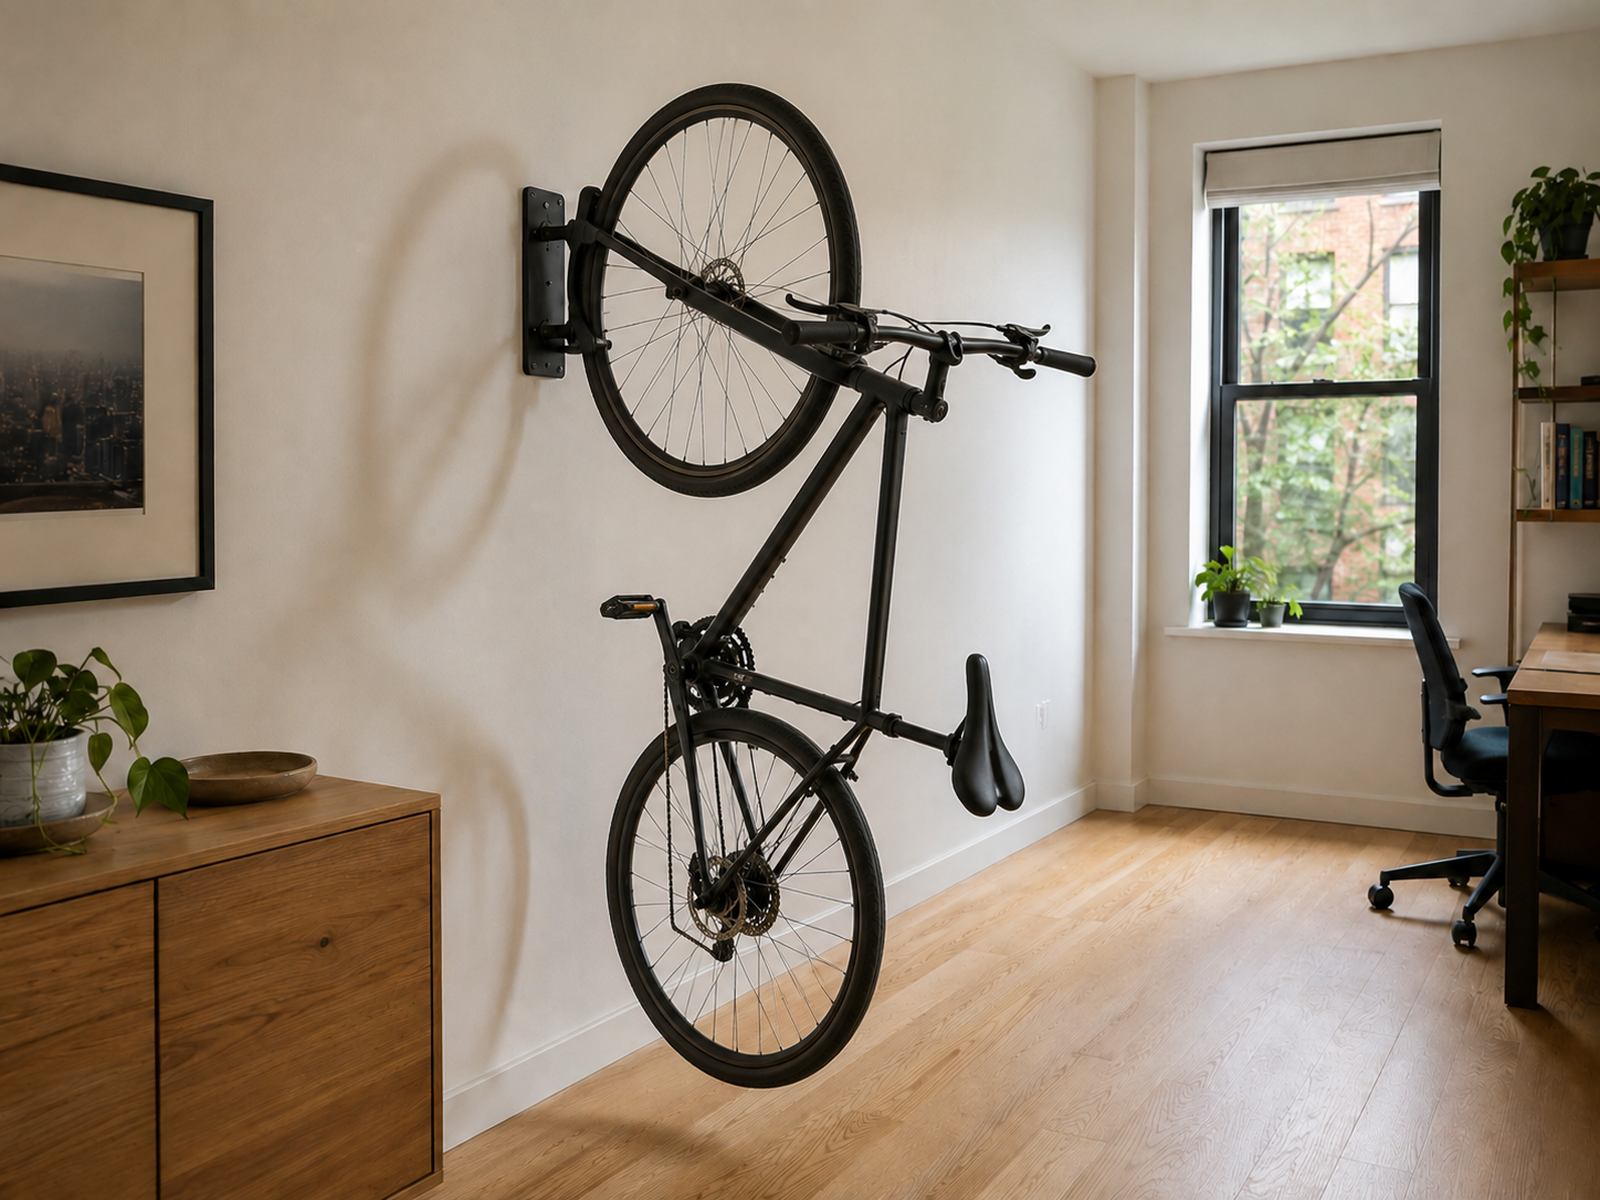
Wall-mounted vertical or pivot racks can reclaim floor area and, in the right room, move the bike closer to the wall after loading. They also move the decision into a higher-intervention category: wall structure, fasteners, rack compatibility, lease permission, and the bike’s loading or pivot path all matter.
Current Steadyrack Classic documentation is a useful example of why model-specific checking matters: the product family is wall-mounted, requires a structurally sound wall, uses bike-specific wheel and tire compatibility, and pivots side to side. Those facts describe that product family, not a universal wall-rack installation rule.
Before choosing any wall-mounted system, confirm that the bike can reach the rack and move through the required loading or pivot motion without colliding with a door, furniture, or the main circulation path. Do not use a narrow final wall position to ignore the space the bike needs while getting there.
08
Treat E-Bike Support and Battery Charging as Two Separate Decisions
An e-bike can change the storage decision because actual bike weight may exceed the limit of a rack that works for a lighter pedal bike, and repeated lifting may be impractical for the household. Check the complete bike weight against the exact rack limit and choose a support method that the user can operate without turning every ride into a difficult storage task.
Battery safety is a separate layer. The U.S. Consumer Product Safety Commission’s current micromobility guidance advises following the manufacturer’s charging instructions, using the supplied or recommended charger and approved replacement batteries, being present while charging, not charging while asleep or away from home, and unplugging when charging is complete.
A rack load rating does not answer the charging question, and a safe charging routine does not prove that a vertical rack is appropriate for the bike. Keep those decisions separate and follow the bike, battery, charger, rack, and property requirements that actually apply.
Decision Sequence
Choose the Lowest-Intervention Storage That Survives the Full Retrieval Test
01
Protect the apartment’s operating space
Choose a zone that keeps the parked bike and its handlebar or pedal projection out of normal door swings and the primary walking route.
02
Match the position to ride frequency
Give the most frequently used bike the easiest repeatable parking and retrieval path instead of optimizing only for visual density.
03
Choose the support method from real conditions
Use floor, tension, or wall-supported storage only when the bike, room surfaces, load, and exact installation requirements match.
04
Run the complete storage cycle
Bring the bike through the route, put it away, leave the room normally, and retrieve it again before treating the storage decision as finished.
Closing Decision
Store the Bike for the Ride, Not the Photograph
The best small-apartment bike storage is not the rack that makes the bicycle disappear the most. It is the system that keeps the bike out of the apartment’s main operating space without turning every ride into a furniture-moving, lifting, or installation problem.
Map the route, measure the parked and operating envelopes, give frequent-use bikes easier access, and start with the lowest-intervention support method that truly fits. Then verify the exact rack, wall, ceiling, load, and e-bike requirements before you commit. A little more visible bike can be the better small-space choice when the apartment still works around it.
RELATED GUIDES
Related Guides
NEXT GUIDE
How to Store Suitcases in a Small Apartment With No Storage Closet
Another bulky-object storage problem where the right zone depends on access frequency and the space the object consumes when handled.
GUIDE
How to Create Entryway Storage When Your Apartment Has No Entryway
Useful when bike parking competes with the same entry and circulation space needed for everyday arrival and departure.
GUIDE
How to Store a Broom, Mop, and Vacuum in a Small Apartment With No Utility Closet
A related renter-first guide to assigning awkward equipment a stable home without a dedicated storage room.