
Small Desk Organization
How to Make Room to Write on a Small Desk With a Keyboard
Treat typing and handwriting as two work modes competing for the same premium surface: measure the space each mode actually needs, give the keyboard and mouse a fast parking place, and choose the least invasive hardware only when a simple two-state desk cannot reset cleanly.
In This Guide
- Decide Whether You Need Width, Depth, or Temporary Surface
- Measure the Desk in Both Work Modes
- Build a Two-State Desk Before Adding Hardware
- Use a Smaller Keyboard Only When Width Is the Constraint
More
- Decide Whether You Need Width, Depth, or Temporary Surface
- Measure the Desk in Both Work Modes
- Build a Two-State Desk Before Adding Hardware
- Park the Keyboard Under a Monitor Stand When the Depth Works
- Use a Smaller Keyboard Only When Width Is the Constraint
- Use a Clamp-On Tray Only After the Full Fit Check

A small desk can be large enough for typing or handwriting and still feel unusable when both jobs compete for the same front-center surface. The keyboard and mouse occupy the exact zone a notebook, planner, worksheet, textbook, or printed document needs, so the problem appears every time the task changes.
Treat the desk as a two-state workstation instead of asking it to display every tool at once. Define the typing position, define the writing position, then give the inactive keyboard and mouse a reliable parking path that takes only a short reset. Hardware earns a place only when that simple transition cannot recover enough usable surface.
Quick Answer
Recover the Surface You Actually Need
01
Identify the missing dimension
If the notebook fits beside the keyboard but not in front of it, you have a depth problem. If the mouse and notebook fight for side space, you have a width problem. If either task works well alone, the real problem may simply be temporary surface recovery.
02
Measure both work modes
Stage the desk exactly as you type, then exactly as you write. Measure the notebook in its real orientation, the mouse travel area, the keyboard footprint, and any monitor stand or base that cannot move.
03
Give the keyboard and mouse one parking plan
Move the input devices together whenever possible. Under-monitor parking, a defined side zone, or a tray can work; random daily shuffling is what turns task switching into clutter.
04
Choose the least invasive solution that clears the test
Try a repeatable no-buy parking routine first, then a freestanding monitor stand or compact keyboard when the missing dimension supports it. Clamp-on and screw-mounted trays come later because underside fit, leg clearance, and installation become new constraints.
01
Decide Whether You Need Width, Depth, or Temporary Surface
Do not start with a keyboard tray, monitor stand, or compact keyboard. Start by naming the surface conflict.
A width problem happens when the keyboard pushes the mouse too far outward or leaves no useful side-by-side space for an open notebook. A depth problem happens when the monitor, keyboard, and paper all need to line up from back to front. A temporary-surface problem happens when typing and handwriting each work well on their own but cannot comfortably happen at the same time.
Those problems call for different fixes. A smaller keyboard mainly recovers width. Under-monitor parking can recover front-to-back active depth when the keyboard is not in use. A keyboard tray can clear most of the desktop, but it moves the input zone into the already-constrained space under the desk.
The goal is not to maximize empty desk area. It is to recover the dimension the active task actually needs without making the next task harder.
02
Measure the Desk in Both Work Modes
Measure the desk while it is working, not while it is cleared for a photo.
For typing mode, note the keyboard footprint, the usable mouse area, the distance to the front edge, and any monitor base or stand behind it. For writing mode, open the notebook, planner, textbook, or document in the orientation you really use and include the room your hand and forearm need to move naturally.
Then identify what has to change between the two states. If moving the keyboard backward by a few inches gives the notebook enough depth, a parking bay may solve the problem. If the mouse is already at the desk edge, reducing keyboard width may matter more. If nothing on the top can move far enough, a second level may be justified.
Do not invent a universal writing-zone measurement. Notebook size, document orientation, dominant hand, and work style differ; the useful number is the space your own active task consumes.
Measure / Check First
Before buying a monitor stand, compact keyboard, or tray, test the complete typing-to-writing transition and every space the hardware will occupy.
Check Three Fit Zones Before You Add Hardware
01
Writing footprint
Open the actual notebook, planner, workbook, or document in the orientation you use and include hand and forearm movement. Confirm how much width or depth must be recovered from the keyboard setup.
02
Keyboard and mouse parking path
Check where both input devices go when writing begins, how the cables move, whether a monitor stand opening clears the keyboard, and whether the mouse still has a defined home instead of becoming a second loose object.
03
Hardware and body clearance
For a stand or tray, verify desk depth, total product width, clamp span or mounting zone, desktop thickness, frame or drawer interference, knee and thigh clearance, extension path, and the manufacturer’s installation requirements.
If the proposed solution clears the desktop but creates cable strain, mouse reach, monitor-height, clamp-fit, leg-clearance, or installation problems, it does not pass the desk fit test.
03
Build a Two-State Desk Before Adding Hardware
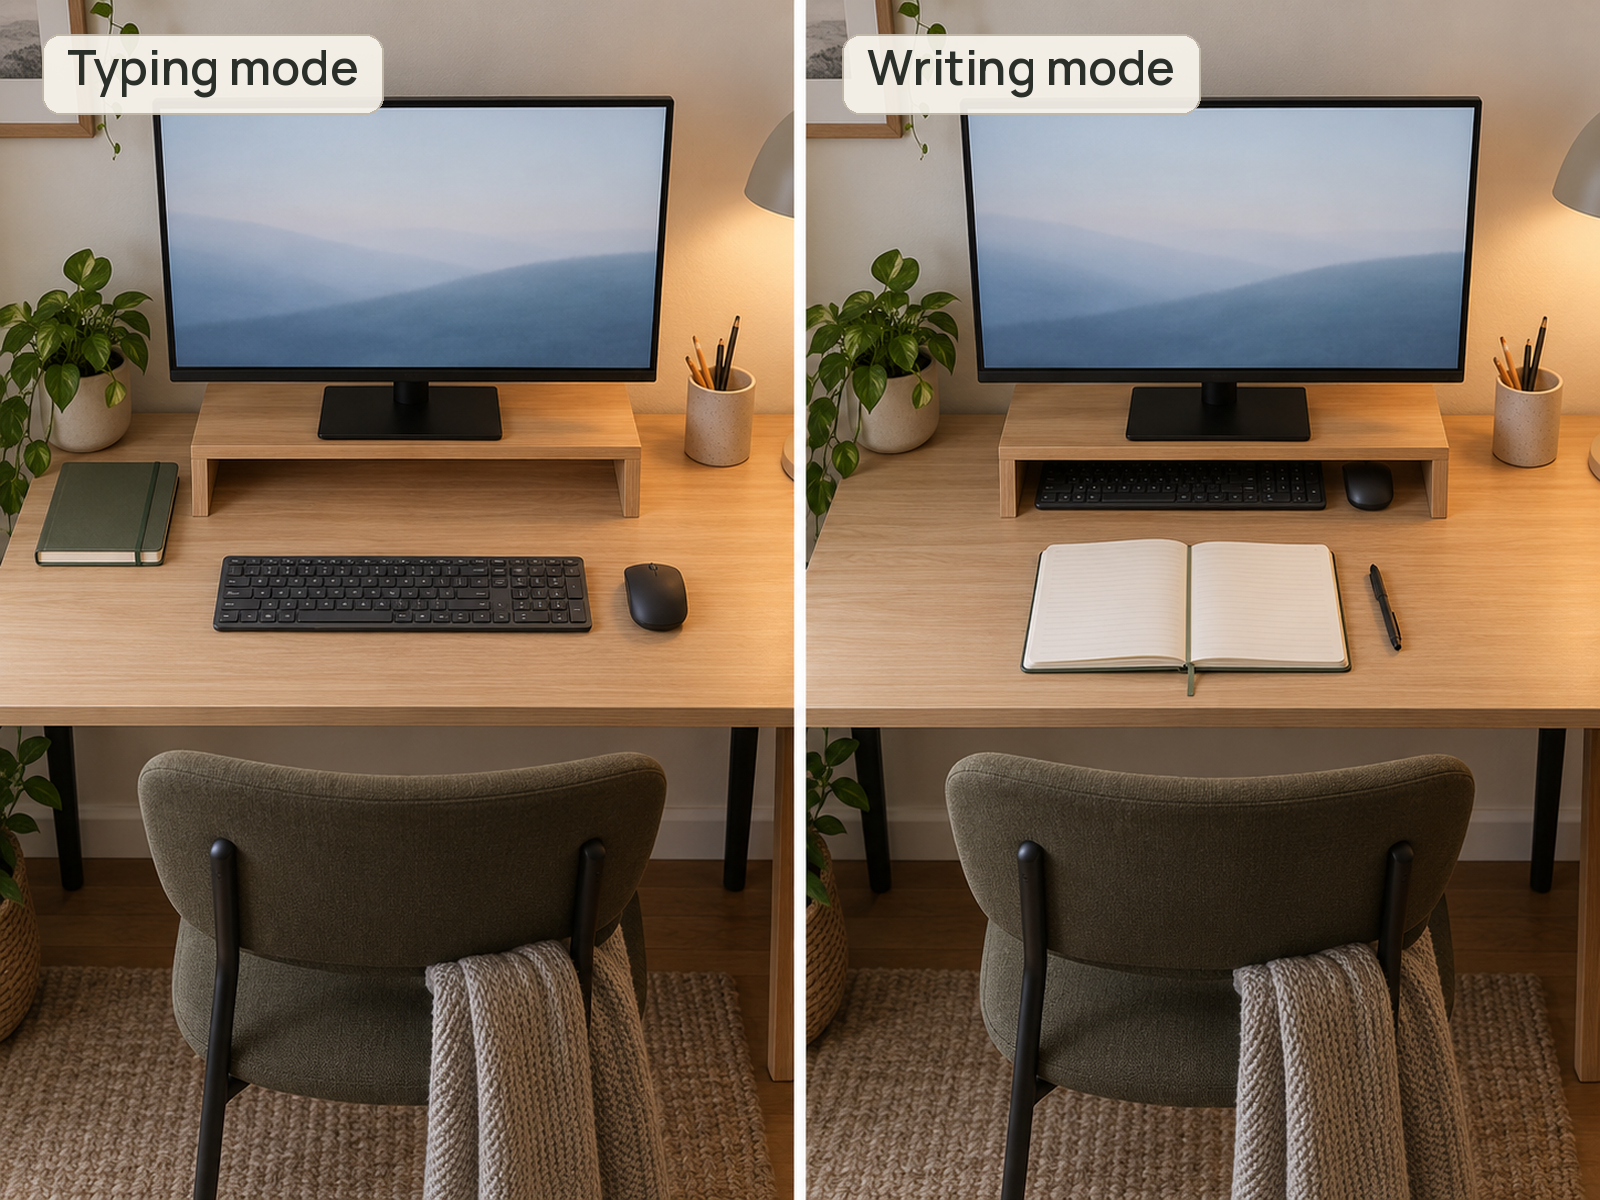
Before buying anything, test a deliberate typing-to-writing transition for several normal work sessions.
In typing mode, keep the keyboard and mouse in the comfortable input position. In writing mode, move them to one defined parking position rather than pushing them wherever space appears. The rear edge, one side, or a nearby stable shelf can work when cables, monitor hardware, and other equipment leave a clear path.
The transition should be short enough that you will actually use it. If writing requires unplugging the keyboard, rerouting a cable, moving the monitor, stacking books, and finding somewhere temporary for the mouse, the system is too complicated.
A simple two-state desk is especially strong for renters and shared rooms because it changes the workflow without changing the furniture.
04
Park the Keyboard Under a Monitor Stand When the Depth Works
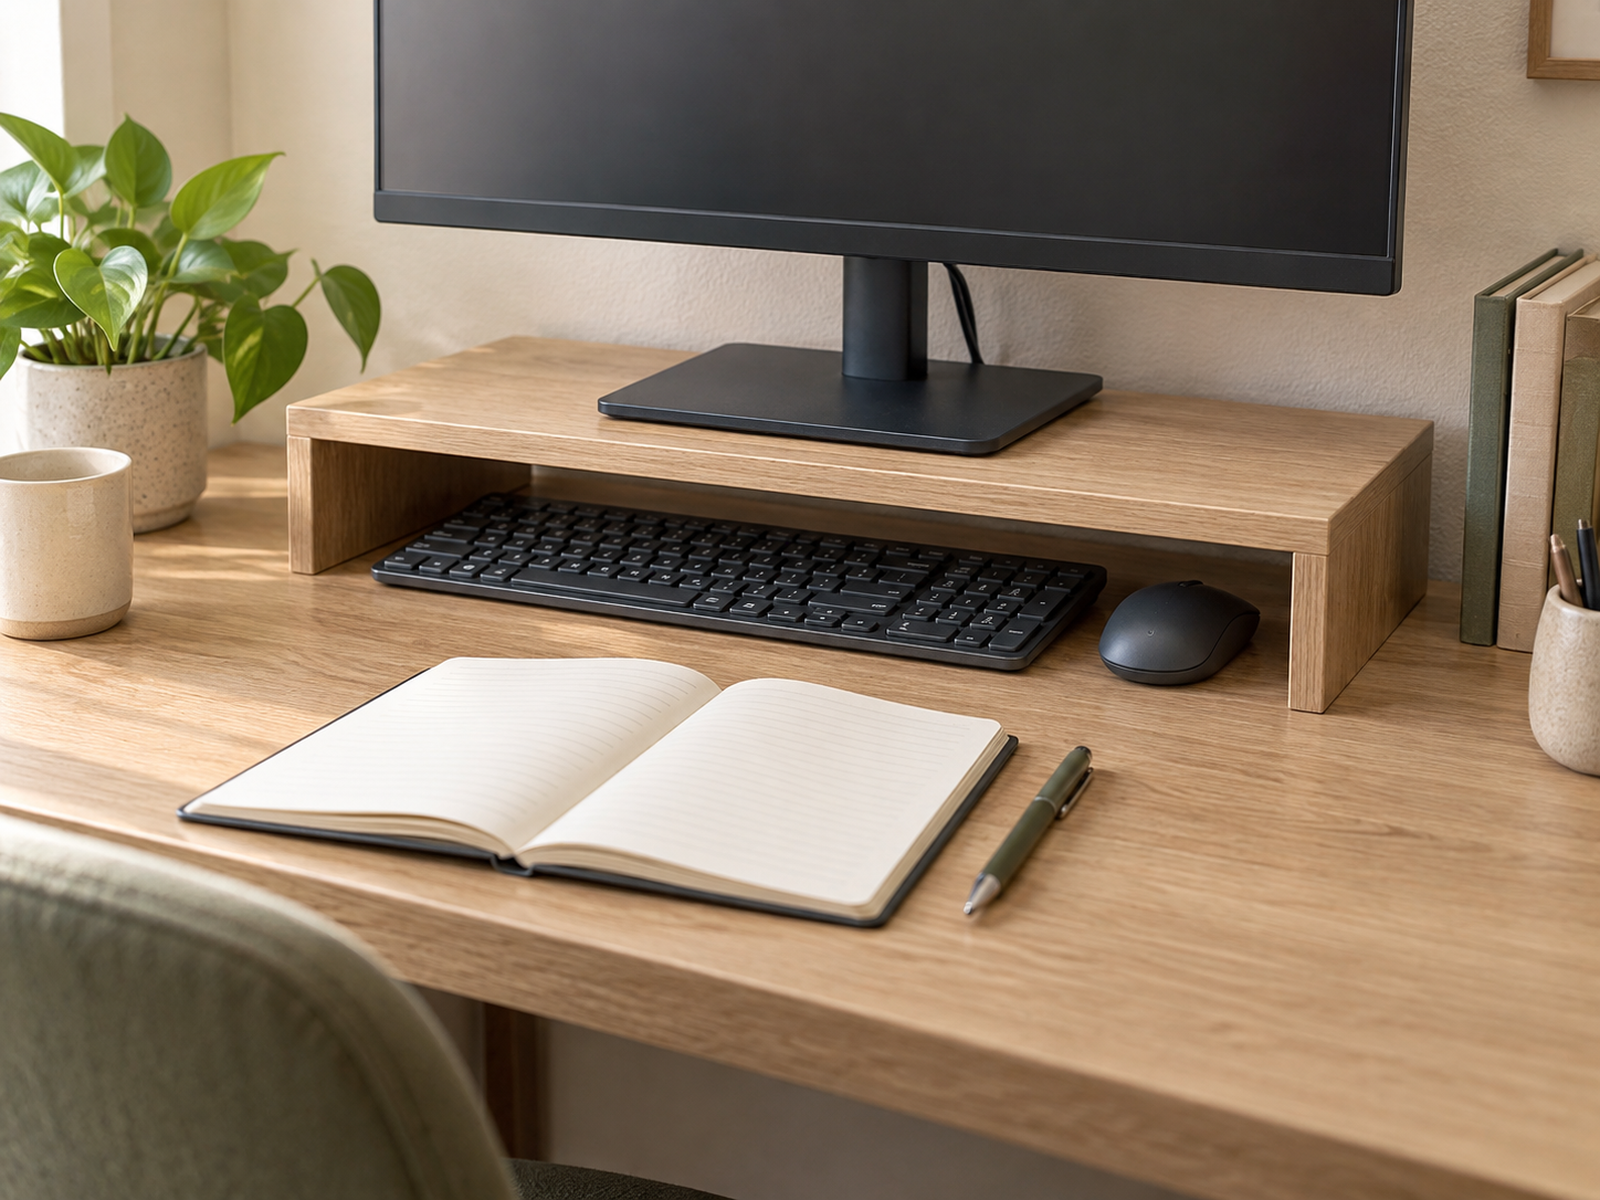
A monitor stand can turn one horizontal surface into two levels: the screen stays above while the keyboard parks below during writing mode.
Current IKEA products verify the form. The ELLOVEN monitor stand is about 18 1/2 inches wide, 10 1/4 inches deep, and 4 inches high, and IKEA explicitly describes the space under the drawer as keyboard storage. The wider LÅNESPELARE stand is designed so a keyboard and mouse can slide underneath when not in use.
The stand is not free space. Its depth can be significant on a shallow desk, its opening must clear the actual keyboard, the monitor base must fit securely on top, and the resulting screen height still has to work for the user.
This is strongest when the monitor already occupies the rear zone and the keyboard can disappear underneath in one motion without cable snagging.
05
Use a Smaller Keyboard Only When Width Is the Constraint
A more compact keyboard can recover useful horizontal space, but it does not solve a depth problem.
The most practical first question is whether you actually need the dedicated number pad. OSHA specifically lists a keyboard without a ten-key pad as one way to leave more room for the pointer or mouse when space is limited. That can matter when the mouse is being pushed far to the side by a full-size board.
The possible width change can be substantial, but it is model-specific. Logitech lists the current MX Keys S at about 16.94 inches across and the MX Keys Mini at about 11.65 inches—a difference of roughly 5.3 inches for those two exact models. Do not treat that number as a universal full-size-versus-compact saving.
Keep the keys the workflow actually needs. A smaller layout that removes a frequently used number pad, navigation cluster, or function row can trade surface space for repeated command friction.
06
Keep the Keyboard and Mouse as One Input Zone
Moving the keyboard is only half the task-switching problem if the mouse is left behind without a good position.
OSHA advises keeping the pointer close enough to avoid repeated reaching and notes that a tray that cannot accommodate both devices can force the mouse too far away or onto a different plane. That makes tray width and compact-keyboard decisions part of the same input-zone plan.
When writing mode begins, park both devices together when practical. When typing mode returns, restore them to the same comfortable relationship rather than improvising a new mouse location each time.
Very tight setups can consider an integrated pointing device or another compact input approach, but that choice is task- and user-specific. The article does not assume that a touchpad or trackball is a better fit for every workflow.
07
Use a Clamp-On Tray Only After the Full Fit Check
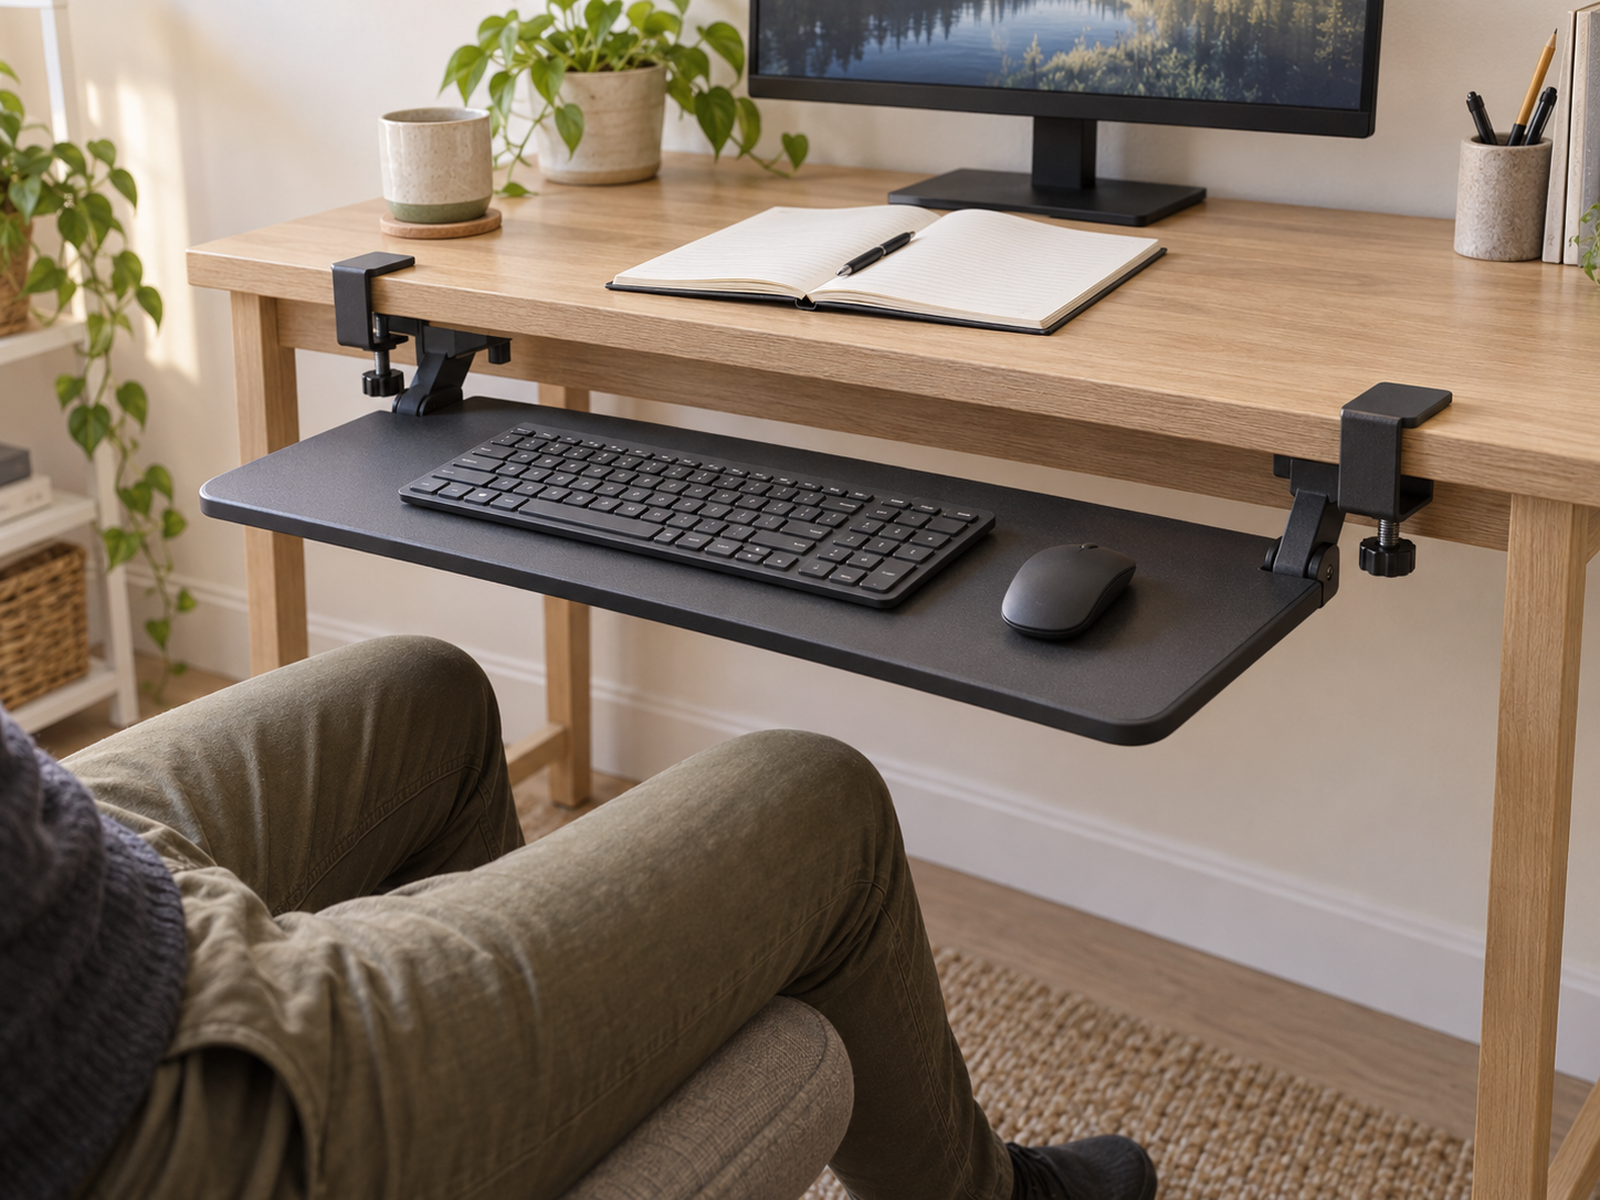
A clamp-on keyboard tray can return the desktop to writing almost completely while avoiding screw holes, but the category is more demanding than the phrase “no drill” suggests.
Measure the total width including clamps, not only the tray platform. VIVO’s current MOUNT-KB05HB series lists a 26.8-inch tray that reaches about 33 inches including clamps. Depending on the variant, compatible desktop thickness also changes, so an apparently small accessory can fail on a narrow desk or thick edge.
Check the front edge for bevels, aprons, drawers, desk legs, frame bars, cable trays, and anything else that could block the clamps. Then test the seated position: the tray must leave enough knee and thigh clearance and enough width for the keyboard and mouse to stay on a comfortable working plane.
Clamp-on is potentially strong for renters because it is reversible, but it should not be described as universally damage-free. Surface finish, clamp padding, tightening pressure, desk ownership, and manufacturer instructions still matter.
08
Treat a Screw-Mounted Tray as an Installation Path
A screw-mounted under-desk tray can create a cleaner permanent input level, but it moves the project from organization into furniture modification.
The underside of a small desk is not empty capacity. 3M’s current AKT80LE lists roughly 24 inches of width and 18 inches of under-surface mounting depth. VIVO’s current MOUNT-KB03B series also documents track, desktop-thickness, and frame-crossbar constraints.
Before considering this branch, verify the desk construction, uninterrupted mounting area, crossbars, drawers, cable hardware, knee clearance, and the tray’s extension and stowage path. Do not assume particleboard, hollow-core, glass, metal, or composite desktops can accept the same fasteners or loads.
For renters, furnished workspaces, or employer-owned desks, this is an installation-dependent option rather than the default solution.
09
Keep Stored Books and Papers Out of the Task-Switching Zone
A writing surface can still fail even after the keyboard has a parking place if stored books, unopened mail, binders, or office supplies permanently occupy the recovered area.
Keep only the notebook, document, textbook, or reference material needed for the current task on the premium surface. Items that are being stored rather than used belong in a paper, shelf, or office-supply system instead of the typing-to-writing transition.
This distinction matters because active paper is not clutter. The goal is to preserve room for legitimate handwriting while preventing stored material from consuming the same zone all day.
If every writing session begins by clearing unrelated paper first, solve that separate storage problem rather than adding more keyboard hardware.
10
Use the Stop Rule When the Transition Still Feels Like a Project
A successful small desk should switch between typing and writing with one motion or one short sequence.
If the keyboard parking bay blocks the monitor, the compact layout removes keys you constantly need, the tray pushes the mouse too far away, or the under-desk hardware crowds your knees, the chosen solution has simply moved the constraint.
At that point, reduce the number of permanent desktop objects, change which task uses the desk, move stored books elsewhere, or reconsider the workstation footprint if the room truly allows it. Do not keep stacking accessories onto a desk that has already failed the task-change test.
The surface is working when both modes are easy to enter and easy to reset—not when every square inch has been assigned to permanent hardware.
Closing Decision
Make the Desk Switch Tasks, Not Store Every Tool at Once
A small desk does not need to support typing and handwriting simultaneously if those tasks happen in separate blocks. Measure the dimension the writing task actually needs, keep the keyboard and mouse as one input zone, and give that zone a reliable parking place that restores the surface without turning every transition into setup work.
Start with a two-state desk, then add the least invasive solution that solves the real constraint: under-monitor parking for temporary depth recovery, a compact layout for width, or a properly fitted tray when the whole top surface must clear. If the hardware creates new reach, clearance, or installation problems, stop and change the workflow instead of forcing another accessory onto the desk.
RELATED GUIDES
What to Read Next
NEXT GUIDE
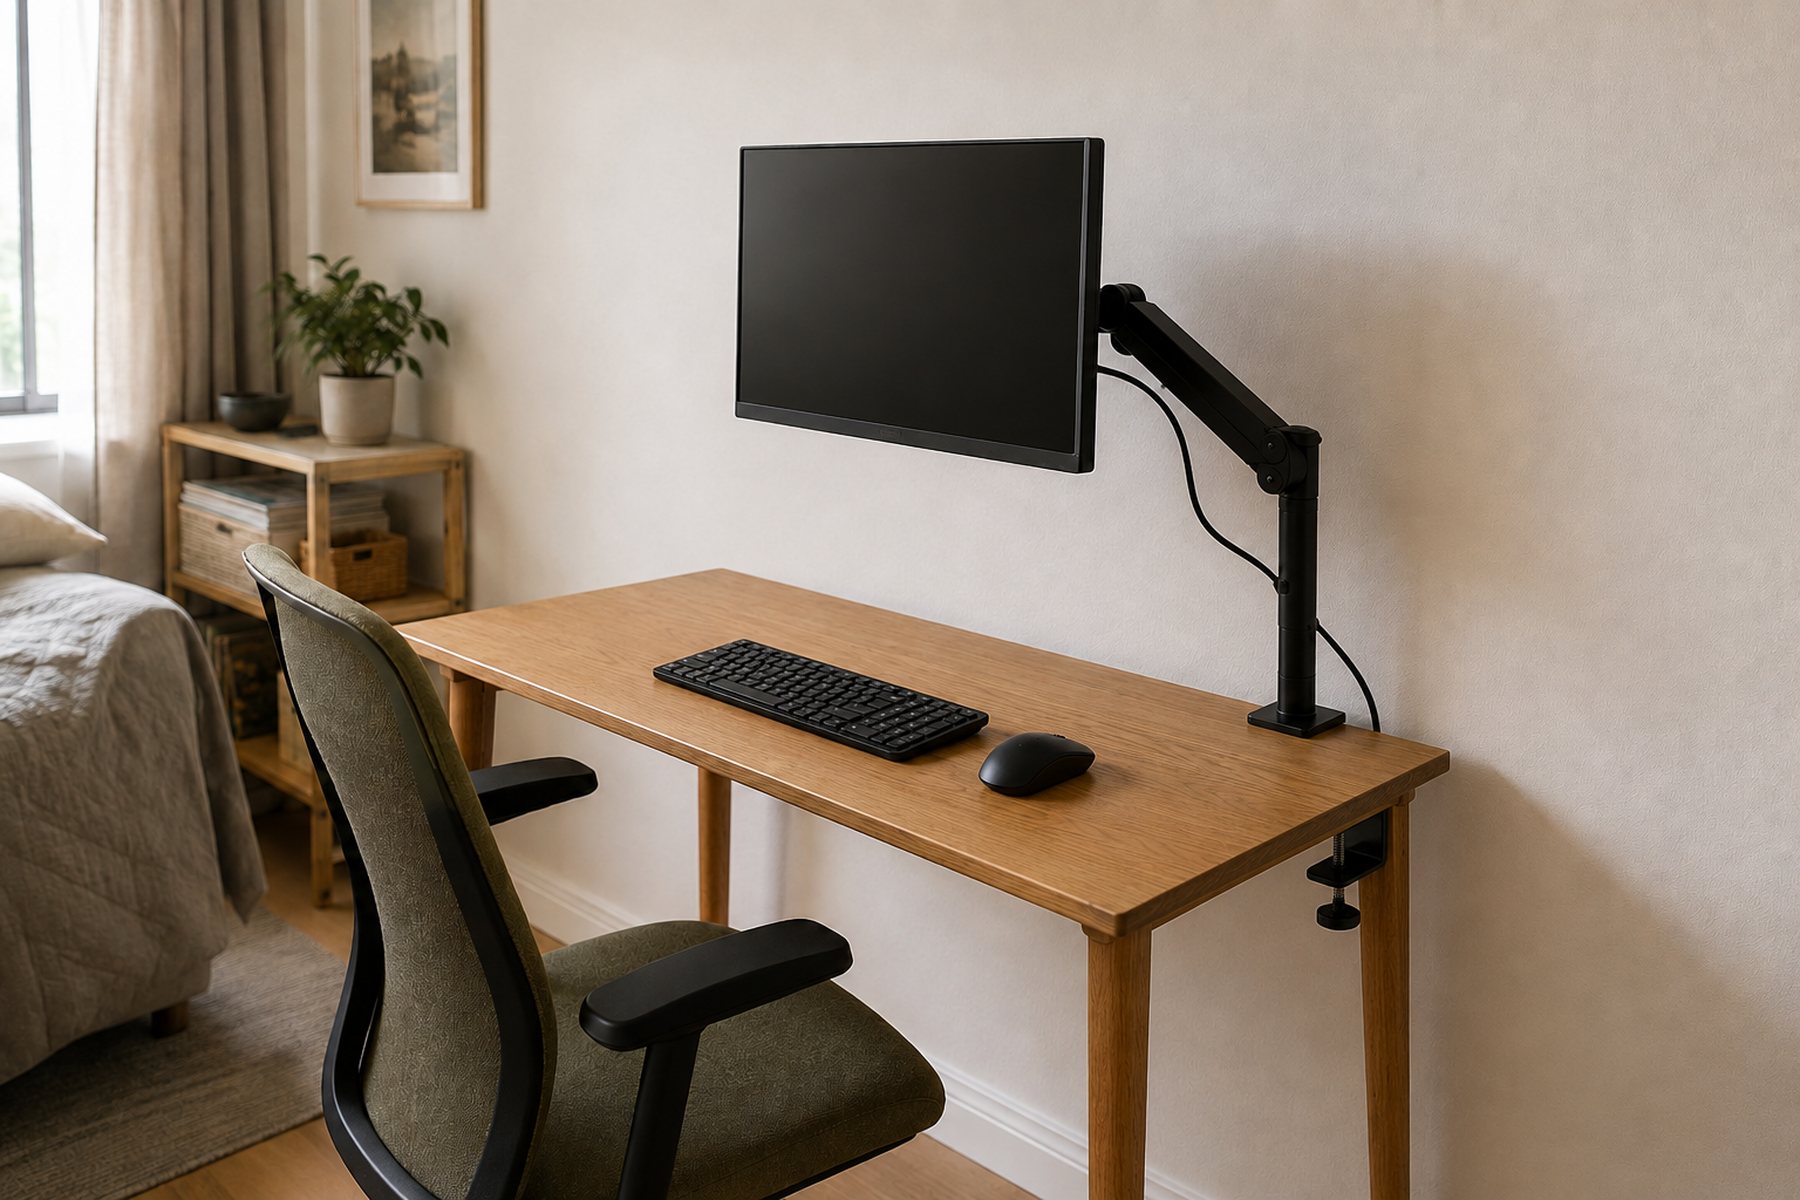
How to Use a Monitor on a Shallow Desk Without Losing Usable Depth
Use this next if the rear parking zone or monitor stand is competing with an already-shallow desktop and screen depth is now the main constraint.
GUIDE
How to Organize Paper on a Small Desk Without a Filing Cabinet
Use this if stored papers, notebooks, or documents keep occupying the writing zone even after the keyboard has a reliable parking place.
GUIDE
How to Organize a Small Desk With No Drawers Without Losing Work Surface
If office supplies still live permanently on the desktop because the desk has no drawers, this guide handles that separate surface-allocation problem.