
Small Desk Organization
How to Use a Standing Desk Converter on a Small Desk Without Losing Work Surface
Treat a standing desk converter as a second moving work surface stacked on the first. Measure the desk in both seated and standing modes, protect monitor distance and keyboard space, then verify load, lift travel, and cable slack before deciding whether the converter improves the workstation or simply consumes it.
In This Guide
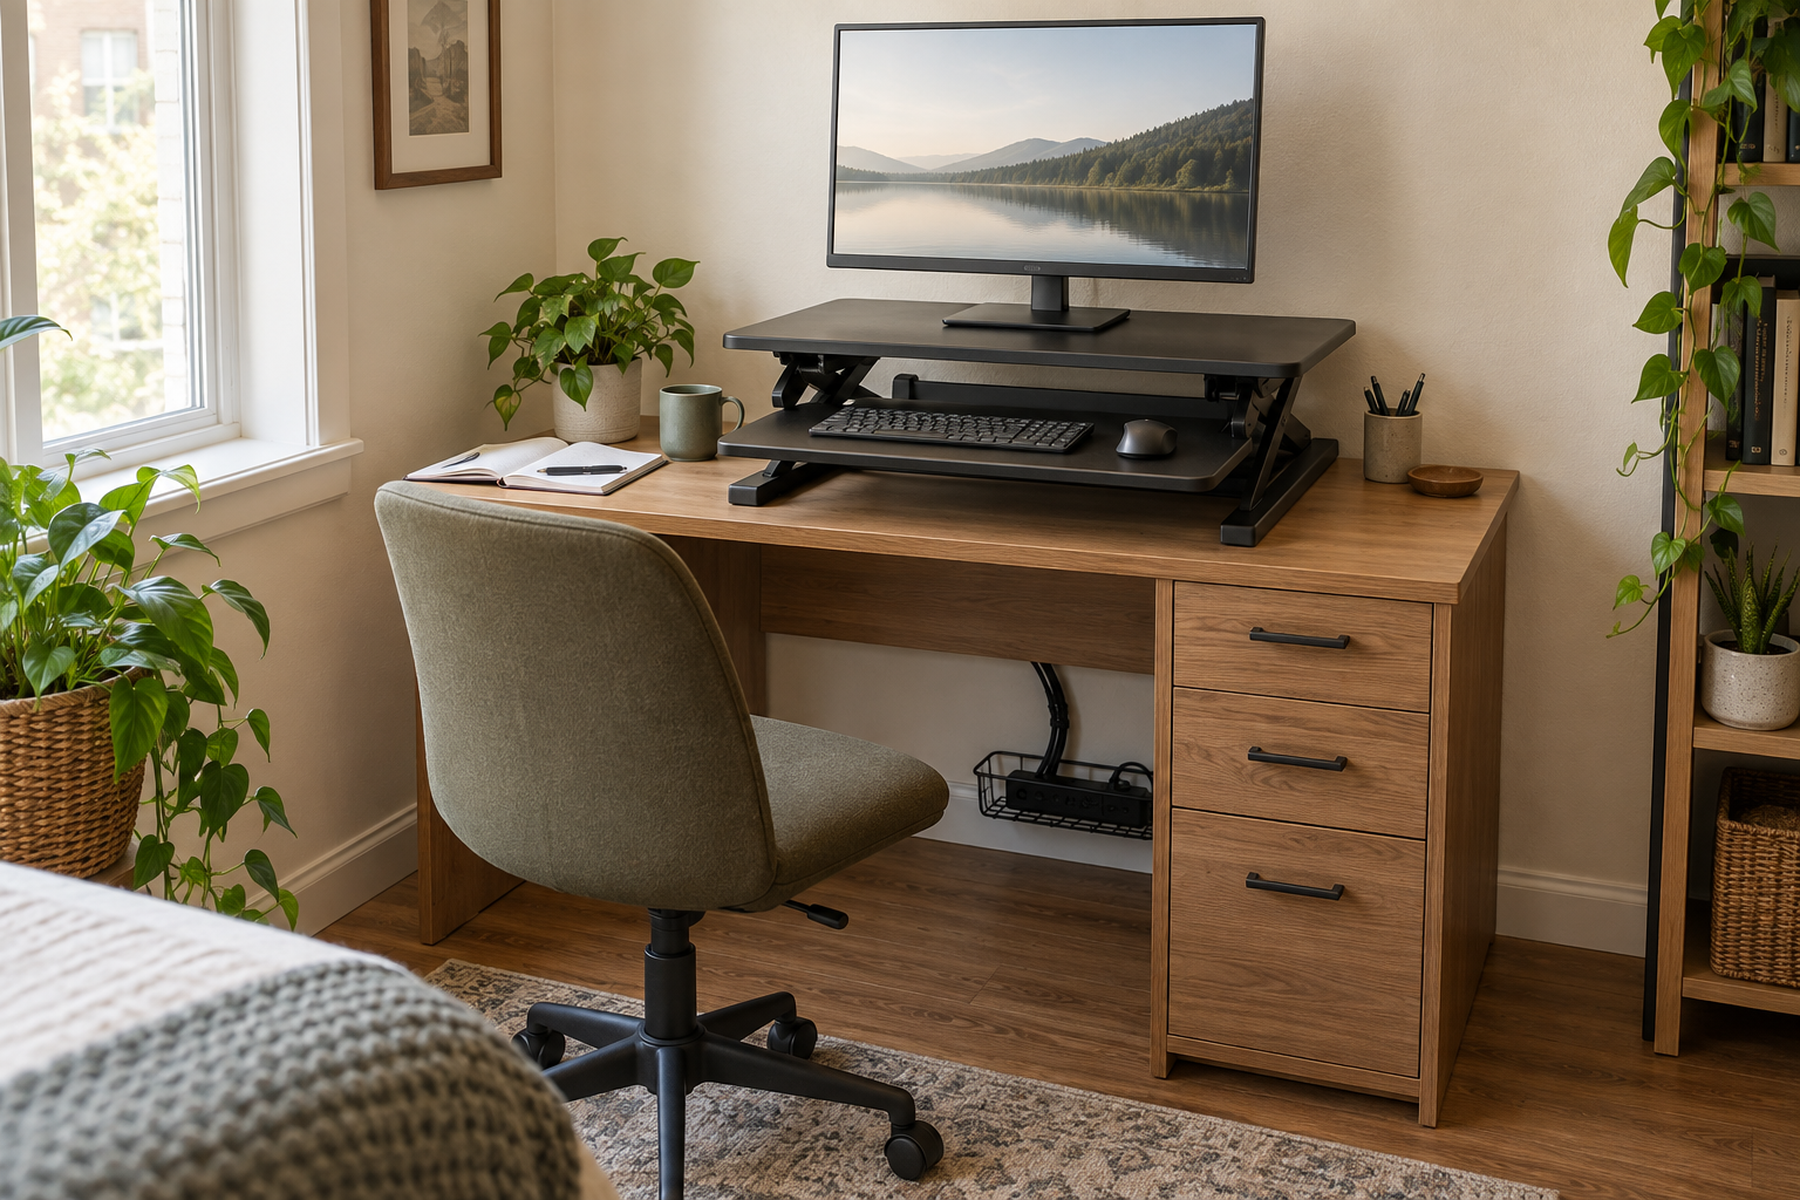
A desktop sit/stand converter can preserve a useful existing desk, its drawers, an L-shaped layout, or furnished-rental furniture. But it does that by adding another platform, mechanism, keyboard zone, and equipment load to the work surface that was already limited.
The key question is not whether the converter can rise high enough. It is whether the workstation still works when the converter is lowered, raised, loaded with the actual equipment, and moving through its full travel path without sacrificing monitor distance, writing space, or desk stability.
Quick Answer
Make the Seated Setup Pass Before You Add Standing
A converter only improves a small desk when both modes remain workable. Start with the collapsed geometry, then verify standing height, display/input separation, movement clearance, and total desk load.
01
Check the collapsed height first
The converter stays on the desk when seated. If its lowest position raises the keyboard and mouse too much, shortens monitor distance, or removes the only writing area, the standing benefit comes with a permanent seated-mode penalty.
02
Measure depth around the monitor, not just the converter base
OSHA notes that monitor placement, keyboard position, desk depth, and viewing distance interact. A converter can fit the tabletop and still push the screen too close on a shallow desk.
03
Count every moving load
Include monitors, laptop, dock, speakers, mounts, keyboard, mouse, and accessories, then verify the converter’s main-platform and tray limits separately and confirm that the existing desk can support the complete system.
01
Measure the Existing Desk Before the Converter
Measure the usable desk width and depth after subtracting anything that cannot move: a hutch, wall return, fixed shelf, desk lamp, built-in drawers, window trim, or the inside corner of an L-shaped workstation.
Then record what the desk is already doing well. Useful drawers, a custom room fit, furnished-rental furniture, or an L-shaped return are legitimate reasons to keep the existing desk rather than replace it with a full sit/stand desk.
Do not use one generic desk-depth rule. Current manufacturer geometry varies sharply: Vari lists materially different necessary desk depths across converter models, while compact VIVO designs use another base geometry again.
The correct fit is therefore relational: converter base, keyboard tray, monitor location, desk edge, wall clearance, and the existing desk’s structure all have to work together.
02
Test the Collapsed Seated Mode First
Lowered mode is the hidden failure point on a small desk because the converter does not disappear when you sit. Its base and top surface remain between the user and the original desktop.
Check whether the keyboard and mouse sit at a usable height when the converter is fully lowered. A standing position that feels good does not compensate for a seated position that forces the hands or shoulders into an awkward setup.
Protect the primary work zone. OSHA’s workstation guidance notes that limited surface area can force poor component placement and recommends keeping frequently used devices where they are easy to reach.
Also test what happens to paper, notebook use, charging space, or any other task that used the original desktop. If the converter leaves no practical writing zone, that lost function belongs in the decision.
Measure / Check First
Before choosing a converter model, test the existing desk in the converter’s two real states: fully lowered for seated work and raised for standing work.
Check the Desk, Seated Geometry, and Movement Envelope First
01
The usable desk footprint
Measure the clear width and depth available to the converter after fixed desk features are removed from the equation, then compare that with the exact converter base, top, keyboard tray, and manufacturer-required desk depth.
02
The collapsed seated setup
Mock up the converter’s lowest keyboard and monitor height and verify viewing distance, mouse reach, chair position, and whether enough original desktop remains for writing or other daily tasks.
03
The raised path and complete load
Check maximum standing height, forward/backward lift travel, wall or shelf collisions, cable slack, converter weight, equipment weight, separate tray/platform limits, and the existing desk’s own capacity and stability.
If either seated mode or standing mode fails, do not treat the converter as a successful compromise just because the other mode works.
03
Protect Monitor Distance on a Shallow Desk
On a shallow desk, monitor distance can fail before desk width does. The converter may fit physically while the display moves forward enough that the workstation feels crowded.
OSHA gives a generally preferred monitor viewing-distance range of about 20–40 inches and emphasizes that monitor placement should be considered together with the keyboard, desk, and chair.
Measure from the user’s working position after the converter is loaded, not from an empty tabletop. A monitor stand, thick base, laptop screen, or keyboard tray can change the real eye-to-screen relationship.
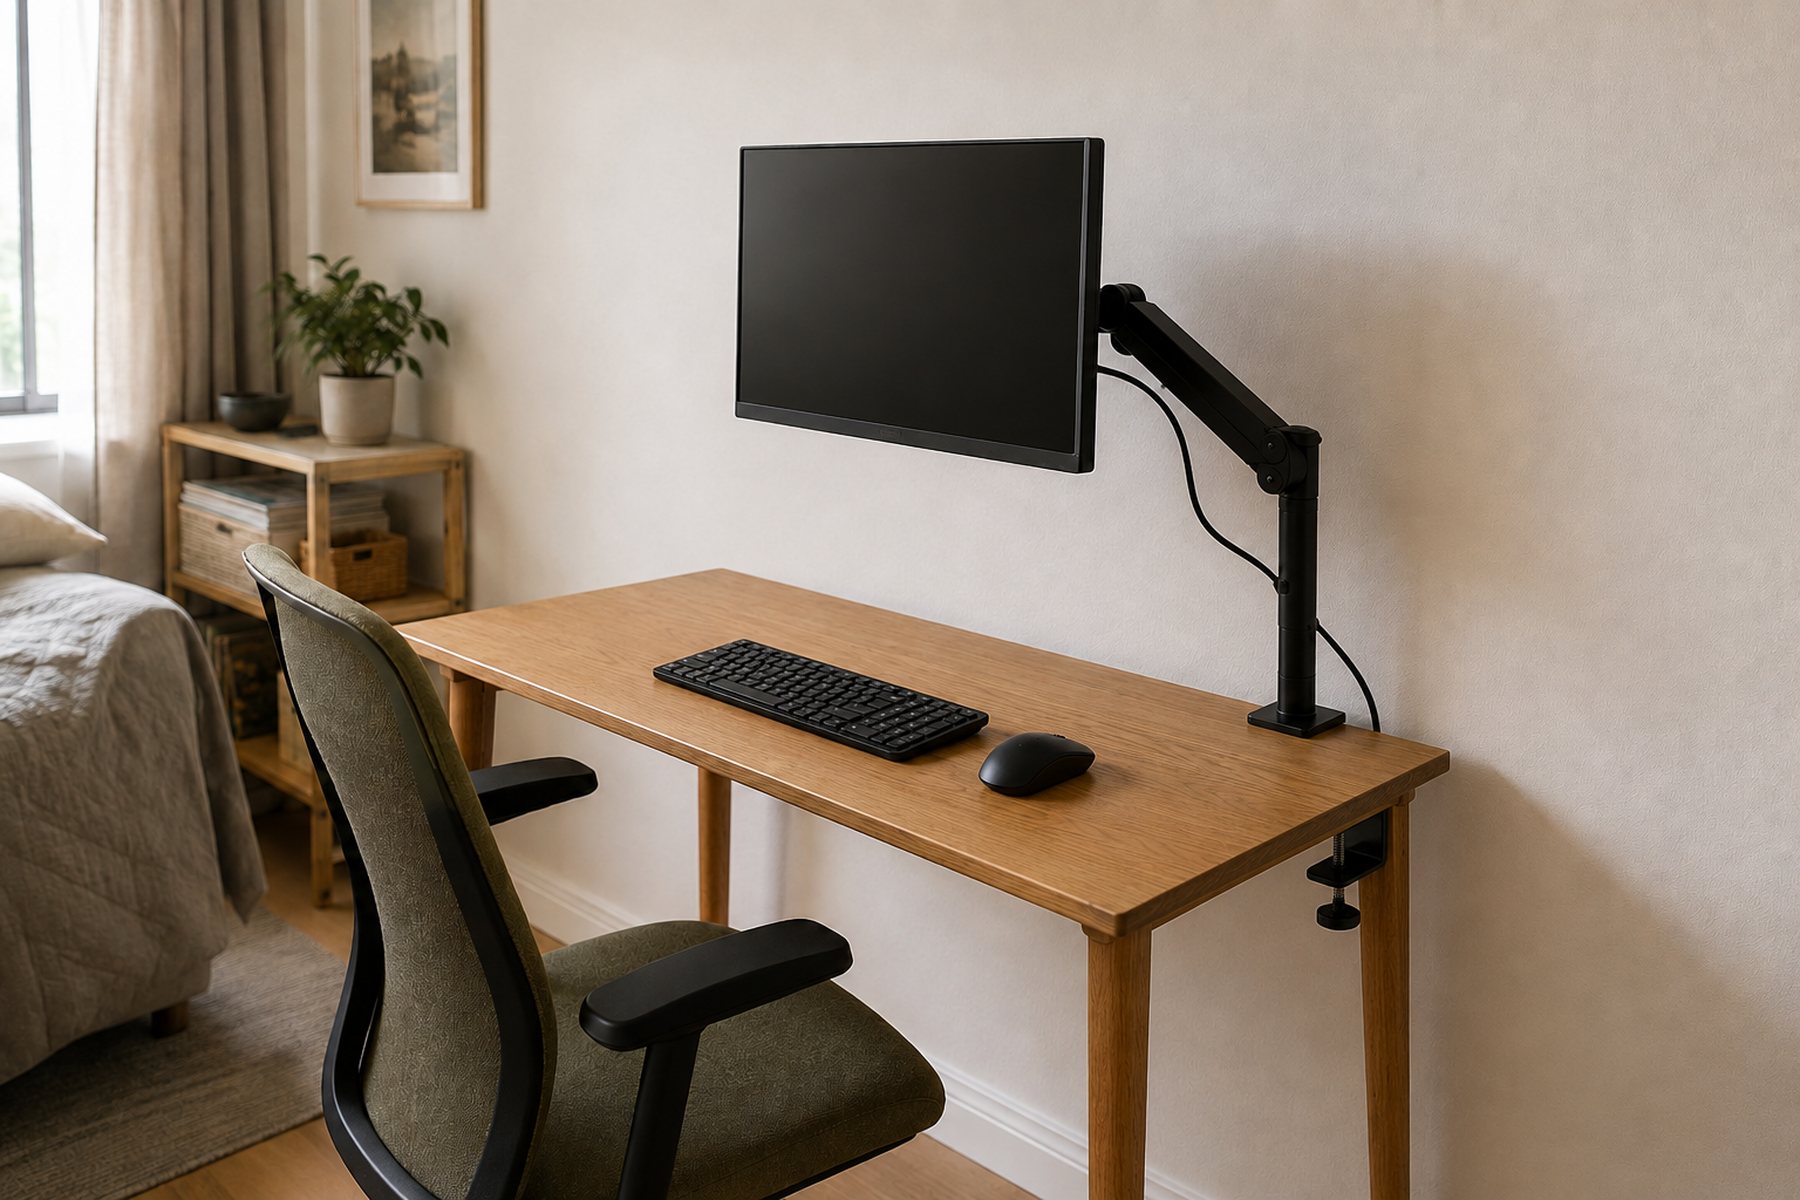
If the monitor needs to move farther back, check whether a monitor arm is genuinely compatible with both the desk and converter. Clamp or grommet geometry, concentrated load, leverage, and moving parts all need model-specific verification.
04
Choose Single-Tier or Dual-Tier Geometry for the Actual Equipment
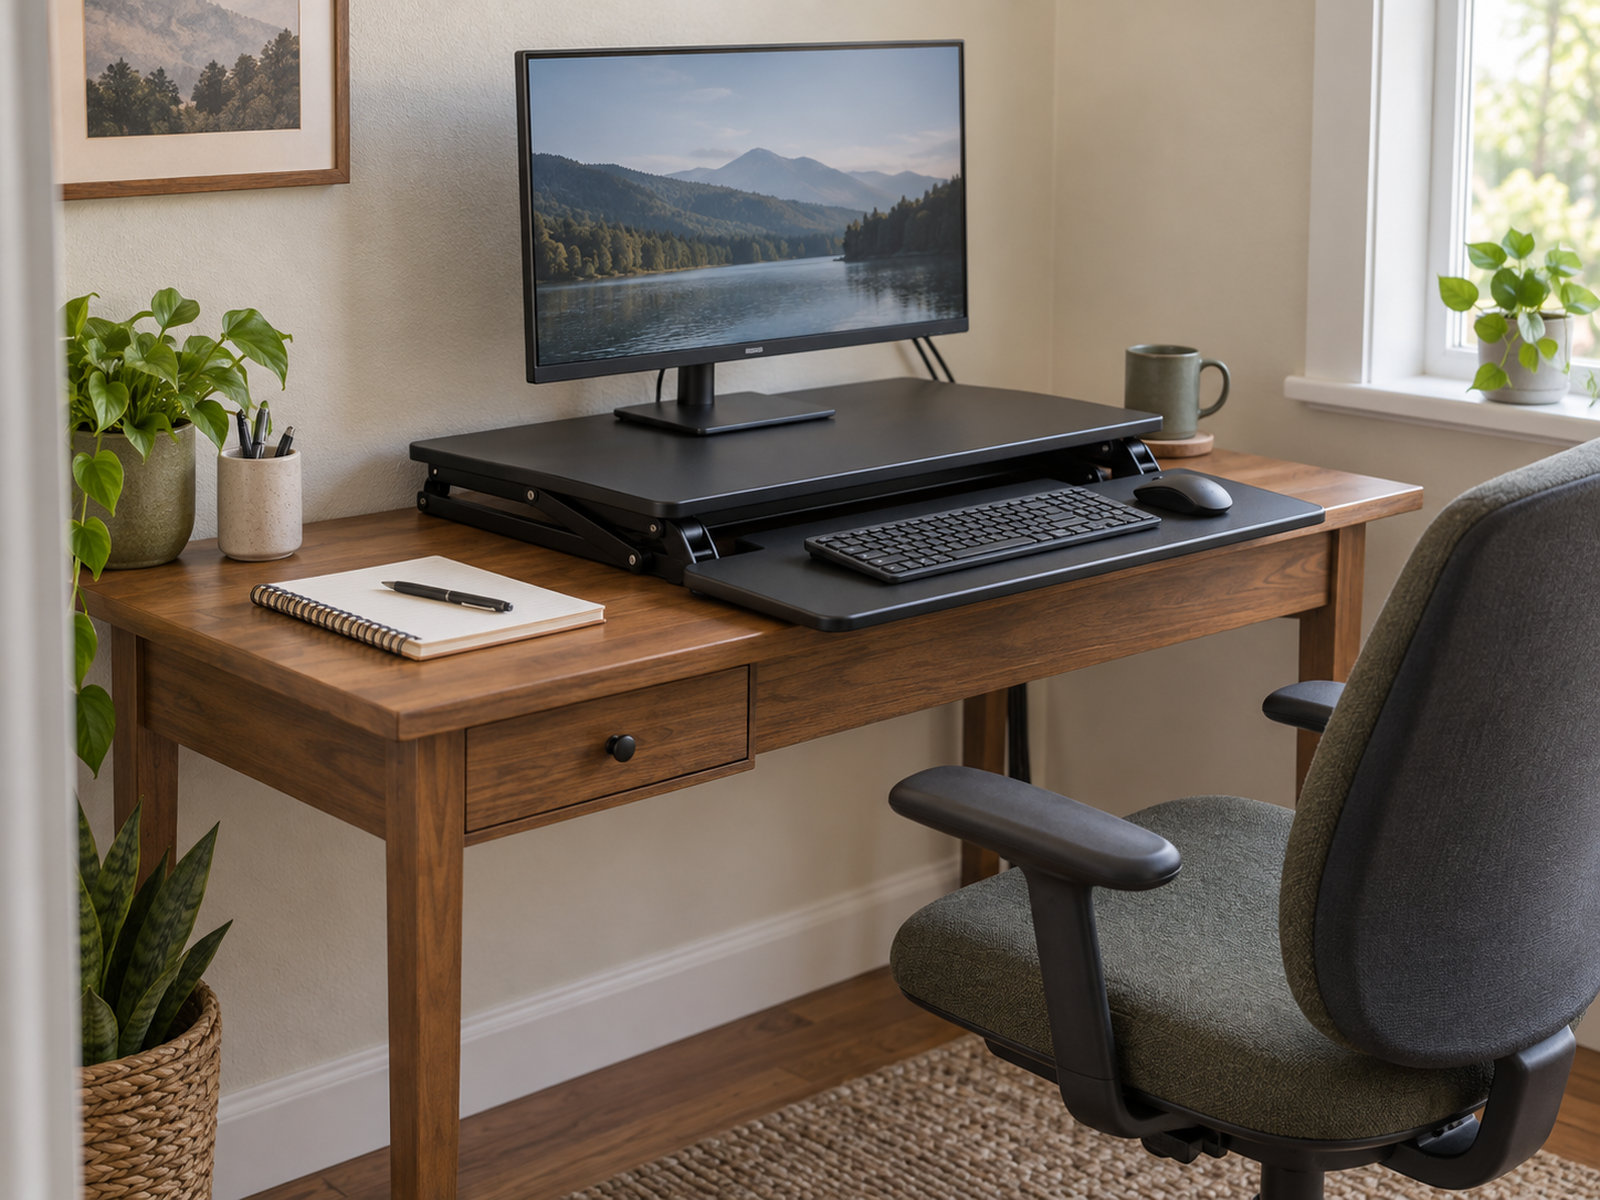
A dual-tier converter separates displays from the keyboard and mouse, which can make both zones easier to position independently.
The trade-off is depth. A projecting keyboard tray can consume the user-side edge of a small desk even when the main platform fits comfortably on top.
A single-surface riser uses less mechanical and visual bulk, but the equipment has to share one height. That can work for a compact monitor setup with external input devices, yet it is awkward when a laptop is expected to serve as both screen and keyboard.
Choose the architecture from the equipment relationship rather than from the word “compact.” Laptop-only, laptop-plus-monitor, and dual-monitor workstations do not need the same surface geometry.
Use / Skip
A Standing Desk Converter on a Small Existing Desk
Use
Use it when both seated and standing modes preserve the workstation
A converter can be a strong fit when the desk has enough verified depth and load capacity, the lowered keyboard/monitor geometry remains usable, the raised position fits the user, the lift path stays clear, and the remaining desktop still supports the tasks that matter.
Skip
Skip it when the converter permanently consumes the work surface you were trying to protect
Choose a simpler riser, equipment-placement fix, standing breaks elsewhere, or a full desk replacement when feasible if the converter pushes the monitor too close, raises the seated inputs too high, removes writing space, overloads the desk, or creates cable and movement conflicts.
05
Check Dual Monitors and Mounts as a Load-and-Geometry Problem
Dual-monitor compatibility is not established by a marketing label alone. Combined monitor weight, stand width, screen size, mount type, center of gravity, and cable movement all affect whether the setup is workable.
Count the converter itself as part of the desk load. Vari currently lists the manual Pro Plus 36 at more than 50 pounds of product weight before monitors and accessories are added.
Check subcomponent limits separately. VIVO publishes distinct capacities for the main platform and keyboard tray on current converter families, which is why total system capacity cannot be reduced to one headline number.
The underlying desk remains a separate structural system. A converter that is operating within its own rating can still be a poor choice for a damaged, flexible, lightweight, or insufficiently rated desk.
06
Check Lift Travel, Cable Slack, and Total Load
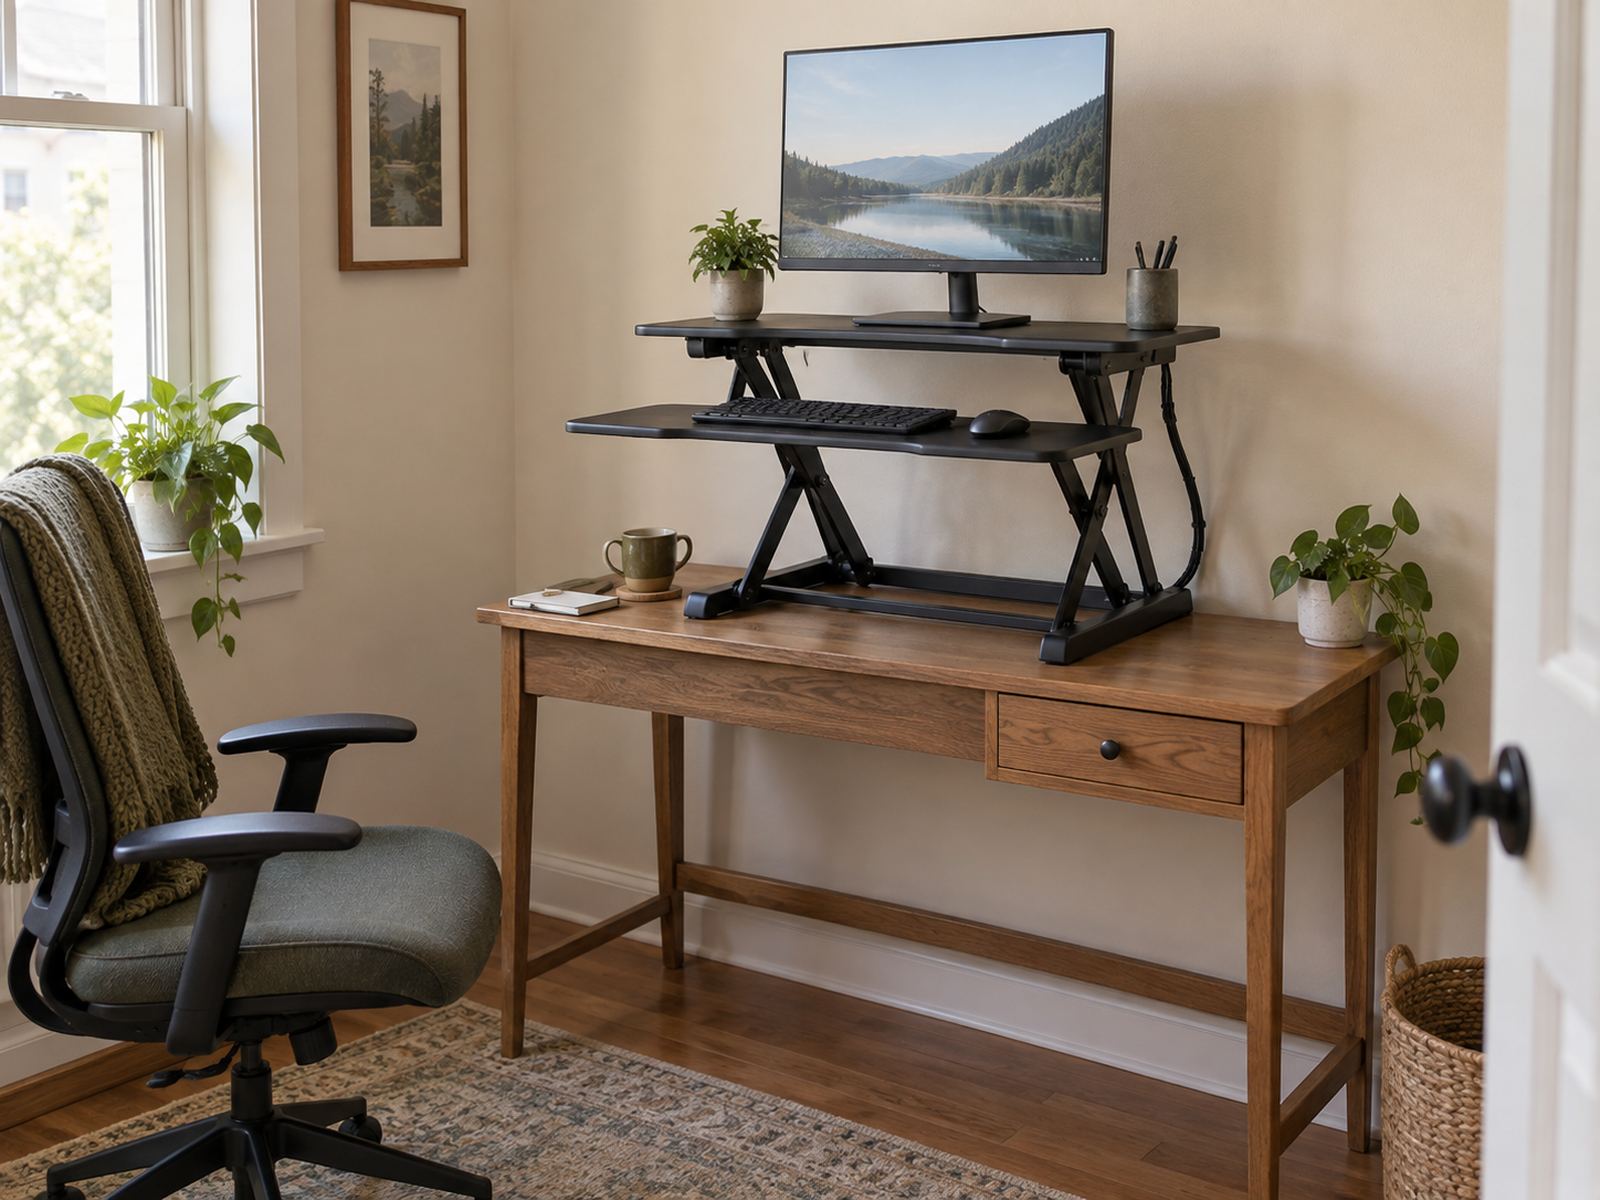
Raise and lower the converter through its full movement envelope on paper before purchase. Some mechanisms travel mostly upward; others also move forward or backward, changing the amount of desk and room clearance they need.
Check the path against a wall, hutch, shelf, window, monitor arm, desk lamp, and anything mounted above the workstation. A converter that fits at one height can collide with the room at another.
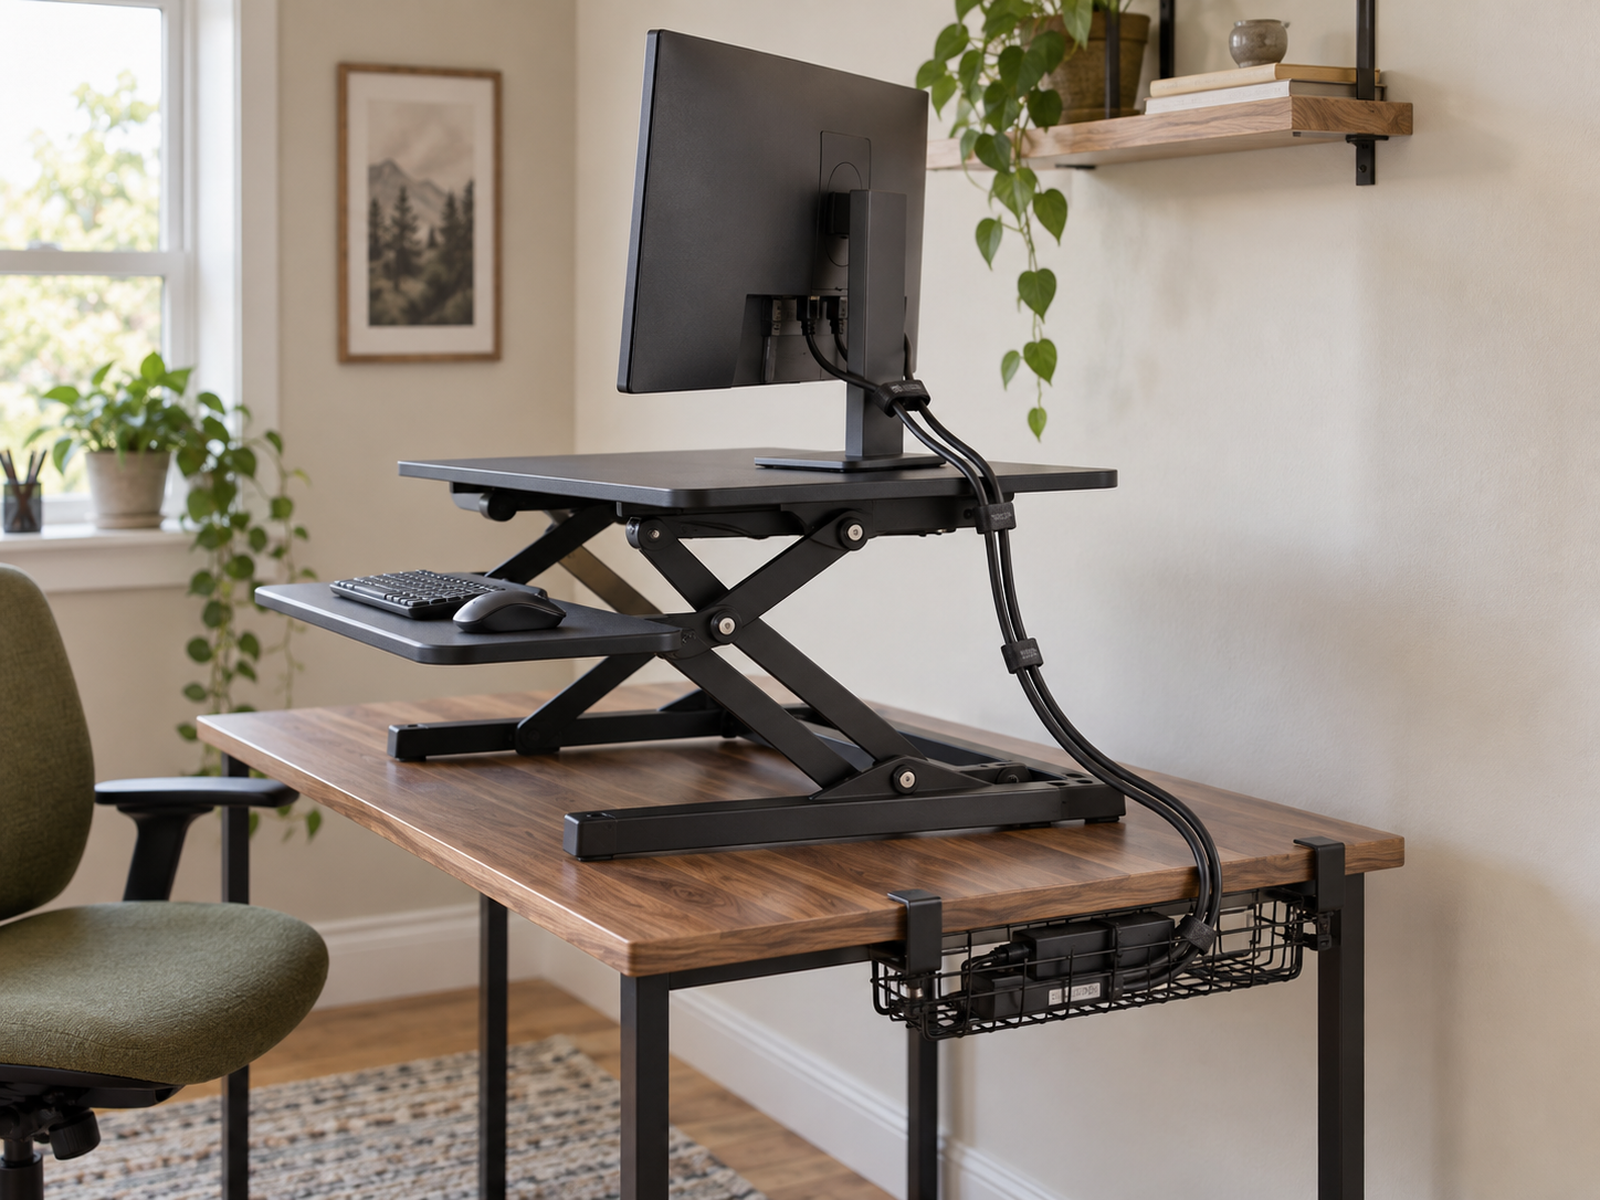
Cable slack has to follow the moving equipment. Power, display, USB, dock, and charger cables should not become taut, pull on ports, hang a power strip by its cord, or cross the walking route when the workstation rises.
Keep the cable system serviceable rather than tying every wire into one rigid bundle. The workstation needs enough controlled slack to move without turning the desk into a snag point.
07
Preserve Writing Space by Moving Equipment Before Adding More Surface
If the converter would consume the last usable writing area, first ask whether equipment can be consolidated instead.
A laptop that is mainly serving as a second display can sometimes move to a vertical or side position when the exact workflow permits, while a dock can relocate cables and peripherals away from the central work zone.
A monitor arm can sometimes recover depth, and a keyboard tray or simpler riser can solve a specific input-height problem without adding a full converter mechanism. Each alternative still needs its own load and furniture-compatibility check.
This is the point where the converter has to justify itself. If a smaller equipment-placement change restores the work surface and the user only needs occasional standing breaks elsewhere, adding a permanent second desktop layer may be unnecessary.
08
Skip the Converter When It Makes Either Work Mode Worse
A converter is the wrong answer when the desk is too shallow, the collapsed keyboard height is poor, the monitor sits too close, the lift path hits the wall or hutch, or the loaded system makes the desk unstable.
It is also a weak fit when the converter permanently removes the only notebook or writing area, when dual monitors exceed a platform or mount limit, or when cable travel becomes difficult to control.
The alternative does not have to be a full sit/stand desk. A simpler seated setup, laptop riser with external keyboard, monitor relocation, or standing breaks at another suitable surface can preserve more of the small desk.
NIOSH guidance supports movement and position changes rather than prolonged static standing. The goal is useful posture variation while keeping the workstation functional, not maximizing the number of hours spent standing.
Closing Decision
Keep the Existing Desk Only If Both Modes Still Work
A standing desk converter earns its place when it preserves the useful parts of the existing desk while adding a second workable posture. That means the collapsed height, monitor distance, input zone, remaining work surface, total load, and cable path matter just as much as maximum standing height.
Measure the converter as a moving workstation rather than a desktop accessory. If it makes seated work worse or consumes the last useful surface, solve the equipment layout first—or skip the converter entirely.
RELATED GUIDES
What to Read Next
NEXT GUIDE
How to Use a Monitor on a Shallow Desk Without Losing Usable Depth
Use this next if monitor distance becomes the limiting factor after the converter footprint is mapped; that guide focuses on recovering usable depth around the display.
GUIDE
How to Set Up Dual Monitors on a Small Desk Without Losing Work Surface
Use this if two displays are driving the converter size, weight, or surface conflict; that guide handles dual-monitor placement as its own workstation problem.
GUIDE
How to Make Room to Write on a Small Desk With a Keyboard
Use this if the converter leaves too little notebook or paper space in seated mode; that guide focuses on preserving a practical writing zone.