
Small Apartment Storage Ideas
How to Store Camping Gear in a Small Apartment With No Garage
Keep camping gear compact without forcing every item into its tightest travel state. Build one home base around crossover gear, a post-trip reset routine, and care-specific storage exceptions.
In This Guide
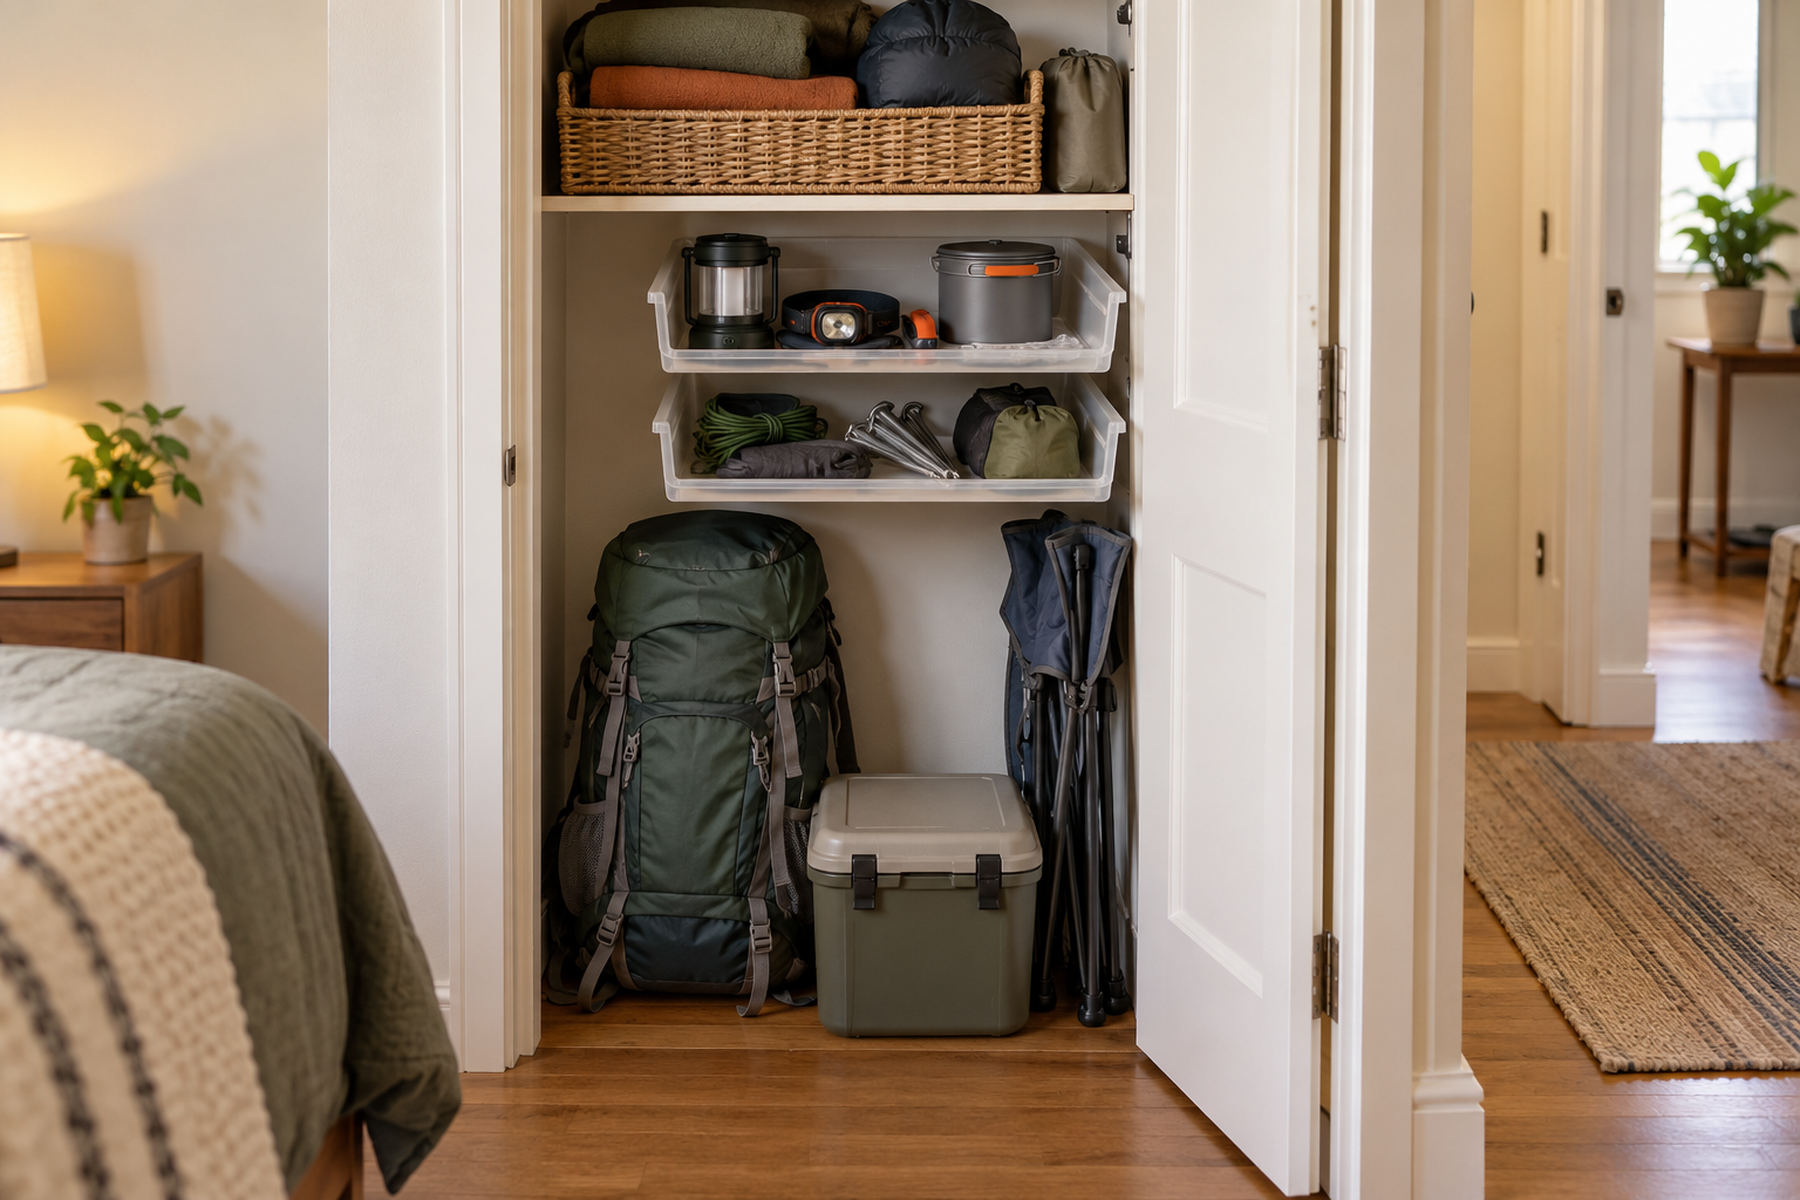
Camping gear changes shape between the trail and home. A tent, sleeping bag, pad, stove, chair, cooler, and backpack can share one trip without sharing one long-term storage method.
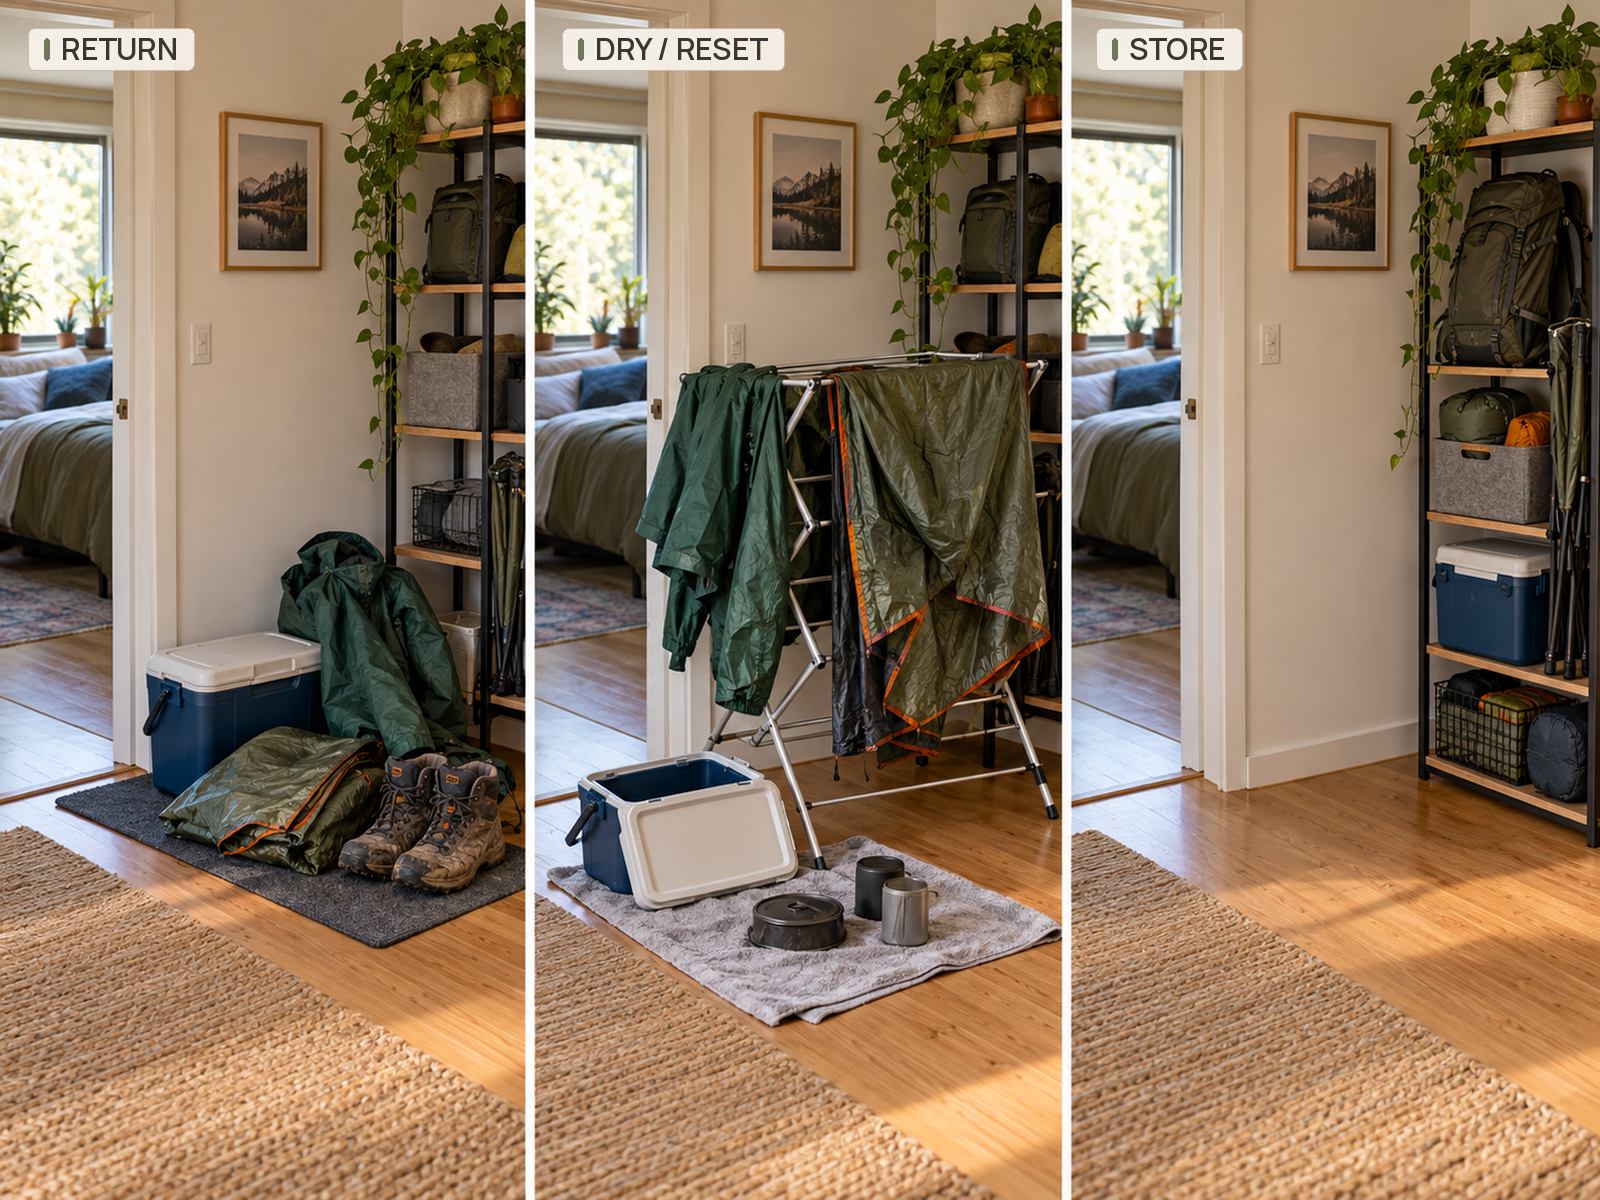
In a small apartment, the most useful system has four states: return, dry/reset, store, and depart. Give the collection one predictable home base, then let different gear use different storage forms inside or around that zone when care, access, or safety requirements demand it.
Quick Answer
Use One Home Base, Not One Giant Bin
Keep shared gear together, add trip-specific modules around it, and give care-sensitive equipment the long-term storage condition its manufacturer requires. The best apartment system makes the next trip faster without trapping moisture or turning transport compression into a permanent storage rule.
01
Reset before you store
Wet, dirty, greasy, or uninspected gear should not go straight from the trip into closed storage. Dry, clean, inspect, recharge, or restock what needs attention first.
02
Put crossover gear in the core
Items used across several trip types should live where every trip begins. This reduces duplicate buying and prevents the same headlamp, repair kit, or shared accessory from disappearing into an activity-specific bin.
03
Let exceptions stay exceptions
Tents, sleeping bags, sleeping pads, fuel, and other sensitive equipment may need different long-term storage conditions. Keep the home base unified without forcing every item into the same container.
01
Reset Gear Before Final Storage
The first storage decision happens before anything reaches the closet. Gear that comes home damp, sandy, muddy, greasy, salty, or partly unpacked needs a temporary return state where it can be opened and checked instead of disappearing into a closed tote.
Coleman’s current storage guidance recommends unpacking promptly and cleaning, drying, and inspecting gear before it is put away. See Coleman’s guide to storing camping gear between trips. The exact care routine still depends on the item, but the apartment workflow is simple: final storage begins only after the gear is ready to be stored.
A compact reset routine can include:
- opening and drying damp soft goods according to their care instructions;
- cleaning food-contact items and coolers so residue does not follow them into storage;
- checking tents, pads, packs, and accessories for damage before they disappear from view;
- recharging or replacing power items when appropriate;
- restocking consumables and moving repair jobs out of the “deal with it next trip” pile.
This temporary state may use a freestanding drying rack, an open area around existing furniture, or another short-term setup that does not block the apartment’s main circulation path. It does not need to be permanent. It needs to exist long enough that wet or dirty gear is not sealed away simply because the room has to look tidy again.
02
Build One Home Base Around Crossover Gear
A home base is a location, not a single container. It might be one closet bay, a freestanding shelf unit, a low cabinet plus an adjacent under-bed zone, or another compact area where the camping category reliably returns.
Inside that home base, separate core crossover gear from trip-specific modules. The core holds items that travel on most trips. Trip modules hold the bulky or specialized items that change with the plan, such as car-camping comfort gear, backpacking-specific equipment, or cold-weather add-ons.
This hybrid approach solves a common failure in small apartments. One-bin-per-activity systems can duplicate shared gear, while a pure category system can make every departure feel like rebuilding a kit from five different places. Core + modules keeps the shared items central without forcing every trip type into the same box.
Keep the grouping broad enough to reset without ceremony. If the system needs dozens of tiny labels or an elaborate packing chart to stay organized, it may be too granular for a closet-scale home base.
Measure / Check First
Before buying bins or filling a shelf, check what the next storage decision actually has to accommodate.
Check the Gear, the Access Path, and the Safety Exception
01
Check long-term care
Read the current instructions for the exact tent, sleeping bag, sleeping pad, electronics, or other care-sensitive gear. Travel compression, rolling, or stuffing does not automatically tell you the correct long-term storage state.
02
Check retrieval clearance
Make sure a bin, cooler, drawer, or under-bed case can open or pull out without unloading the whole stack. A container that technically fits but cannot be reached directly will slow both packing and reset.
03
Check separate-storage categories
Fuel and other safety-sensitive items should not be absorbed into ordinary soft-goods storage for the sake of visual uniformity. Follow the exact product label, manual, building rules, and other applicable safety guidance.
If one category fails one of these checks, let it use a different storage form inside the same home base instead of forcing the entire collection into matching containers.
03
Let Gear-Care Instructions Shape the Storage Form
Camping gear is designed to become compact for transport. Home storage may ask something different.
For tents, the cited MSR tent manual says to dry the tent thoroughly, never store it wet or dirty, and store it outside the stuff sack in a dry area away from direct sunlight. That is product-family guidance, not a universal rule for every tent, but it shows why a trail-size package should not be treated as the default household storage state.
Sleeping bags need the same product-specific discipline. NEMO’s long-term sleeping-bag care guidance recommends storing a completely dry bag in an oversized breathable sack or on a hanger in a cool, dry, dark place rather than leaving it in the compression sack for long-term storage. Use the current instructions for the bag you own rather than assuming one compression rule applies to all insulation systems.
Sleeping pads are an even clearer reason to check the exact manufacturer. NEMO’s sleeping-pad storage guidance says its pads should be fully dry, outside the stuff sack, flat or loosely rolled, with the valves open. The cited Therm-a-Rest / NeoAir instructions instead say to leave the valve open and store the pad rolled tight in the stuff sack to protect it from dirt and sharp objects.
That disagreement is useful. It means the organizer should adapt to the equipment, not the other way around. A shelf, breathable sack, loose-roll zone, or compact case may all be valid storage forms for different items, but the exact product instructions decide which form belongs to which piece of gear.
04
Choose Storage Zones by Access and Footprint
Once the care exceptions are identified, give the remaining gear the most direct apartment storage you can afford in space.
An existing closet is often the easiest place to create a home base because it keeps the category enclosed without adding new furniture. Shallow or transparent bins can help smaller hard goods stay visible, while a dedicated lower zone can hold packs, folded chairs, or a cooler if they do not block access to the rest of the closet.
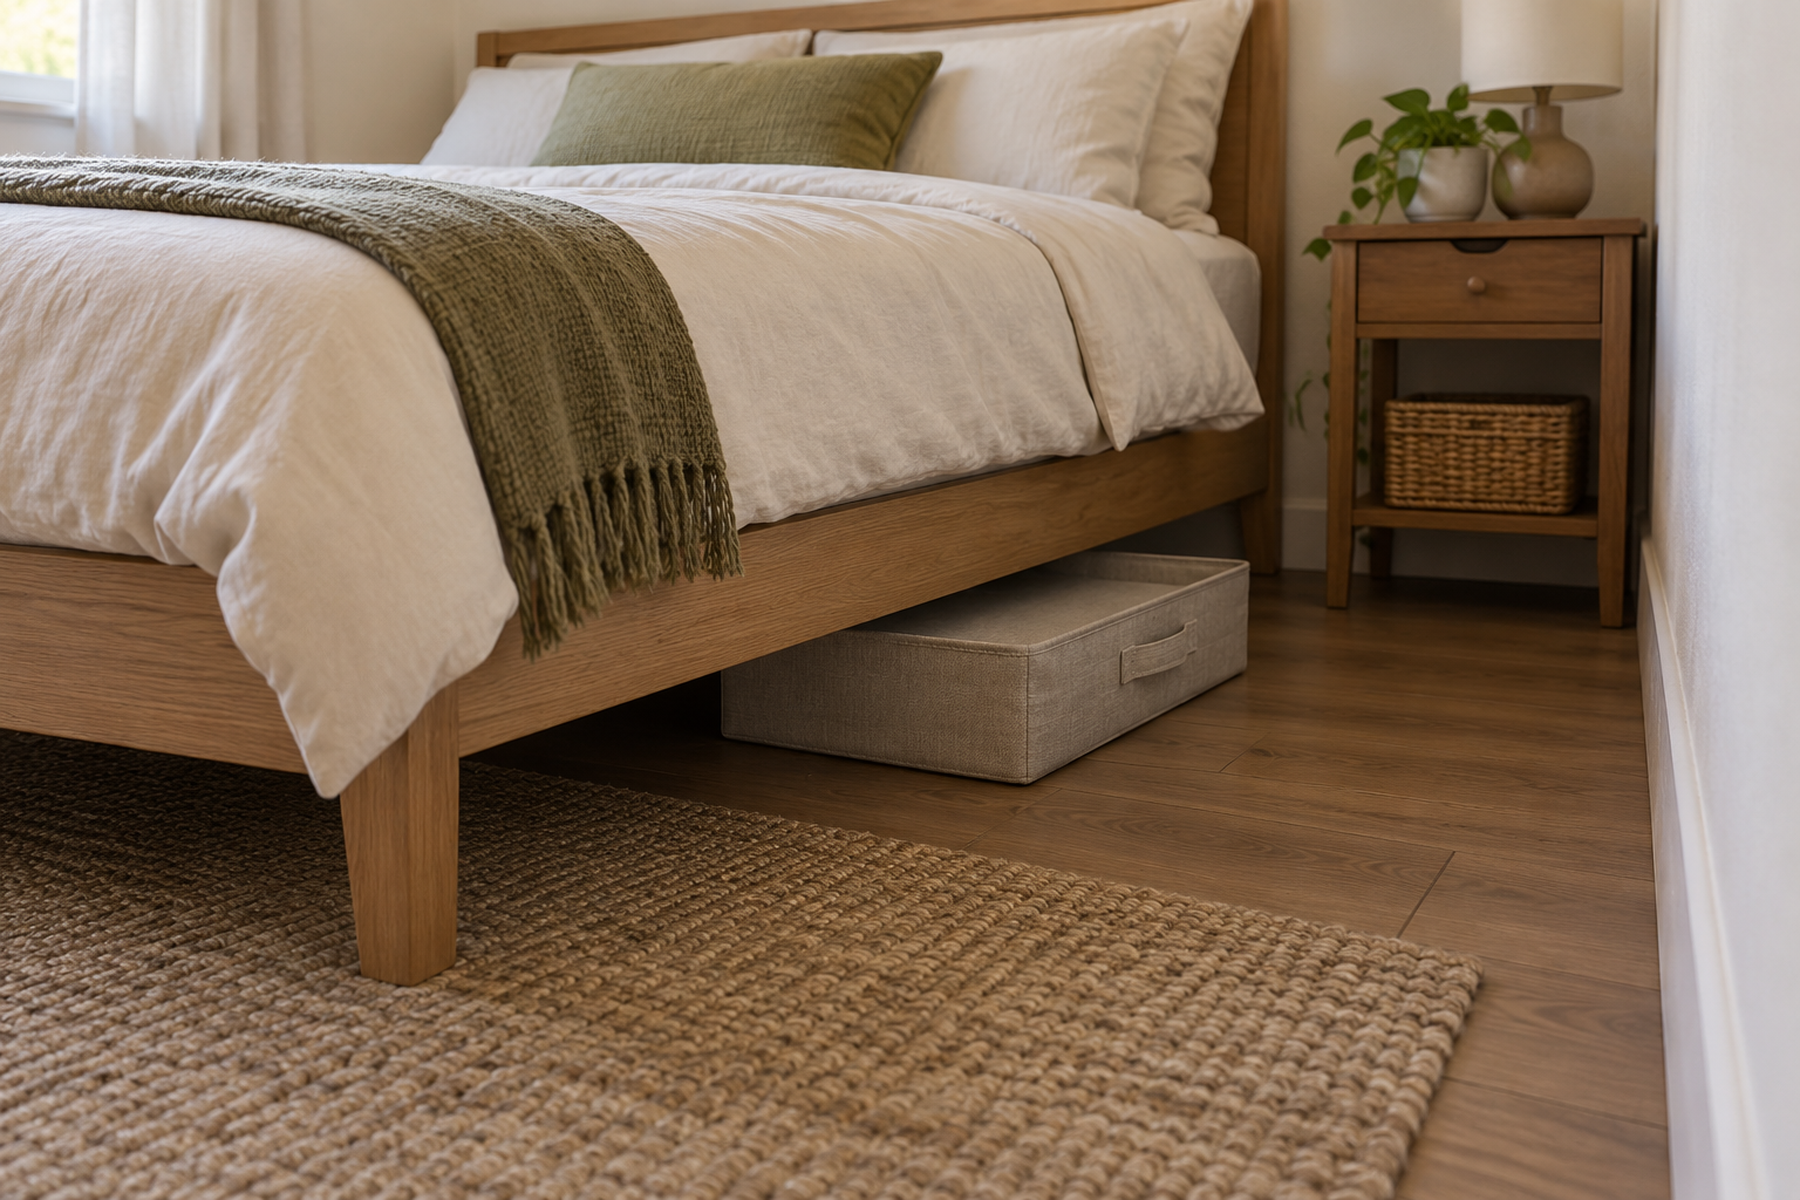
Under-bed storage can absorb lower-frequency modules when the case slides out directly and the stored gear is appropriate for that environment. It becomes less useful when the bed is too low, the case is too heavy to maneuver, or every retrieval requires moving other furniture. Aptly Small’s guide to making under-bed storage work when your bed is too low covers that access problem in more detail.
Freestanding shelving can create vertical density without drilling, but it still spends permanent floor footprint. Check the real shelf depth, the loaded retrieval path, and any manufacturer anti-tip requirements before treating a tall unit as a free-space solution.
Wall rails, ceiling hooks, pegboards, and fixed racks can be efficient in the right home, but they belong in the installation-required branch. Renters should verify the lease or landlord requirements, wall or ceiling structure, fasteners, and product installation instructions instead of assuming that “vertical” means “renter-friendly.”
05
Keep Fuel Out of the Ordinary Gear-Bin Logic
Camping fuel is not one uniform storage category. Fuel type, container, stove system, label instructions, building rules, and local fire requirements can change the answer.
Jetboil’s current fuel-canister guidance says canisters should be kept cool and dry and away from heat sources. Its Zip Cooking System instructions tell users to disconnect the fuel canister after use before storing the stove.
Liquid fuel adds a different boundary. The U.S. Consumer Product Safety Commission says portable liquid-fuel containers should not be stored inside the house; CPSC separately notes that propane is outside that portable-liquid-fuel definition. That is exactly why a blanket “put all camping fuel in a cool closet” rule is not reliable.
Keep fuel decisions separate from ordinary gear organization. Check the exact fuel or container label, the stove or fuel manufacturer instructions, the building or lease requirements, and local fire rules that apply to the product and place you actually have.
06
Make the Stored System Fast to Launch and Easy to Reset
A storage system that protects gear but makes every trip difficult will eventually spill back into the apartment. The home base should make the most common trip the easiest one to launch.
Keep the crossover core stable. Add only the trip-specific modules the next outing needs. When the gear returns, use the same home base as the destination after drying, cleaning, inspection, and restocking are complete.
Visibility helps here. You should be able to notice an empty space, missing item, or depleted consumable without excavating a deep tote. Shallow bins, drawers, open shelf zones, or a simple inventory note can all support that job without turning the apartment into a permanent staging area.
Collection size matters too. If the home base keeps expanding into another closet, the living-room floor, or a second shelving unit, the next decision may be about which trip styles, duplicates, and rarely used variants deserve permanent apartment space. More containers cannot make unlimited gear footprint disappear.
What Not to Do
Avoid Storage Shortcuts That Save Space Only on Paper
- Do not seal damp gear just to clear the room. Dry and care for the item according to its instructions before final storage.
- Do not assume the smallest travel package is the correct long-term storage state. Tents, sleeping bags, and sleeping pads can have different manufacturer guidance.
- Do not duplicate crossover gear across activity bins simply to make each bin self-contained. That trades packing convenience for more apartment inventory.
- Do not treat wall or ceiling storage as renter-friendly by default. Installation method, structure, load, and lease permission still matter.
- Do not fold fuel into the same storage rule as fabric gear, cookware, or accessories. Fuel needs its own product- and location-specific safety check.
- Do not use a vehicle as the automatic long-term overflow closet. Heat, moisture, security, and product-care conditions can make routine vehicle storage a poor fit.
Closing Decision
Give the Collection One Address, Not One Container
The strongest small-apartment system keeps camping gear in one predictable home base while allowing separate storage forms for the post-trip reset, crossover core, trip modules, and care-sensitive items. That reduces search time without pretending every piece of equipment has the same long-term needs.
If the collection still overwhelms that home base after the system is simplified, the next decision is collection size: which trip styles, duplicates, and rarely used gear deserve permanent apartment space. Adding more bins is not the same thing as solving the storage problem.
RELATED GUIDES
What to Read Next
NEXT GUIDE
How to Make Under-Bed Storage Work When Your Bed Is Too Low
Use this next if under-bed space is part of your camping system and you need to verify clearance, pull-out access, and whether the zone is genuinely usable.
GUIDE
How to Store Suitcases in a Small Apartment With No Storage Closet
This guide extends the bulky-storage logic for travel items that need a defined home without taking over prime everyday storage.
GUIDE
How to Store Holiday Decorations in a Small Apartment With No Storage Closet
Read this if camping gear is competing with other seasonal categories and you need a broader way to protect low-frequency storage space.