
Small Desk Organization
How to Add Task Lighting to a Small Desk Without Losing Work Surface
Choose the task before the lamp: protect the writing and mouse zone, reject any placement that reflects into the monitor, then spend the least valuable surface, desk edge, monitor-top, or nearby wall space that the actual workstation can support.
In This Guide
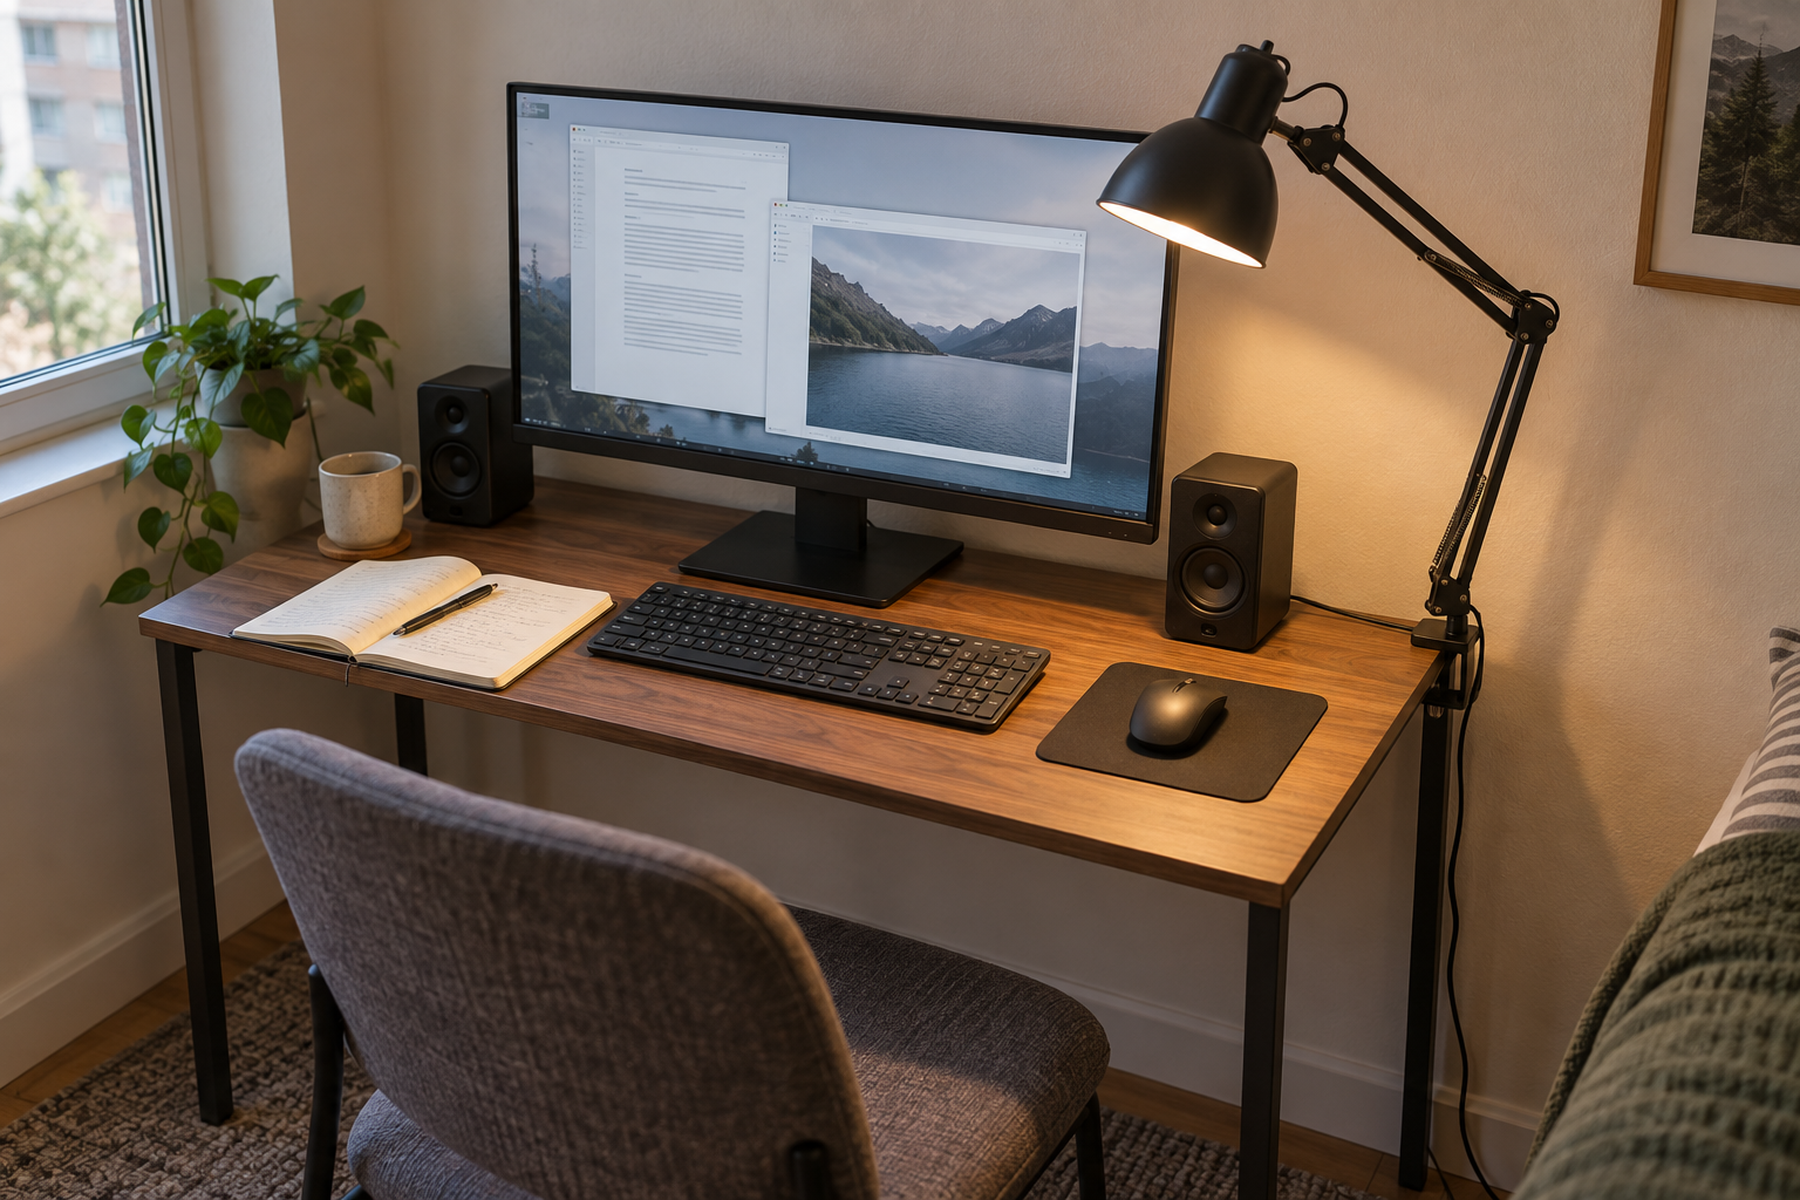
A compact desk can be out of surface space and still have several other planes available for light. The choice is not simply lamp versus light bar: a freestanding lamp spends desktop area, a clamp spends edge and underside capacity, and a monitor light bar spends monitor-top geometry while changing the light’s optical relationship to the screen.
The useful order is functional. Identify whether the desk needs light for screen-only work, paper and writing, or a mixed task; check glare with the monitor on; then test the physical mounting plane, coverage, and power route before committing to a lighting form.
Quick Answer
Light the Work Zone Without Spending the Wrong Part of the Desk
A task light has both a hardware footprint and an optical footprint. The mount must fit the workstation, and the beam must reach the real task area without reflecting on the display or shining into the user’s normal line of sight.
01
Define what needs more light
Paper-heavy work needs directed illumination on the writing zone; screen-only work may need less task light than a desk that also handles notes, documents, crafts, or handwriting.
02
Reject persistent screen reflection
OSHA recommends positioning task lighting so it does not reflect on the display. Test the actual monitor angle and normal seated position rather than judging the lamp while the screen is off.
03
Choose the cheapest compatible plane
Use a real residual surface zone, a verified desk edge, a compatible monitor top, or a nearby wall or shelf only after checking the hardware, movement, coverage, and renter implications of that plane.
01
Define the Task Before the Lamp Type
Start with the work that is actually too dark. A desk used mainly for a bright monitor has a different lighting problem from one where the user also writes on paper, reads printed material, sketches, or handles detailed objects.
OSHA’s workstation guidance supports supplemental task lighting for reading and writing while emphasizing control of brightness around computer displays. That makes coverage—not simply lamp brightness—the first useful distinction.
Mark the real task zone on the desk. It may be the keyboard and notebook directly in front of the monitor, a writing strip beside the keyboard, or a wider area that spans two screens and paper between them.
Once the task zone is clear, lamp form becomes easier to judge. A monitor bar can be efficient for a centered keyboard-and-document area, while an adjustable side light can be stronger when the work zone is off-center or changes during the day.
02
Treat Screen Glare as a Stop Rule
Turn the monitor on before evaluating the light. Reflections that disappear on a black screen or in daylight can become obvious once a bright task lamp is aimed across the desk at the normal working angle.
OSHA notes that glare from desk lamps, overhead lighting, and windows can make displays harder to see and can contribute to visual discomfort or awkward posture. Its workstation guidance specifically recommends positioning task lighting so it does not reflect on the screen.
Check direct glare too. The light source should not sit in the user’s normal line of sight or create a bright exposed emitter that becomes more distracting than the dark work surface it was meant to solve.
If the lamp physically fits but the monitor shows persistent reflection, change the height, side, beam direction, or lighting plane. Physical fit does not override optical failure.
Measure / Check First
Before buying a clamp lamp or monitor light bar, test the workstation with the monitor on and all existing desk hardware in its normal position.
Check Glare, Mounting Geometry, and Movement Before You Commit
01
Screen reflection and task coverage
Aim the light at the real writing or keyboard zone with the monitor on. Reject persistent screen reflection, exposed light in the normal line of sight, or a beam that misses the task area.
02
Clamp, monitor, and hardware compatibility
Verify desk thickness plus underside clearance for a clamp, or monitor thickness, curvature, rear shape, bezel, and webcam conflict for a light bar. Include monitor arms, microphone mounts, shelves, and cable trays in the fit test.
03
Power route and sit-stand movement
Confirm the intended USB or power connection, cable length, and slack. If the desk moves, test the full height range and make sure the light, cable, and nearby wall or shelf stay clear.
If the light fixes the dark work surface by creating screen glare, displacing a monitor arm, blocking the webcam, tightening the power cable, or losing coverage at standing height, change the lighting plane before changing the rest of the workstation.
03
Measure the Hardware Footprint and the Optical Footprint
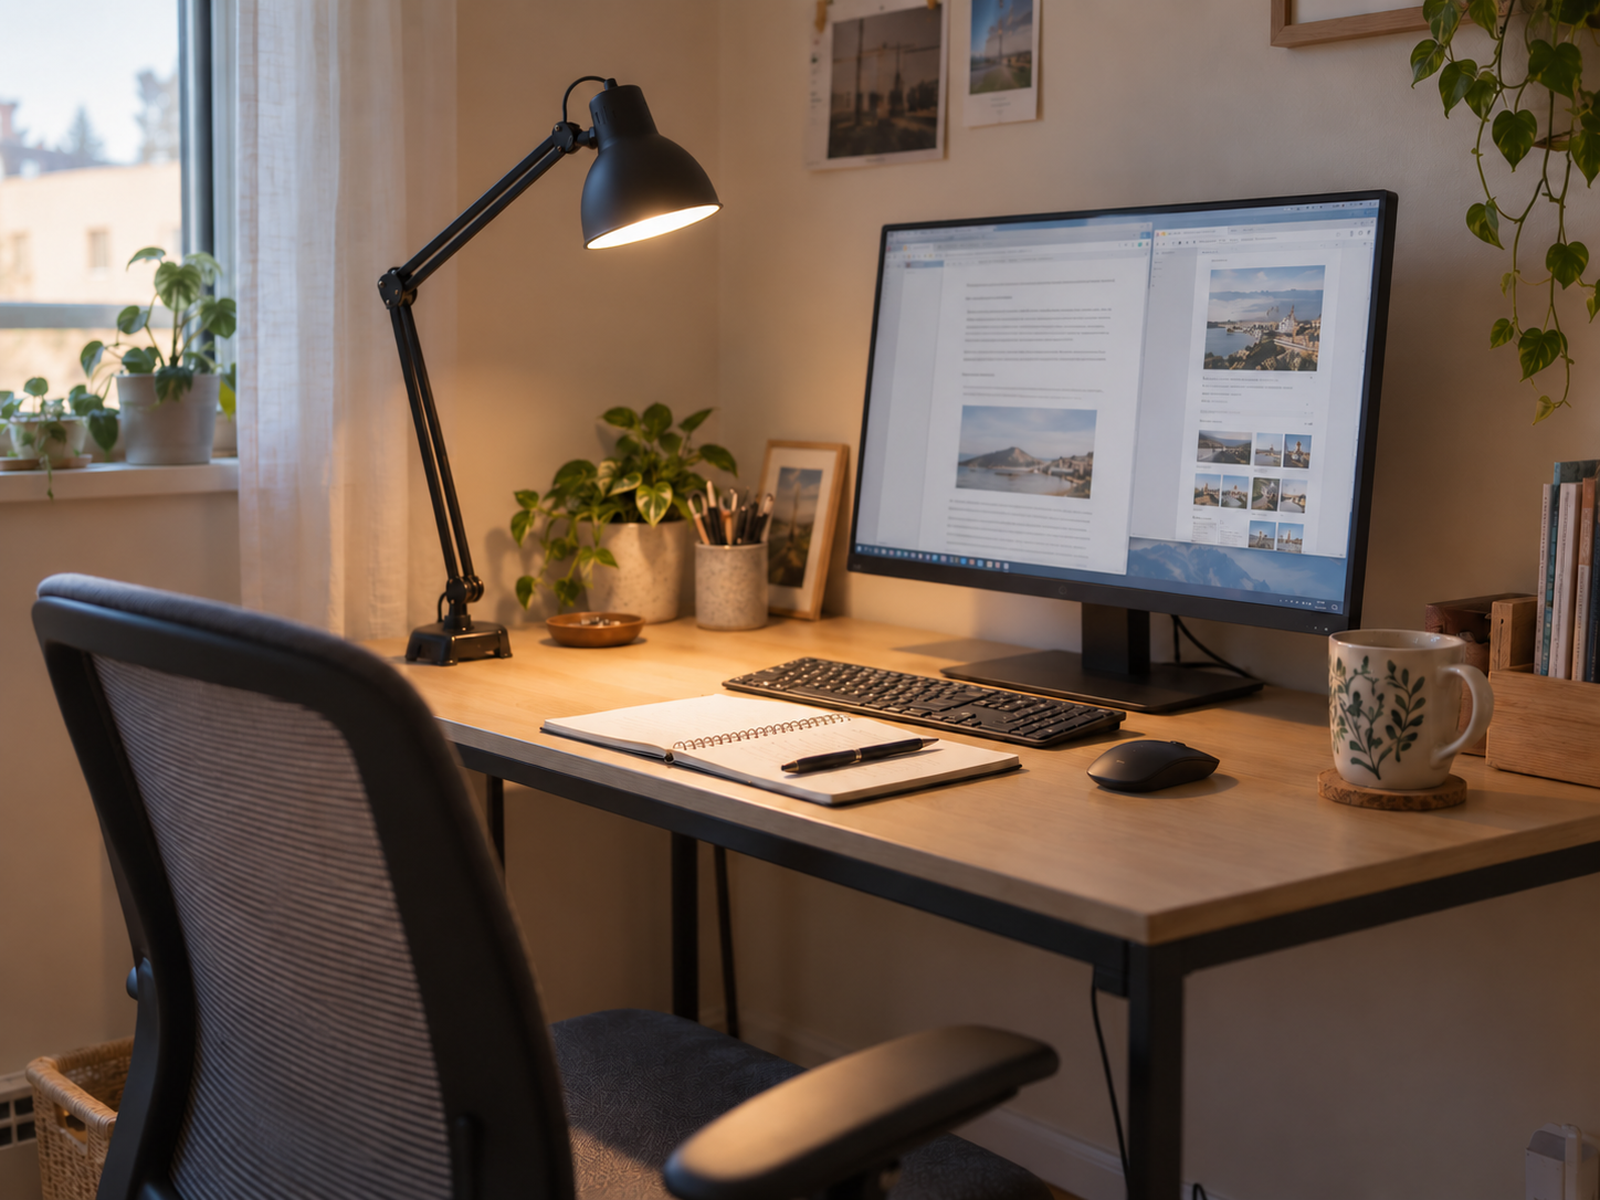
Every task light occupies two kinds of space. The hardware footprint includes the base, clamp, arm, cable, or monitor clip; the optical footprint includes the illuminated area, shadow pattern, reflected glare, and direct brightness.
A tiny base can still be the wrong fit if the arm crosses the monitor, the shade blocks a speaker, or the beam lights the display more strongly than the writing zone. A compact clamp can fail for the same reason when the desk edge is already claimed by a monitor arm or microphone mount.
Coverage matters most on mixed desks. The center of a monitor is not automatically the center of the user’s paper, keyboard, or dual-monitor work area, so judge the lit zone from the actual seated position.
Keep the two footprints linked. A mount that saves surface area is only useful when its arm, cable, and beam can occupy the rest of the workstation without creating a new conflict.
04
Audit the Desk Edge Before You Clamp Anything
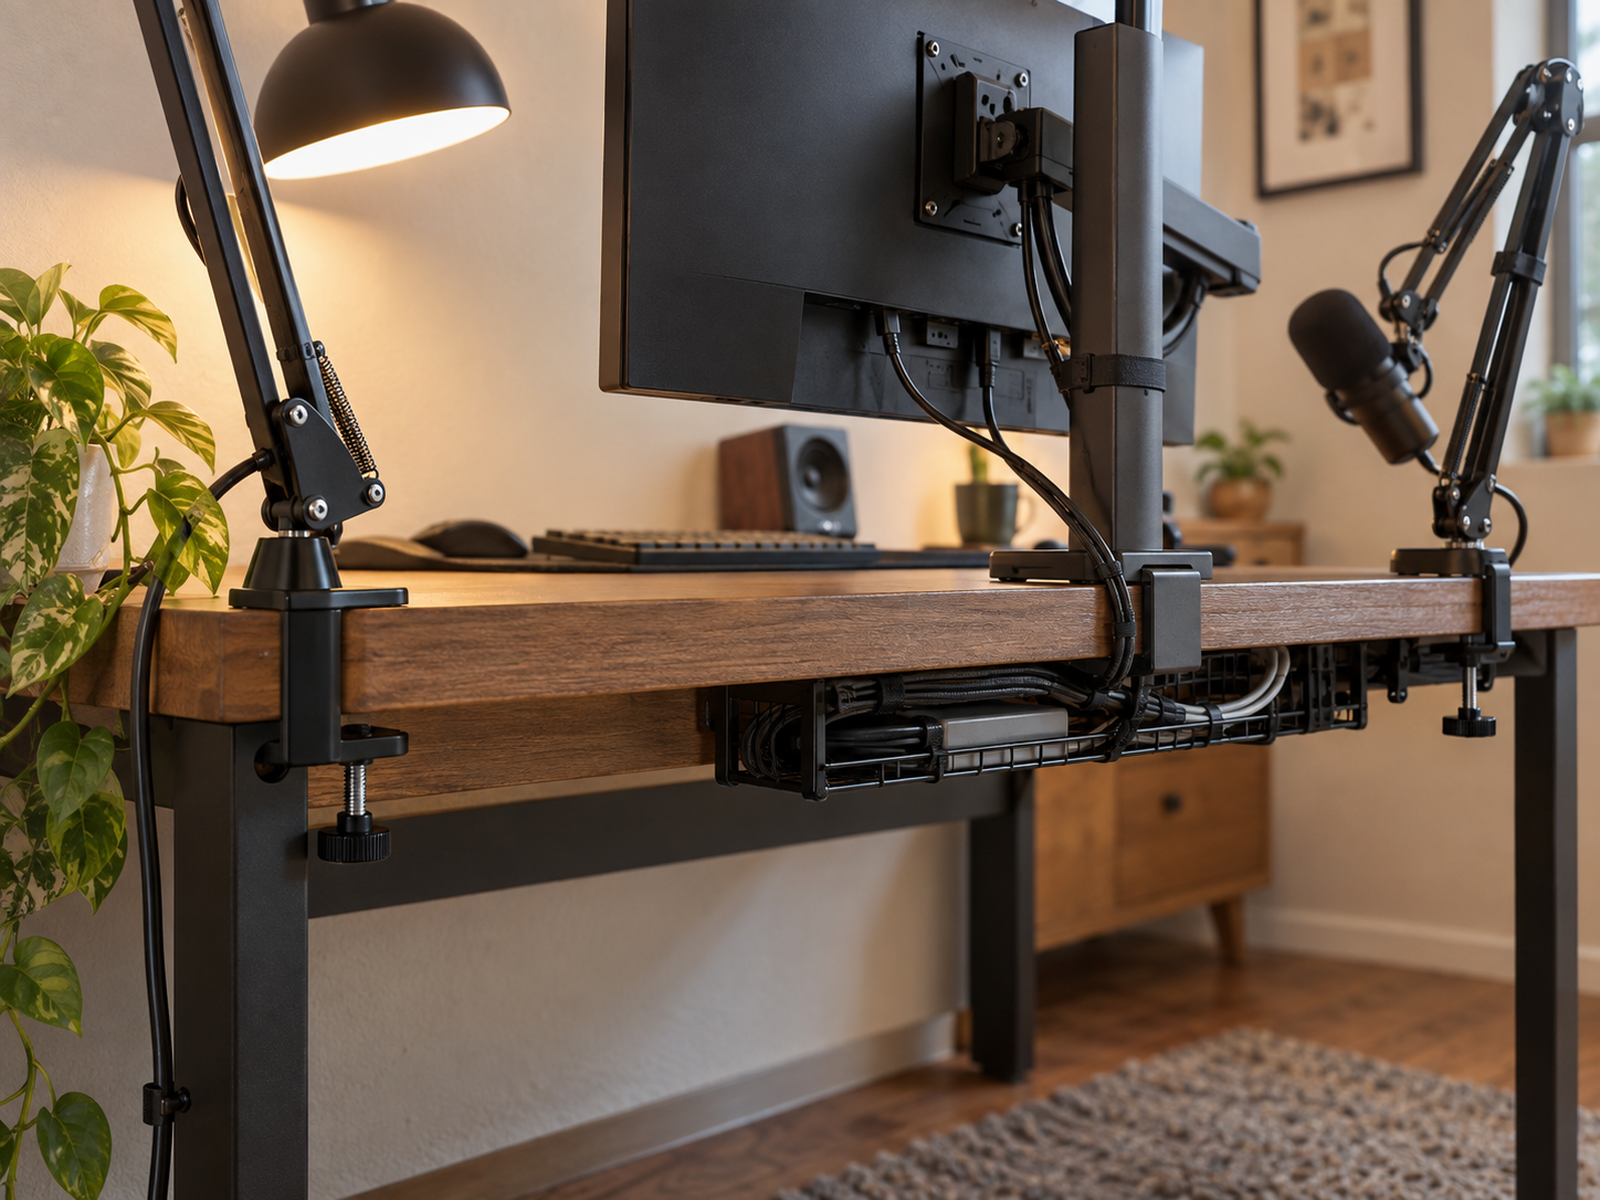
A clamp lamp can recover the entire lamp-base footprint, but the desk edge is infrastructure rather than free space. Monitor arms, microphone arms, cable trays, laptop mounts, shelves, and desk frames may already depend on the same rear or side edge.
Measure more than top thickness. The clamp also needs a flat contact area and enough underside clearance around aprons, rails, bevels, cable trays, and other mounted hardware.
Place the existing monitor and microphone hardware in their preferred positions before assigning a clamp zone to the light. Current user reports show how a lamp can technically clamp to the desk while forcing a monitor arm or speaker arrangement into a worse position.
If the clamp only works by moving a higher-priority workstation component, the light has not saved space; it has transferred the conflict to the desk edge.
05
Use a Monitor Light Bar Only When the Monitor and Coverage Fit
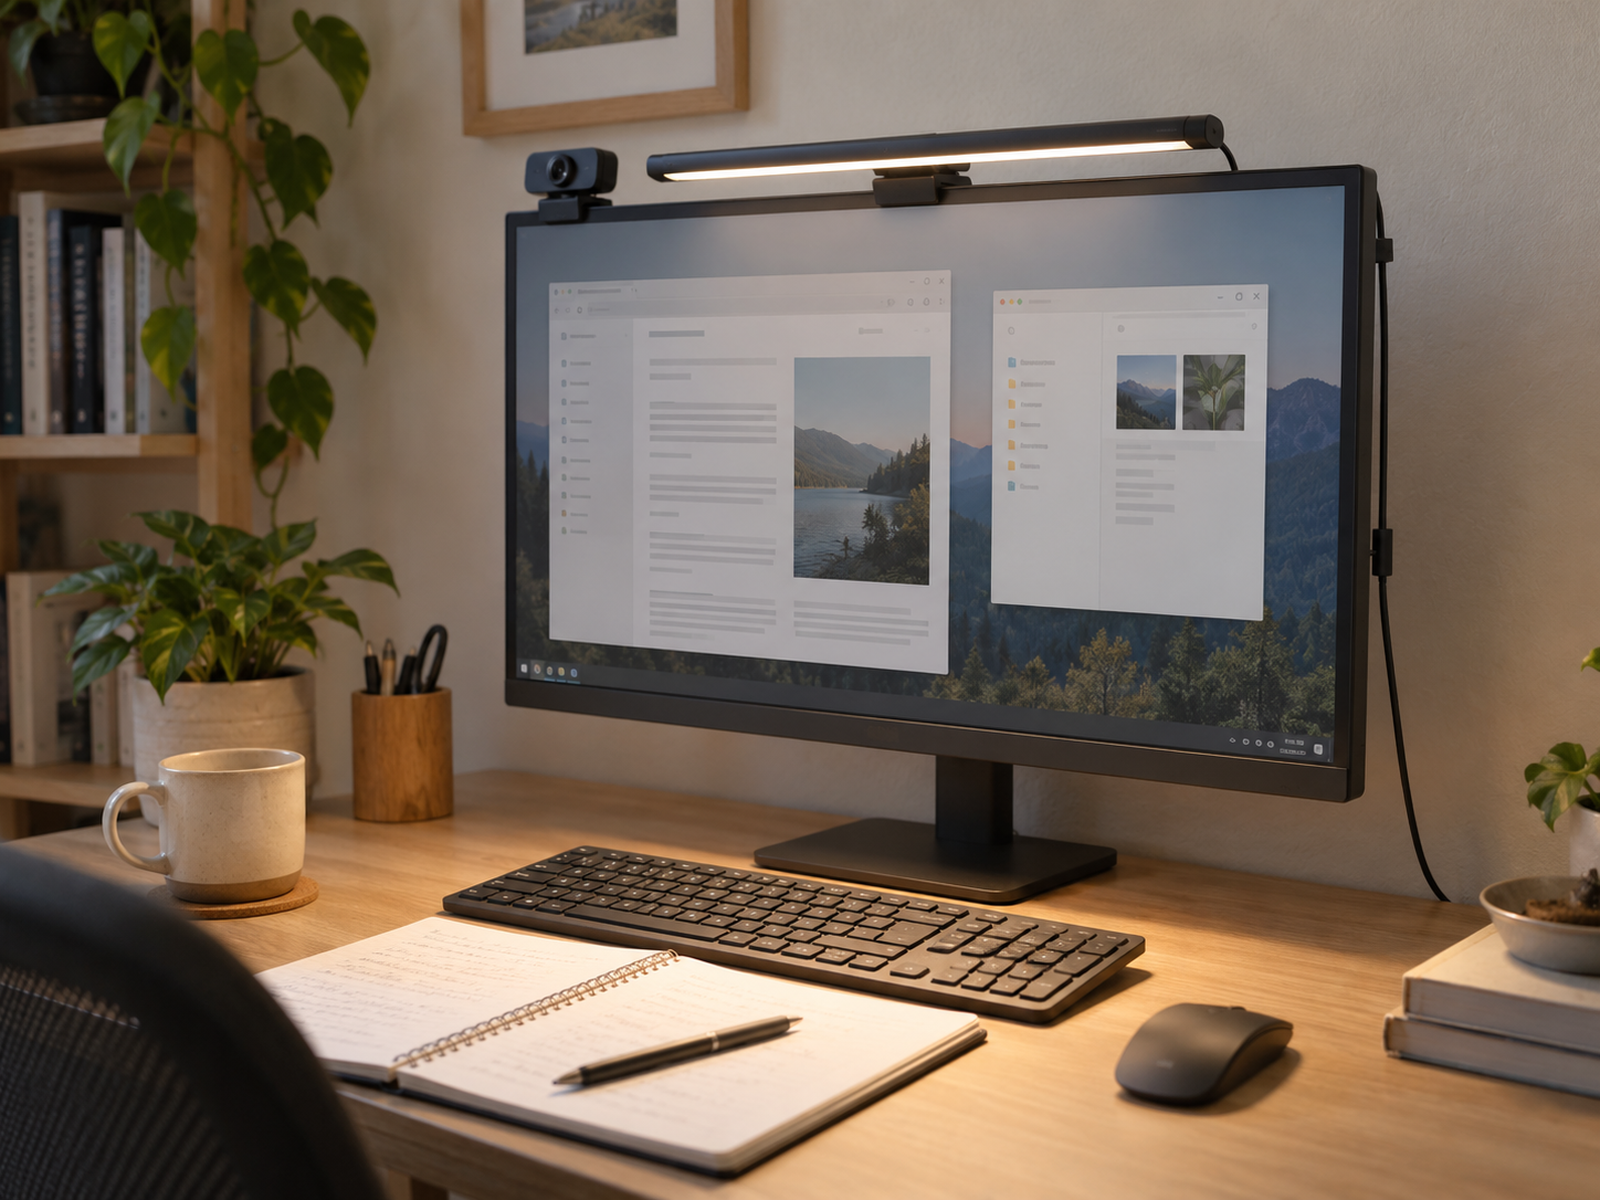
A monitor light bar spends almost no desktop surface and can keep the task light close to the keyboard or document zone. The trade is that the monitor becomes the mounting surface.
Compatibility is product-specific. BenQ’s current ScreenBar Pro documentation publishes a monitor-thickness range and specific curvature guidance, while BenQ’s current buying guidance also notes that recessed backs, protrusions, and other rear shapes can affect fit.
Check the top of the monitor as a shared plane. An external webcam, built-in camera housing, monitor hood, speaker, or unusual bezel may compete with the light bar even when the monitor thickness itself is acceptable.
Then evaluate coverage. A bar centered on one off-center display can leave the real writing zone unevenly lit, and one screen-mounted source may not distribute light evenly across a wide dual-monitor setup.
Use / Skip
Monitor Light Bars
Use
Use one when the monitor and task zone line up
Choose a monitor light bar when the exact monitor geometry is supported, webcam space is resolved, the beam covers the real keyboard or document zone, and the power route works without adding desktop or desk-edge hardware.
Skip
Skip one when monitor-top geometry creates a new compromise
Use another lighting plane when the monitor shape is incompatible, the webcam and light compete for the same top edge, one off-center bar leaves the work area uneven, or dual-monitor coverage matters more than the zero-surface footprint.
06
Treat Dual Monitors as a Coverage Problem, Not a Symmetry Problem
Two monitors change where the useful center of the desk sits. The seam between the screens may not align with the user, the keyboard, or the paper area, especially when one display is primary and the other is angled or vertical.
Do not center the light merely because the screens look symmetrical. Test where the beam lands on the actual keyboard, notebook, and mouse zone while both displays are in their normal working positions.
A wider desk-clamped task light can be useful when one monitor-mounted bar cannot cover the work area evenly. BenQ’s current ScreenBar Max is one product-specific example built around wider dual-monitor coverage and a desk clamp, but its clamp requirements remain specific to that product.
If the desk edge cannot support a wide clamp without colliding with monitor hardware, use a different plane rather than forcing the light into the geometric center.
07
Keep the Lighting Geometry Stable on a Sit-Stand Desk
A sit-stand desk adds vertical movement to every lighting decision. The beam, cable, clamp, and nearby wall or shelf all need to work at both seated and standing heights.
Desk-mounted and monitor-mounted lights can preserve their relative relationship to the work surface as the desk moves, which is useful when the task zone should stay consistently lit. That benefit disappears if the power cable becomes taut or the lamp arm collides with a shelf or wall at standing height.
Run the desk through its full height range after the light is installed. Watch the cable slack, monitor-light relationship, arm clearance, and whether the illuminated area remains where the hands and documents actually move.
A fixed wall or shelf light can still work, but its beam geometry changes relative to a moving desk. Use that branch only when the seated and standing positions both remain acceptable.
08
Use Surface or Nearby Lighting When the Mounted Planes Are Already Full
No surface space does not always mean the desk must gain another clamp or monitor-mounted device. If the edge and monitor top are already saturated, a small freestanding lamp in a true residual corner, a lamp beside the desk, or a nearby shelf or wall source may create fewer conflicts.
A freestanding lamp is strongest when its base occupies a genuinely low-value surface zone and the arm can reach the task area without crossing the monitor or speakers. Adding a lamp base to the only writing strip defeats the reason for choosing it.
Nearby wall or shelf lighting can recover both desktop and edge capacity, but it increases renter and installation sensitivity and may be less compatible with a moving sit-stand desk. Product and mounting instructions govern the exact method.
A new task light is not mandatory. If existing room lighting can be repositioned to illuminate the work zone without screen reflection, direct glare, or a difficult cable route, the best small-desk solution may be to add nothing.
Closing Decision
Spend the Plane That Preserves Both the Work Surface and the Light
A small desk does not need the lamp with the smallest visible body; it needs the lighting system whose hardware and optical footprints both fit the workstation. Define the task, reject glare, and then choose among a true residual surface zone, a verified desk edge, a compatible monitor top, or nearby wall or shelf space.
Keep the rest of the workstation in the test. Monitor arms, microphones, speakers, webcams, sit-stand movement, and cable routes can turn a theoretically space-saving light into another conflict. The right placement is the one that preserves the actual work zone and still puts useful light where the hands and documents need it.
RELATED GUIDES
What to Read Next
NEXT GUIDE
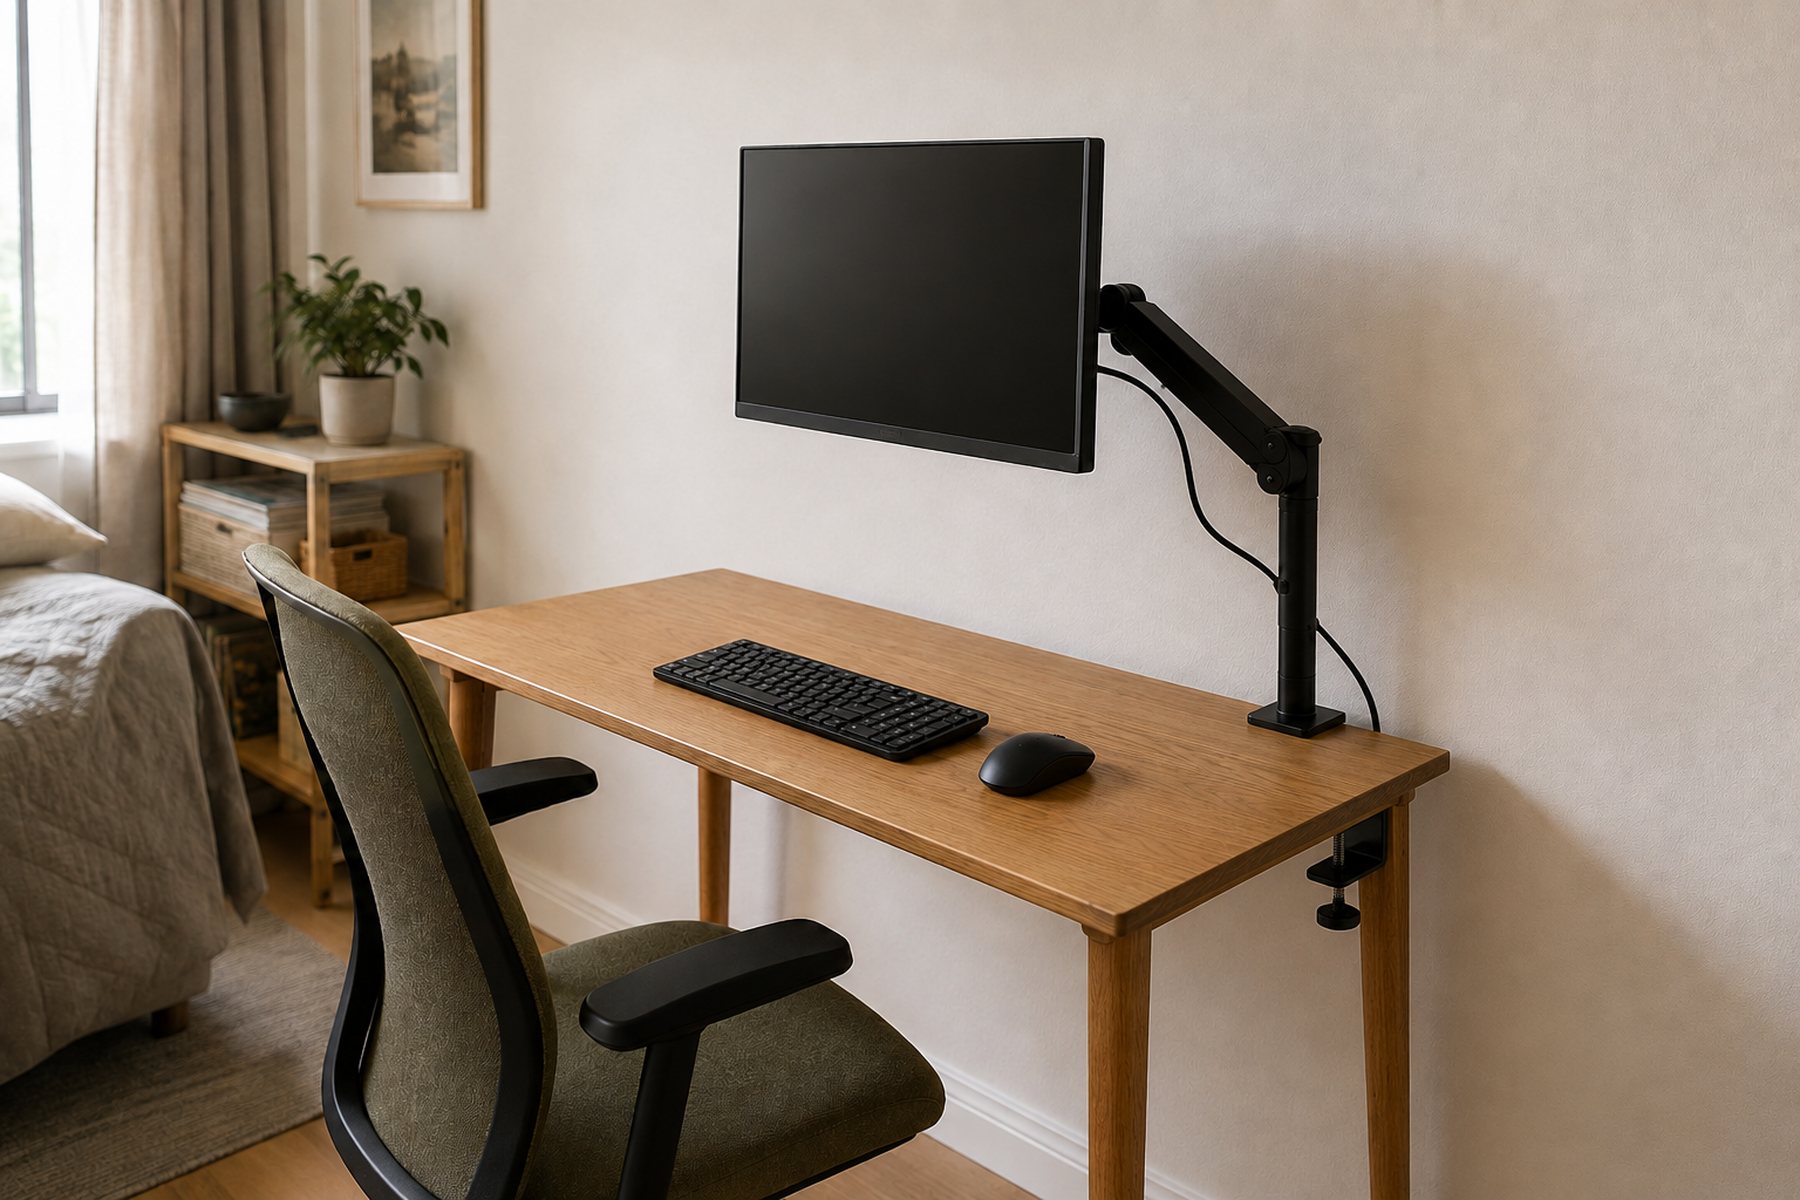
How to Use a Monitor on a Shallow Desk Without Losing Usable Depth
Use this next if the monitor itself is consuming too much depth or forcing the lighting geometry forward; that guide focuses on screen placement, arm fit, and reclaiming usable work area.
GUIDE
How to Mount a Microphone on a Small Desk That Won’t Fit a Boom Arm Clamp
Use this if the light and microphone are competing for the same desk edge; that guide goes deeper on clamp geometry, underside clearance, and alternative mounting planes.
GUIDE
How to Place Speakers on a Small Desk Without Losing Work Surface
Use this if speakers are crowding the same side or rear zones needed by the lamp arm or beam; that guide focuses on equipment placement, listening geometry, and preserving the work surface.