
Small Bathroom Storage
How to Add Storage to a Tiny Rental Bathroom With Almost No Built-In Storage
Start by deciding what truly needs to live in the bathroom. Keep daily point-of-use items close, move backstock and moisture-sensitive items out when appropriate, then spend the room’s limited door, wall, floor, toilet, sink, and shower zones only on storage that preserves normal use and fits the real renter and mounting constraints.
In This Guide
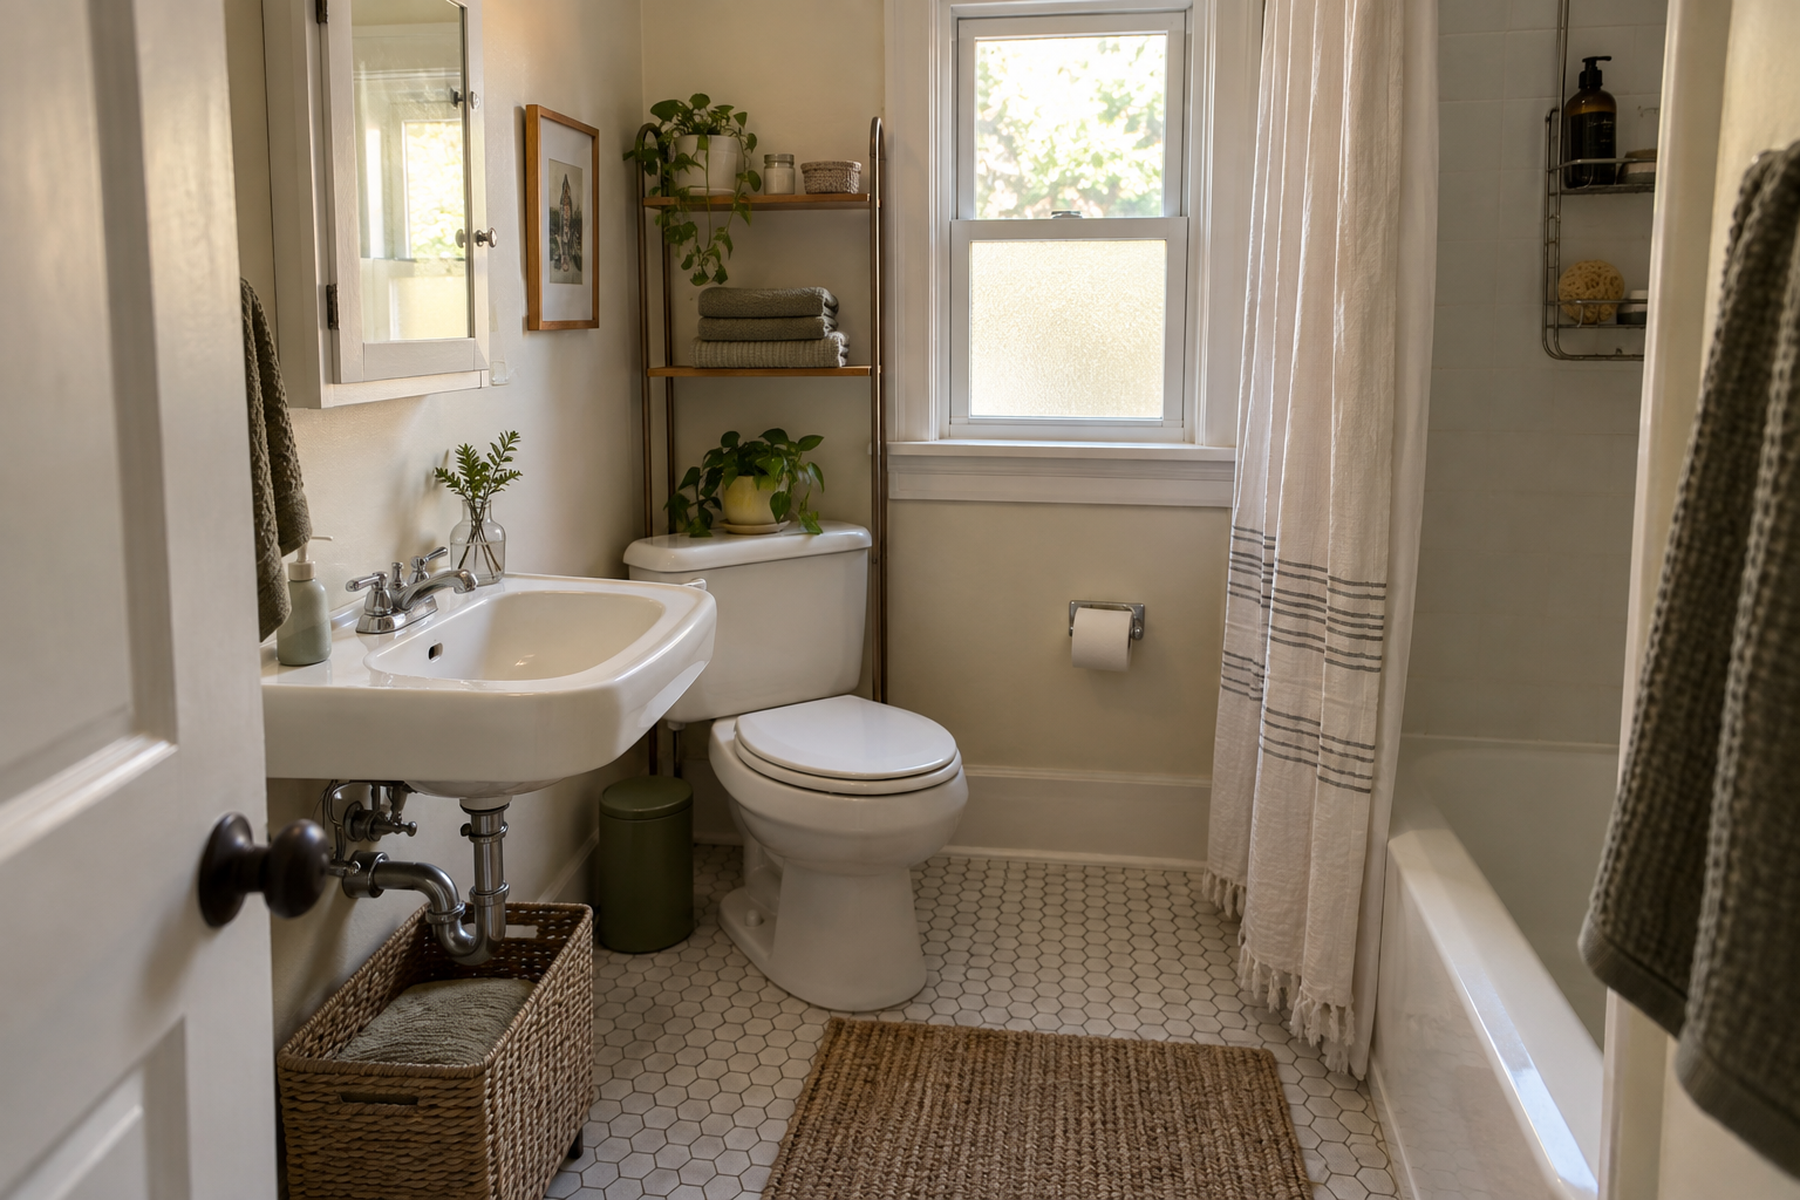
A tiny bathroom with almost no built-in storage does not become functional simply because every blank wall, door, ledge, and floor gap has been filled. The room still has to support washing, showering, toileting, dressing, cleaning, and safe access to plumbing and ventilation.
The stronger approach is storage triage. Decide what earns scarce in-room space, give daily-use items the easiest access, and move low-frequency or moisture-sensitive inventory elsewhere when that produces a calmer and more usable bathroom.
Quick Answer
Store Less in the Bathroom Before You Add More Storage
The smallest successful system is not the one with the most organizers. It is the one that keeps the right daily items close while protecting the room’s fixtures, circulation, moisture control, and renter boundaries.
01
Keep daily point-of-use items in the prime zones
Reserve the medicine cabinet, vanity, sink-adjacent storage, shower caddy, and easiest-to-reach shelves for items used every day. Backups and rarely used products do not need to consume the same premium space.
02
Make every new storage piece earn a specific zone
A cart spends floor area, an over-toilet unit spends visual and vertical space, a door organizer spends door function, and a wall shelf spends installation freedom. Choose the resource the bathroom can actually afford to give up.
03
Move items out when humidity or capacity makes the bathroom the wrong home
FDA guidance warns that damp bathroom storage can be unsuitable for many medicines unless their labels say otherwise. The same decision principle applies more broadly: if an item does not need point-of-use bathroom access, a nearby dry storage zone may be the better fit.
01
Set the Bathroom Inventory Boundary Before You Add Storage
List what is used in the bathroom every day: toothbrushes and oral care, a small daily skincare set, shower products, current toilet paper, one working towel set, grooming tools used there, and any other true point-of-use essentials.
Then separate backstock. Extra shampoo, duplicate skincare, bulk toilet paper, spare towels, refill soap, backup cleaning supplies, and rarely used grooming tools can consume a tiny bathroom long before the daily routine actually requires that much in-room capacity.
Treat moisture-sensitive items separately. FDA says improper storage such as a damp bathroom cabinet can reduce medicine effectiveness before the expiration date and advises following the exact storage instructions for each medicine.
The goal is not to exile everything from the bathroom. It is to keep the bathroom’s inventory boundary small enough that storage can support normal use instead of forcing every available surface into service.
02
Protect the Sink, Toilet, Shower, Door, and Cleaning Paths
Map the fixtures before the storage. Open the bathroom door fully, stand at the sink, sit at the toilet, move through the shower or tub entry, and identify the floor area needed to clean around each fixture.
Do not assign a narrow floor gap to a cart simply because it measures wide enough. The gap may be part of the stance at the sink, the path into the shower, the swing of the door, or the space needed to reach plumbing or clean the floor.
Treat the toilet zone the same way. Over-toilet storage can use otherwise empty vertical space, but it still has to preserve comfortable toilet use, tank access where required, cleaning access, and a scale that does not make the room feel physically crowded.
Moisture control also belongs in the layout. EPA guidance supports using bathroom exhaust fans when available and controlling indoor humidity; do not block ventilation or hide a persistent dampness problem behind new furniture.
Measure / Check First
Before adding a cabinet, shelf, cart, over-door organizer, or adhesive hook, test the complete bathroom in normal use.
Check the Active Fixtures, Moisture, and Installation Limits First
01
The daily operating zones
Measure door swing, sink stance, toilet clearance, shower or tub access, drawer or cabinet openings, and the floor area needed for routine cleaning.
02
The moisture and plumbing zones
Keep ventilation paths open, avoid concealing active dampness, and make sure under-sink storage can be removed or opened easily enough to inspect pipes, reach shutoffs where present, and notice leaks.
03
The real mounting or anchoring requirement
Check the exact wall or tile surface, fasteners, adhesive-product rating, furniture anchoring instructions, and lease permission before calling a solution removable or renter-friendly.
If the storage fits only by blocking a fixture, hiding plumbing, ignoring moisture, or skipping a required mounting step, use a different bathroom zone or move that category out of the room.
03
Use Existing Shallow Storage for Daily-Use Items First
If the bathroom has a medicine cabinet, narrow vanity compartment, mirror shelf, or small built-in ledge, give that space to the highest-frequency small-format items.
Shallow storage is efficient for toothbrushes, a compact daily skincare routine, contact-lens supplies, shaving items, or other products that do not need deep shelves. It is inefficient for bulky backstock and large towels.
Do not assume a medicine cabinet should hold medicine simply because of its name. Follow the storage instructions on the medicine itself; FDA and MedlinePlus both warn that bathroom heat and moisture can be unsuitable for many medications.
Keep the shallow zone easy to reset. A cabinet that is packed three layers deep turns daily access into rummaging and pushes overflow back onto the counter.
04
Use Under-Sink Storage Only Around the Real Plumbing Geometry
Under-sink space can be valuable because it occupies a zone that already belongs to the sink, but pipes and traps determine the usable volume.
Measure around the plumbing rather than buying a cabinet or organizer from the outside dimensions alone. U-shaped shelves, removable bins, or separated side zones can work when they preserve access to the plumbing and do not hide signs of leaks.
Use this space for categories that tolerate the location and do not need constant visibility. Cleaning products, backup paper goods, or selected toiletries may fit depending on household needs and product instructions.
A pedestal sink or very exposed plumbing may offer less usable space than it appears to. If a cabinet has to wrap tightly around the pipes, block maintenance, or project into circulation, the sink zone has reached its capacity.
05
Use a Tall Narrow Cabinet Only When It Can Be Anchored as Required
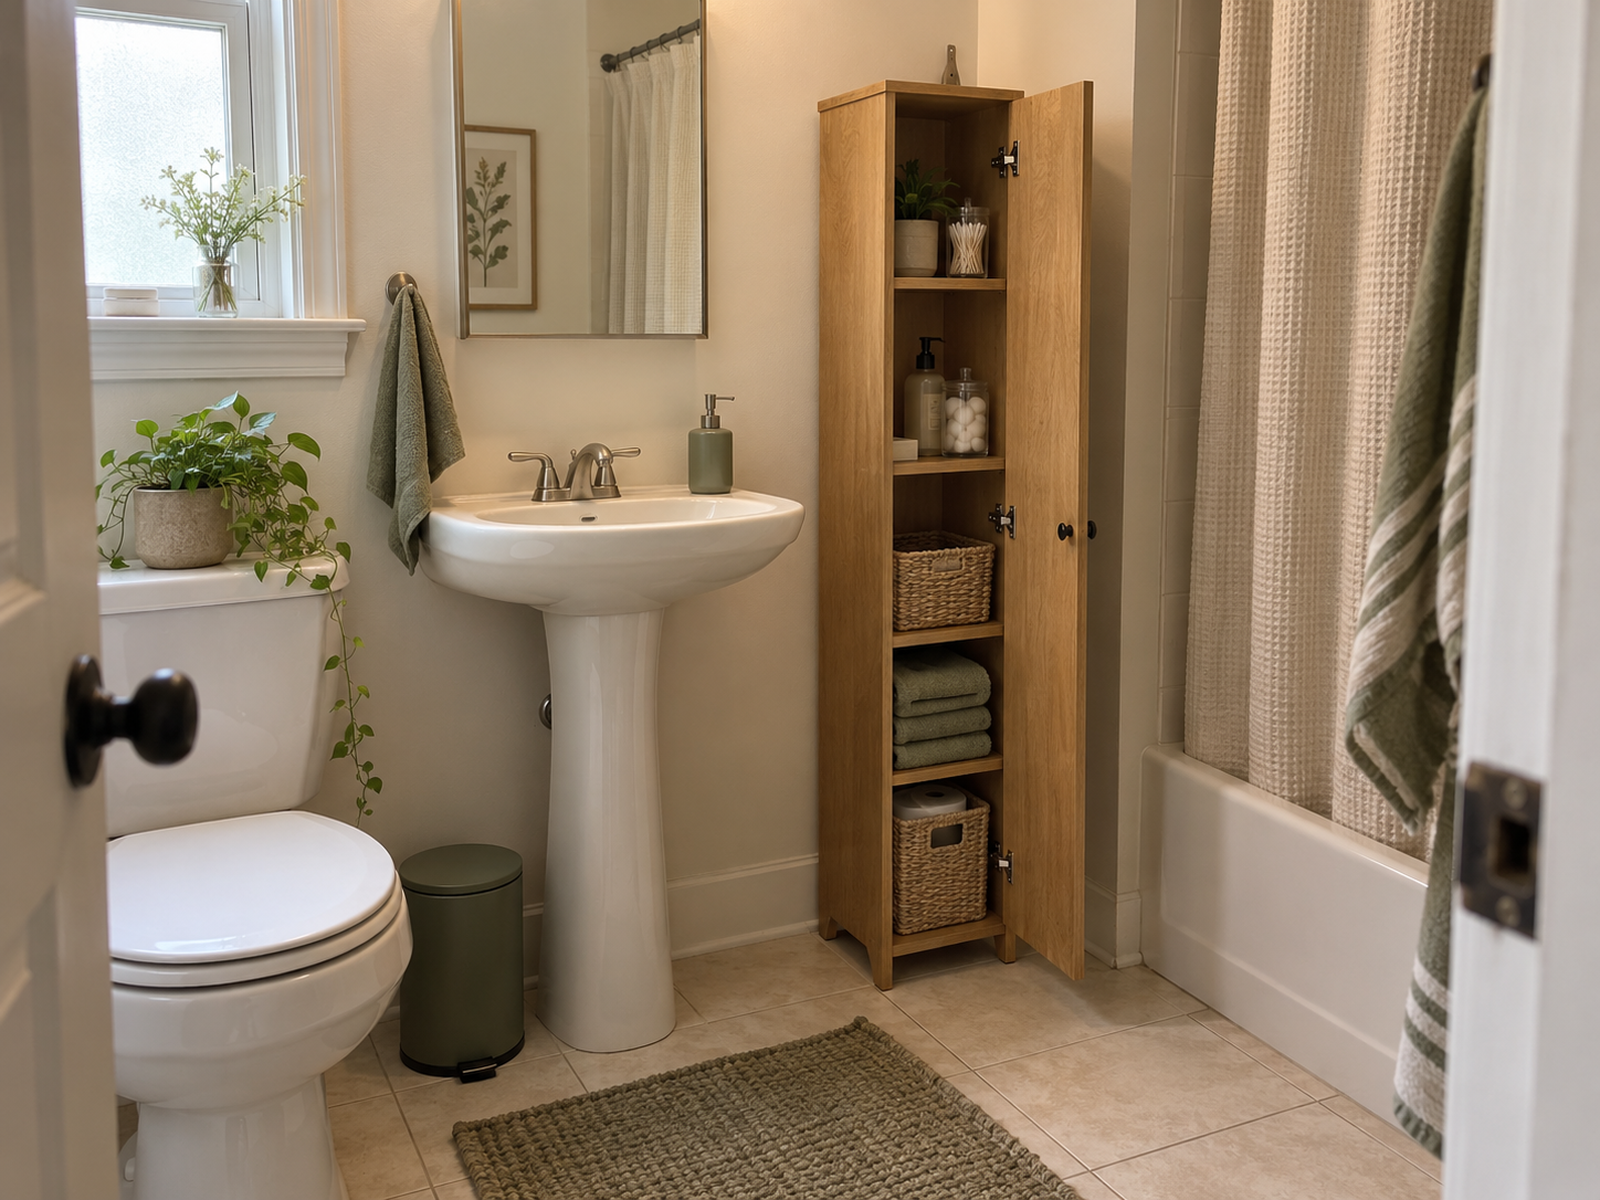
A tall narrow cabinet can concentrate a surprising amount of closed storage into a small floor strip and reduce visual clutter from towels, toilet paper, grooming tools, and backstock.
The cost is height and stability. Current IKEA bathroom high cabinets such as HAVBÄCK and NYSJÖN include wall-securing requirements, showing why a cabinet can stand on the floor and still require anchoring.
That requirement is not optional because the room is a rental. If the lease, wall type, or installation conditions do not allow the product to be secured as instructed, choose a lower unit, several smaller removable zones, or move more backstock outside the bathroom.
Also test door opening and visual mass. A cabinet can fit dimensionally beside the sink or toilet and still make a 5-by-7-foot room feel harder to enter, clean, or use.
Use / Skip
A Tall Narrow Bathroom Cabinet
Use
Use it when one small floor strip can support stable closed storage
A tall cabinet can be a good fit when it occupies truly residual floor area, its door can open without blocking fixtures, the manufacturer-required anchoring can be completed correctly, and the household benefits from putting several visually busy categories behind one closed front.
Skip
Skip it when the cabinet solves capacity by creating a stability or crowding problem
Choose lower removable storage, over-door storage, a bounded over-toilet solution, or outside-the-bathroom backstock when required anchoring cannot be completed, the cabinet dominates the room, blocks cleaning or fixture access, or turns the last open floor strip into permanent furniture.
06
Use Over-the-Toilet and Door-Back Storage Only When They Preserve Access
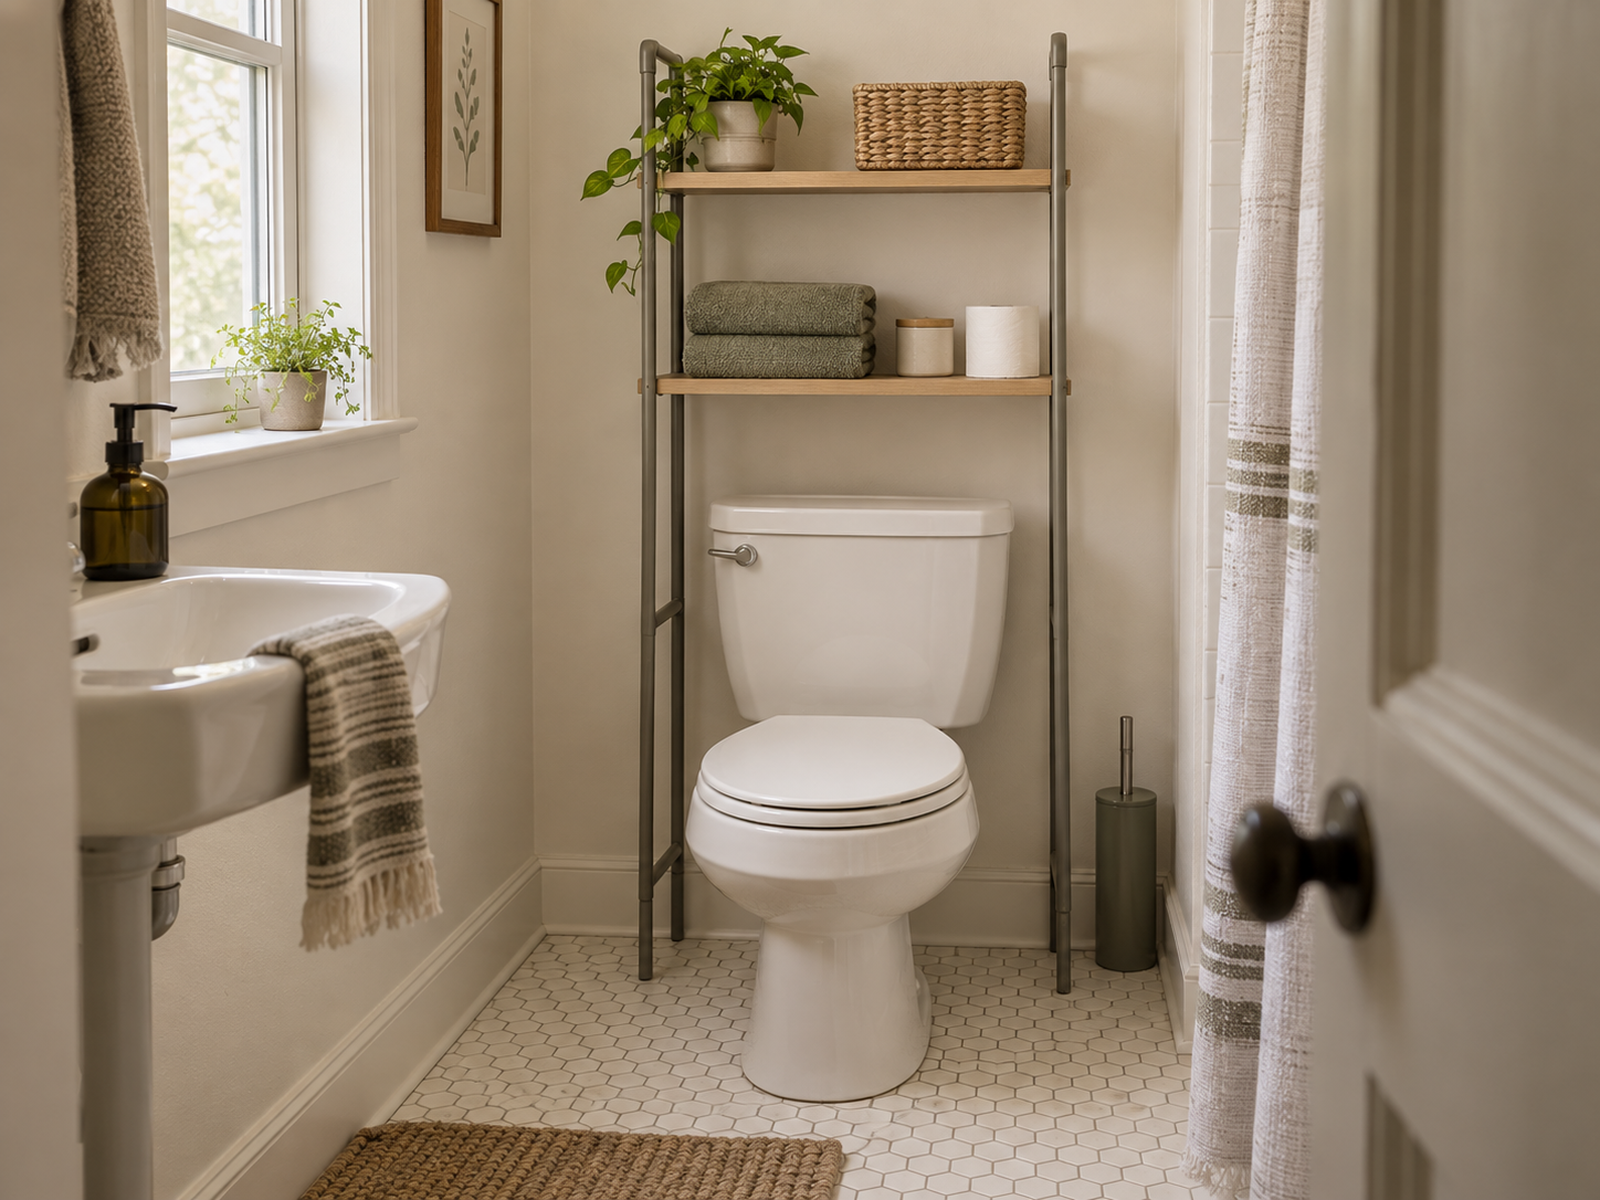
The space above the toilet can hold towels, toilet paper, or light daily categories without taking a separate room footprint, and current products confirm that over-toilet shelving is a real storage architecture.
Measure around the actual toilet and tank. The unit should not make sitting or standing awkward, interfere with tank access where needed, or make cleaning behind the toilet effectively impossible.
The back of the bathroom door can be another low-floor-cost zone for towels, robes, or lightweight caddies, but the door still has to close normally and clear the wall, vanity, toilet, or stored items as it swings.
These zones work best when they carry a defined category. Filling both the toilet wall and the door with maximum storage can make a tiny bathroom feel more obstructed even when no new floor footprint has been added.
07
Keep Shower Storage in the Wet Zone and Keep Backstock Out
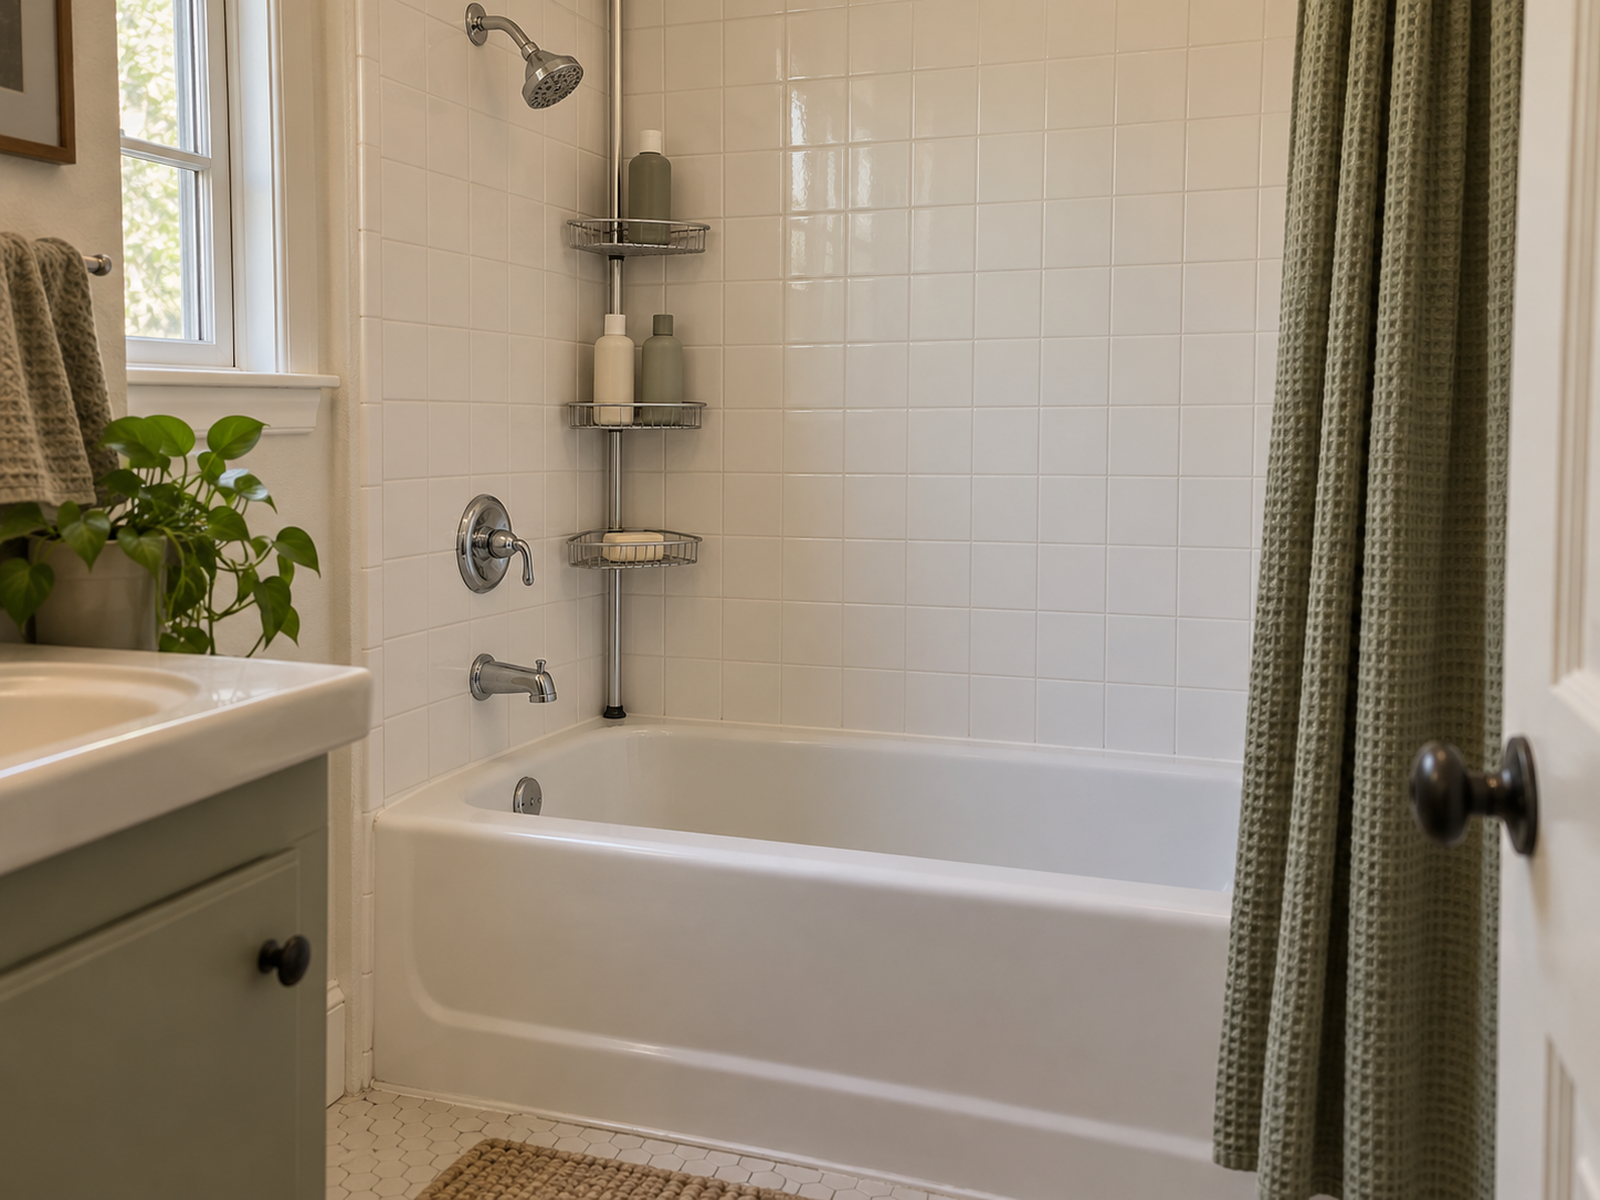
Shampoo, conditioner, body wash, soap, and other products used during the shower belong close to the shower, not on the sink counter simply because the bathroom lacks cabinets.
A shower caddy, corner system, or tension-pole organizer can keep the current-use set inside the wet zone when the exact product fits the shower controls, door or curtain path, and mounting surface.
Keep the working set small. Multiple backup bottles do not become more useful because they are stored next to the active bottle, and an overloaded caddy can make the shower itself harder to use and clean.
Move refill stock and lower-frequency bath products to a nearby dry zone when possible. That preserves the shower for point-of-use storage instead of turning it into the bathroom’s overflow cabinet.
08
Use Bathroom-Rated Adhesive Storage Only for Light, Specific Jobs
Adhesive hooks can be useful in a rental bathroom when the exact product is designed for humid or wet conditions and the actual wall, tile, glass, mirror, or other surface is listed as compatible.
3M’s current Command Bath hook documentation is a good example of the required level of specificity: it uses a water-resistant adhesive and lists both compatible and incompatible surfaces.
Use this mounting method for the light-duty jobs it is designed to handle, such as a towel, small hanging tool, or similarly bounded category within the product rating.
Do not use the word “adhesive” as shorthand for damage-free, universal, or strong enough for shelves and cabinets. Product load, surface condition, preparation, wait time where applicable, bathroom exposure, and removal method all remain part of the installation.
Closing Decision
Let the Bathroom Hold the Routine, Not the Entire Inventory
A tiny rental bathroom works better when it stores the daily routine first and treats everything else as negotiable. Protect the sink, toilet, shower, door, plumbing, ventilation, and cleaning paths before assigning new storage to the room.
Use the least-committed storage method that safely performs the job, follow anchoring and mounting instructions even when they conflict with a no-drill preference, and move backstock or moisture-sensitive items elsewhere when that produces a simpler bathroom.
RELATED GUIDES
What to Read Next
NEXT GUIDE
How to Organize a Small Bathroom With No Medicine Cabinet
Use this next if the bathroom lacks the shallow daily-use storage that should hold the smallest and most frequently handled items.
GUIDE
How to Add Storage Around a Pedestal Sink in a Small Bathroom
Use this if the sink zone has no vanity and the plumbing geometry is the main obstacle to adding concealed or removable storage.
GUIDE
How to Add Shower Storage in a Small Bathroom With No Niche
Use this if shower products are spilling into the sink or floor zones because the wet area has no built-in storage of its own.