
Small Kitchen Organization
How to Organize Water Bottles and Tumblers in a Small Kitchen Cabinet
Set a limit on the collection first, then use bottle geometry, shelf height, visibility, and lid storage to choose the smallest system that still makes every kept vessel easy to grab and return.
In This Guide
- Set the Collection Ceiling Before You Buy an Organizer
- Measure the Awkward Bottle, Not the Average
- Recover Shelf Headspace Before Adding Hardware
- Choose Upright or Horizontal Storage by Geometry
More
- Set the Collection Ceiling Before You Buy an Organizer
- Separate the Daily-Use Bottle From the Stored Collection
- Measure the Awkward Bottle, Not the Average
- Recover Shelf Headspace Before Adding Hardware
- Choose Upright or Horizontal Storage by Geometry
- Give Oversized Handled Tumblers Their Own Micro-Zone
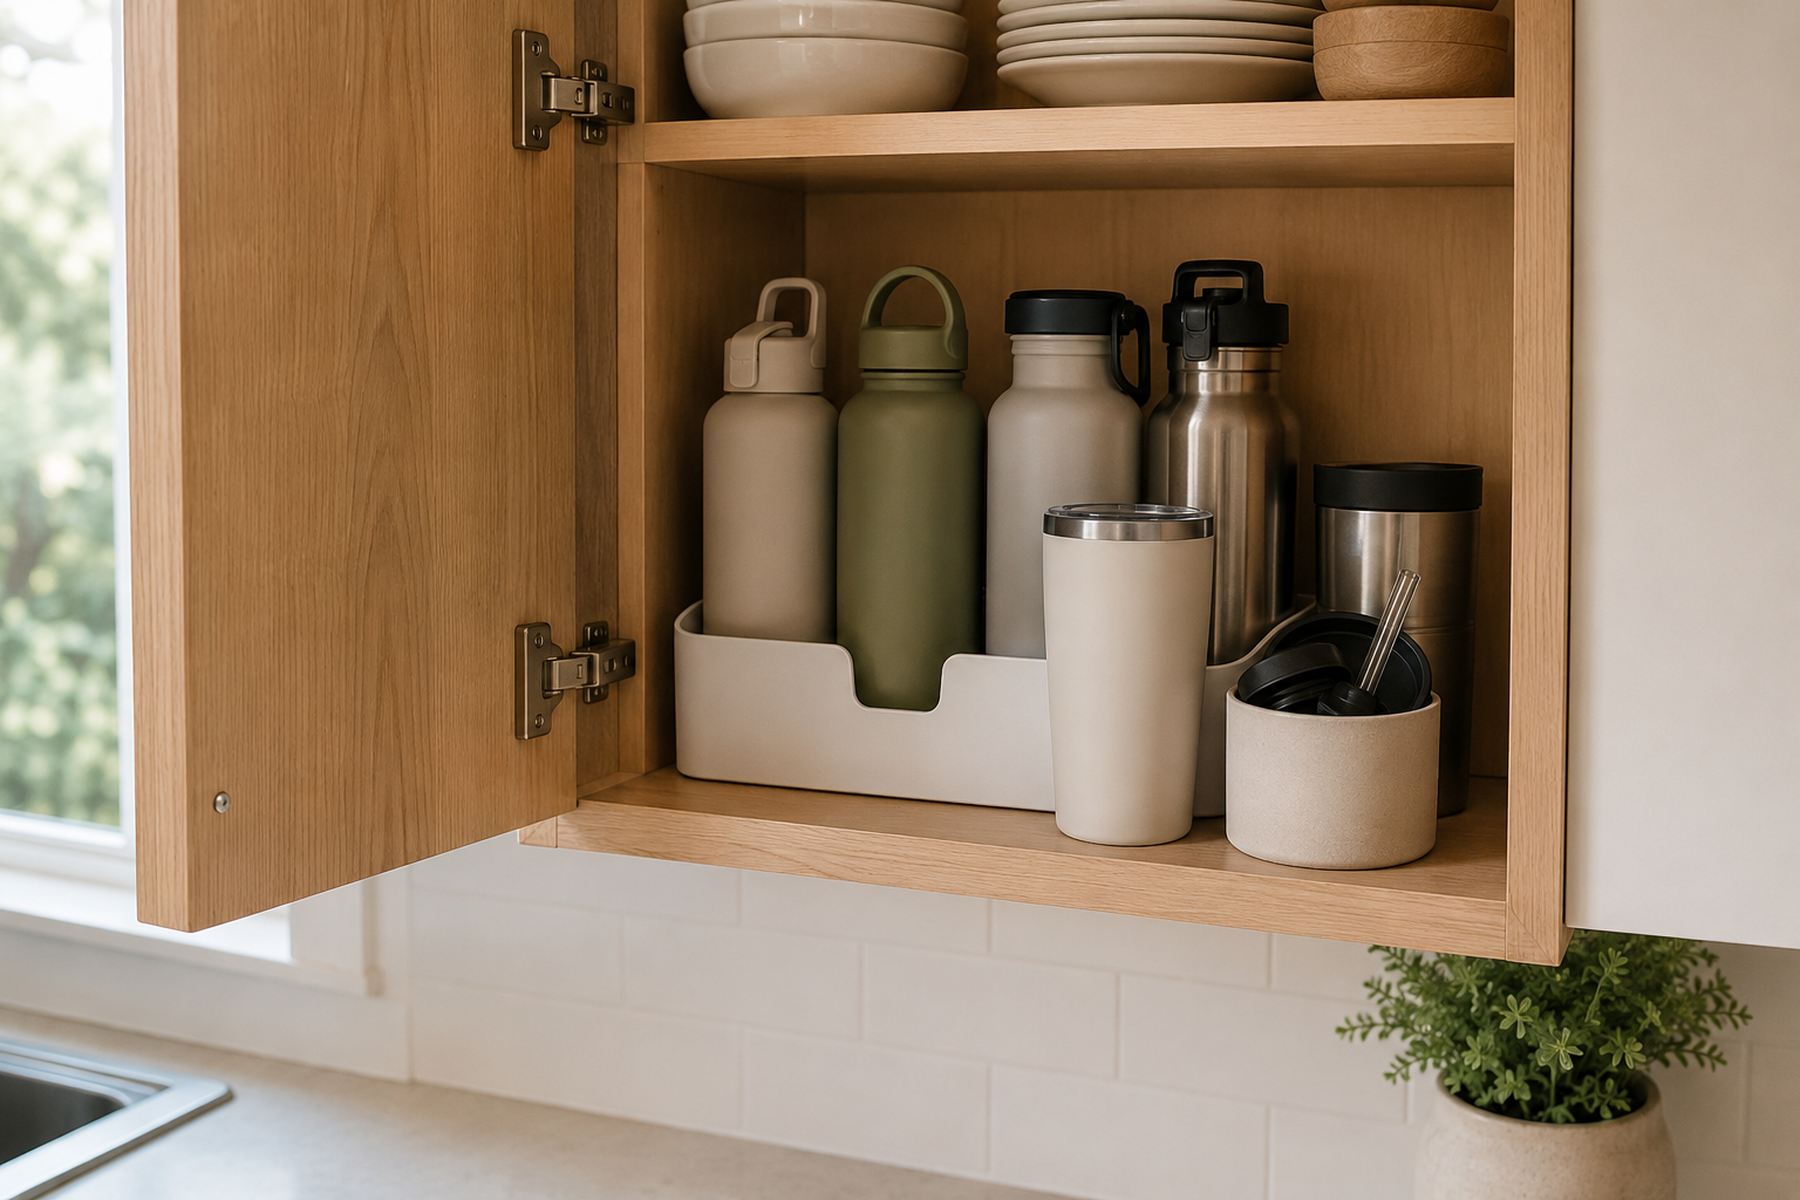
Reusable drinkware becomes a cabinet problem faster than most categories because the pieces rarely share one shape. A narrow sport bottle, a wide handled tumbler, a travel mug, a kids’ bottle, several lids, and a handful of straws can occupy more useful cabinet volume than their number suggests.
The solution is not to maximize how many vessels a rack can hold. First decide how much kitchen capacity the category deserves, then fit the remaining bottles to the cabinet using their real height, diameter, handle projection, access needs, and drying state.
Quick Answer
Make the Cabinet Limit the Collection, Not the Other Way Around
Set a fixed cabinet boundary for reusable drinkware, give the bottle or tumbler used most often the easiest access, and measure the tallest, widest, or most awkward pieces before choosing the storage form. If one oversized vessel breaks an otherwise efficient system, give that outlier its own small zone rather than oversizing storage for the entire collection.
01
Set a physical collection ceiling
Choose the shelf, drawer, bin, or rack footprint that reusable drinkware is allowed to occupy. Edit duplicates, incomplete sets, damaged pieces, and rarely used extras before expanding that boundary.
02
Keep the active bottle easier to reach
The vessel used every day can earn the front position or another bounded visible home. Stored alternatives can accept a slightly less convenient location as long as they remain easy to identify and return.
03
Measure the most awkward kept vessel
Use the tallest bottle, widest lid, largest handle projection, and real cabinet interior—not an average bottle—to decide whether upright, horizontal, bin, or drawer storage will actually fit.
01
Set the Collection Ceiling Before You Buy an Organizer
Start with the category boundary, not the storage product. A larger organizer can make an oversized collection look tidy while quietly giving reusable drinkware permission to consume even more kitchen capacity.
Choose the amount of space the category is allowed to occupy: one cabinet section, one deep drawer, one pull-out bin, or one defined shelf-and-rack combination. That physical boundary becomes the collection ceiling.
Then edit the vessels that do not earn prime kitchen space. Remove damaged bottles, incomplete bottle-and-lid sets, duplicates nobody reaches for, promotional cups, and specialty sizes that are rarely used. Multiple people and routines can justify multiple vessels, so the goal is not a universal bottle count.
Current professional-organizer coverage from Better Homes & Gardens follows the same broad order: gather the category, decide what to keep, and group by bottle type before choosing storage. The Aptly Small version adds a harder small-space rule: once the bounded zone is full, a new bottle needs to replace something or earn a different legitimate home.
02
Separate the Daily-Use Bottle From the Stored Collection
The bottle used every day does not need the same storage treatment as the alternatives used for travel, coffee, the gym, school, or occasional rotation.
Give the active vessel the easiest retrieval path. That may be the front slot in the cabinet, the first position in a drawer, or one deliberately bounded visible spot near the refrigerator. Visibility can be functional when it prevents the everyday bottle from disappearing behind less-used pieces.
Keep the visible zone small. One or two active vessels can support the routine; an open counter collection of every possible bottle simply transfers the cabinet problem to the work surface.
Stored alternatives can sit deeper or higher only when the user can still identify and return them without unloading the entire category. If concealment makes the bottles effectively invisible, the storage is trading visual calm for duplicate buying and underuse.
03
Measure the Awkward Bottle, Not the Average
Reusable drinkware fails standardized storage because the important dimensions are not only height and diameter.
Measure the tallest kept vessel, the widest lid or body, and the farthest handle projection. Include straws when the bottle is normally stored assembled, and measure the organizer itself rather than assuming its labeled capacity guarantees fit.
Then measure the real cabinet interior: usable width, depth, shelf-to-shelf height, hinge intrusion, door clearance, and any fixed face frame that narrows the opening. For drawers, include inside height and the way handles or lids interact with closure.
Use the awkward vessel to test the system, but do not automatically design the entire cabinet around it. If one handled tumbler is the only piece that breaks the otherwise efficient layout, isolate that outlier instead of sacrificing the whole category.
Measure / Check First
After the collection is edited, measure the kept vessels and the real storage zone before choosing a rack, bin, divider, or drawer layout.
Check Fit Before You Commit to the Storage Form
01
Bottle envelope
Measure the tallest kept vessel, widest body or lid, and largest handle projection. Include straws or accessories when they remain attached during normal storage.
02
Cabinet or drawer interior
Measure usable width, depth, and height after accounting for hinges, face frames, shelf thickness, drawer closure, and the real cabinet opening—not only the outer cabinet dimensions.
03
Return path
Test whether one bottle can be removed and returned without unloading neighboring vessels. Fit that technically holds the collection but requires daily shuffling is not a functional small-kitchen solution.
If the proposed organizer only works after ignoring the largest handle, the real cabinet opening, or the normal return motion, reject that form and test another orientation or a separate outlier zone.
04
Recover Shelf Headspace Before Adding Hardware
Tall bottles can make a cabinet look full even when a large band of air sits above them.
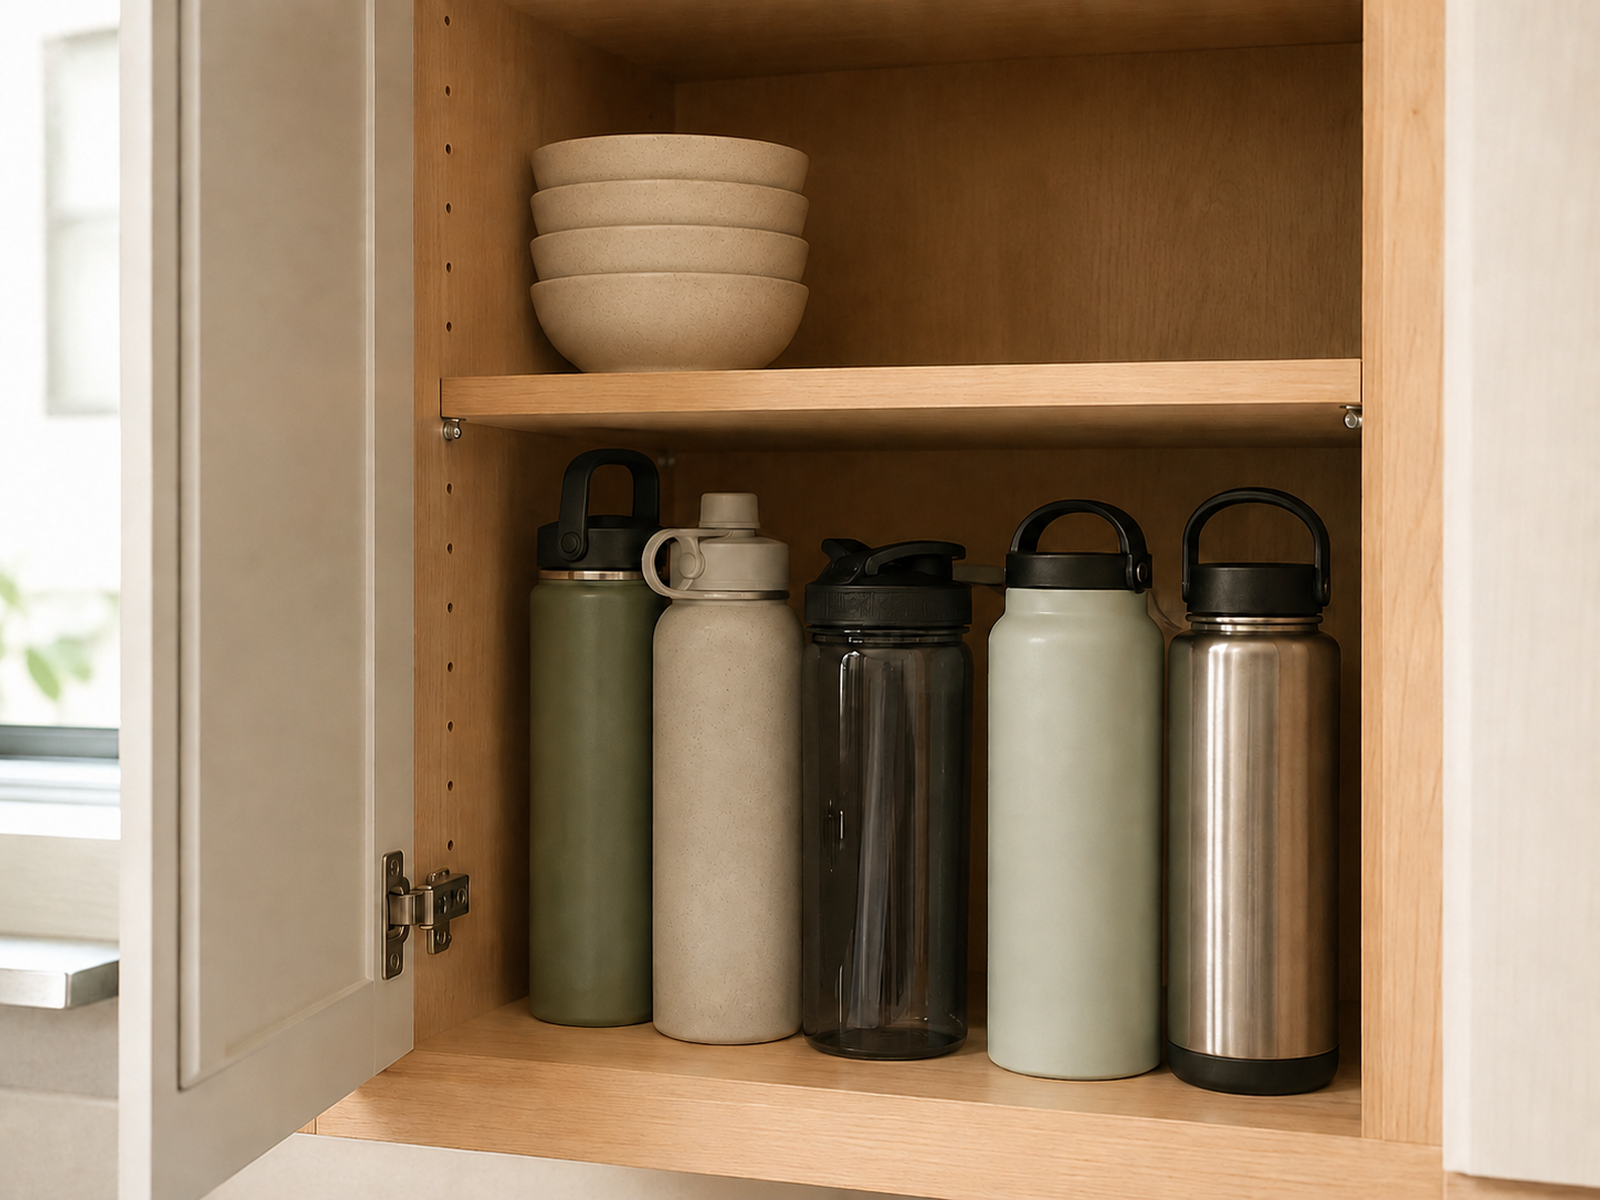
If the existing shelf is genuinely adjustable, move it closer to the height of the kept vessels before buying another organizer. A small reduction in unused headspace can create a useful shelf above or make a two-tier solution possible.
Do not assume adjustability. Some cabinet shelves are fixed, and some adjustable systems still have pin spacing that creates a poor compromise. Test the shelf with the tallest everyday bottle and make sure the shelf above can still support a useful category.
Shelf optimization is especially strong when the edited collection already stands reliably upright. In that case, changing the cabinet geometry may recover more capacity than adding a rack inside the same inefficient vertical spacing.
05
Choose Upright or Horizontal Storage by Geometry
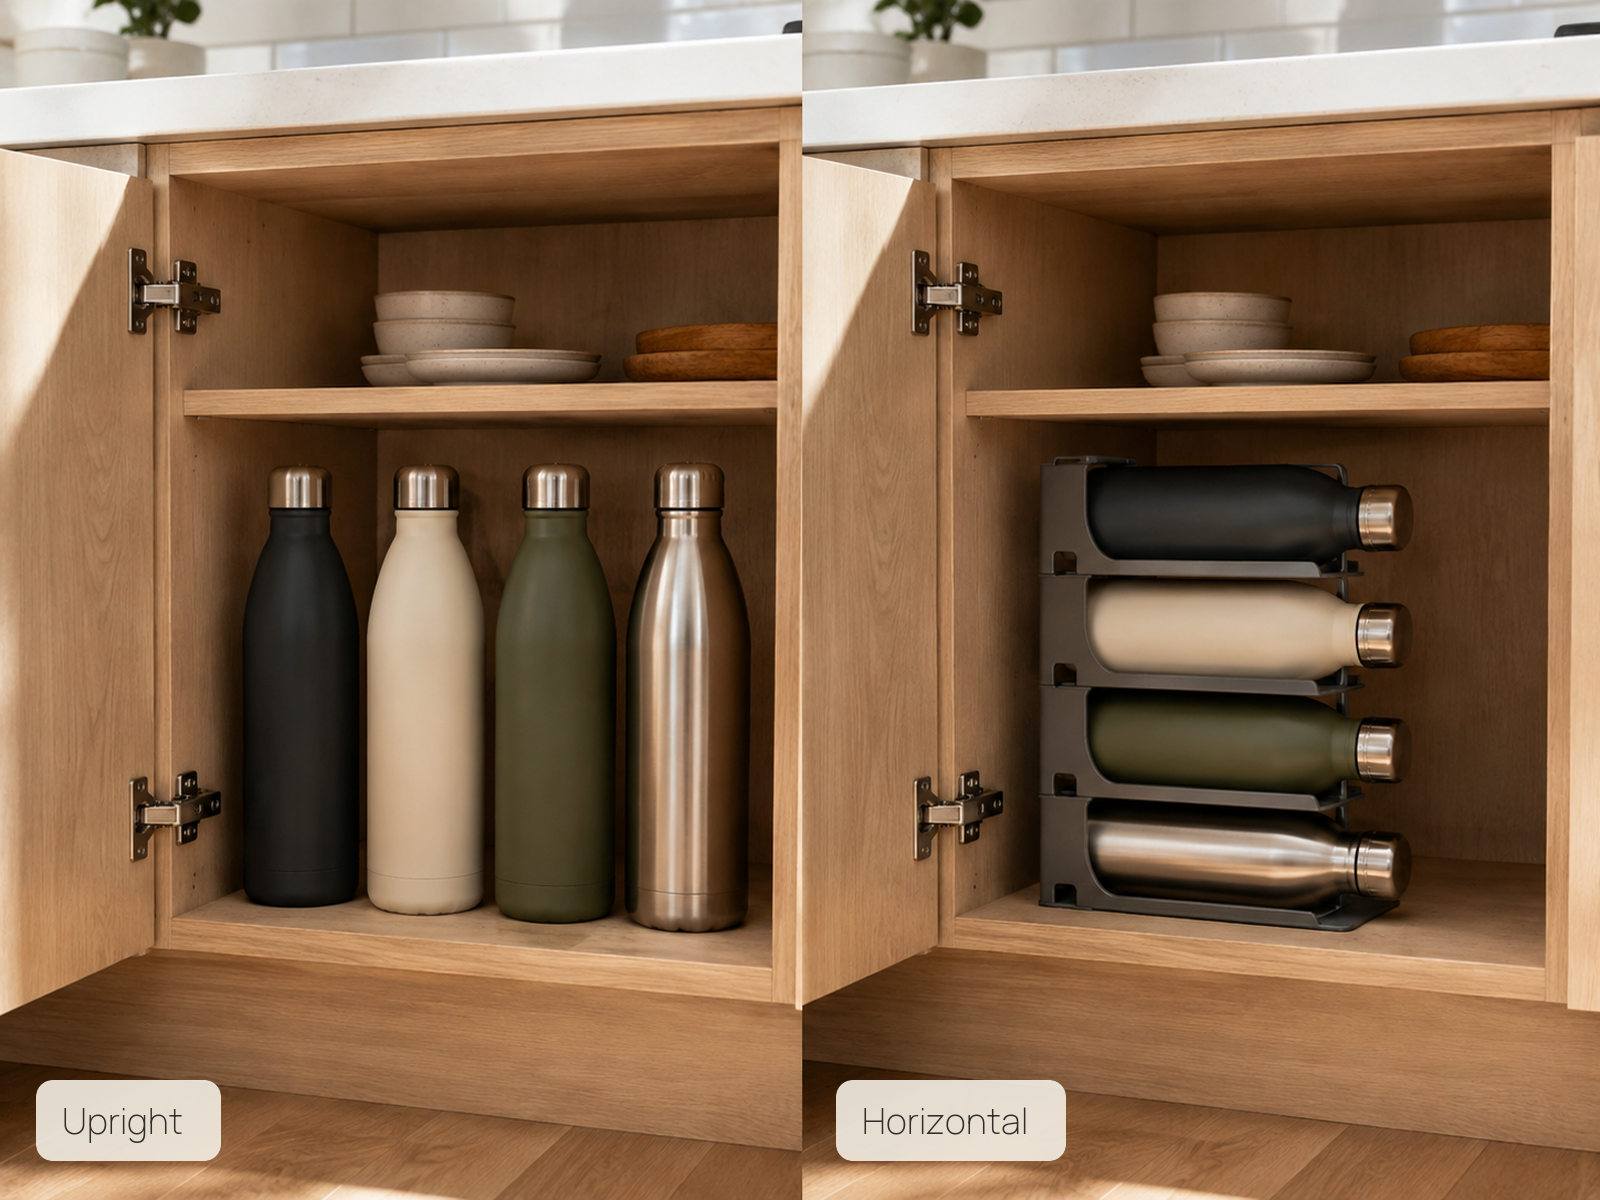
Neither orientation is automatically more space-efficient. Each spends a different part of the cabinet.
Upright storage is the simplest choice when the edited collection is small, the shelf height fits, the bottles stand reliably, and front-to-back rows do not hide shorter pieces. It avoids specialty hardware and keeps vessel shapes visible.
Horizontal storage becomes stronger when height is the main constraint or when individual bottles need dedicated retrieval without a back row. Use a real cradle, groove, or slot system so bottles cannot roll. Fixed slots are geometry-dependent: a current YouCopia UpSpace 9 Bottle organizer, for example, specifies bottles up to 4 inches in diameter and carries its own product dimensions and load rating. Treat numbers like these as exact-product limits, not universal bottle-rack capacity.
Compare the actual resource each option consumes. Upright storage spends shelf height and may create front/back access friction. Horizontal racks spend cabinet width, depth, and rack height but can turn vertical space into individually accessible slots. Choose the orientation that solves the measured problem instead of following a one-size-fits-all rule.
06
Give Oversized Handled Tumblers Their Own Micro-Zone
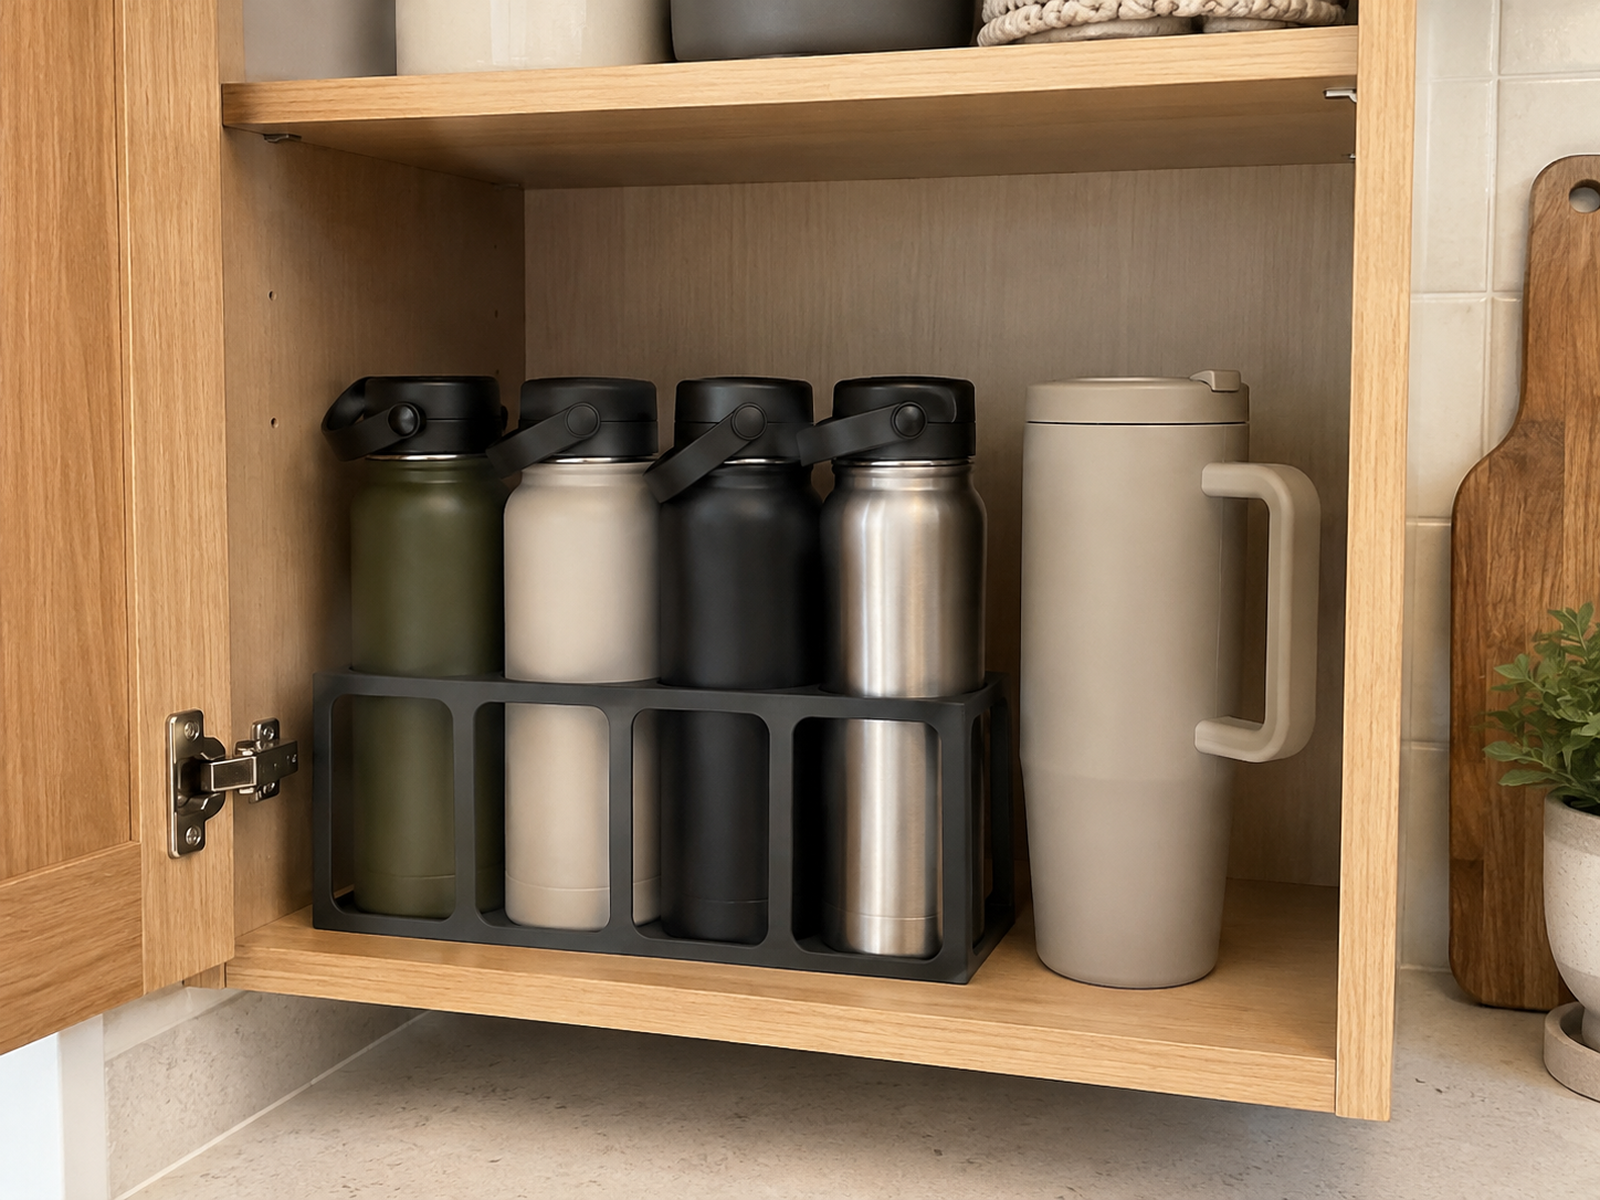
A large handled tumbler can be the geometric outlier that makes every standard bottle organizer look inefficient.
Handles project into neighboring slots, wide lids reduce the number of usable cradles, and extra height can force a shelf position that wastes space above shorter bottles. Do not interpret the organizer’s advertised bottle count as a guarantee for mixed oversized tumblers.
When most standard bottles fit one compact system and only one or two handled pieces do not, store those outliers upright beside the rack, in a taller side bay, or in another bounded zone that is already part of the drinkware allocation.
This keeps the largest vessel from defining the storage geometry for every other piece. The outlier still counts against the collection ceiling; it simply uses a different micro-zone within that limit.
07
Keep Lids and Straws Nearby Without Creating a Matching Puzzle
Bottle bodies are only half the category. Detached lids, straw assemblies, caps, and small accessories can turn a tidy cabinet into a daily matching exercise.
If lids store well on the bottles and the vessels are fully dry, keeping the set together can simplify retrieval. If the cabinet geometry or care routine makes separate storage more practical, give lids and straws one shallow nearby bin or divided holder rather than several loose piles.
Keep the accessory zone small enough that the pieces remain identifiable. A large opaque bin full of unrelated lids removes counter clutter but replaces it with search time.
Do not buy a lid organizer before confirming that separation is actually useful for the household. A current dedicated product category exists—such as YouCopia’s bottle-lid holder—but that proves the form factor exists, not that every bottle system needs separate lid storage.
08
Use a Bin or Deep Drawer When Fixed Slots Do Not Fit
Mixed family collections sometimes refuse to become a clean rack problem.
A pull-out bin can tolerate irregular shapes better than fixed bottle slots because the whole category comes forward at once. It works best when the bin is not overfilled and bottles can still be identified without emptying it.
A deep drawer can provide excellent top-down visibility when its inside height, load capacity, dividers, and closure geometry suit the actual vessels. This is a cabinet-specific option rather than a universal answer; not every small kitchen has a drawer that can take tall drinkware.
Use broad containment only after the collection edit. A bin that simply hides fifteen mixed bottles has not solved the category ceiling; it has made the excess easier to pull out.
09
Keep Drying Separate From Permanent Storage
A just-washed bottle is in a temporary state. The permanent cabinet system should not require wet drinkware to be sealed or packed tightly merely so the shelf looks finished.
Follow the exact care instructions for the vessel. Several current Hydro Flask tumbler pages, including its 24 oz Travel Tumbler and 40 oz All Around Travel Tumbler, instruct users to air dry with the lid off. That is manufacturer-specific guidance, not a rule for every brand.
Let bottles and components finish drying in an appropriate temporary drying zone, then reassemble or store them according to the product’s instructions and the household’s chosen system.
This boundary keeps the cabinet from becoming a damp drying rack and prevents the storage layout from being designed around a state that lasts only until the bottle is dry.
10
Use the Boundary as the Reset and Stop Rule
A drinkware system stays useful only if it can return to order after an ordinary day.
The reset should be simple: dry vessel, return vessel to its slot or zone, return lid or straw to its nearby home when stored separately. If putting one bottle away requires rearranging several others, the cabinet is overfilled or the chosen geometry is wrong.
Tie new purchases to the physical boundary. When the assigned rack, shelf, drawer, or bin is full, use a one-in / one-out decision or move a genuinely occasional vessel out of prime kitchen storage before adding another bottle.
If the edited collection still consumes too much prime capacity after shelf optimization and the best-fit orientation, the kitchen has given the category enough space. Some vessels need to leave the kitchen or the home rather than forcing another organizer onto the counter or floor.
Closing Decision
Give Drinkware Only the Kitchen Capacity It Earns
A small kitchen does not need the organizer with the highest bottle count. It needs a bounded drinkware zone that matches the collection people actually use: one easy active position, compact storage for the alternatives, and a simple way to handle lids, outliers, and drying without spreading onto the counter.
Edit first, measure the awkward pieces, recover shelf headspace where possible, and then choose upright, horizontal, bin, or drawer storage by real geometry. When the assigned boundary is full, let the category stop growing instead of asking the kitchen to surrender another cabinet, shelf, or floor zone.
RELATED GUIDES
What to Read Next
NEXT GUIDE
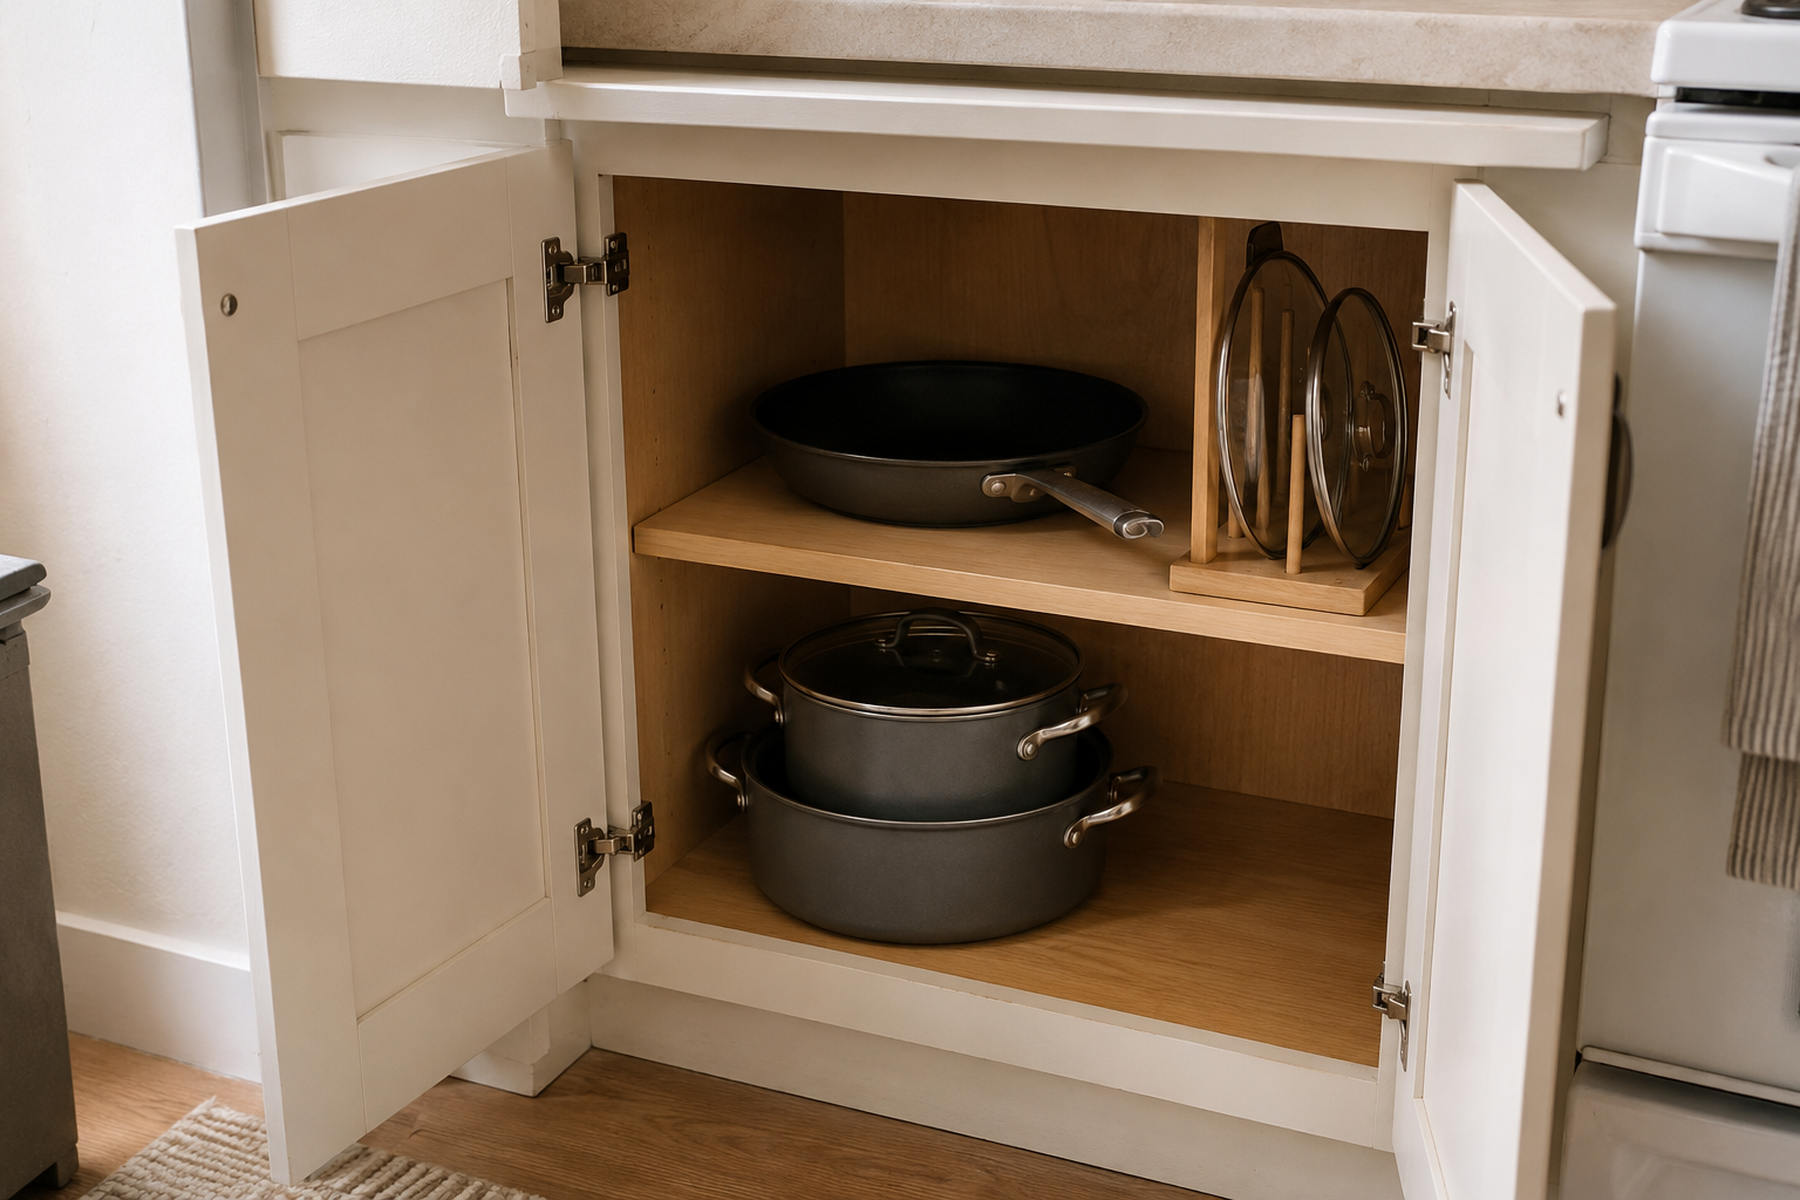
How to Organize Pots and Pans in a Small Kitchen With Limited Cabinet Space
If drinkware is no longer consuming an outsized share of cabinet capacity, use this guide to apply the same fit-and-access discipline to the kitchen’s larger awkward cookware.
GUIDE
How to Organize High Kitchen Cabinets When Upper Shelves Are Hard to Reach
Use this if the edited drinkware collection now fits higher in the kitchen but upper-shelf reach and retrieval still make the storage frustrating.
GUIDE
How to Organize a Small Kitchen With No Drawers—Without Losing Counter Space
If a deep-drawer option would solve your bottle geometry but the kitchen has no usable drawers, this guide helps recover cabinet-based storage without pushing the category onto the counter.