
Small Desk Organization
Where to Put a Webcam on a Small Desk With Dual Monitors
Center the camera on the meeting gaze, not the furniture: choose the screen you actually watch, then spend the least valuable monitor, desk-edge, surface, wall, or floor plane that keeps the lens stable, accessible, and close to that line of sight.
In This Guide
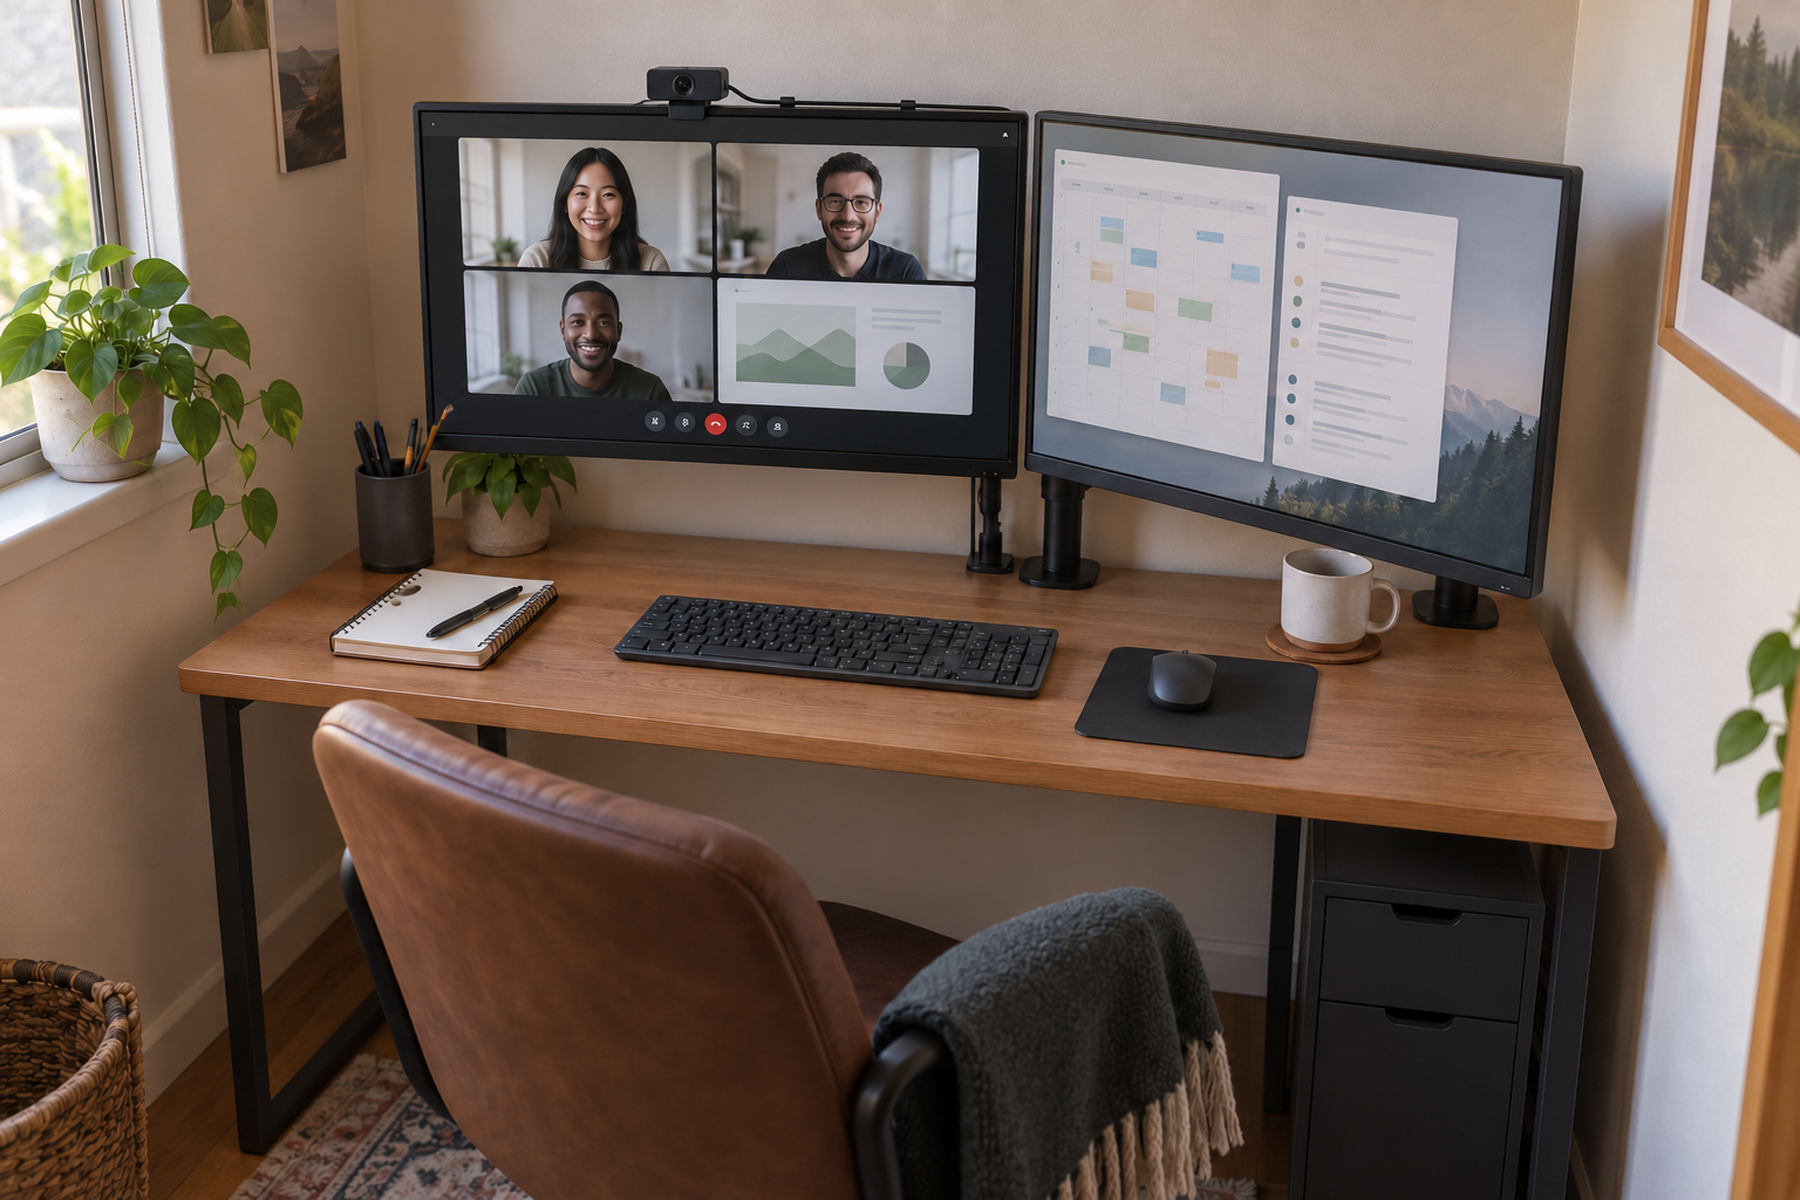
A webcam can be physically attached and still be badly placed. On a dual-monitor desk, the center of the furniture, the seam between the displays, and the screen used for the meeting can all be different points, while the camera may also be competing with a light bar, monitor arm, microphone, speakers, and cable routes.
Treat camera placement as a line-of-sight problem before treating it as a mounting problem. Choose the meeting screen, keep the lens close to the user’s natural call gaze, then test the support plane for stability, screen blockage, hardware conflicts, cable travel, and privacy access.
Quick Answer
Place the Lens Around the Meeting Gaze, Not the Desk Center
A webcam has three footprints: the support hardware, the camera axis, and the stability path through the desk or monitor. A placement only works when all three fit the full workstation.
01
Choose the screen you actually watch during calls
Start with the meeting window, not the seam between the monitors. The best camera position usually keeps the lens near the screen where faces or shared content stay during the call.
02
Keep the lens near a natural eye line without blocking useful screen area
Current Logitech guidance supports near-eye-level placement as a starting principle, but exact height is setup-specific. Judge the real meeting layout and framing rather than a universal furniture-center rule.
03
Test stability before you optimize the mount
Use a live camera preview while typing, touching the desk, and moving a sit-stand desk. A mount that looks secure while idle can still transmit visible shake during normal work.
01
Choose the Meeting Screen Before the Camera Center
Dual monitors create several possible centers: the desk center, the seam between the screens, the center of the primary monitor, and the center of the meeting window. They do not need to match.
Start by deciding where the video-call participants or shared content normally live. If the meeting window stays on the primary display, a camera near that display can produce a more natural gaze relationship than a camera placed at the geometric center of the workstation.
If the meeting window moves between monitors during calls, the problem is not solved by forcing the webcam permanently into the seam. A between-monitor mount can reduce lateral offset, but it can also create a screen gap, extra support hardware, and a new stability problem.
The practical goal is to minimize the mismatch between the lens and the screen the user actually watches without sacrificing the layout that makes the desk useful the rest of the day.
02
Keep the Lens Near the Natural Meeting Gaze
Current Logitech consumer guidance recommends placing a webcam near eye level and roughly arm’s length away for a head-and-shoulders call frame. Treat that as a useful starting principle rather than an exact ergonomics rule.
The right height depends on the person, chair, desk, monitor height, and whether the workstation is seated, standing, or both. A camera that is technically centered but far above the meeting screen can still create a visibly different gaze angle.
Test the real call application. Keep the participant tiles or shared content where they normally sit, look at them naturally, and compare that gaze direction with the lens position.
Do not sacrifice meaningful screen area just to move the lens closer. A small tripod or camera arm can improve eye line and still fail if it covers controls, meeting participants, or the area needed for shared content.
Measure / Check First
Before buying a camera arm or opening a permanent gap between the monitors, test the real meeting layout, the mounting plane, and the image stability together.
Check Meeting Gaze, Support Fit, and Live Stability First
01
Meeting-screen and lens relationship
Open the real call application, place participants or shared content where they normally sit, and check whether the lens is close enough to that gaze line without blocking useful screen area.
02
Support and workstation compatibility
Verify the webcam’s exact monitor clip, tripod thread, clamp, pole, or accessory interface. Include monitor shape, light-bar conflict, desk-edge underside geometry, nearby arms, and the cable route.
03
Live stability and full desk movement
Turn on the camera preview and type, touch the desk, move the mouse, adjust monitors, and run a sit-stand desk through its normal height range. Confirm that shake, cable tension, and framing remain acceptable.
If the camera looks aligned only when the meeting window is elsewhere, blocks useful screen content, forces the monitors into a worse layout, or shakes during normal work, change the mounting plane before fine-tuning the framing.
03
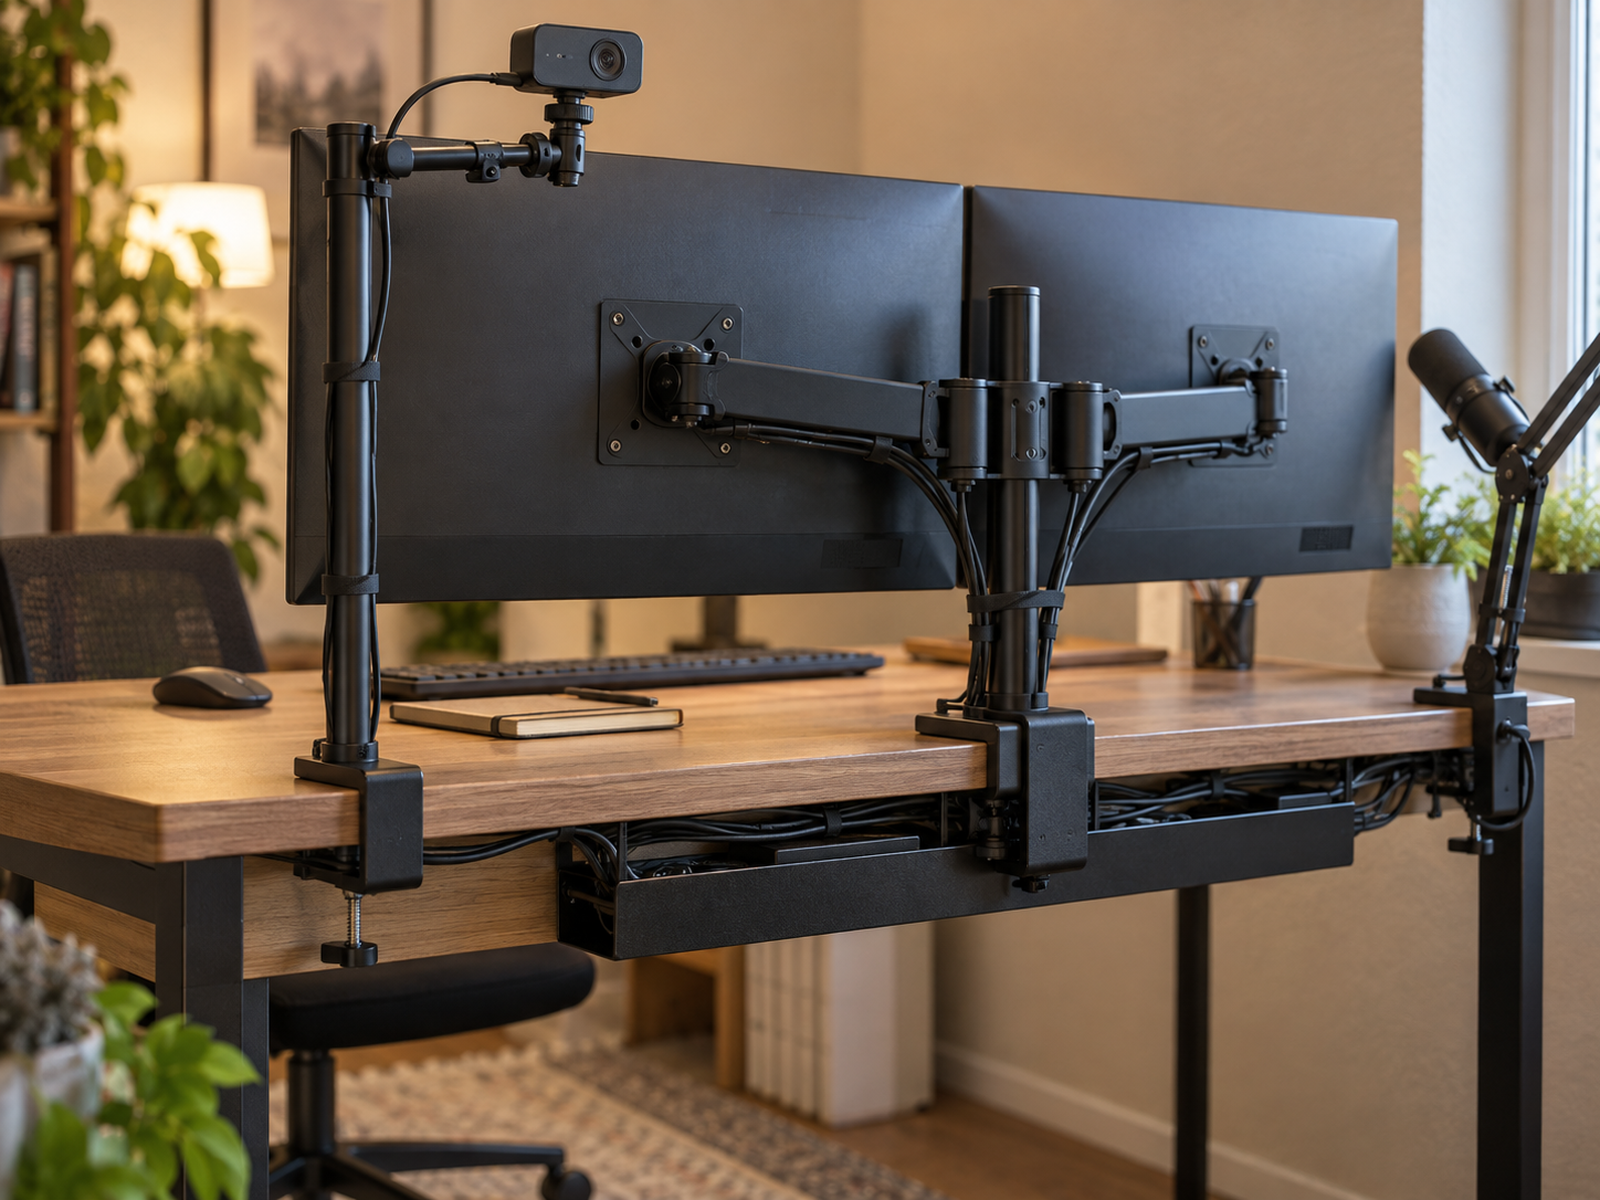
Treat the Webcam as Three Footprints
A webcam uses more than the few centimeters occupied by the camera body. Its physical support footprint includes the monitor clip, tripod legs, clamp, pole or arm, and cable.
Its camera-axis footprint is where the lens sits relative to the user and the active meeting screen. A support can consume almost no desk surface and still create a poor call angle because the lens is too far to one side or too high above the content being watched.
Its stability footprint is the path through which typing, desk touch, monitor adjustment, or standing-desk movement reaches the camera. This is especially important because small movement is immediately visible in a video frame.
Evaluate all three footprints together. A compact support is not a true fit when it preserves surface area but creates off-axis gaze, blocks the screen, or shakes every time the desk is used.
04
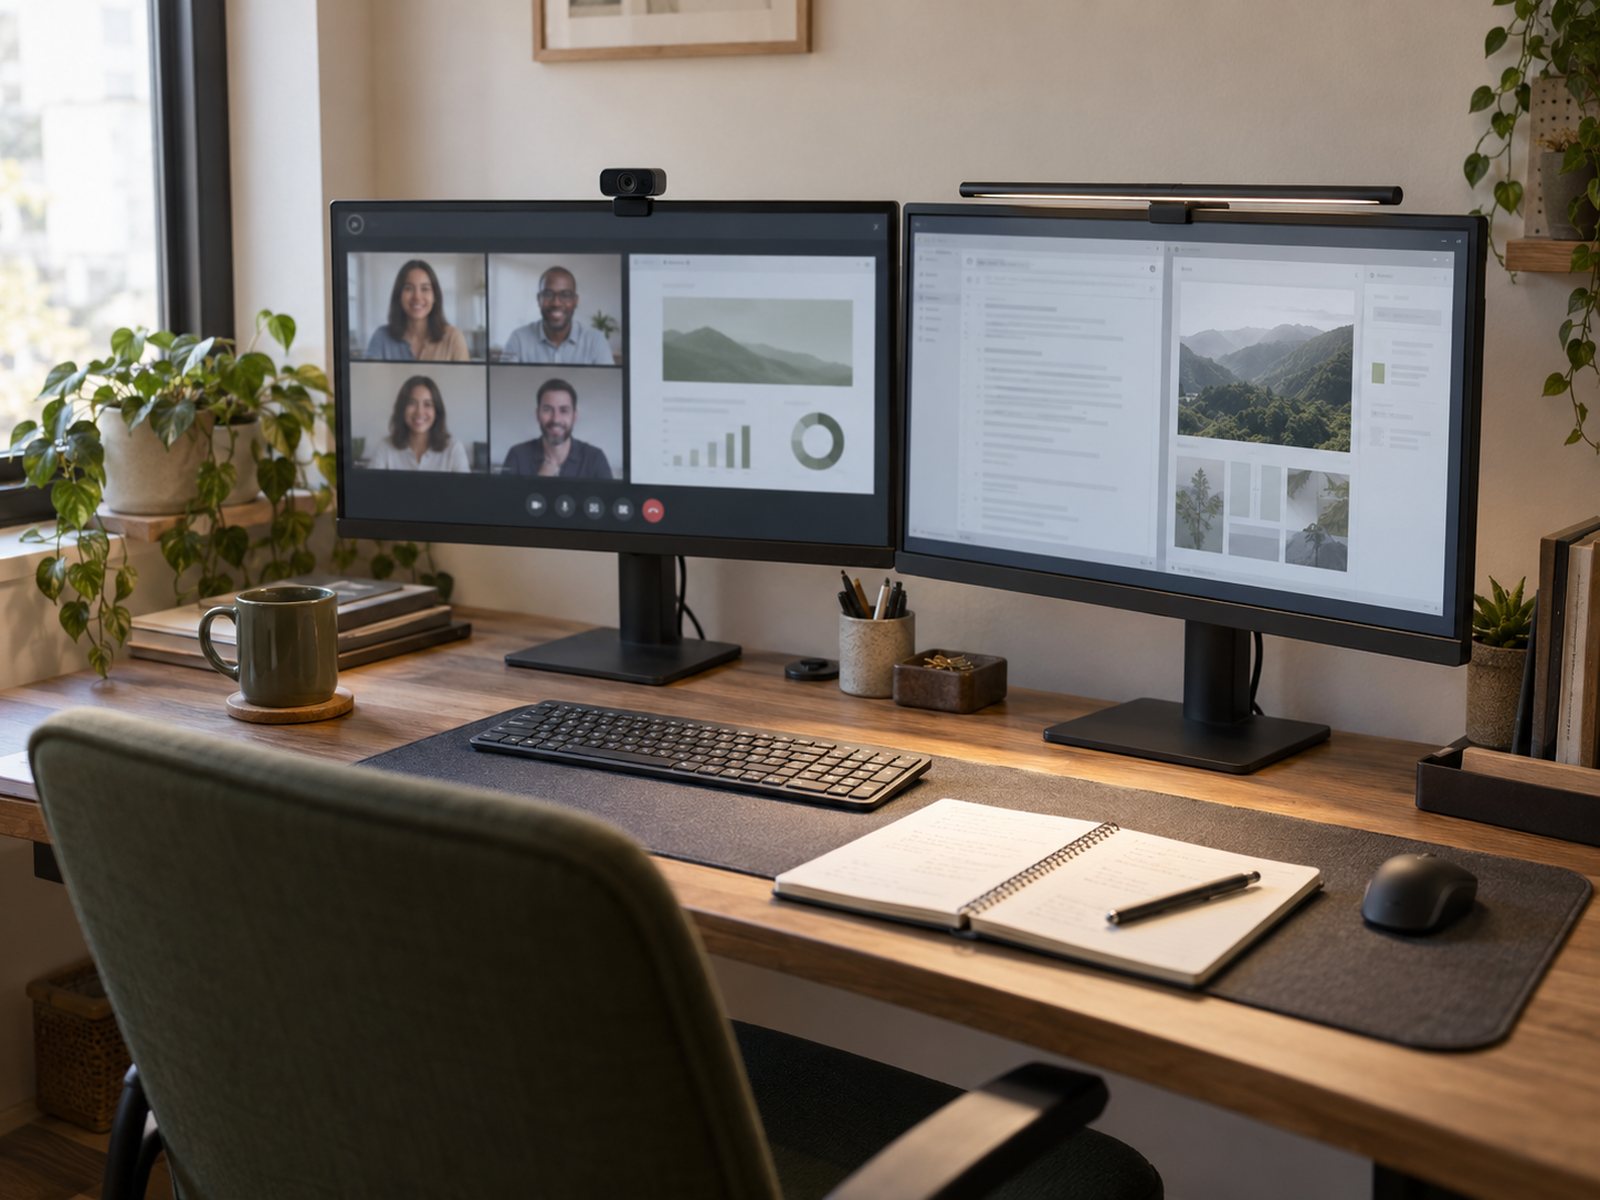
Use the Primary Monitor Top When It Is the Lowest-Cost Plane
The top of the primary monitor is often the simplest removable mounting plane because it uses no desk surface and keeps the camera close to the screen the user is already watching.
Monitor mounting is product-specific. Current Logitech BRIO-family documentation confirms adjustable monitor clips designed for display mounting, but that does not prove compatibility with every bezel, rear shape, monitor thickness, or built-in camera housing.
Treat the monitor top as shared infrastructure. A webcam may be competing with a monitor light bar, hood, speaker, privacy cover, or another device for the same central position.
Keep the privacy state usable too. If the webcam has a physical shutter or other manual control, the chosen monitor-top position should leave that control easy to reach without disturbing the calibrated camera angle.
05
Put the Camera Between Monitors Only When the Gap Earns It
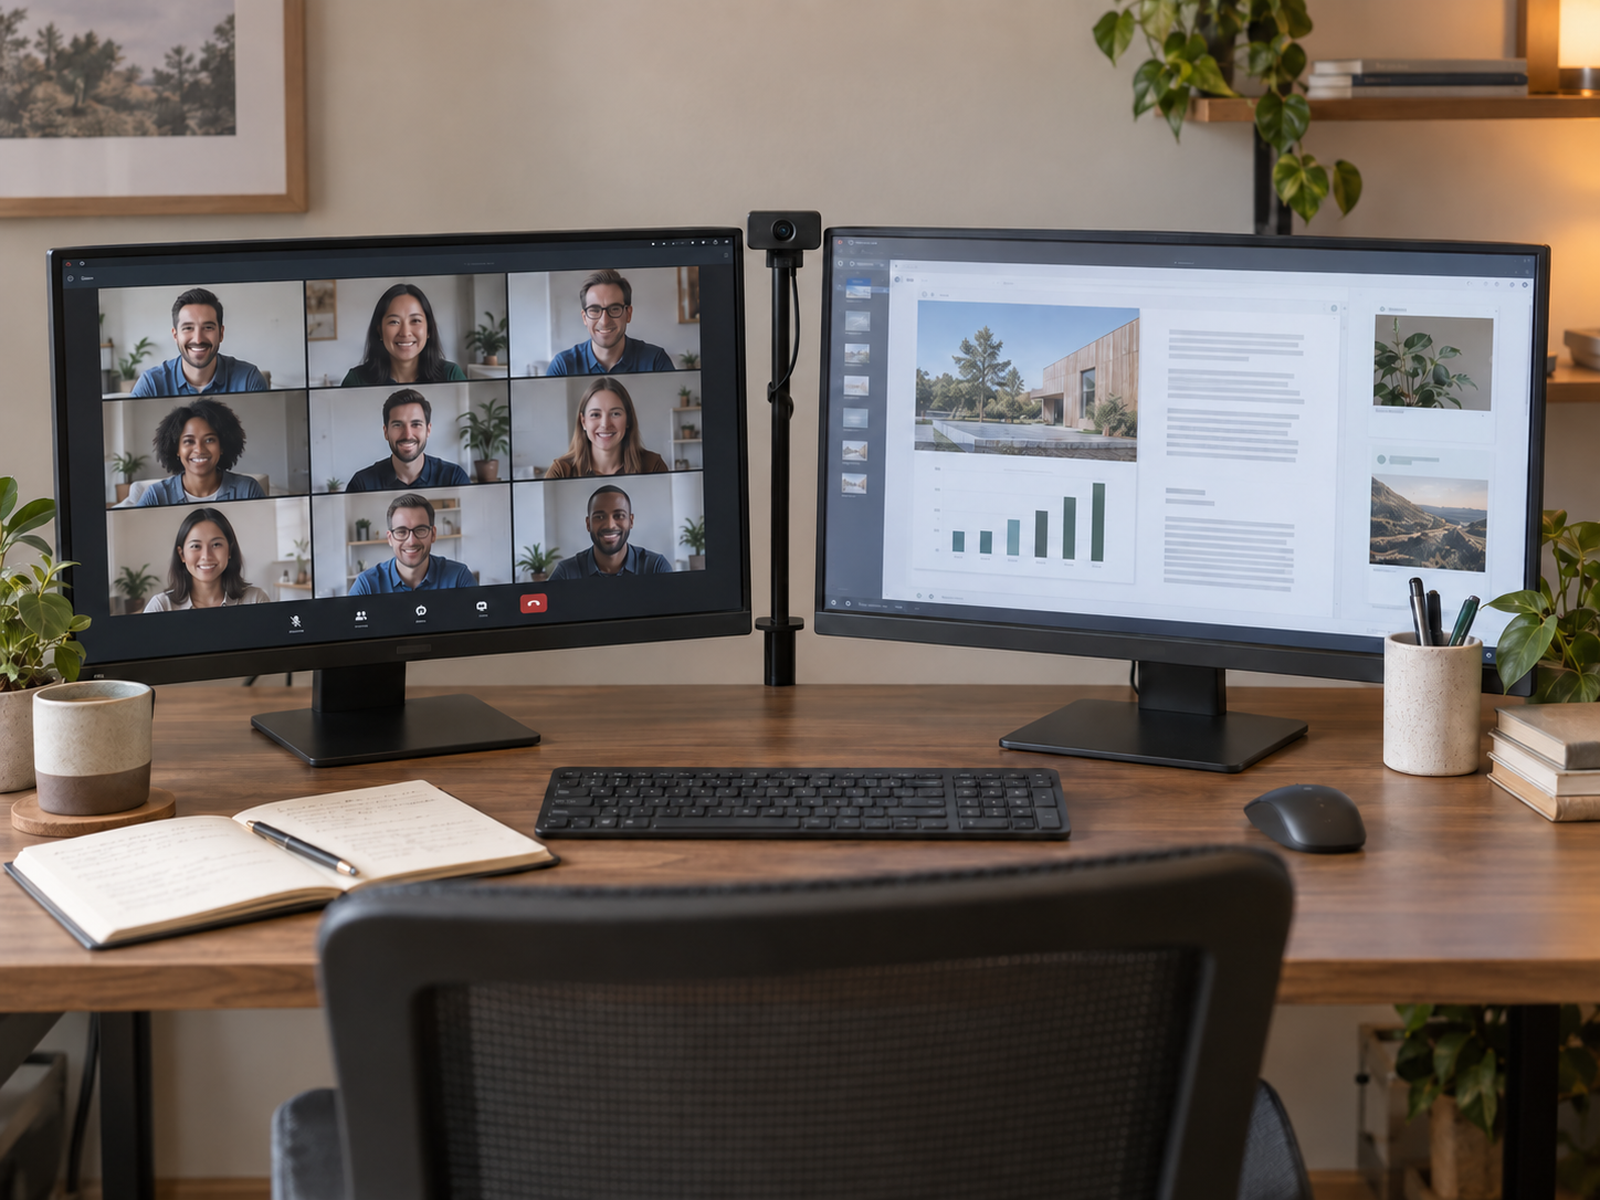
A camera between two monitors can reduce lateral offset when both screens matter during calls, but the seam is not free space. The support has to occupy a gap that could otherwise let the displays sit closer together.
The lens also needs a stable support. That may mean a small tripod, desk-clamp pole, camera arm, monitor-arm accessory, or another rated mount, each with its own footprint and movement path.
Test the displays in their real positions before creating the gap. If one monitor has to move farther from the user or lose its preferred angle simply to make room for the camera, the alignment benefit may not justify the layout cost.
Use the seam when it meaningfully improves the meeting gaze and the monitors, support, cable, and camera can all stay stable. Do not treat between-monitor placement as the default answer for every dual-screen desk.
Use / Skip
Between-Monitor Placement
Use
Use it when the meeting gaze benefits more than the monitor layout loses
Choose the seam when both displays matter during calls, the lens lands close to the real meeting gaze, the monitors can keep acceptable spacing and angles, and a stable rated support fits without consuming the main work surface.
Skip
Skip it when the gap becomes the new workstation problem
Keep the camera on a primary monitor or another support when creating the seam forces an unwanted monitor gap, adds a shaky long-reach arm, blocks screen movement, or moves higher-priority hardware out of its preferred position.
06
Use a Desk Clamp or Camera Pole Only After Testing Stability
A desk-clamp pole or articulated camera arm can move the webcam off the main work surface and reach positions that a monitor clip cannot, but the rear or side desk edge is already valuable workstation infrastructure.
Check more than desktop thickness. Aprons, rails, bevels, cable trays, standing-desk controls, monitor-arm clamps, microphone clamps, and task-light hardware can all invalidate an otherwise suitable mounting point.
Load capacity does not describe image stability by itself. Elgato’s current Master Mount L documentation publishes product-specific clamp, load, and height limits, while its quick-start guide explicitly notes that wobble at full extension is normal.
Use the live camera preview as the final stability test. Type, use the mouse, touch the desk, adjust the monitor, and make normal small movements. If the image visibly shakes, shorten the extension, move the support closer to its base, or choose a more independent mounting plane.
07
Decide Whether the Camera Should Move With a Standing Desk
A standing desk creates a real trade between alignment and isolation. A camera attached to the monitor, desk tripod, or desk-clamp support rises with the workstation, so the lens stays in roughly the same relationship to the screens.
The cost is vibration transfer. Typing, leaning on the desk, or changing desk height can move the same structure that supports the camera.
A wall mount, shelf mount, or floor stand can isolate the webcam from desk shake, but a fixed camera does not automatically track seated and standing eye height. The framing and meeting axis can be correct at one desk height and noticeably wrong at another.
Choose which problem matters more in the real routine. If the desk changes height several times a day, preserving relative geometry may be worth some desk-attached movement. If the image shake is the dominant failure, an independent support may be the better trade.
08
Use Tripods, Floor Stands, Wall Mounts, and FOV as Fallbacks
A small desk tripod is the simplest independent support when the webcam has a compatible mounting interface and the desk can spare the footprint. Some current Logitech webcams provide a standard quarter-inch tripod option, but that capability is model-specific.
A floor stand can keep the camera off the desk and reduce vibration transfer while avoiding wall installation. The trade is floor space, chair clearance, and the need to adjust the camera if a standing desk changes the user’s height relative to the fixed stand.
Wall and shelf mounts remove both desk-surface and desk-edge cost, but they belong to a higher renter-intervention class and need exact lease, substrate, mounting-hardware, load, cable, and sit-stand alignment checks.
Use field of view, digital crop, or zoom only after the physical camera position works. Current Brio 505 specifications verify adjustable FOV and digital zoom as product-specific framing tools, but software framing cannot fix a poor lens height, lateral gaze, or unstable mount.
Closing Decision
Choose the Camera Axis First and Let the Mount Follow
The best webcam position is not automatically the monitor seam or the geometric center of the desk. It is the lens position that stays close to the screen the user actually watches during calls while preserving the work surface, monitor layout, privacy controls, and the rest of the workstation.
Once that axis is clear, choose the least costly support plane that can hold it steadily: monitor top, between-screen support, desk tripod, desk clamp, floor stand, wall, or shelf. Then test the live preview under real typing and sit-stand movement before using crop or field of view to refine a placement that already works physically.
RELATED GUIDES
What to Read Next
NEXT GUIDE
How to Add Task Lighting to a Small Desk Without Losing Work Surface
Use this next if the webcam and task light are competing for the same monitor top or rear desk edge; that guide handles glare, light coverage, and which lighting plane the workstation can spare.
GUIDE
How to Mount a Microphone on a Small Desk That Won’t Fit a Boom Arm Clamp
Use this if the camera support is competing with microphone hardware for the same desk edge; that guide goes deeper on clamp geometry, load, reach, and alternate mounting planes.
GUIDE
How to Use a Monitor on a Shallow Desk Without Losing Usable Depth
Use this if the dual monitors themselves are consuming too much depth or creating awkward camera distance; that guide focuses on monitor position, rear-edge hardware, and usable work area.