
Small Apartment Storage Ideas
Where to Put a Wi-Fi Router in a Small Apartment With a Fixed Internet Jack
Separate what the building fixes from what the Wi-Fi system can actually move, then give the radio an open, stable, low-clutter support plane and organize the cables around that position instead of burying the equipment in a cabinet.
In This Guide
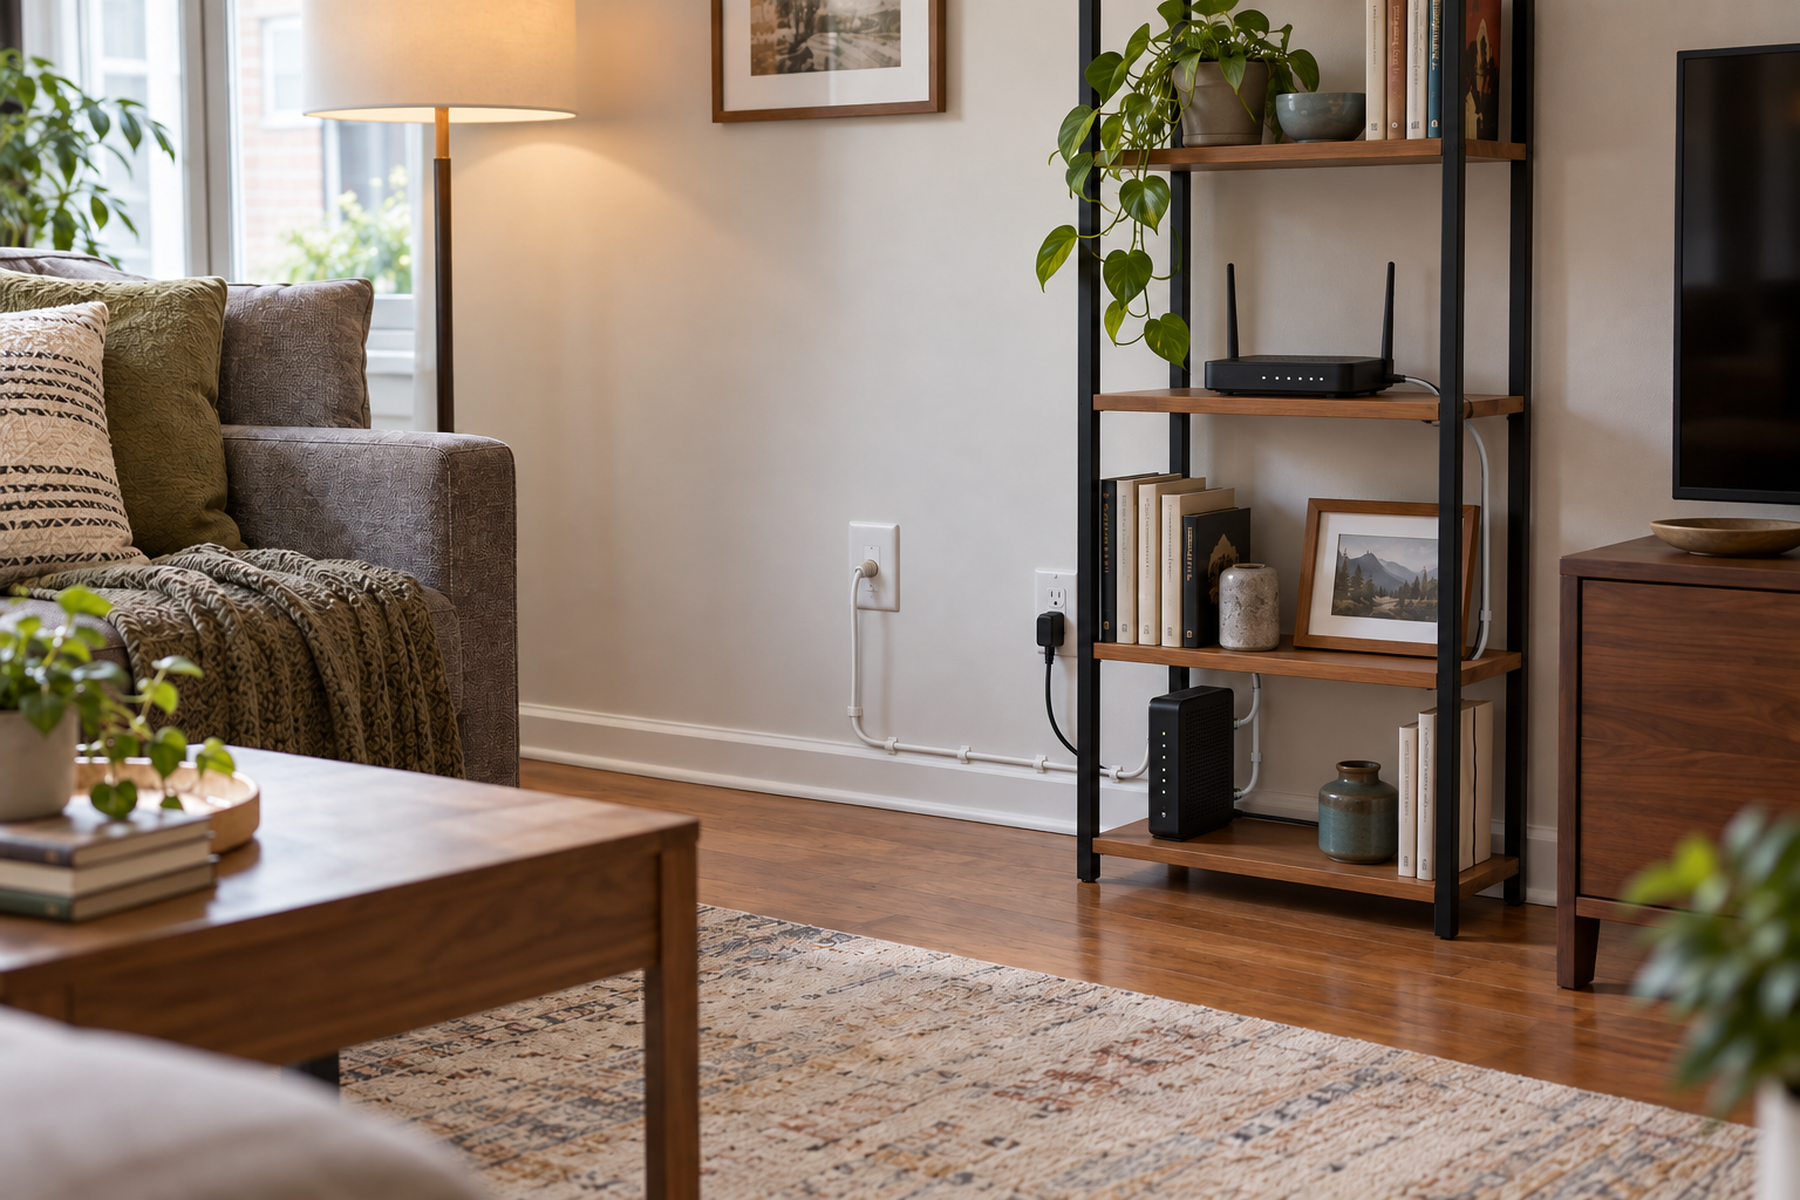
A fixed coax, fiber, Ethernet, modem, or ONT location can make the whole internet setup look immovable even when only part of it is. The Wi-Fi radio may still have placement choices, but those choices have to preserve coverage, ventilation, service access, and a cable route the apartment can actually support.
Treat the equipment as infrastructure rather than decor. First identify which box belongs to the ISP connection and which device actually broadcasts Wi-Fi, then make the visible setup quiet through support and cable organization without enclosing the radio simply to make it disappear.
Quick Answer
Give the Wi-Fi Radio an Open Home Before You Try to Hide It
The router has more than a plastic-box footprint. It also needs radio openness, heat dissipation, service access, power, and a cable path, so a visually empty cabinet can still be a bad placement.
01
Identify which hardware is truly fixed
Distinguish the wall jack, ONT, modem, integrated gateway, separate router, and mesh points before moving anything. Some systems can separate the fixed connection from the Wi-Fi radio; others cannot.
02
Use an open, elevated, low-obstruction support plane
Current Google, eero, ASUS, and TP-Link guidance consistently favors open placement and warns about floors, cabinets, dense obstacles, or large appliances in at least some current product families. Use the exact device guidance rather than one universal height.
03
Clean up the cables before you add concealment
Shorten the visual run with existing furniture, removable clips or raceways, controlled slack, and accessible power adapters before buying a router box, cabinet, or extra piece of furniture.
01
Identify What Is Fixed Before You Move Anything
Start by naming the boxes. A small-apartment setup may include a fiber ONT, cable modem, integrated modem/router gateway, separate Wi-Fi router, or additional mesh point, and those devices do not all have the same placement freedom.
The incoming coax, fiber, or provider-owned termination may be effectively fixed, while a separate Wi-Fi router may only need Ethernet and power within a supported cable run. In an integrated gateway, the fixed connection point and the Wi-Fi radio may be the same object.
Do not open building network panels, move fiber termination equipment, activate unknown wall wiring, or assume a different jack works simply because it exists. If the infrastructure itself has to move, that may be an ISP or landlord task rather than an organization project.
Once the hardware roles are clear, the problem gets smaller. Keep the truly fixed equipment where it must stay, then solve the placement of the Wi-Fi radio, cable route, and any secondary point as separate decisions when the exact system allows that separation.
02
Place the Wi-Fi Radio Around the Area It Has to Serve
A router does not need to sit at the geometric center of the apartment. The more useful target is an open position that is reasonably central to the rooms and devices that actually need reliable Wi-Fi.
Google, eero, and TP-Link currently recommend central or coverage-oriented placement for their systems, while also favoring open locations and elevation above the floor. Their exact height language differs, so there is no responsible universal Aptly Small height number.
Use the apartment itself as the test. A shelf near the living room and bedroom path may be more useful than a perfect center hidden behind a TV, refrigerator, dense cabinet wall, or other large obstruction.
Do not sacrifice the only practical cable or power route merely to chase an abstract center. The chosen location has to balance the area being served with the fixed connection point, supported cable reach, outlet access, and the device manufacturer’s placement guidance.
Measure / Check First
Before moving networking equipment or buying a shelf, identify the device roles and test the cable, power, radio, heat, and service requirements together.
Check the Hardware Roles, Cable Reach, and Operating Envelope First
01
Fixed equipment vs. movable Wi-Fi hardware
Identify the wall jack, ONT, modem, gateway, router, and any mesh points. Confirm which equipment belongs to the ISP or building and which device the exact system permits you to reposition.
02
Cable and power reach
Trace the supported coax, fiber, Ethernet, and power route to the proposed location. Reject paths that cross circulation, pinch behind doors or furniture, require unauthorized drilling, or depend on an unverified wall port.
03
Open air and service access
Confirm a hard stable support surface, manufacturer-appropriate ventilation, room around the device, and easy access to power, ports, status lights, and reset or replacement tasks.
If the proposed location only works by enclosing the radio, crowding it against a large obstruction, hiding the power and ports, or assuming the ISP equipment can move, solve that conflict before adding furniture or concealment.
03
Treat the Router as Four Footprints
The device body is only the first footprint. The second is the radio footprint: the open space and low-obstruction relationship around the Wi-Fi hardware that helps it reach the apartment.
The third is the thermal footprint. eero currently warns against small enclosed spaces, covering the device, excessive heat, direct sunlight, and soft surfaces that can block airflow, which is why a decorative box can solve appearance while creating a different operating problem.
The fourth is the service footprint. Power, Ethernet, status lights, ports, reset access, replacement access, and enough room to unplug the equipment should remain reachable without dismantling a shelf or unloading a cabinet.
Judge a placement only after all four footprints fit. A router can look perfectly contained and still be poorly organized if radio, heat, service, or cable access has been sacrificed to the physical box.
04
Use an Existing Open Shelf Before You Add Furniture
A router needs stable support, but it does not automatically need a dedicated console table or network cabinet. An existing open bookcase shelf, media shelf, side table, or other hard stable surface can solve the support problem without adding another furniture footprint.
Keep the router itself exposed to open air and avoid packing books, baskets, plants, or decor tightly around it. Visual integration works better when nearby objects frame the equipment rather than cover or surround it.
If the fixed jack is low on the wall, the best move may be a short vertical cable route to an existing shelf instead of leaving the router on the floor. Google, eero, ASUS, and TP-Link all provide current guidance that makes floor placement a poor generic default for at least some current Wi-Fi systems.
Do not buy large furniture merely to hide a small networking device unless that furniture already solves another apartment need. A boring open shelf with disciplined cables can be a stronger small-space result than a beautiful cabinet that undermines the equipment.
05
Hide the Cables Before You Hide the Router
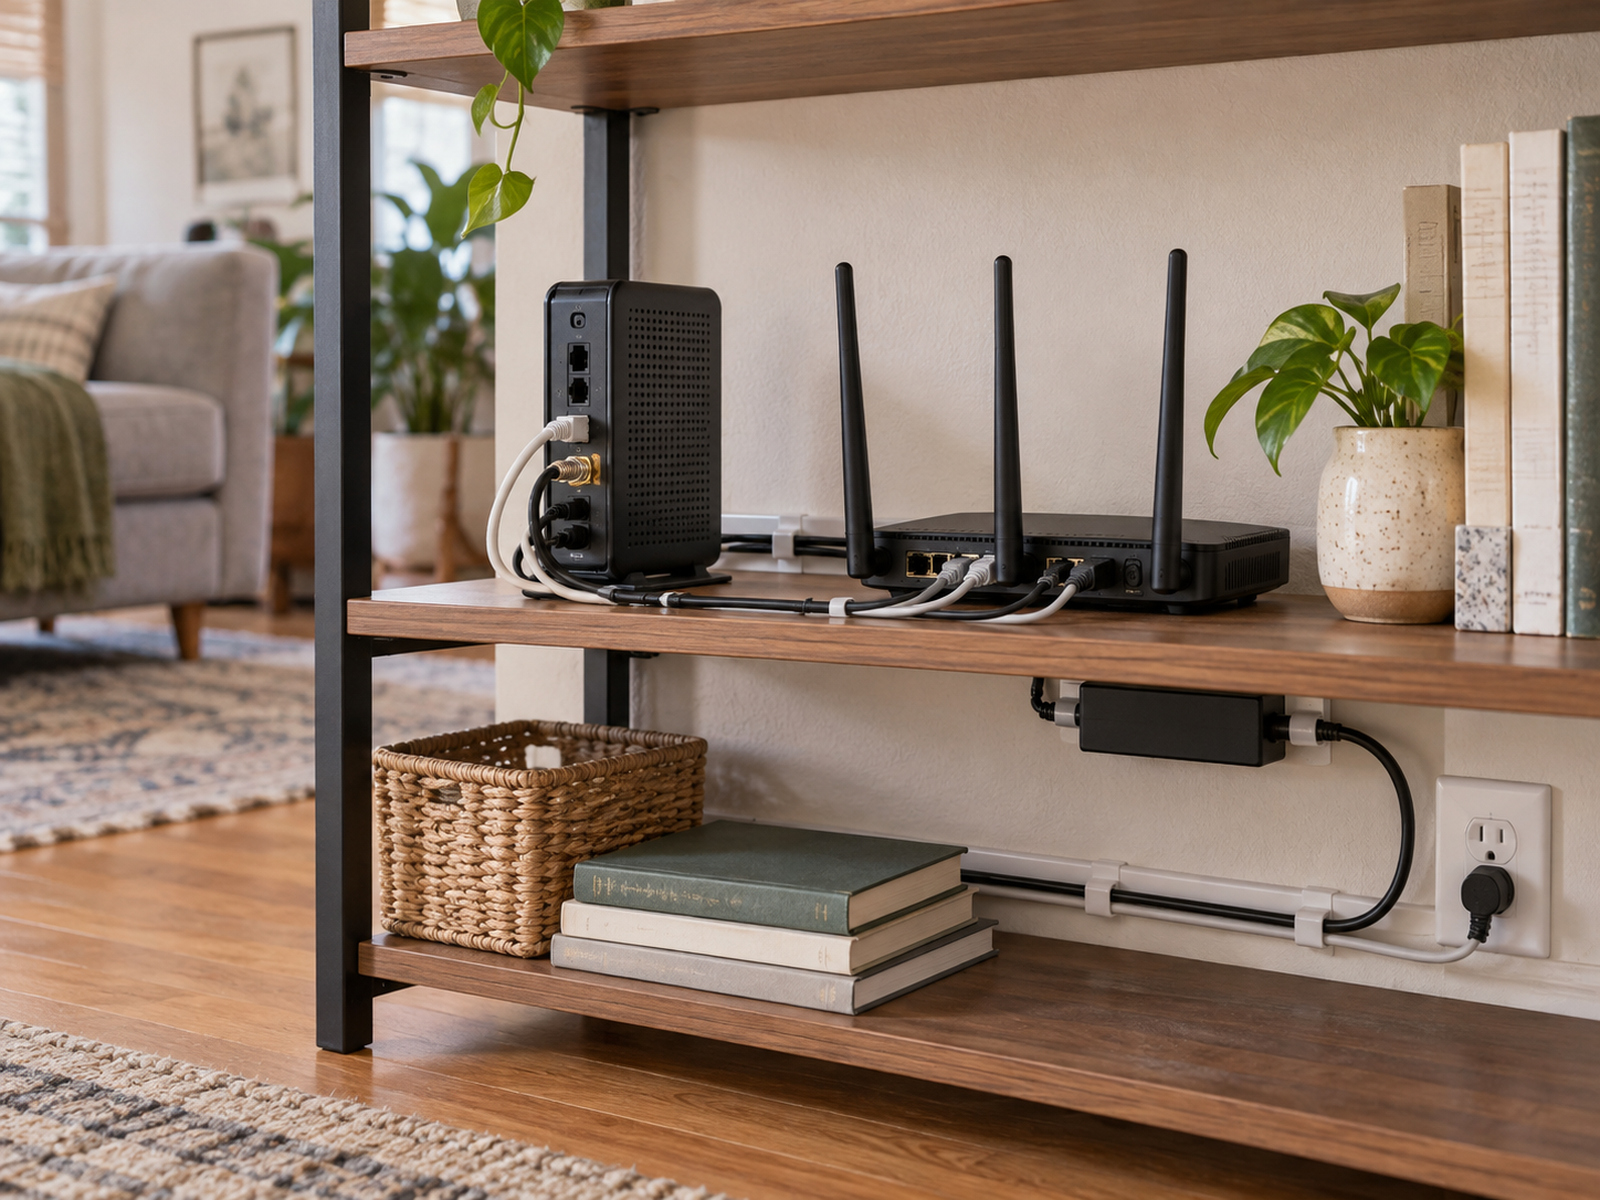
Visible cables often create more visual clutter than the router itself. Before enclosing the hardware, reduce the cable problem around an otherwise sound open placement.
Keep excess length controlled without sharp bends, pinching, door pressure, or a route across circulation. Removable clips, hook-and-loop ties, or a renter-compatible raceway can make the run intentional when the exact cable and surface allow it.
Keep power adapters and connectors ventilated and serviceable rather than burying them inside a tightly packed basket. Leave enough slack to unplug or lift the device for troubleshooting without pulling on the wall jack or another piece of equipment.
The goal is visual quiet, not invisibility. When the support surface, cable path, and power location read as one organized zone, the equipment can remain partly visible without feeling like a temporary pile of technology.
06
Treat Cabinets, Floors, Fridges, and Dense Obstacles as Caution Zones
Closed cabinets and media consoles are attractive because they remove the device from view, but current Google, eero, ASUS, and TP-Link guidance repeatedly favors open placement and warns about cabinets, obstructions, or enclosed conditions in at least some current products.
The top of a refrigerator can look like free elevated space near a kitchen connection point, but eero, TP-Link, and ASUS current guidance gives good reasons to be cautious around large appliances and metal. Do not make appliance-top placement a generic small-apartment shortcut.
The floor is also a tempting visual hiding plane, especially behind furniture. It can combine low elevation, dense obstruction, dust, accidental contact, cable strain, and poor service access in one placement.
These are caution zones, not universal technical bans for every piece of equipment. The exact device manual and real apartment performance still decide the outcome, but concealment should not be the reason a weak placement survives.
07
Use an Open Wall or Shelf Mount Only When the Device and Rental Rules Fit
An open wall shelf or manufacturer-compatible wall mount can recover floor and furniture space while keeping Wi-Fi equipment exposed to air and easier to service than a closed box.
The mount has to fit the exact device. eero, for example, currently supports wall or ceiling mounting for relevant models while warning against metal mounts because they can interfere with Wi-Fi; that product-family guidance should not be generalized to every router.
For a renter, the attachment method is a separate fit test. Confirm the device orientation, mount load, wall surface, cable route, removal method, and lease conditions before drilling or relying on an adhesive system.
Keep the result visually simple. One small open shelf with a clean vertical cable route is often enough; adding an elaborate router cabinet or tech feature wall can cost more space and attention than the original equipment.
08
Escalate to Relocation or Mesh Only After Placement Diagnosis
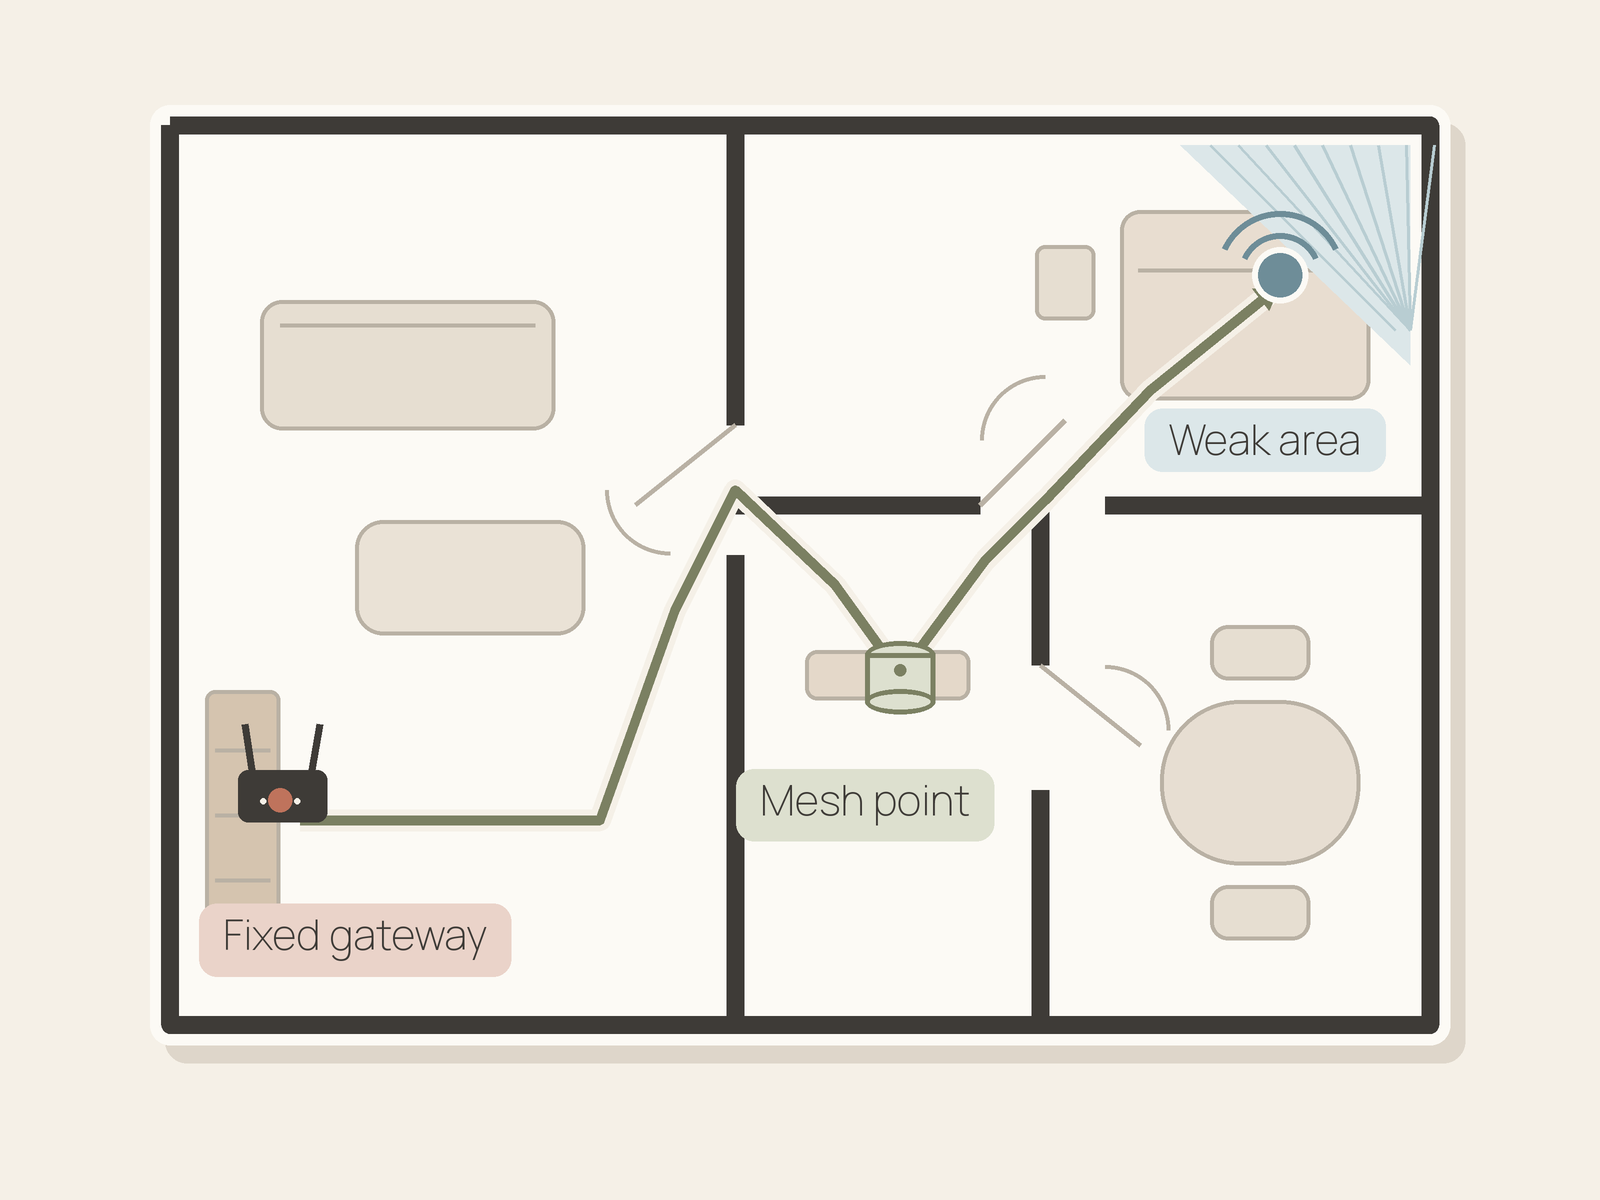
If the gateway is truly stuck at an apartment edge, first confirm whether the Wi-Fi router is a separate device that the exact ISP setup permits you to place farther away. Google’s current guidance explicitly notes that modem location and Ethernet or power cable reach can limit router placement.
Do not assume a longer Ethernet cable, another wall jack, or a different room automatically works. Integrated gateways, inactive ports, provider-specific wiring, and building restrictions can make a seemingly simple relocation an infrastructure task.
If the gateway cannot move and coverage is still weak after the existing device is open, elevated, and unobstructed, a compatible mesh or additional Wi-Fi point can be the next branch. Google and eero both currently advise placing secondary points between the gateway and the weak area rather than simply dropping a node into the dead zone.
Treat mesh as a coverage tool, not a decor fix. It adds another device, another outlet, and another placement problem, so use it only after the original equipment zone has passed the basic open-placement and obstruction checks.
Closing Decision
Make the Equipment Look Intentional Without Making the Signal Disappear
The best small-apartment router zone is often deliberately simple: identify what is fixed, keep the Wi-Fi radio open and supported, place it around the area that actually needs coverage, and use the apartment’s existing surfaces before adding new furniture or a decorative enclosure.
Then make the setup visually quiet through cable control and serviceable positioning. If the fixed ISP location still creates a real coverage problem after those basics are solved, verify whether the Wi-Fi device can move or whether a correctly placed secondary point is justified instead of hiding the original problem inside more storage.
RELATED GUIDES
What to Read Next
NEXT GUIDE
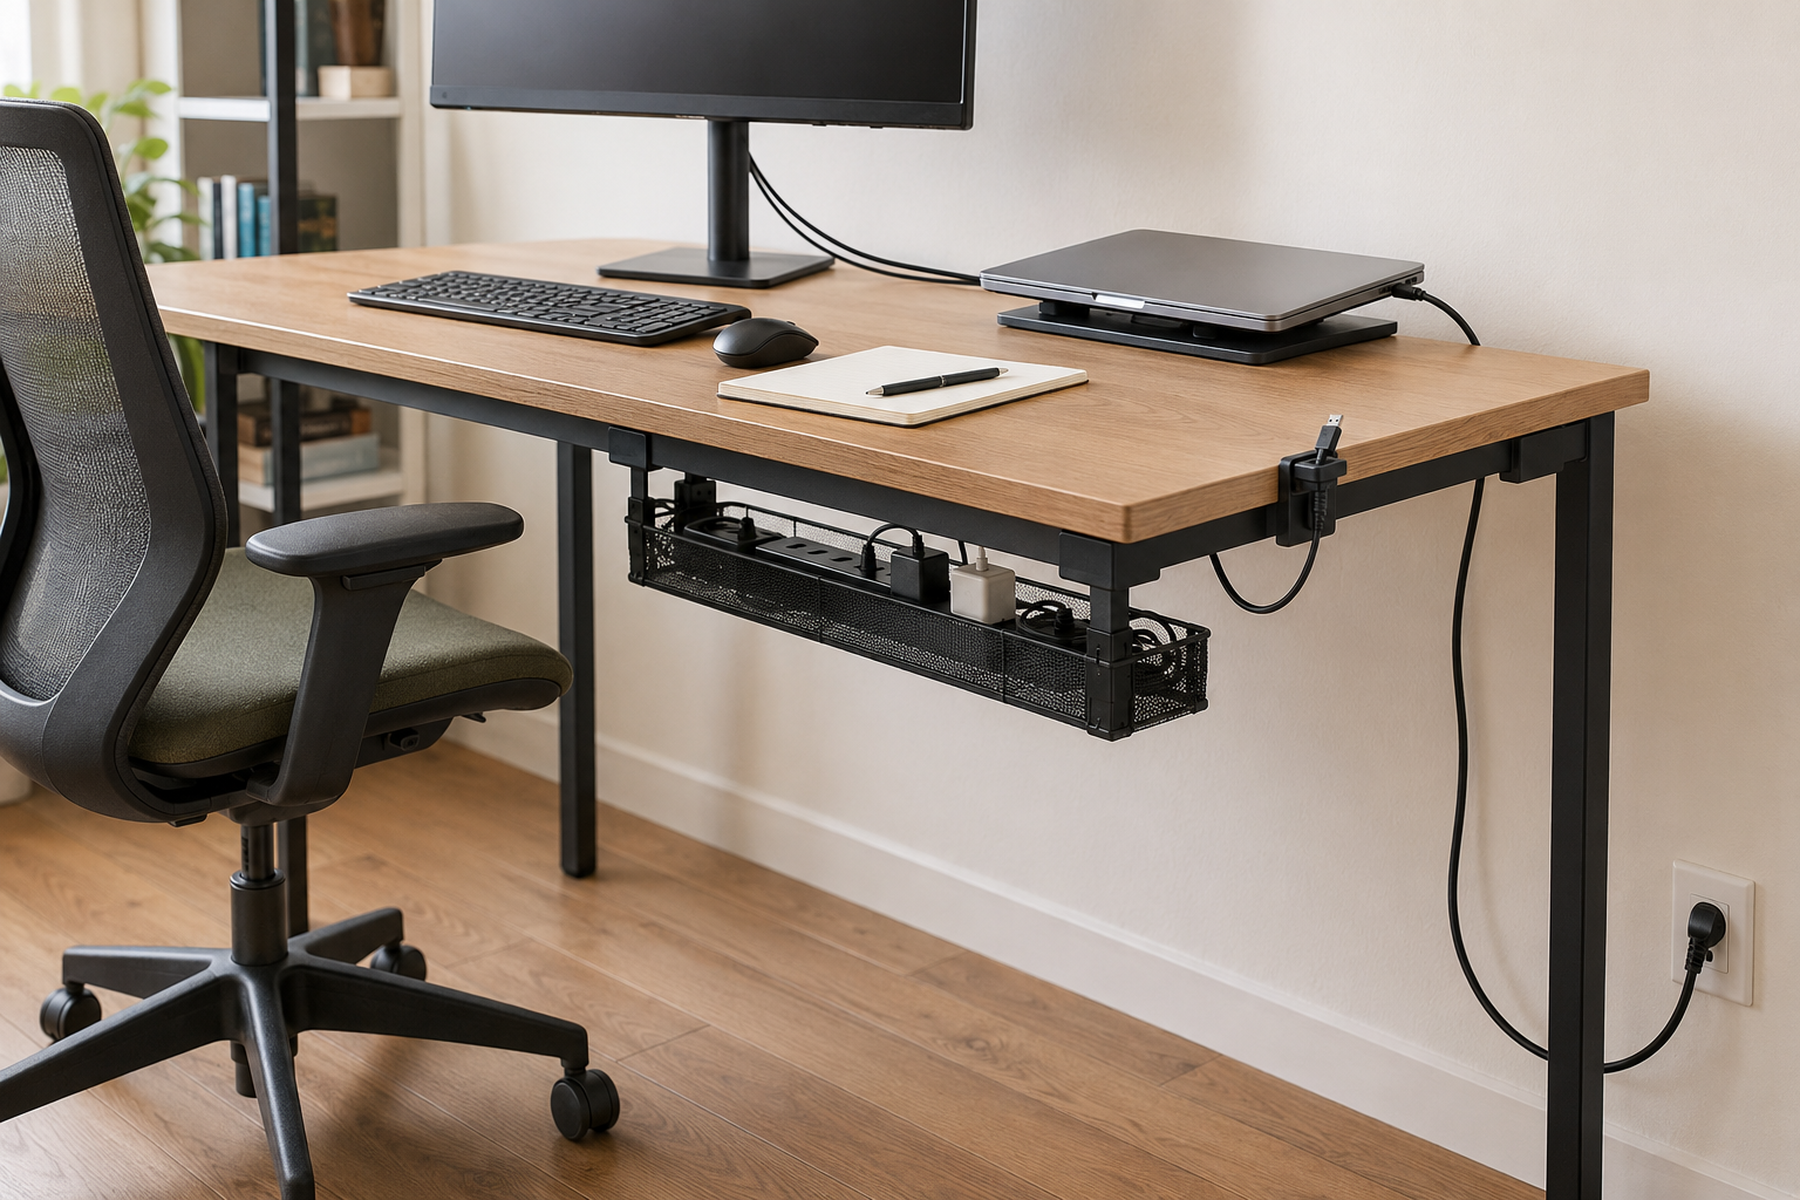
How to Manage Cables on a Small Desk Without Drilling
Use this next if the router location is sound but power and data cables still make the apartment look temporary; that guide goes deeper on renter-friendly routing, bundling, and serviceable cable control.
GUIDE
How to Place a PC Tower Around a Small Desk Without Losing Work Surface
Use this if other electronics are competing with the router for floor, shelf, airflow, and service space; that guide applies the same operating-envelope logic to a larger computer component.
GUIDE
Where to Put an Air Purifier in a Small Apartment With Limited Floor Space
Use this if another small-apartment device also seems easy to hide but has an invisible operating envelope; that guide focuses on airflow, clearance, service access, and low-conflict placement.